Hello friends...
It's been awhile... over
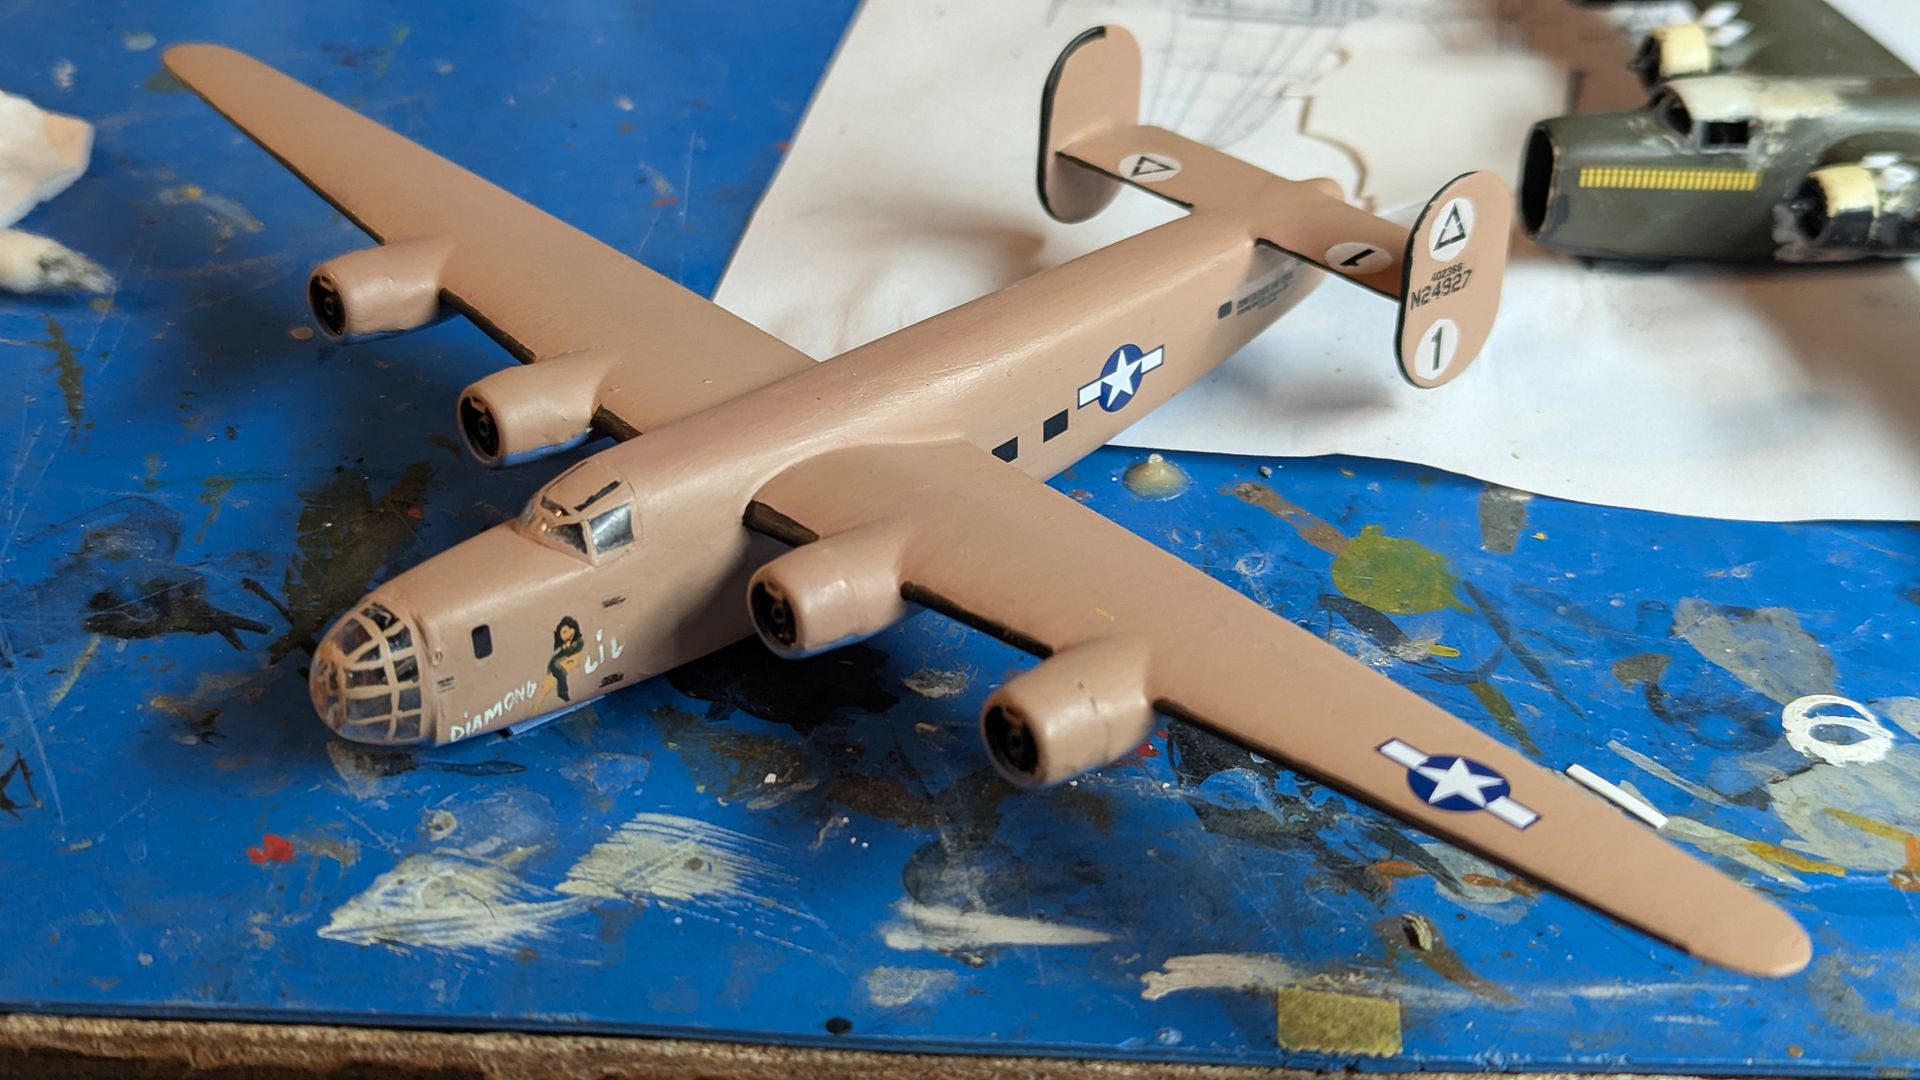
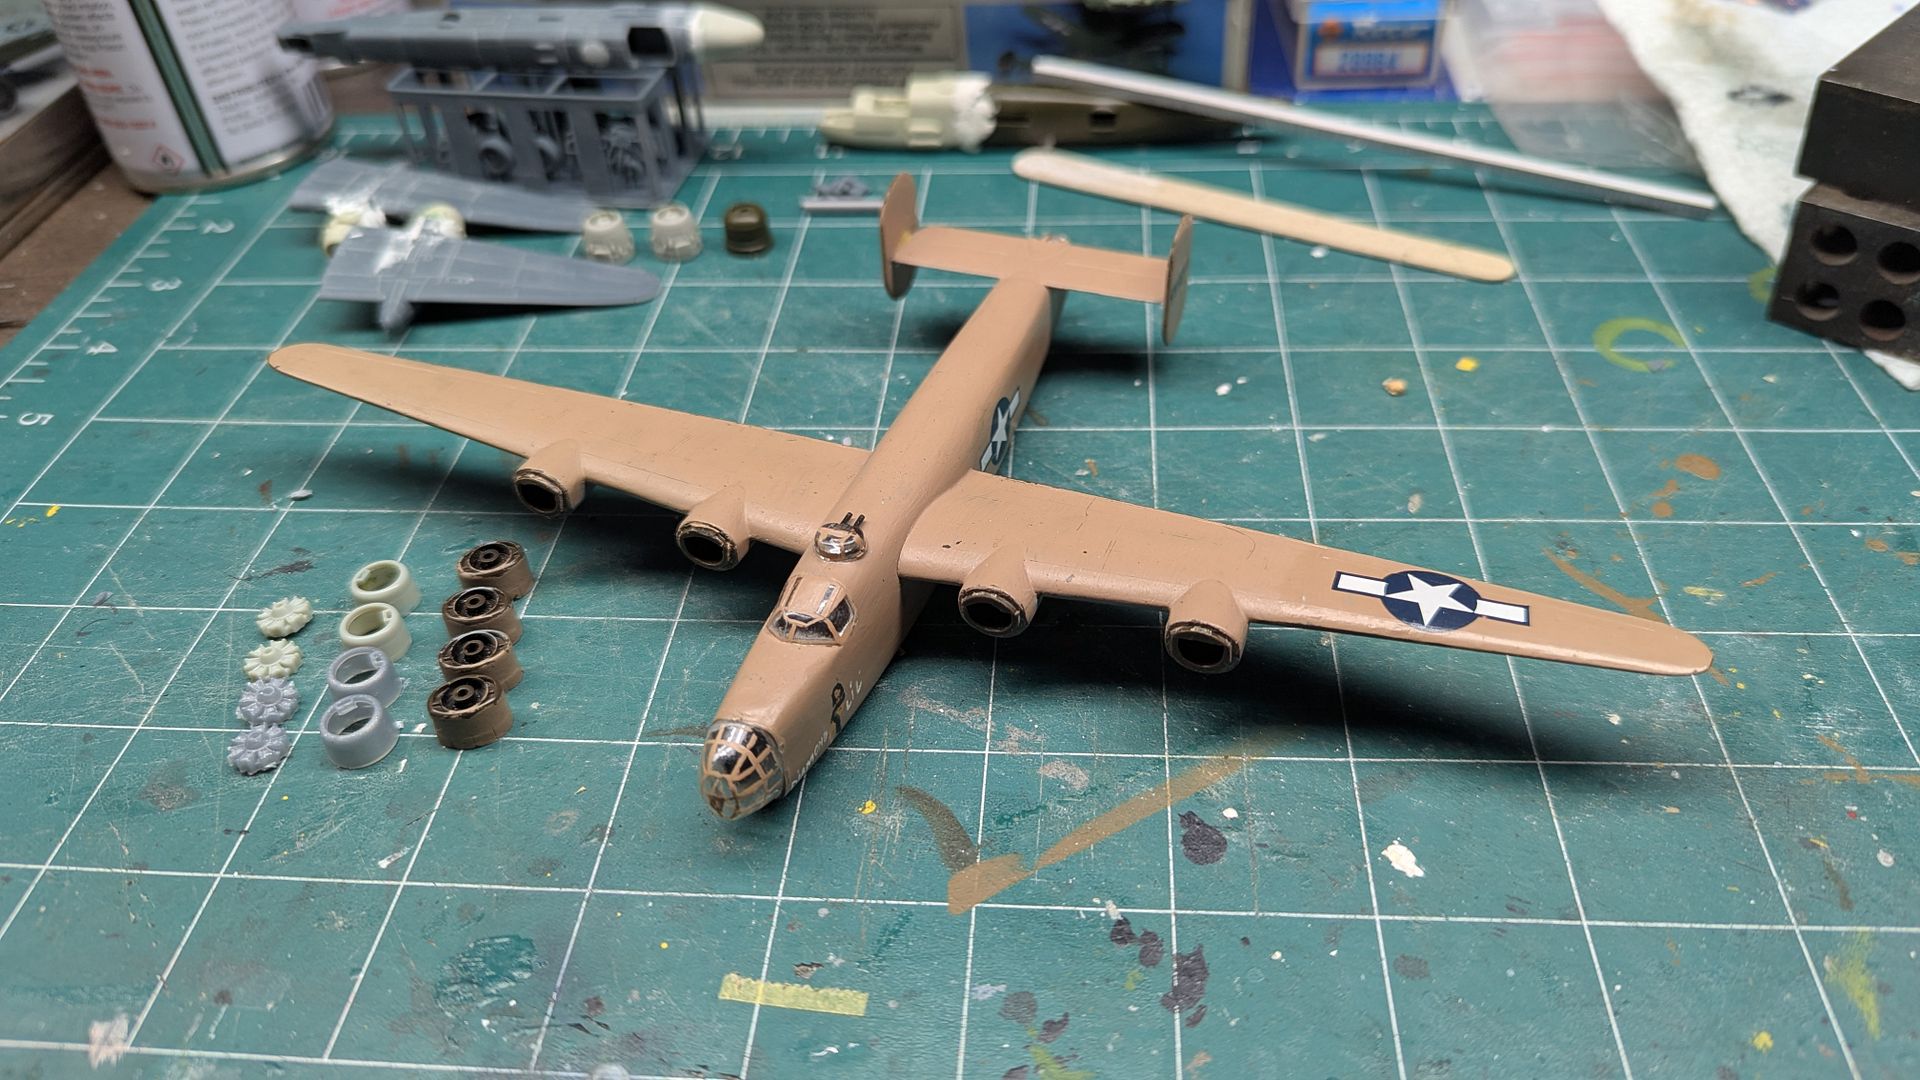
15 years!?!?!? since the last post on this thread... and my Ole 927 is STILL not done! But I hope that will change soon. Starting with redoing a model of this bird when see was in her desert pink...
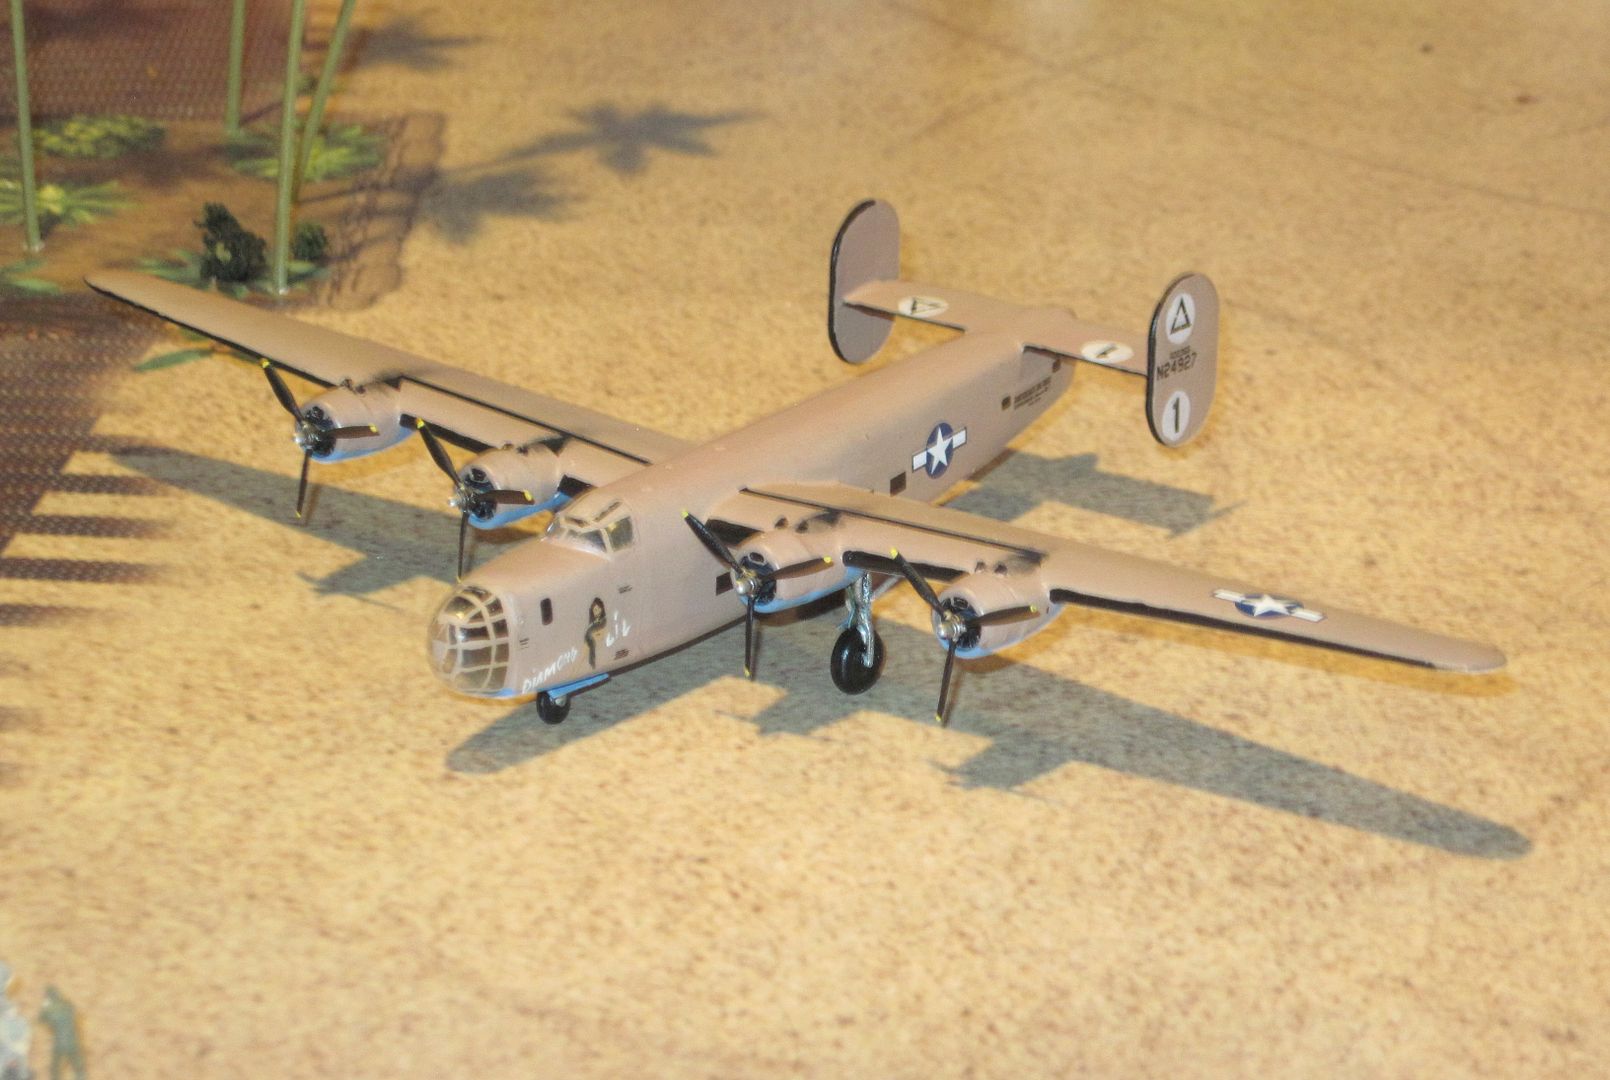
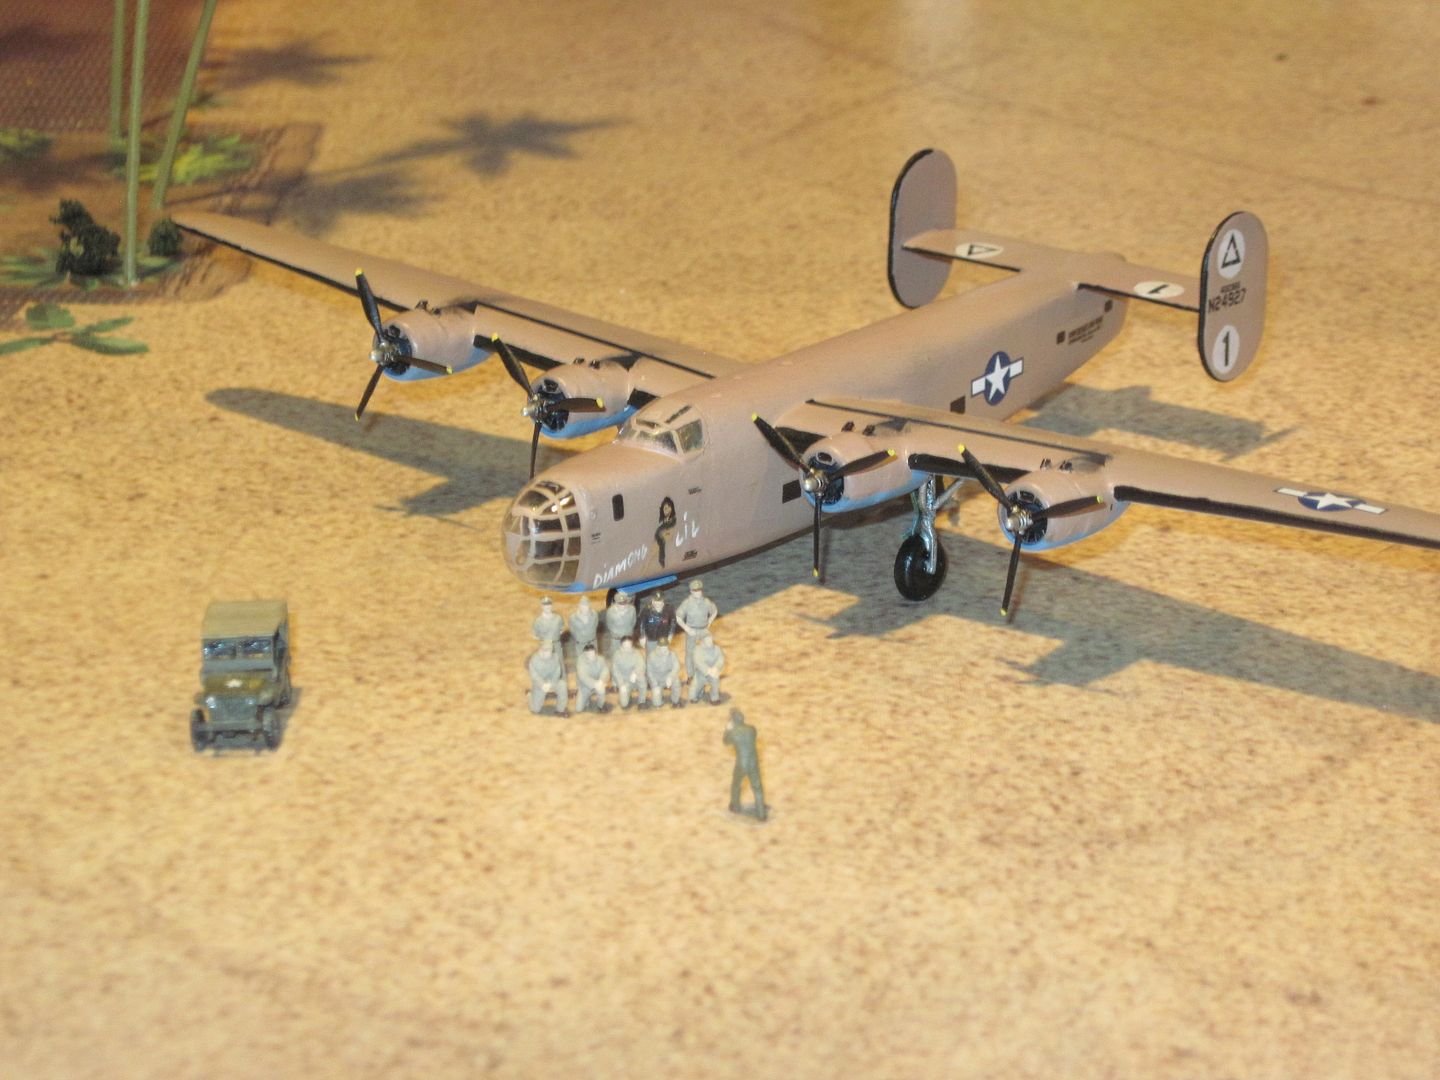
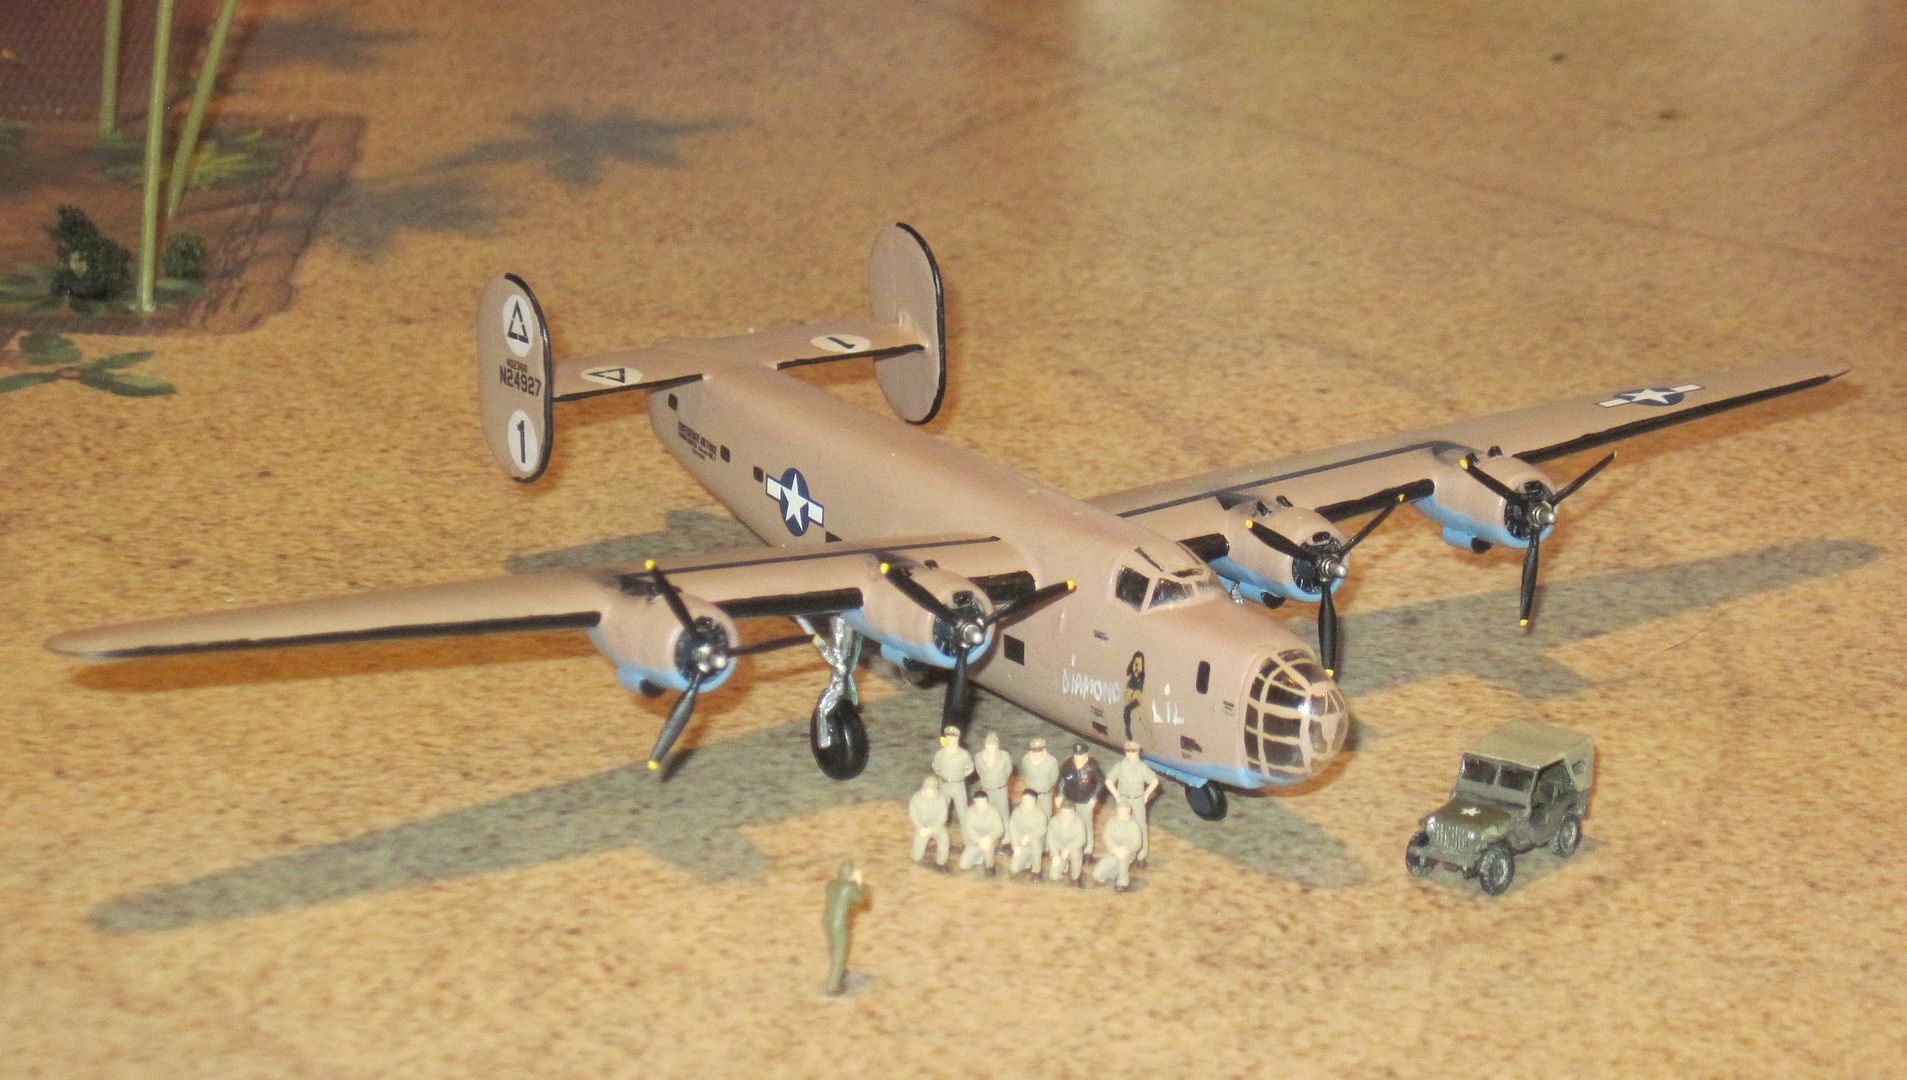
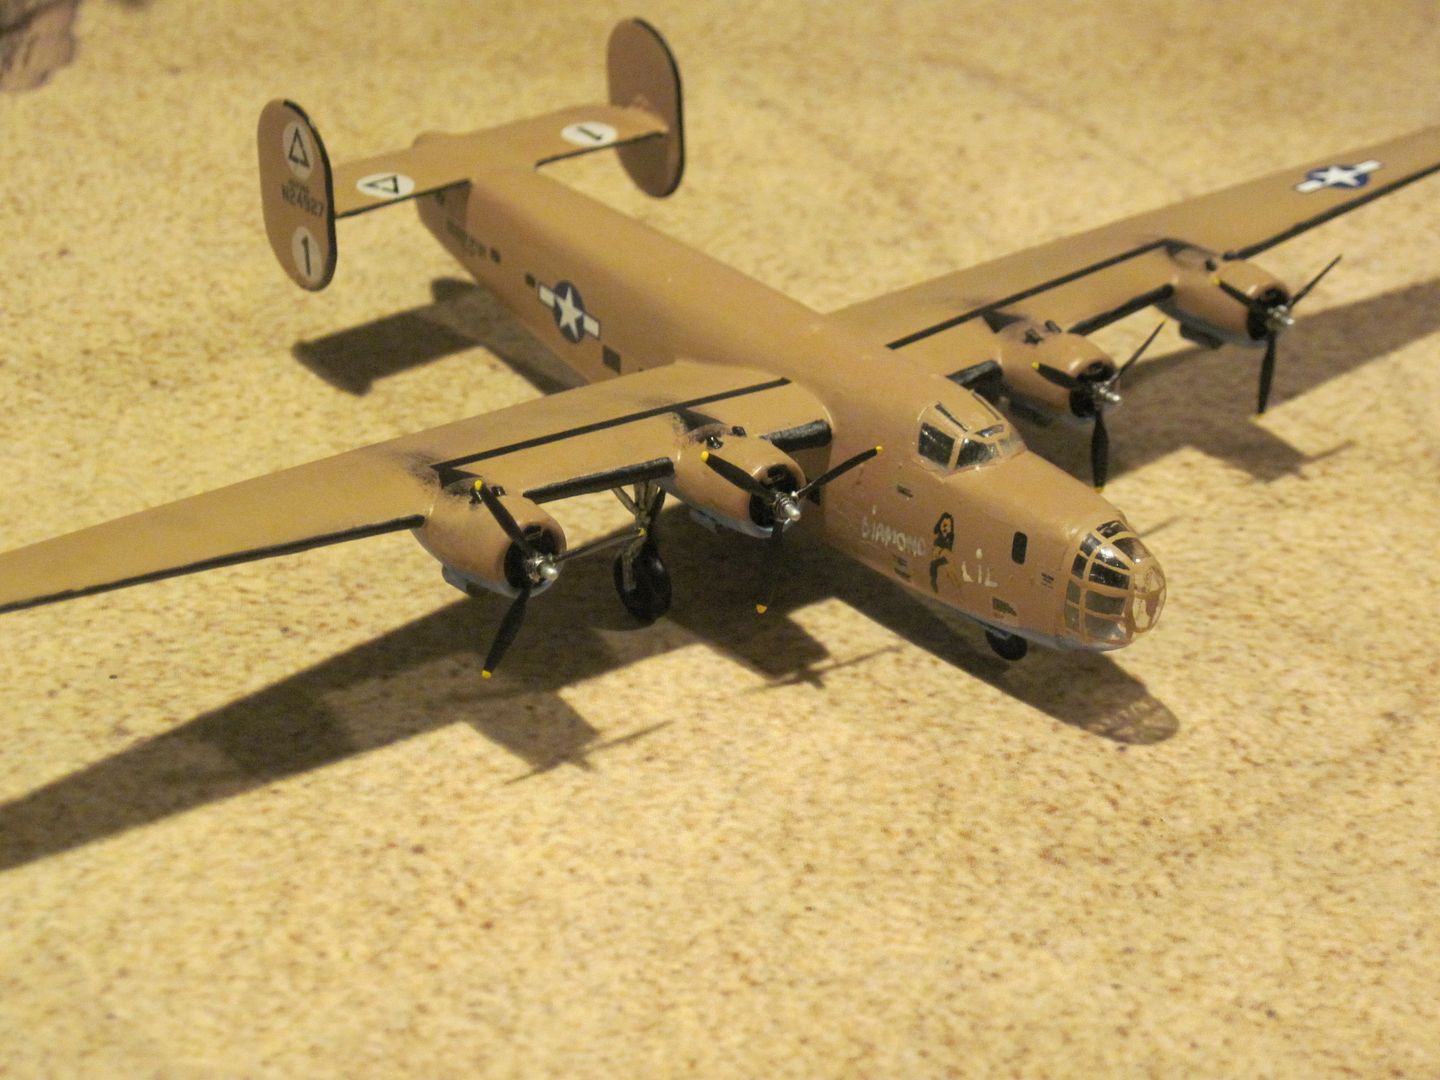
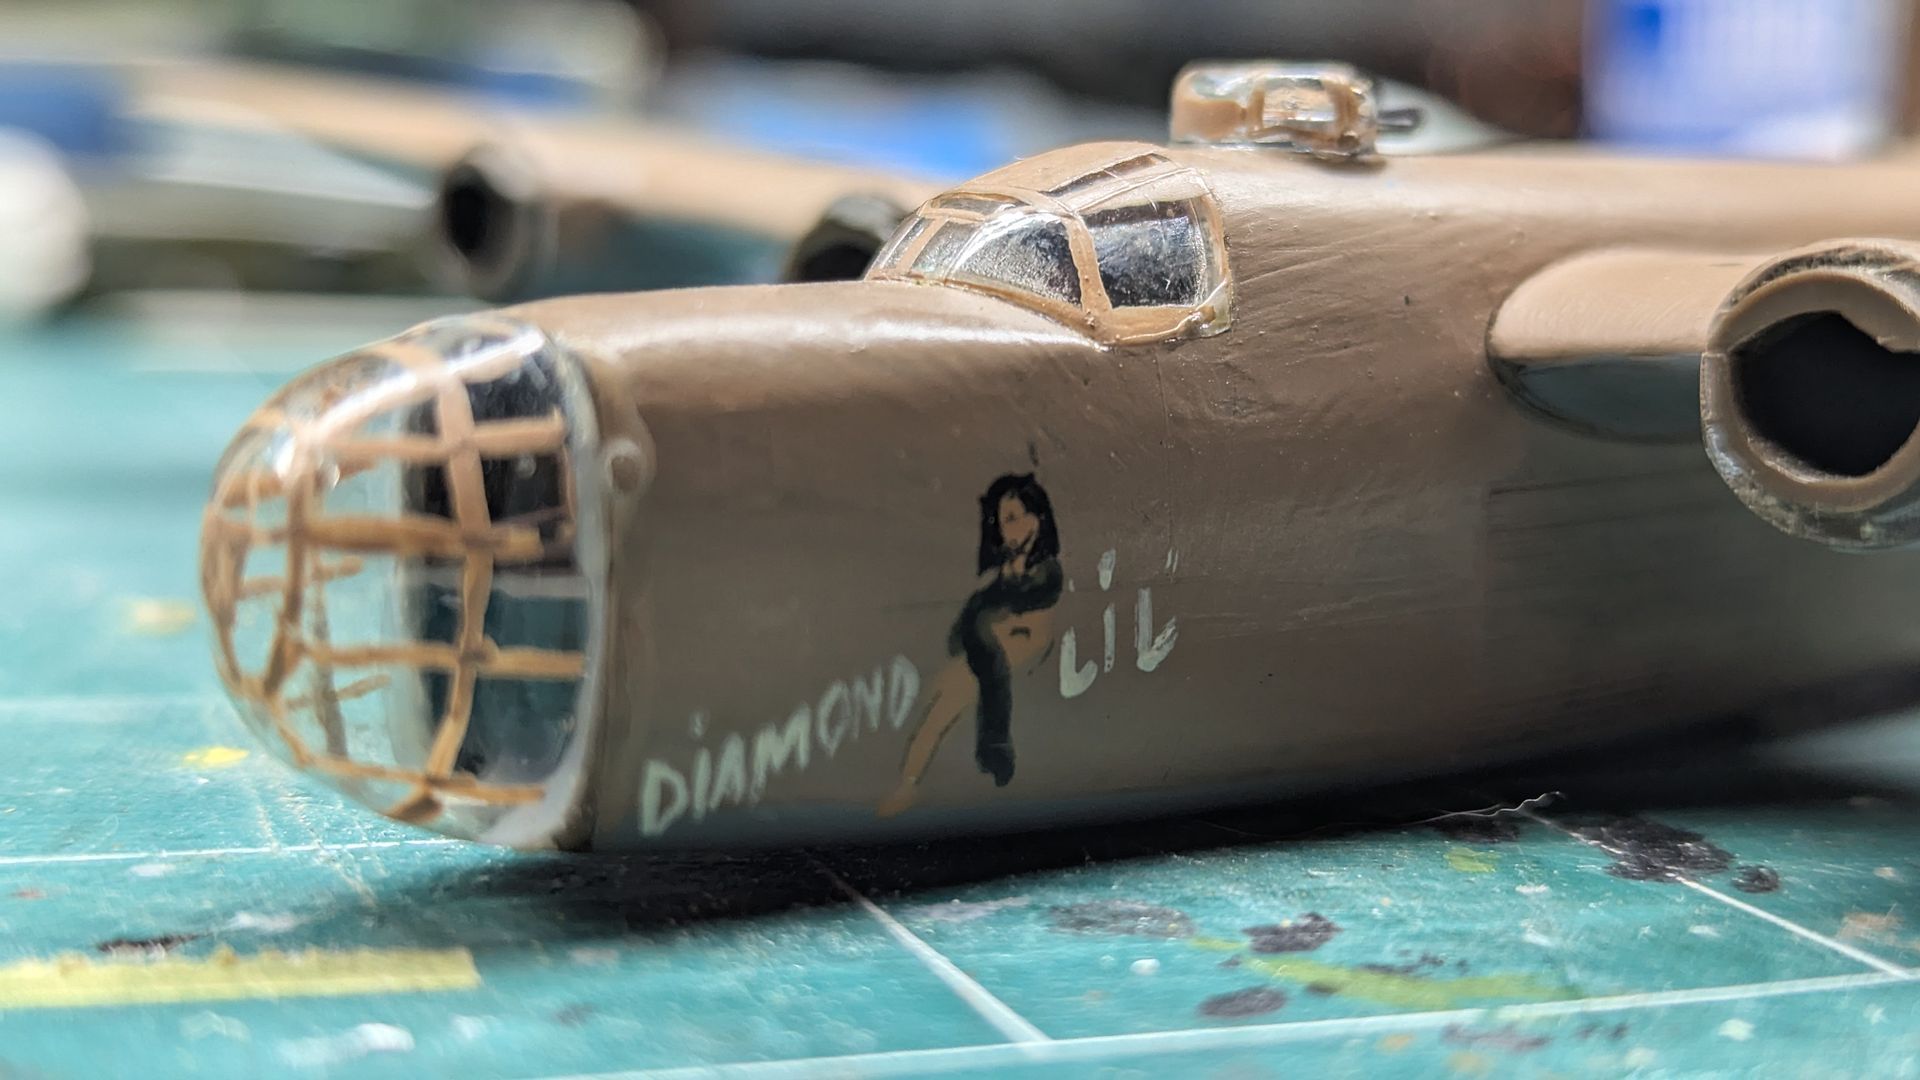
"Diamond Lil"Back in the 90s my father made for me a collection of 1/144th scale models that were custom painted in the markings of various flying warbirds at the time, including the CAF's LB-30/B-24. This model started off as a standard Crown/Minicraft B-24J. He cut the nose off, shaped a piece of balsa wood into a greenhouse nose, heat and smashed a vacuformed nose, and added it on, along with some hand painted nose art.
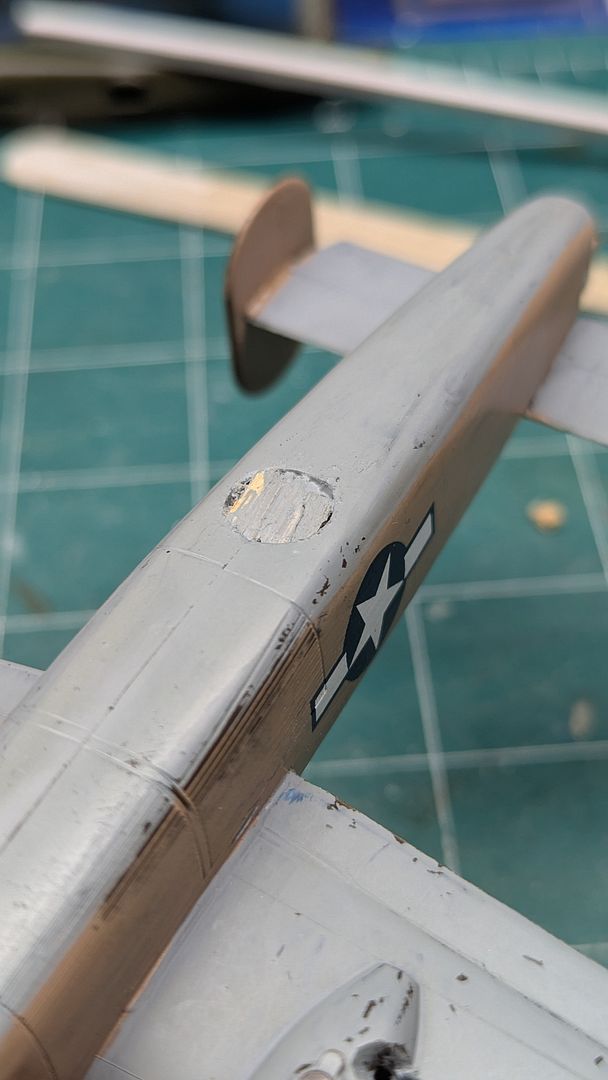
I ended up trying to cover up the hole for the non-existent ball turret with some balsa wood back when I was 12-13.
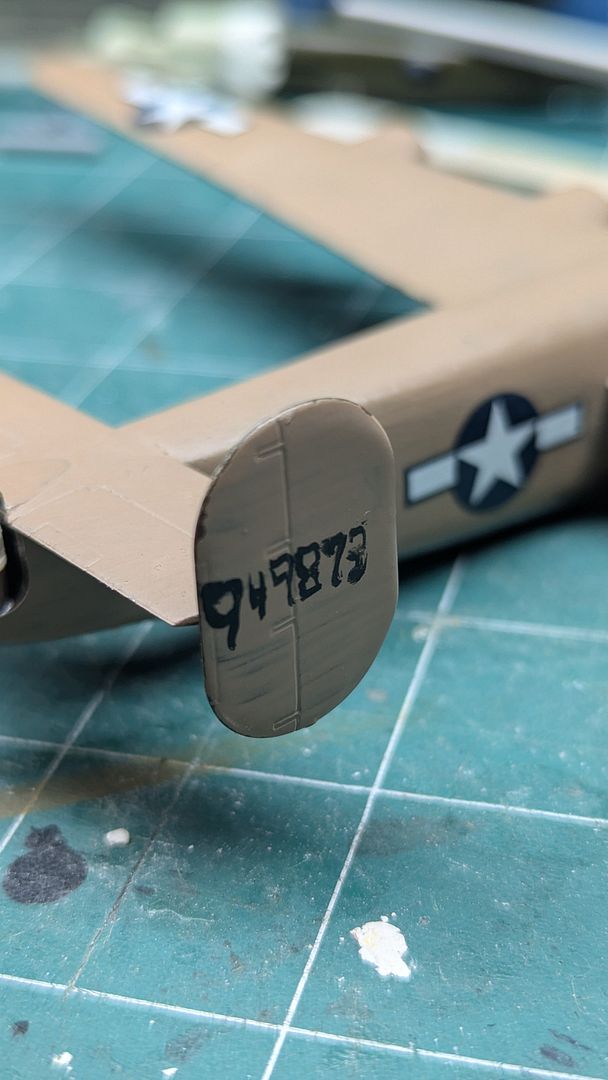
And apparently i tried to hand paint the N number onto the tails at some point.

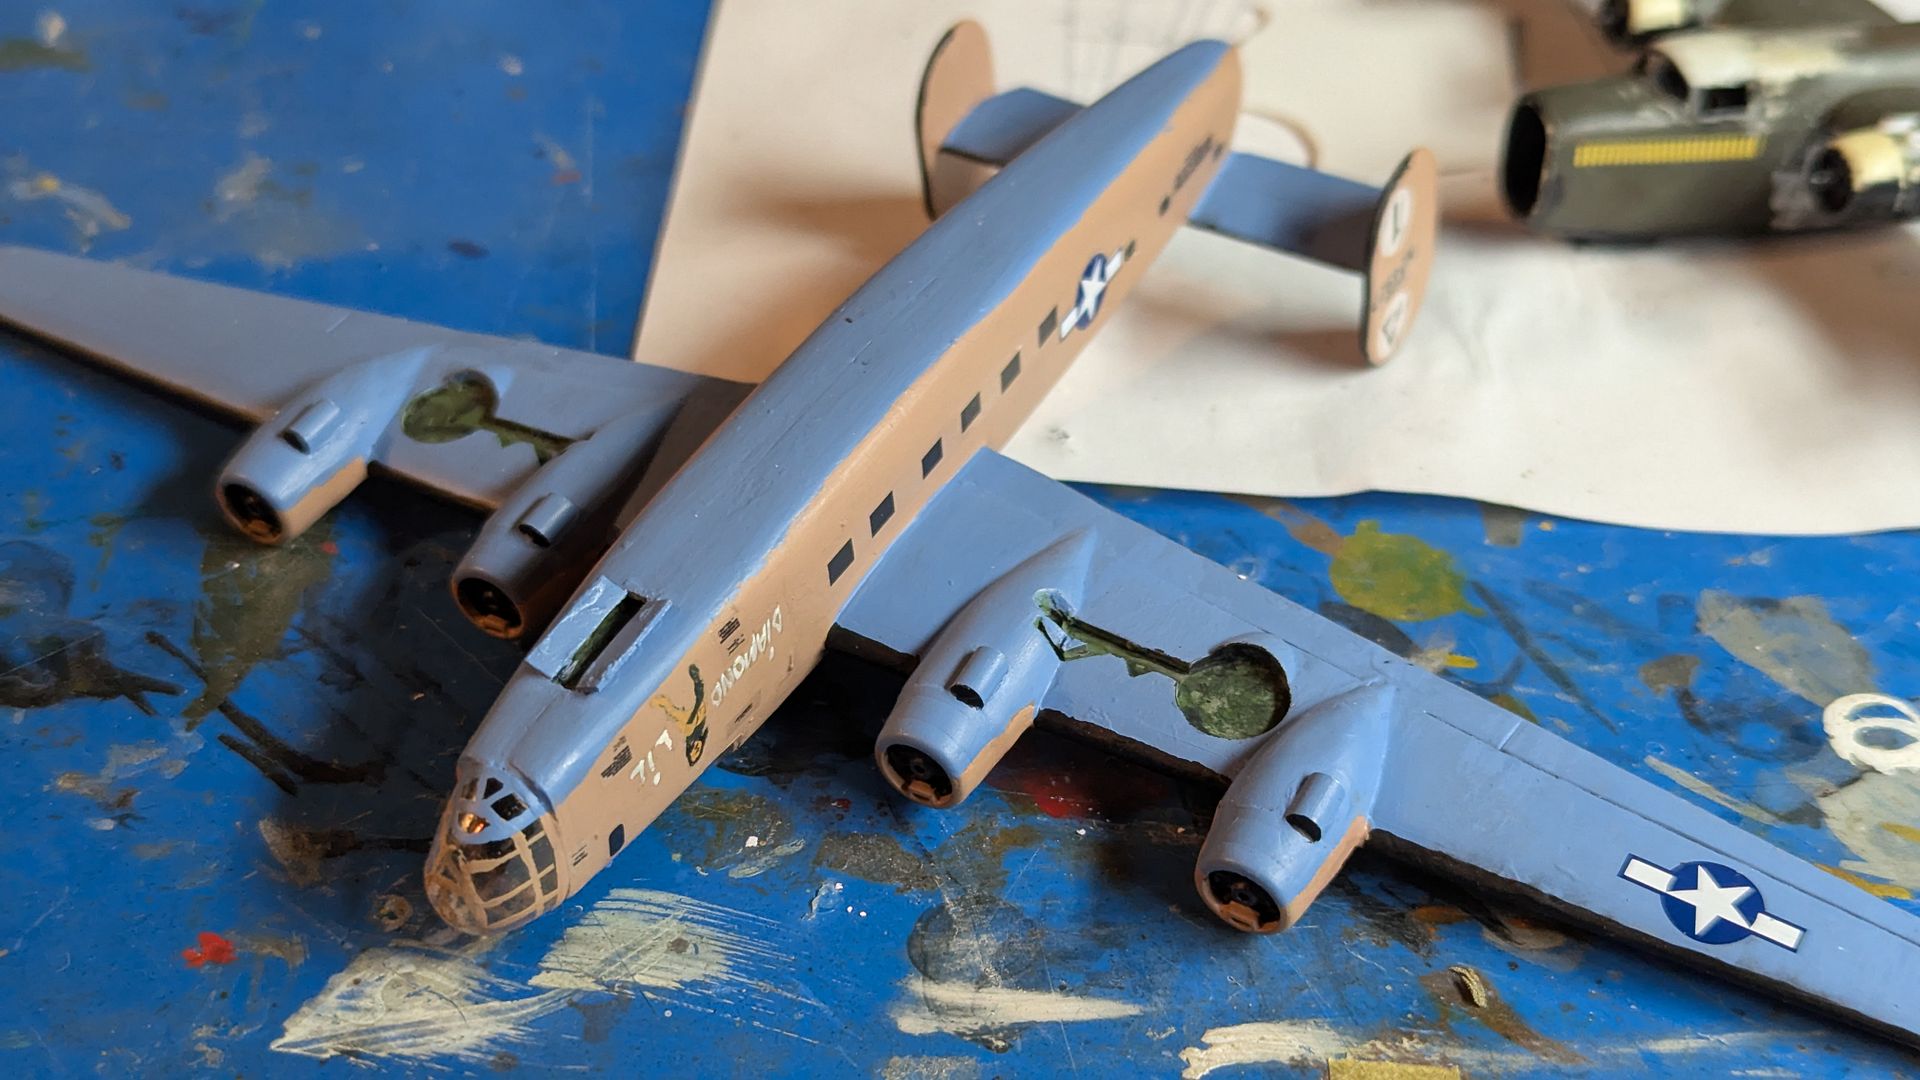
And that's how she stayed for years, sitting in a drawer. More of a straight B-24D then anything, but not an LB-30/B-24A like the original plane. Fast forward to last week I was looking at the old bird, and felt the spark of motivation and drive to get her into a more accurate configuration to resemble the plane I grew up with. This started with removing the tail turret, top turret, wood cover for the ball turret and four engines.
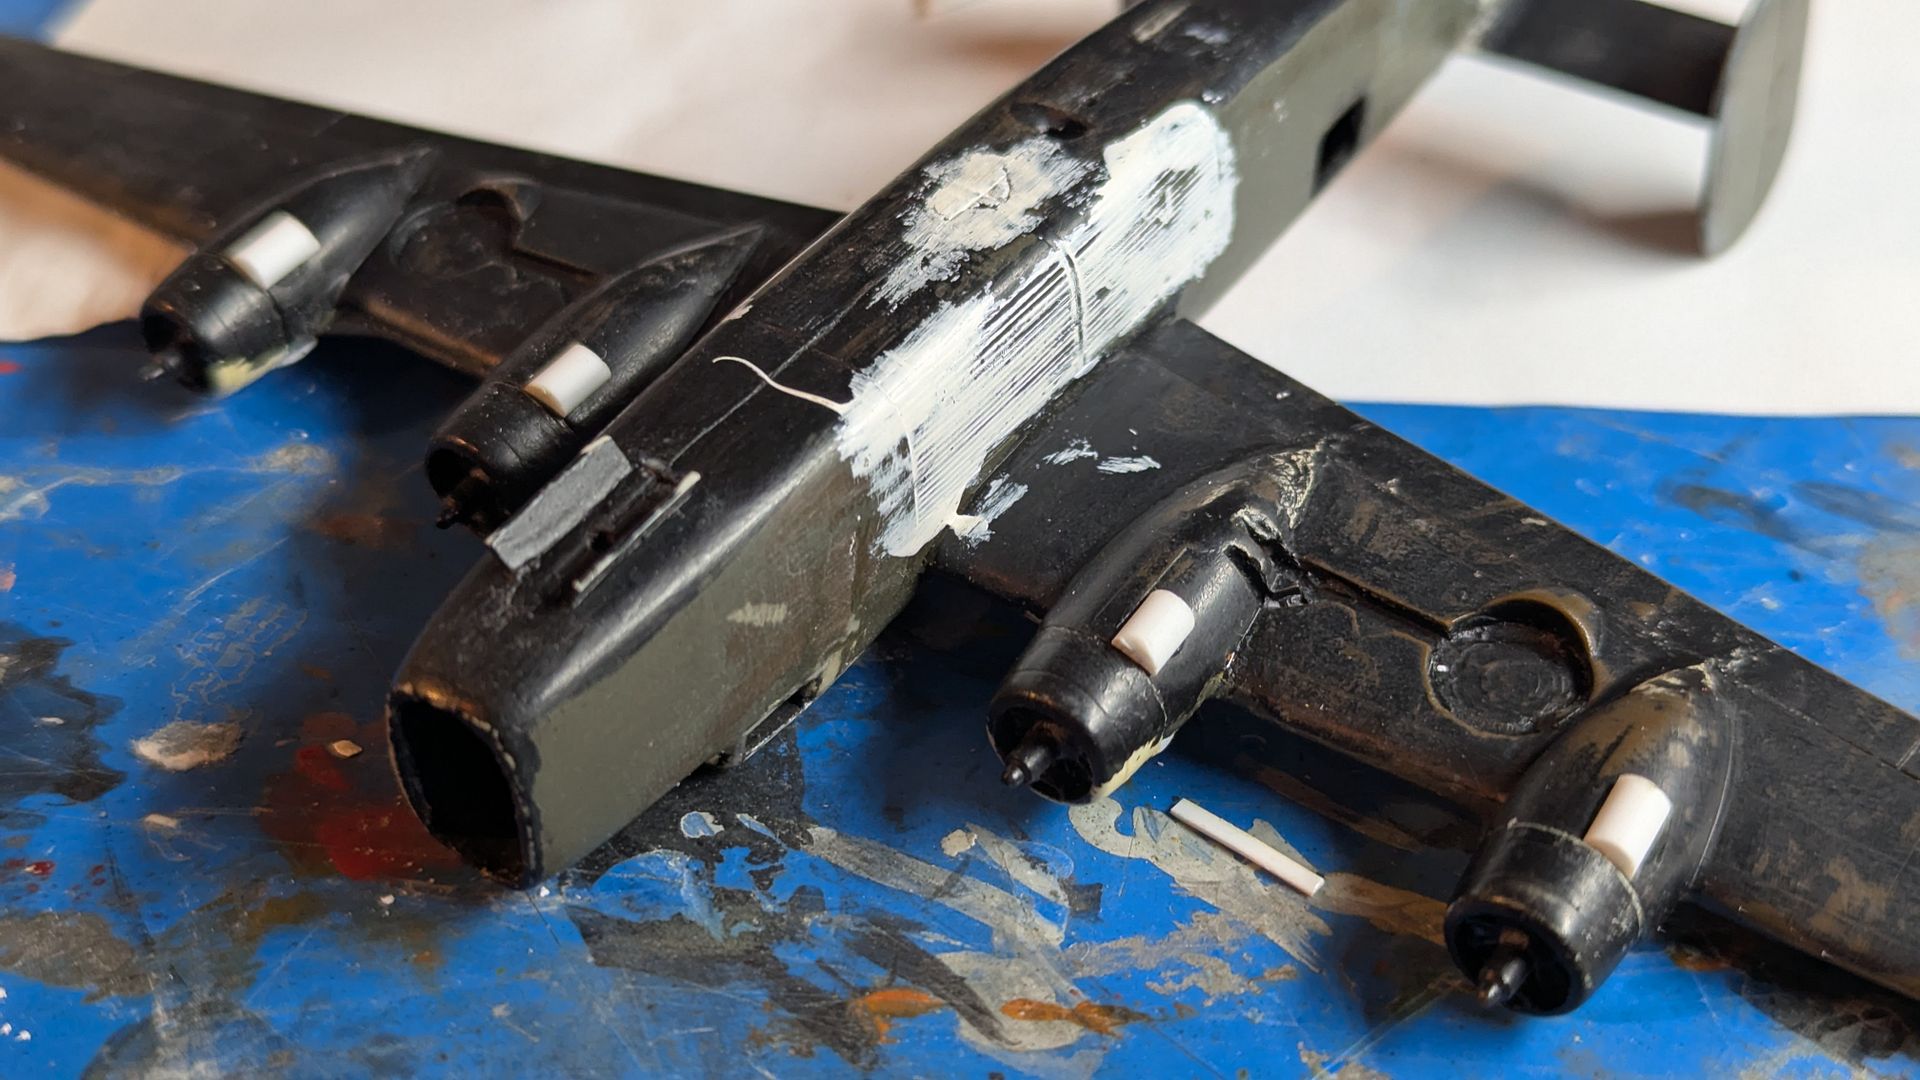
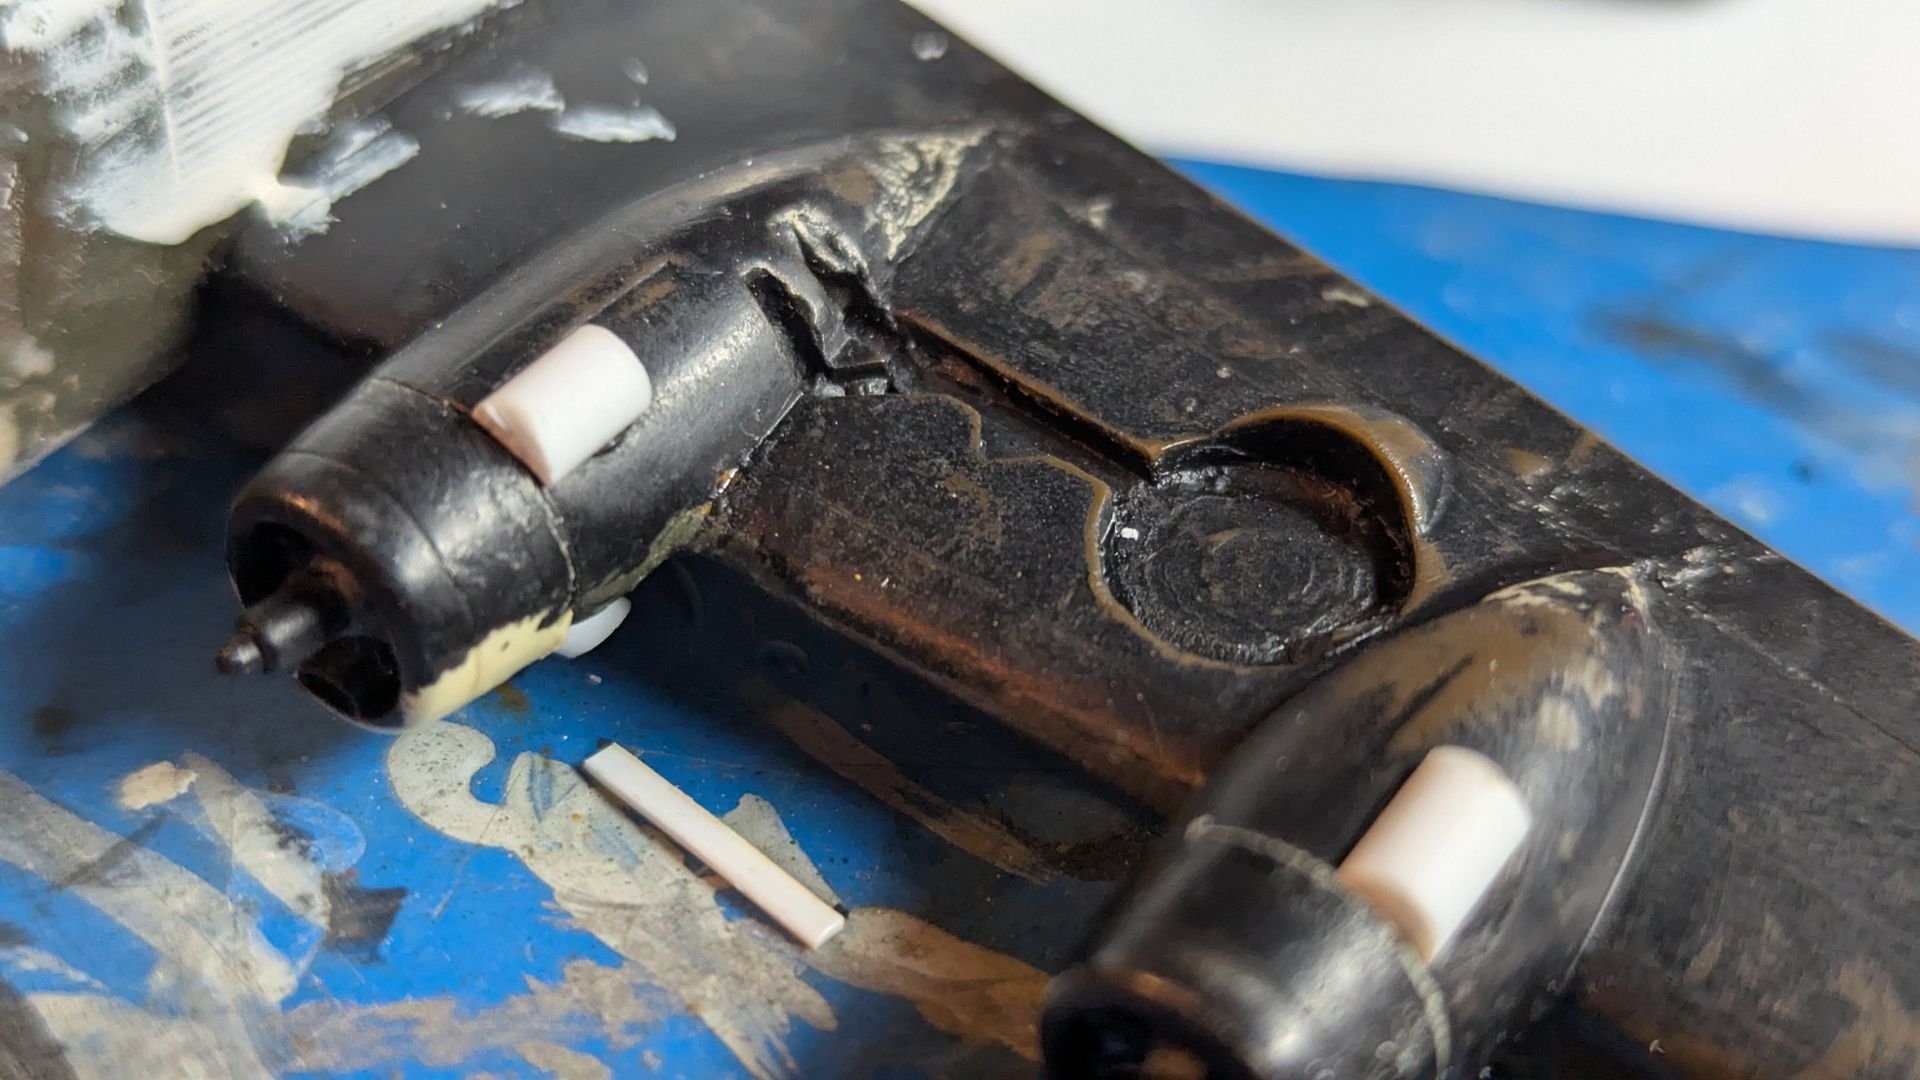
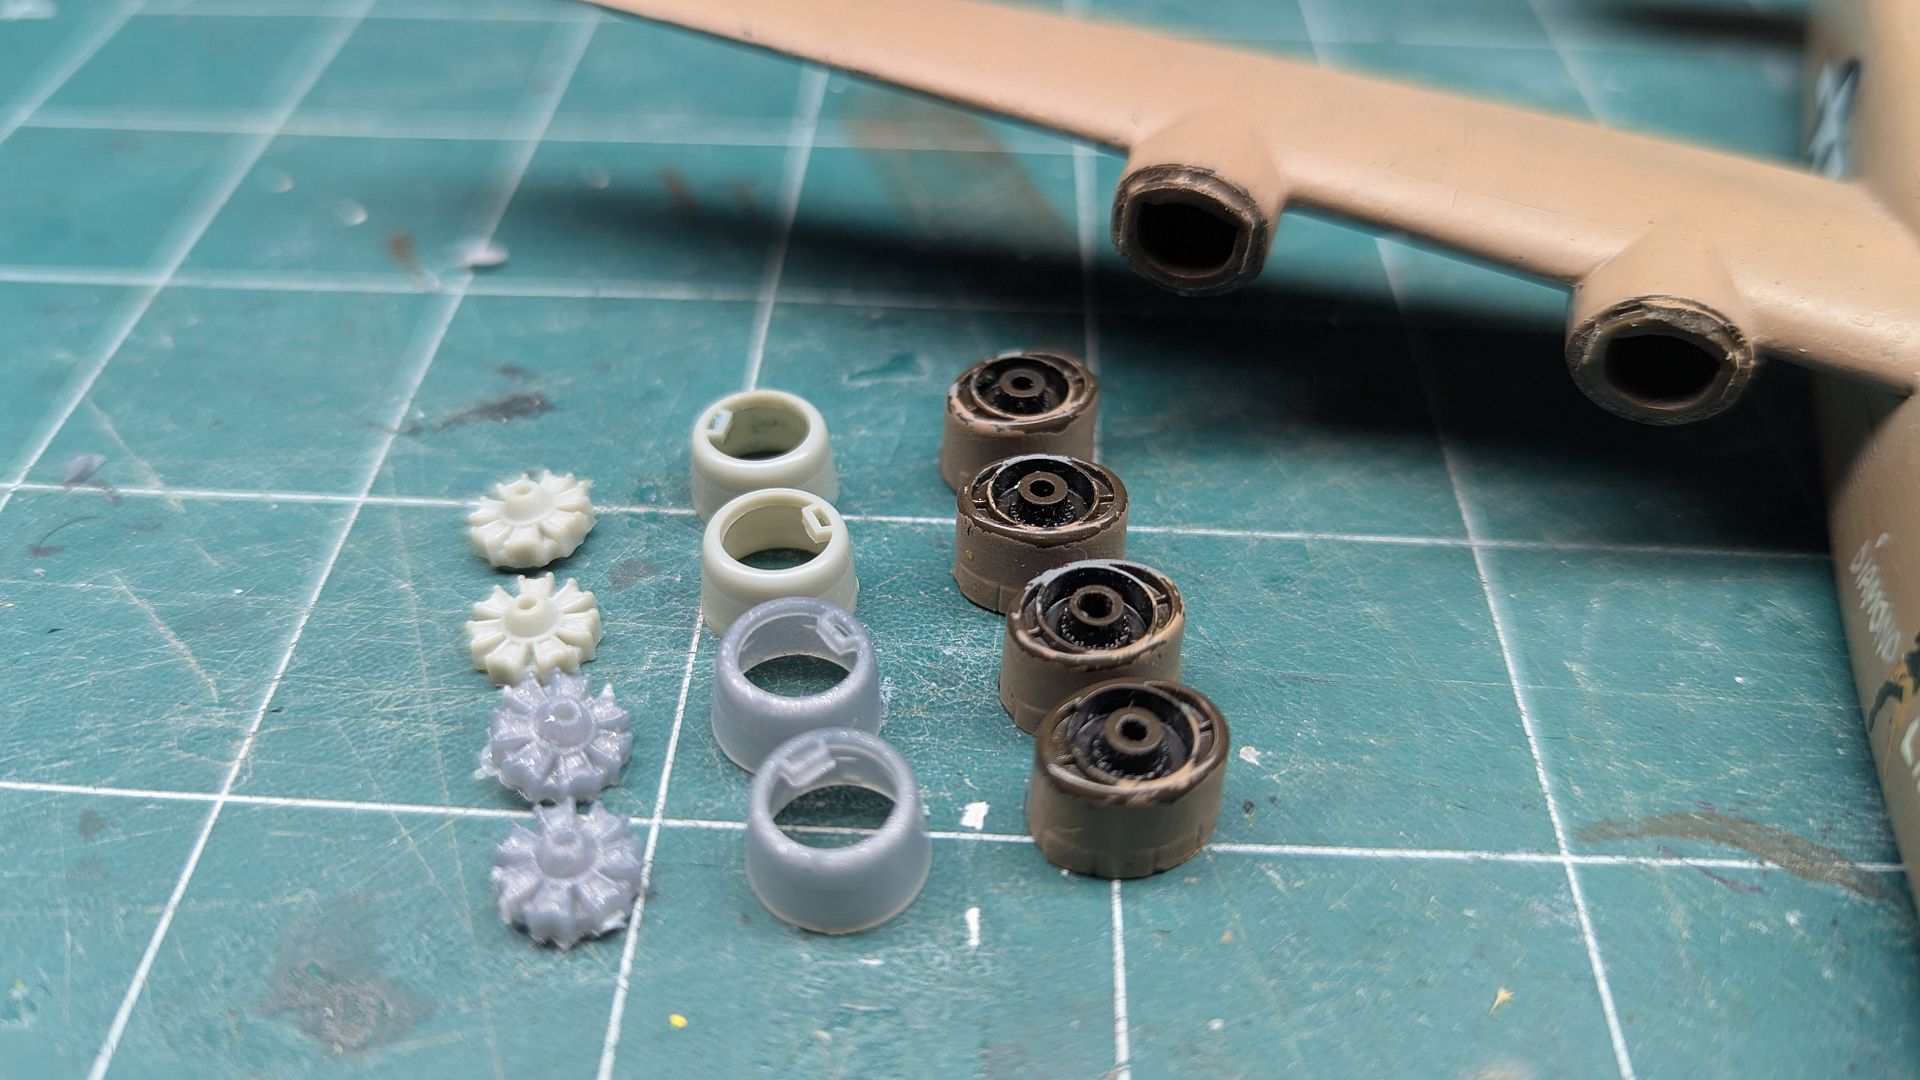
Here are the original engines along with the donor PBY engines and cowlings from two Minicraft PBY kits. Don't worry, both models will have different engines attached to replace these.
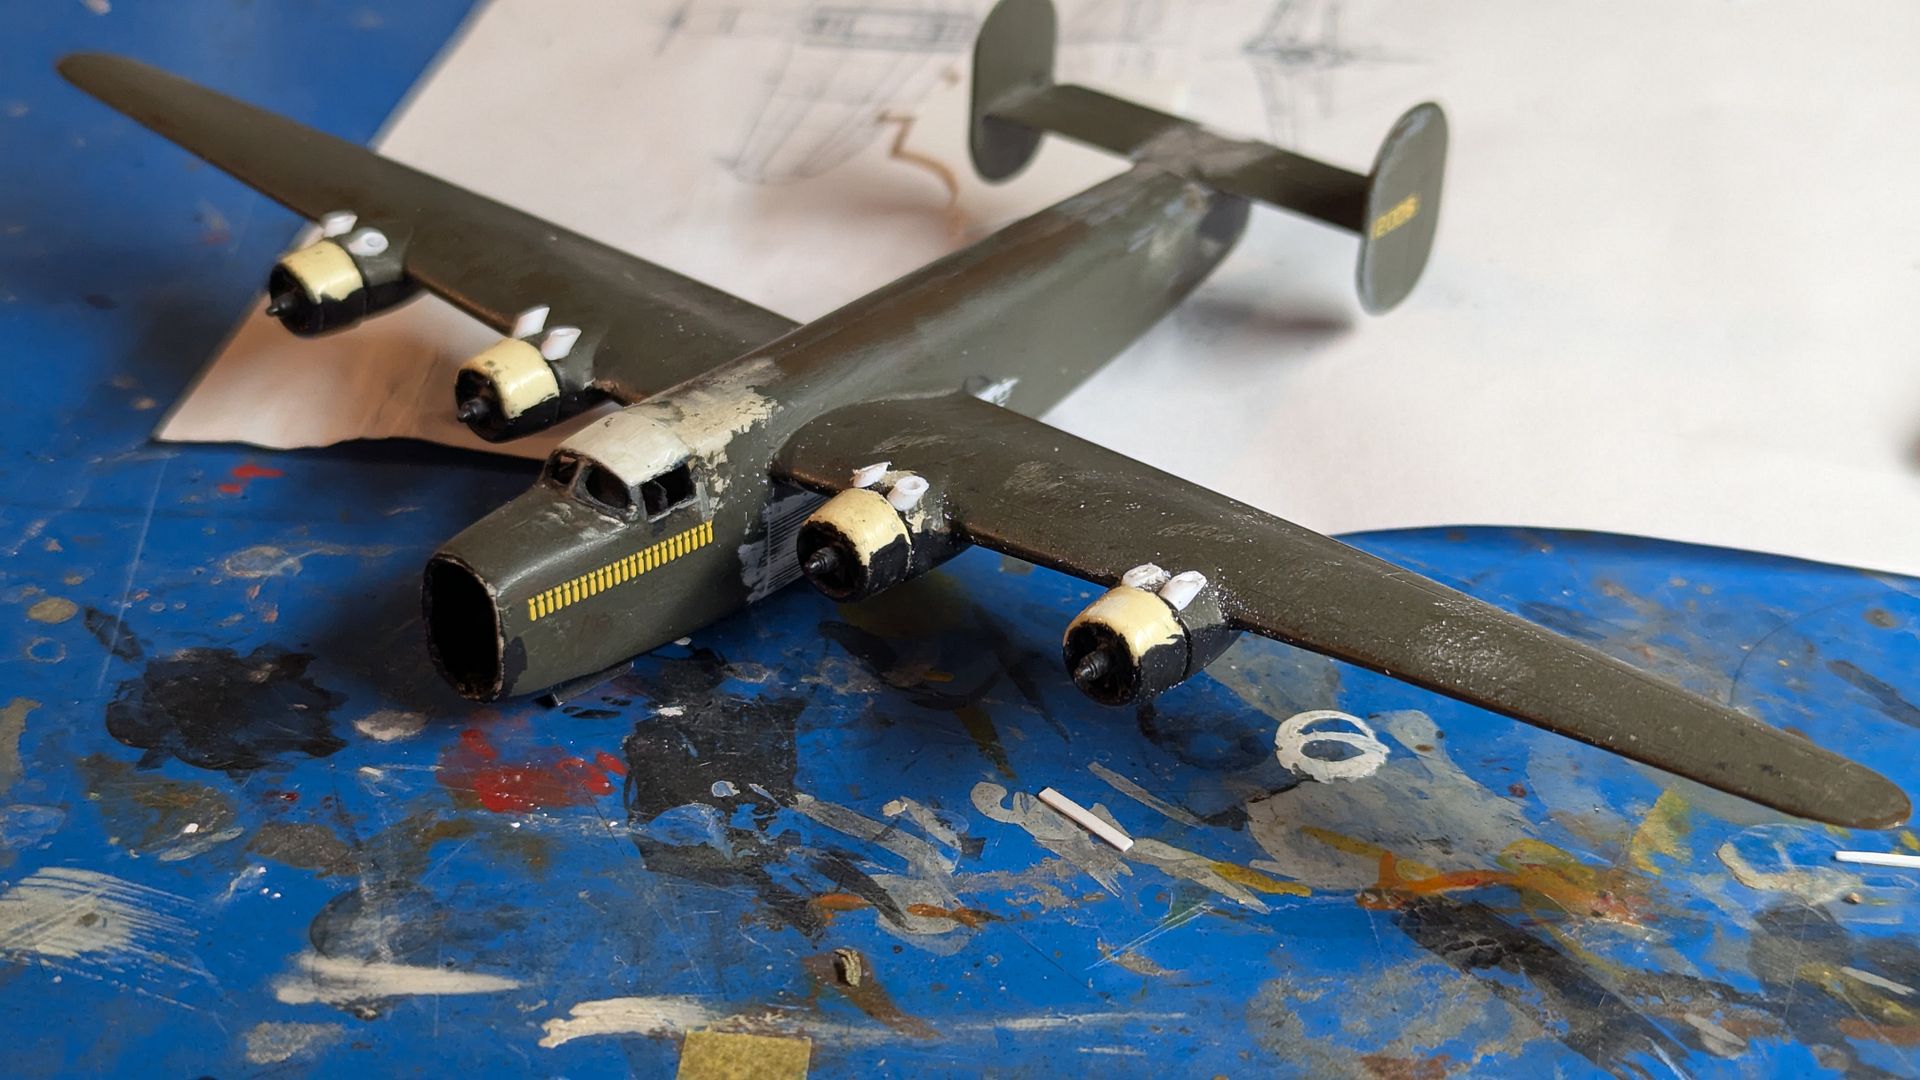
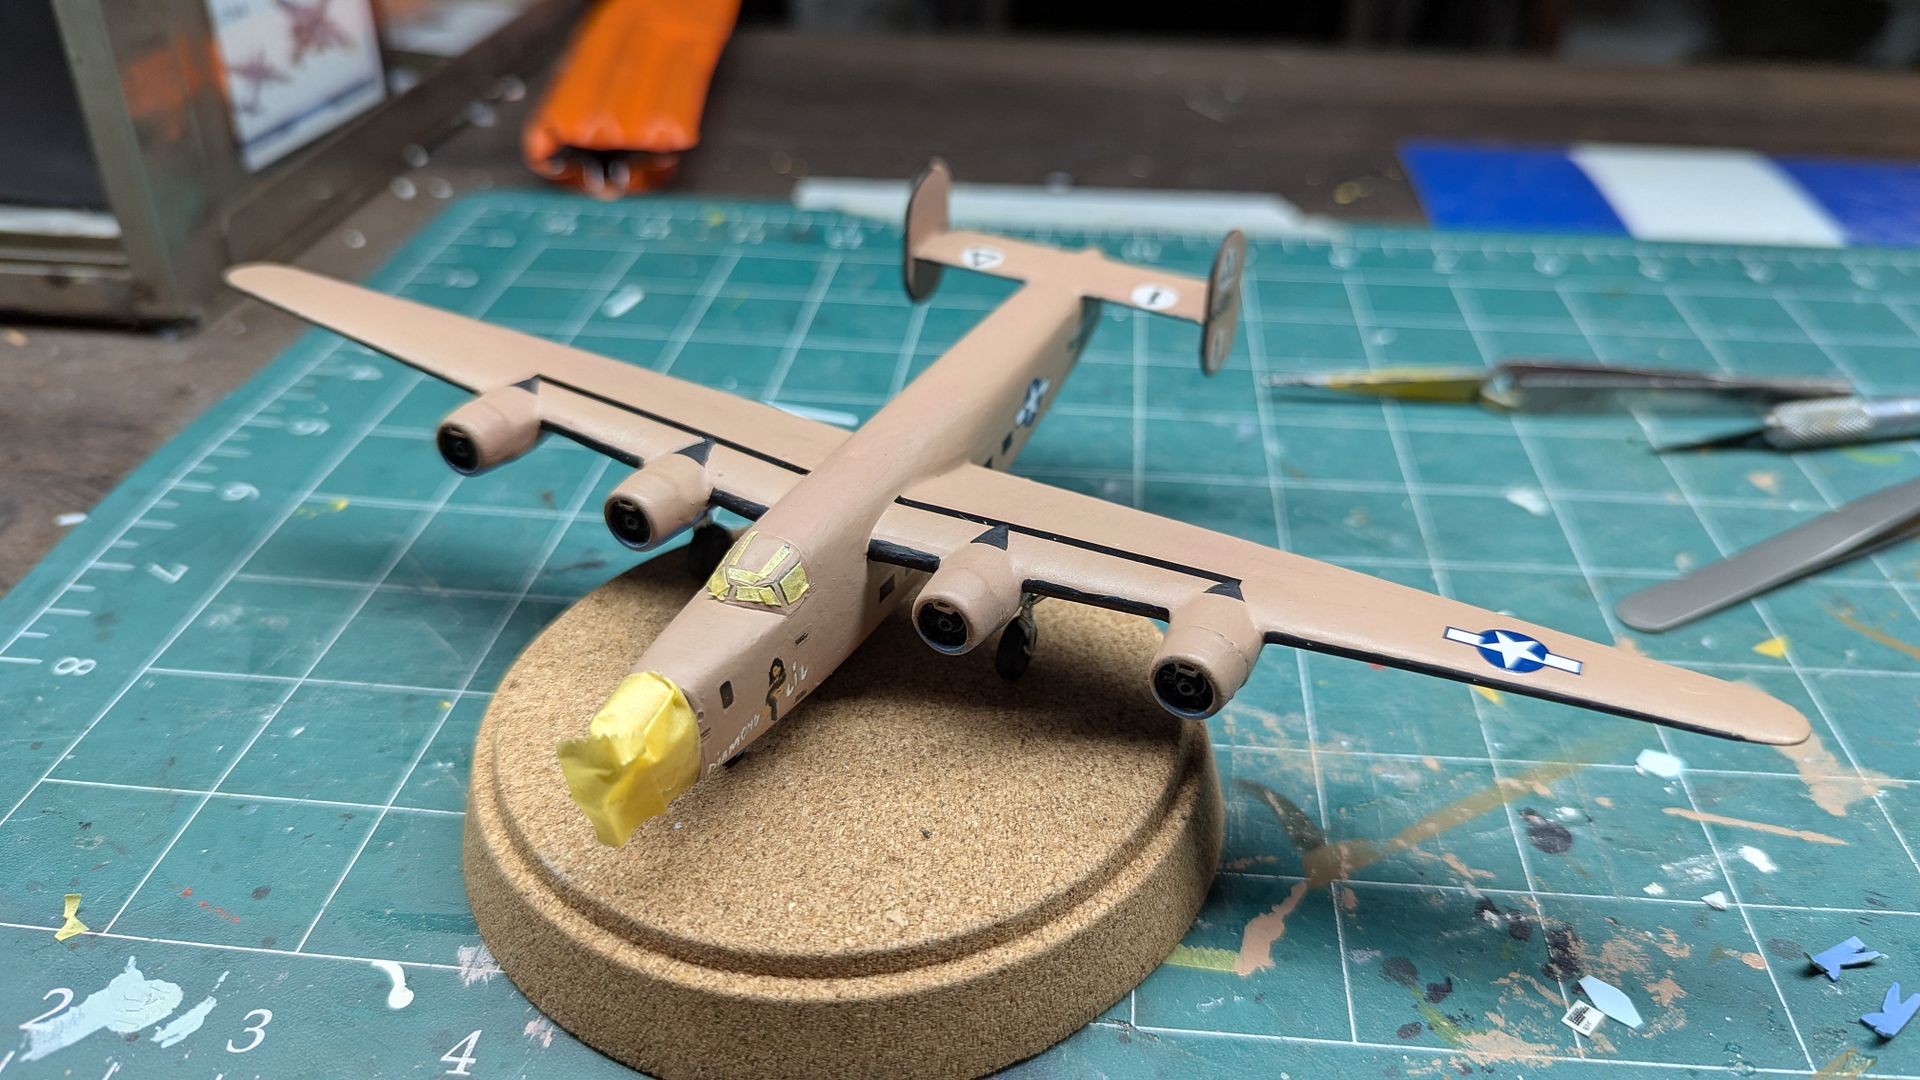
Alot of putty and sanding was required. I sanded off the turbo-super chargers, and continued on the nacelle to a tapered point like the original. I also had to fill in the bomb bay and sanded it smooth.
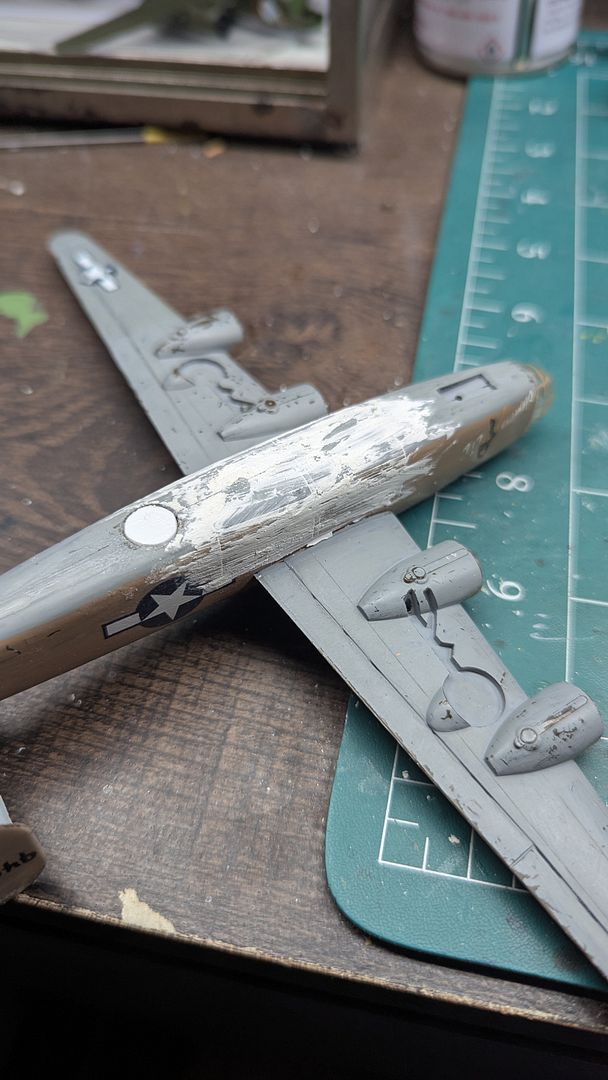
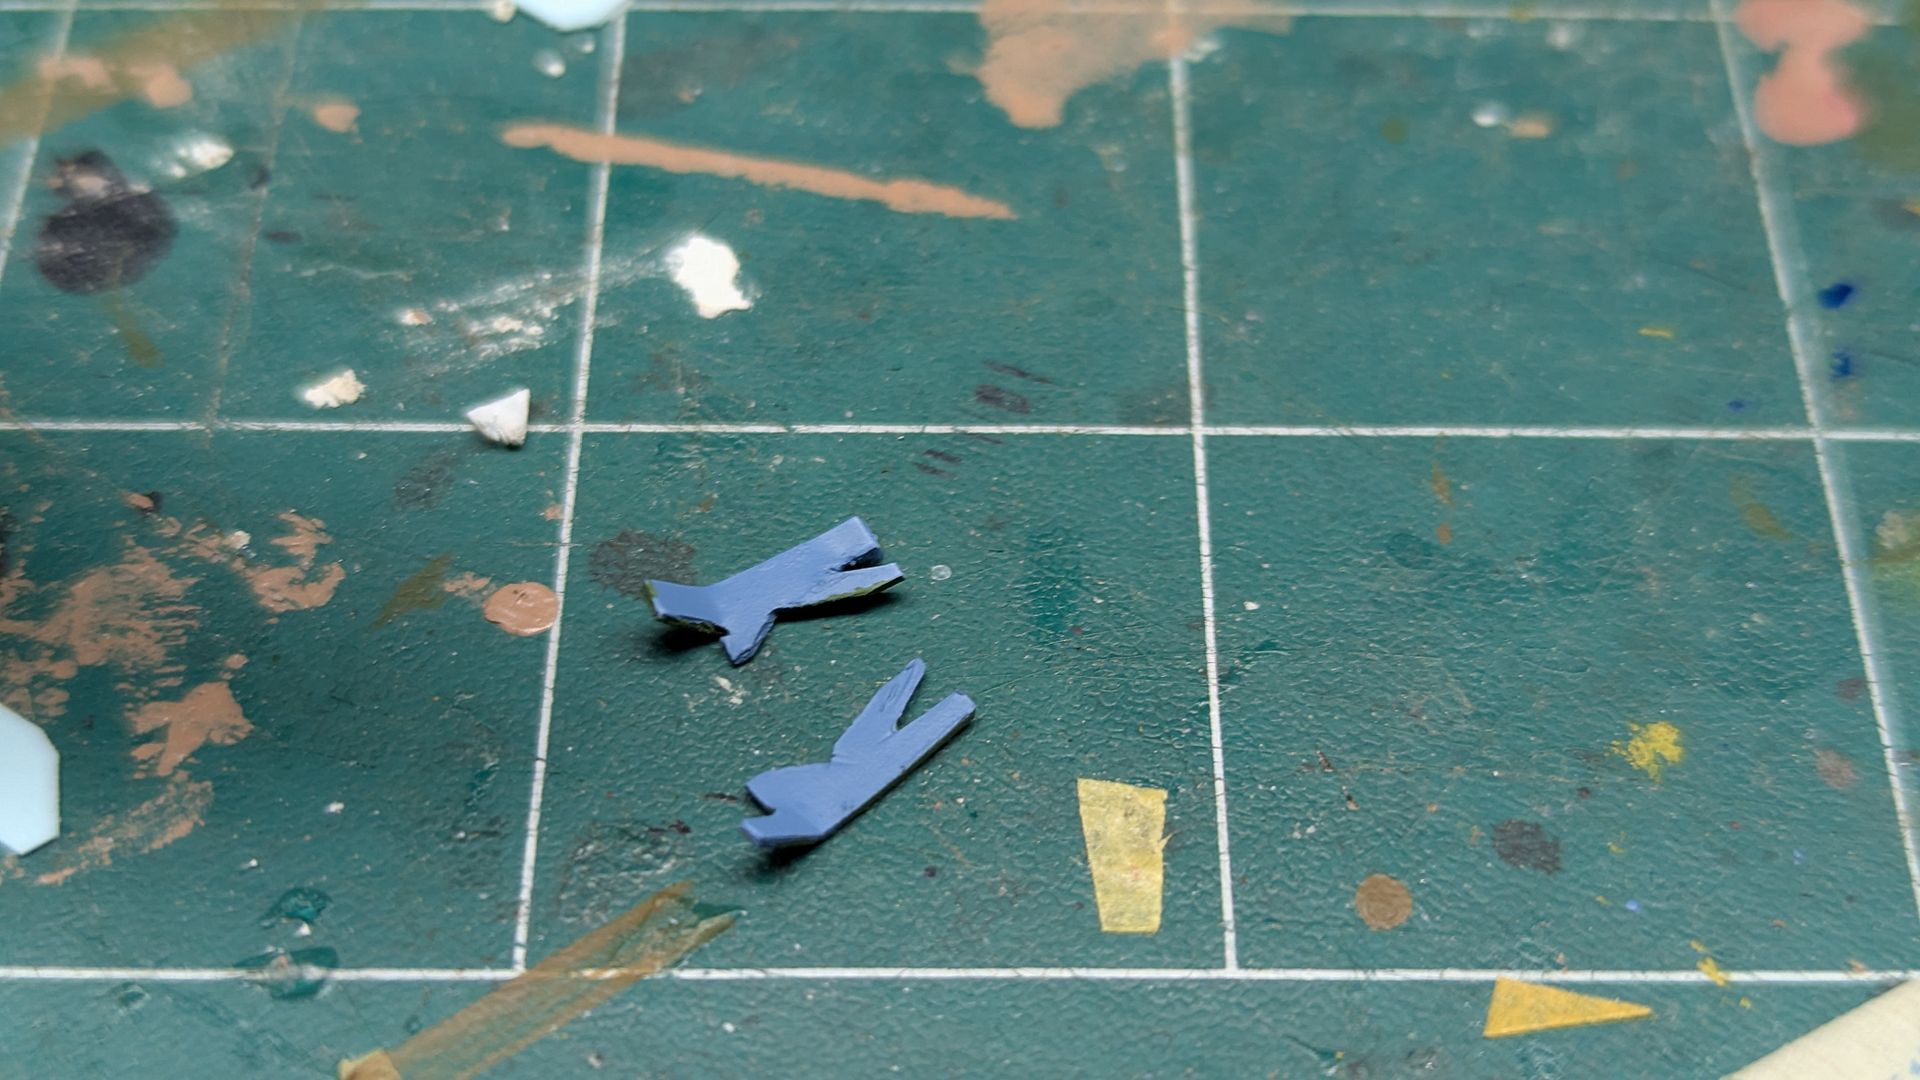
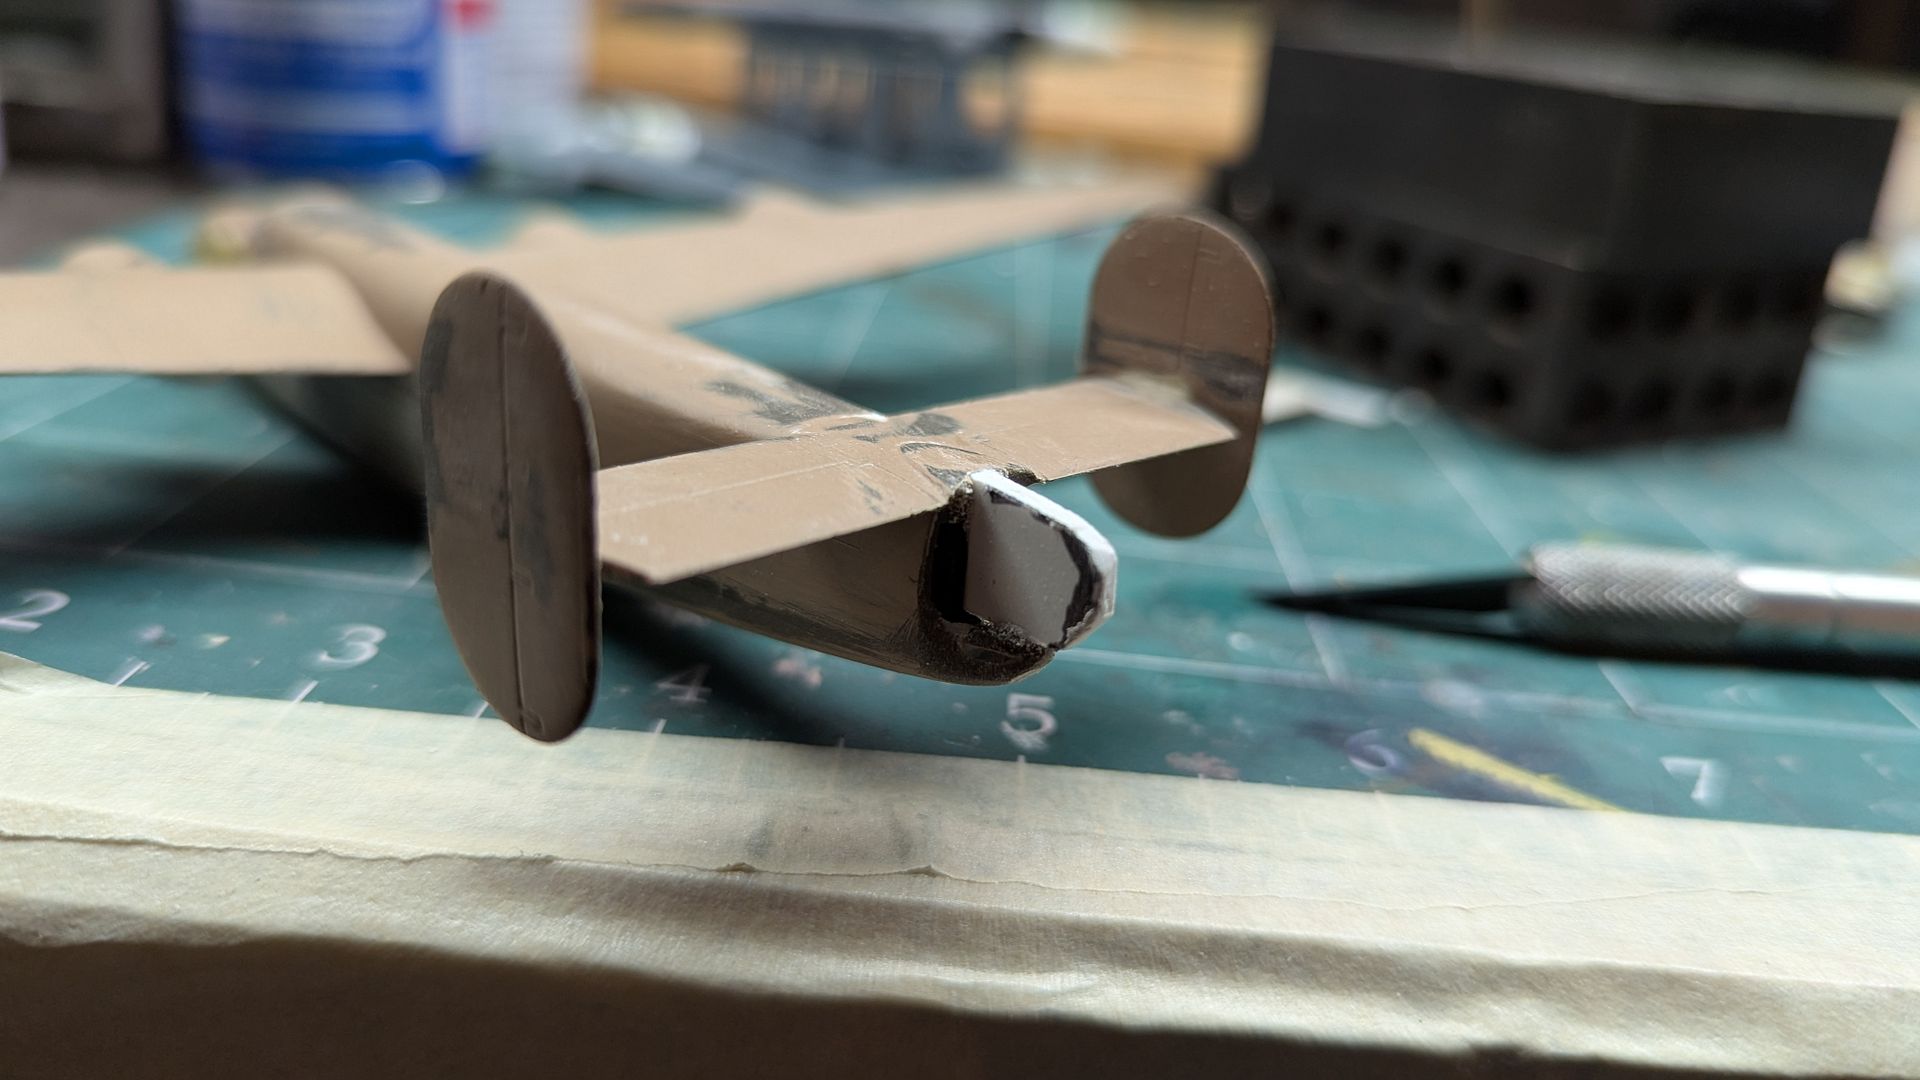
I also cut out a plastic shape that was similar to the "plug" that was made for the original plane and bolted onto the back where the tail gunner position was originally. I then added putty and sanded. I'm still sanding and shaping this tail piece down as it still seems too big for my liking.
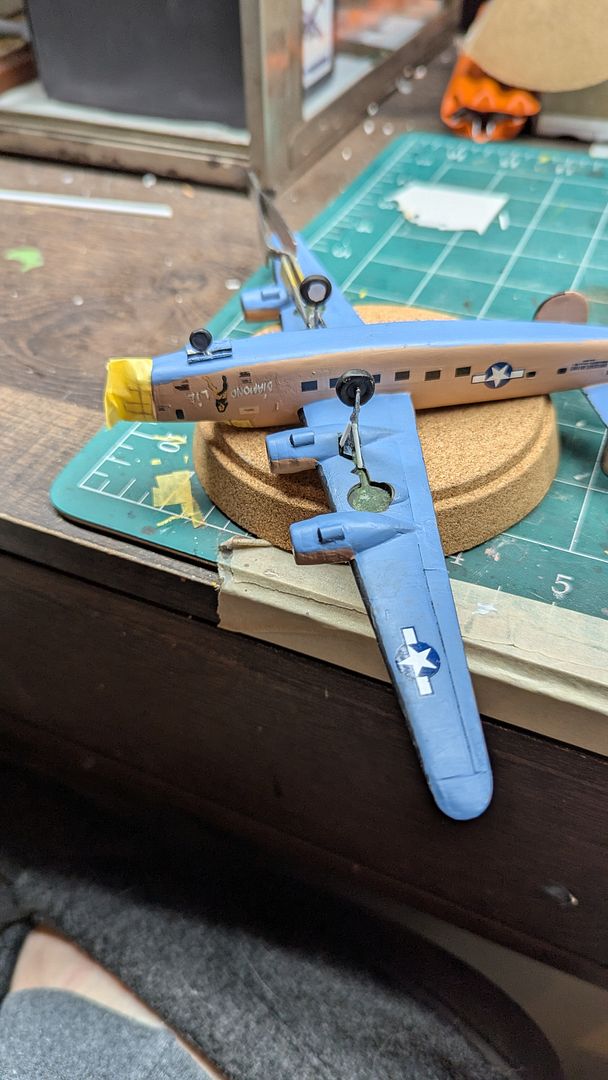
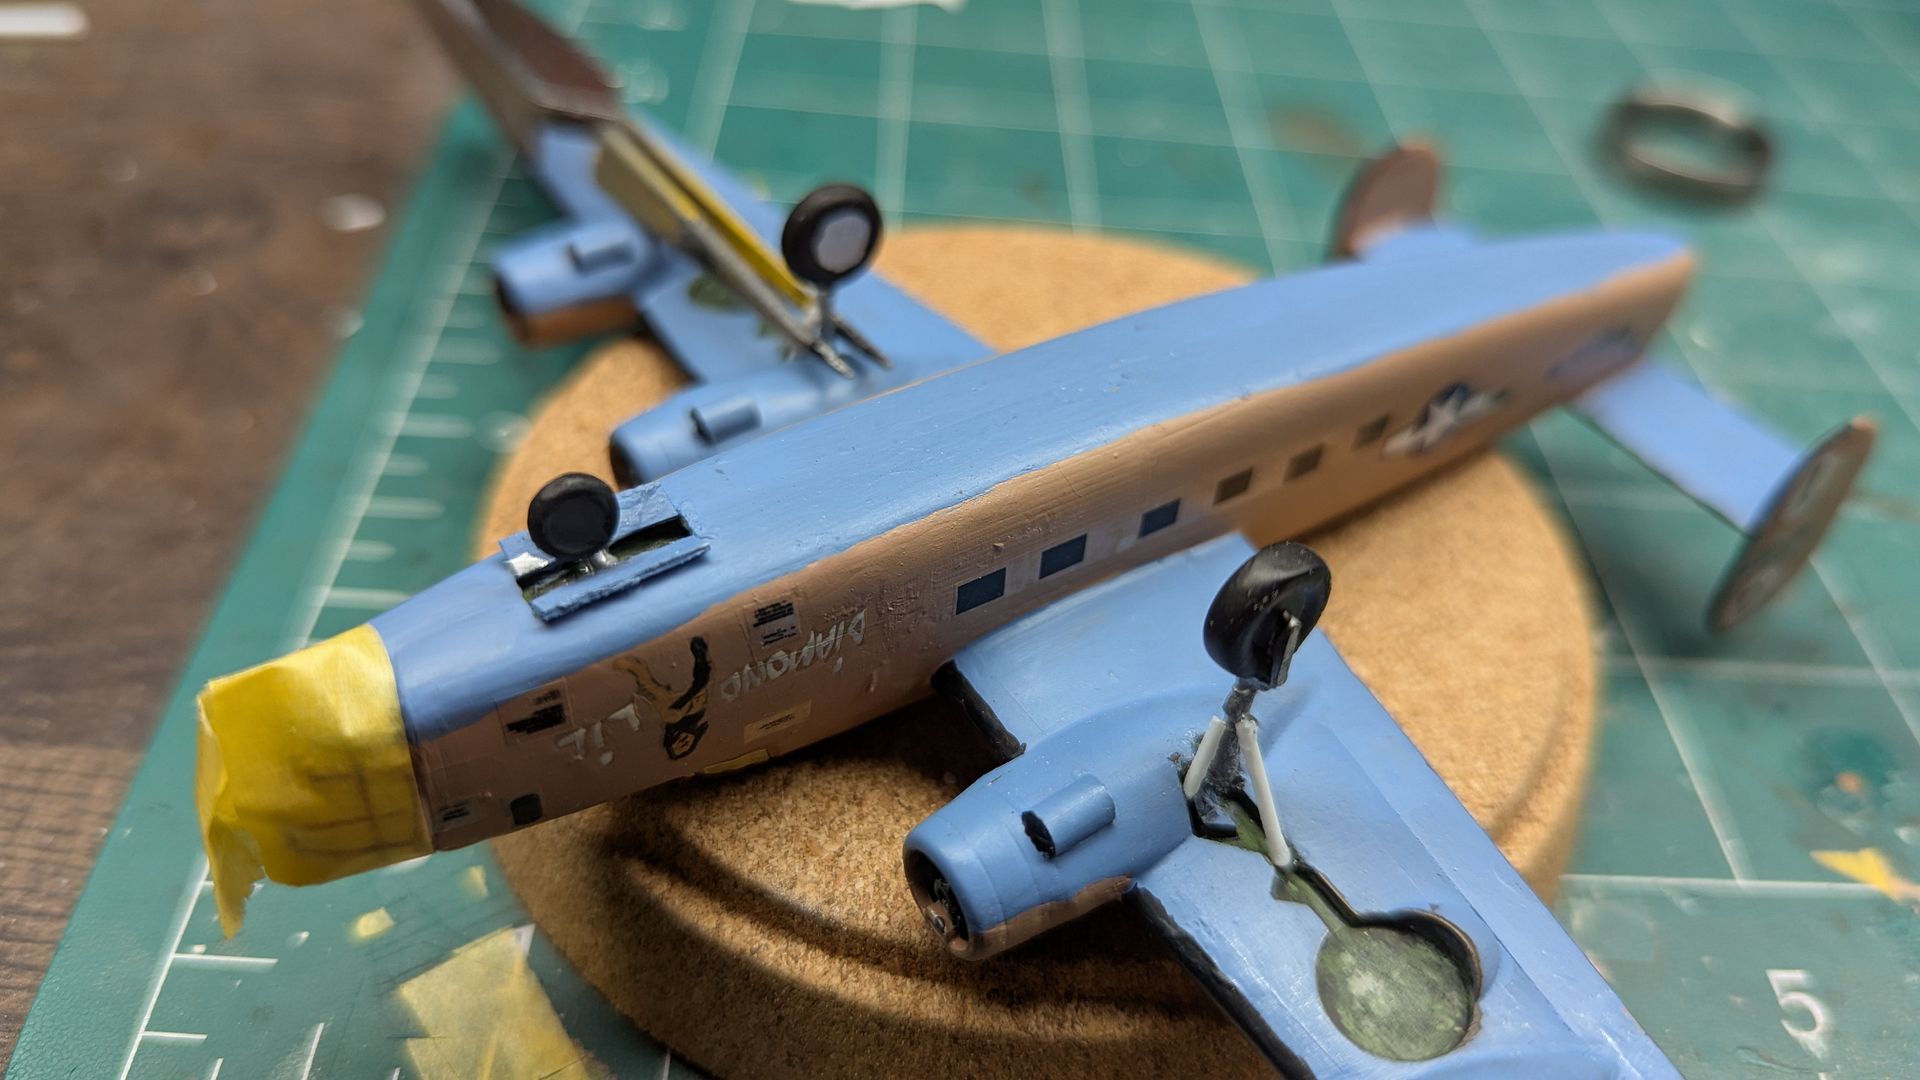
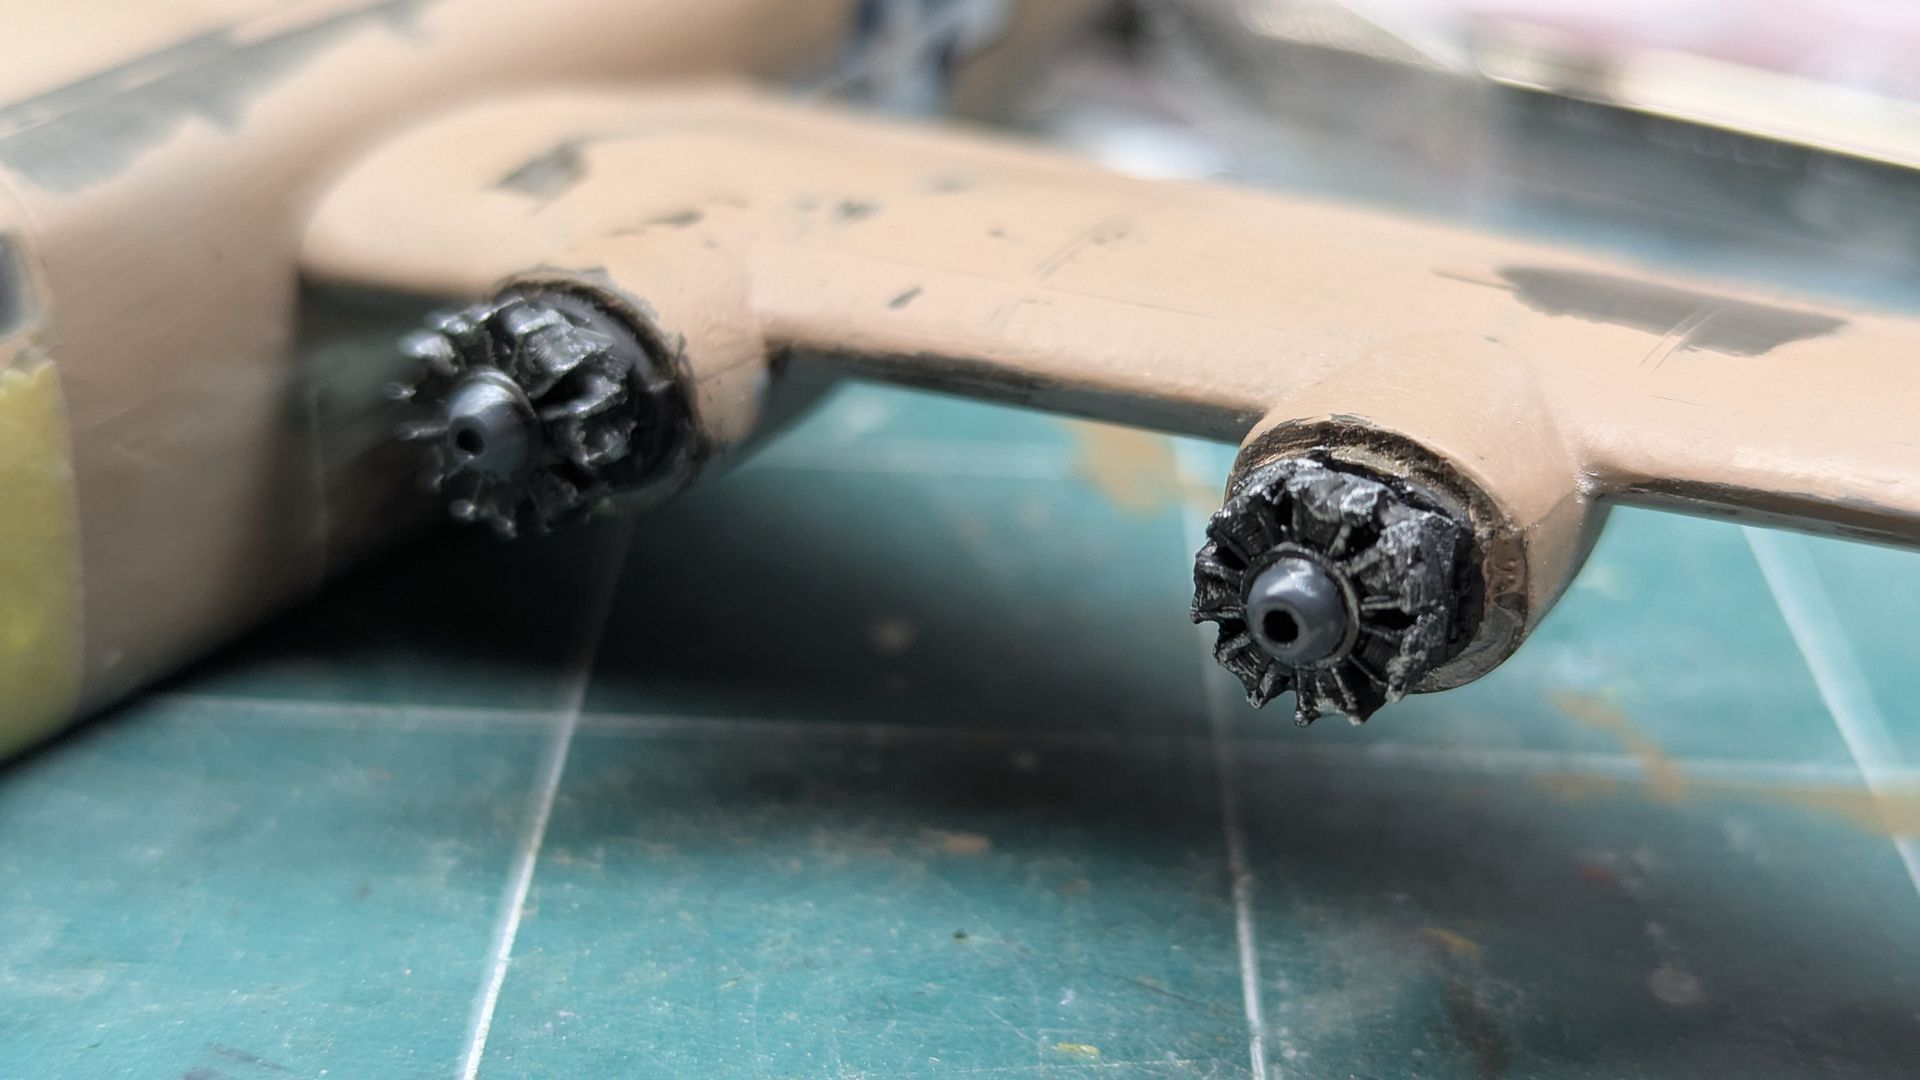
What's great is that the PBY cowlings fit nicely over the original inner lip for the original 24 engines. The one problem is that the PBY engines are recessed too much and need a spacer. So I added a little but of styrene.
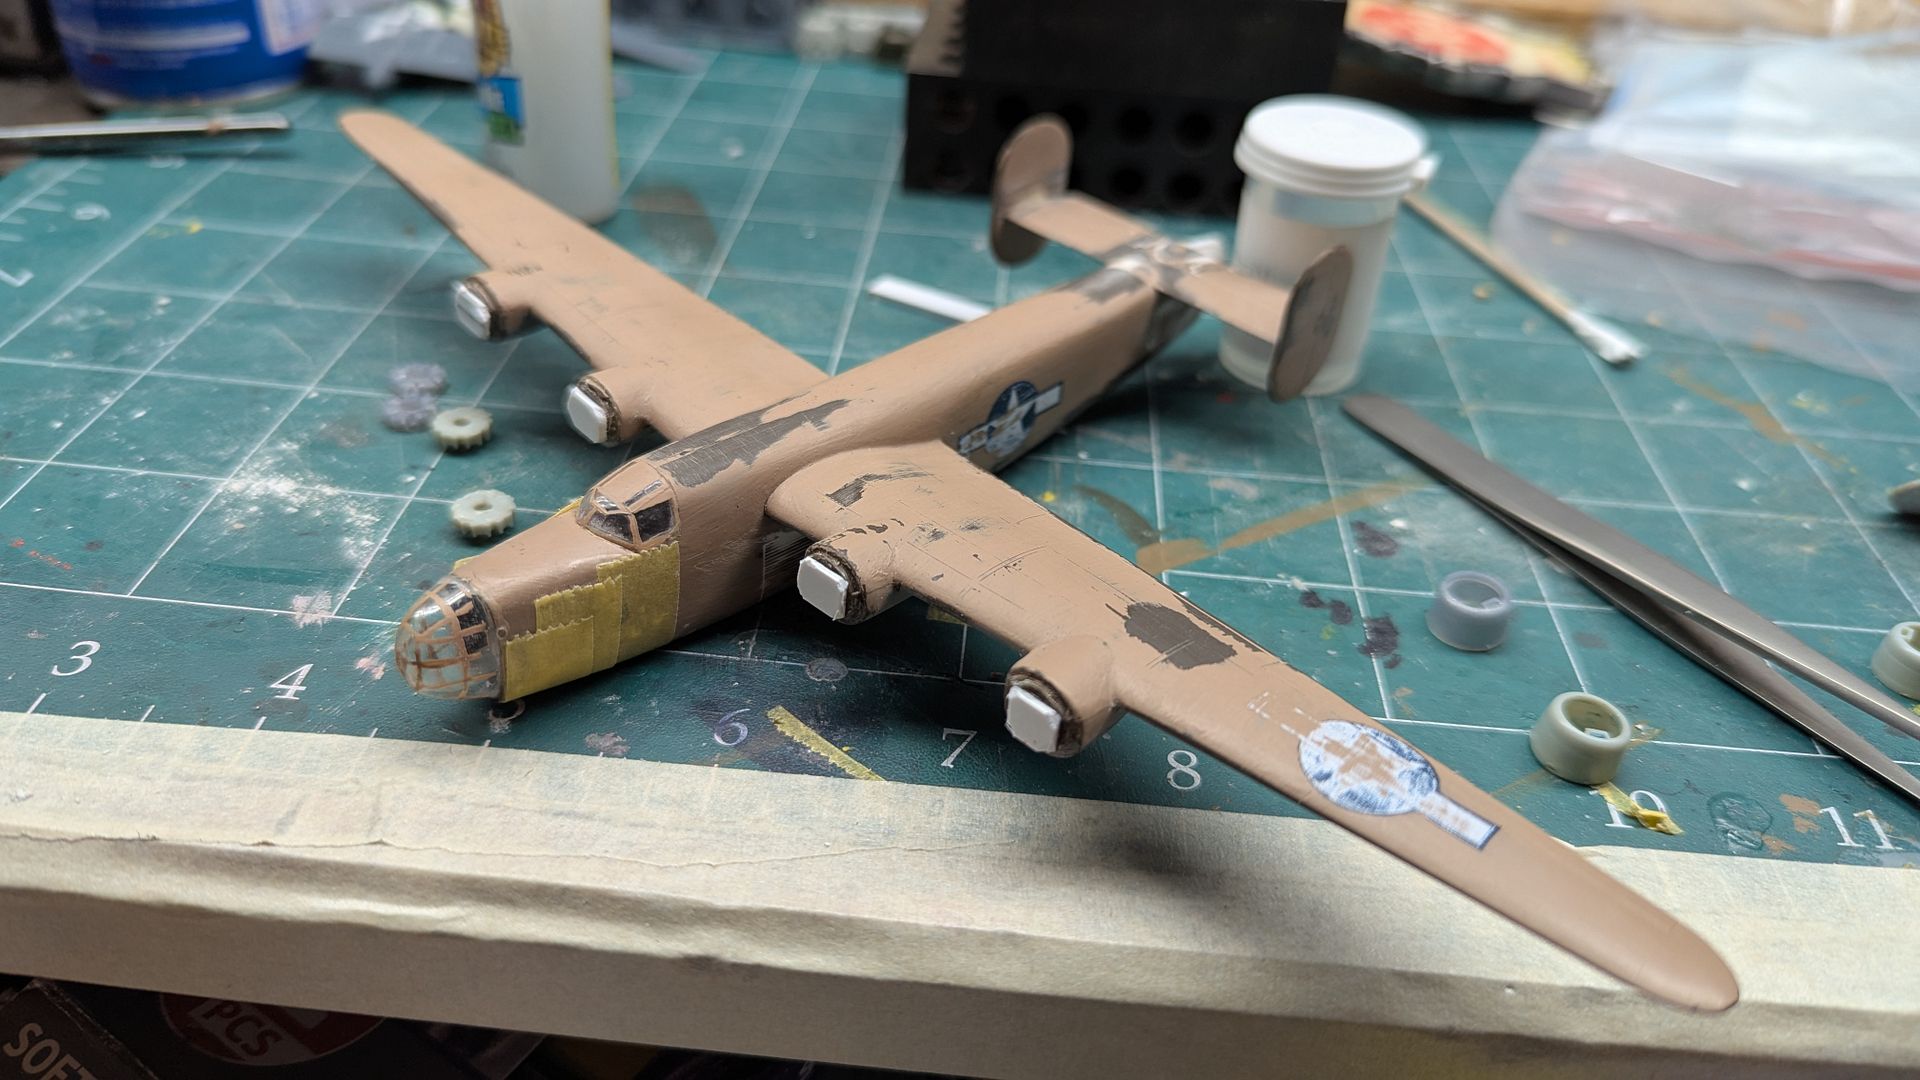
I continued to dry fit the PBY cowlings to ensure they would fit on without an issue. I then glued the engines on and then fitted the cowlings over them to ensure they were in the right location. I then removed the cowlings without budging the engines out of place. Once they were glued in place, I went over with black, grey for the nose case, dry brush silver, and black line filler to tone the whole thing down. Here were the reuslts.

And a close up of the engines.
Once the interior green for the inside of the cowlings was dry, I glued them on, puttied, sanded, and was overall happy with the results.
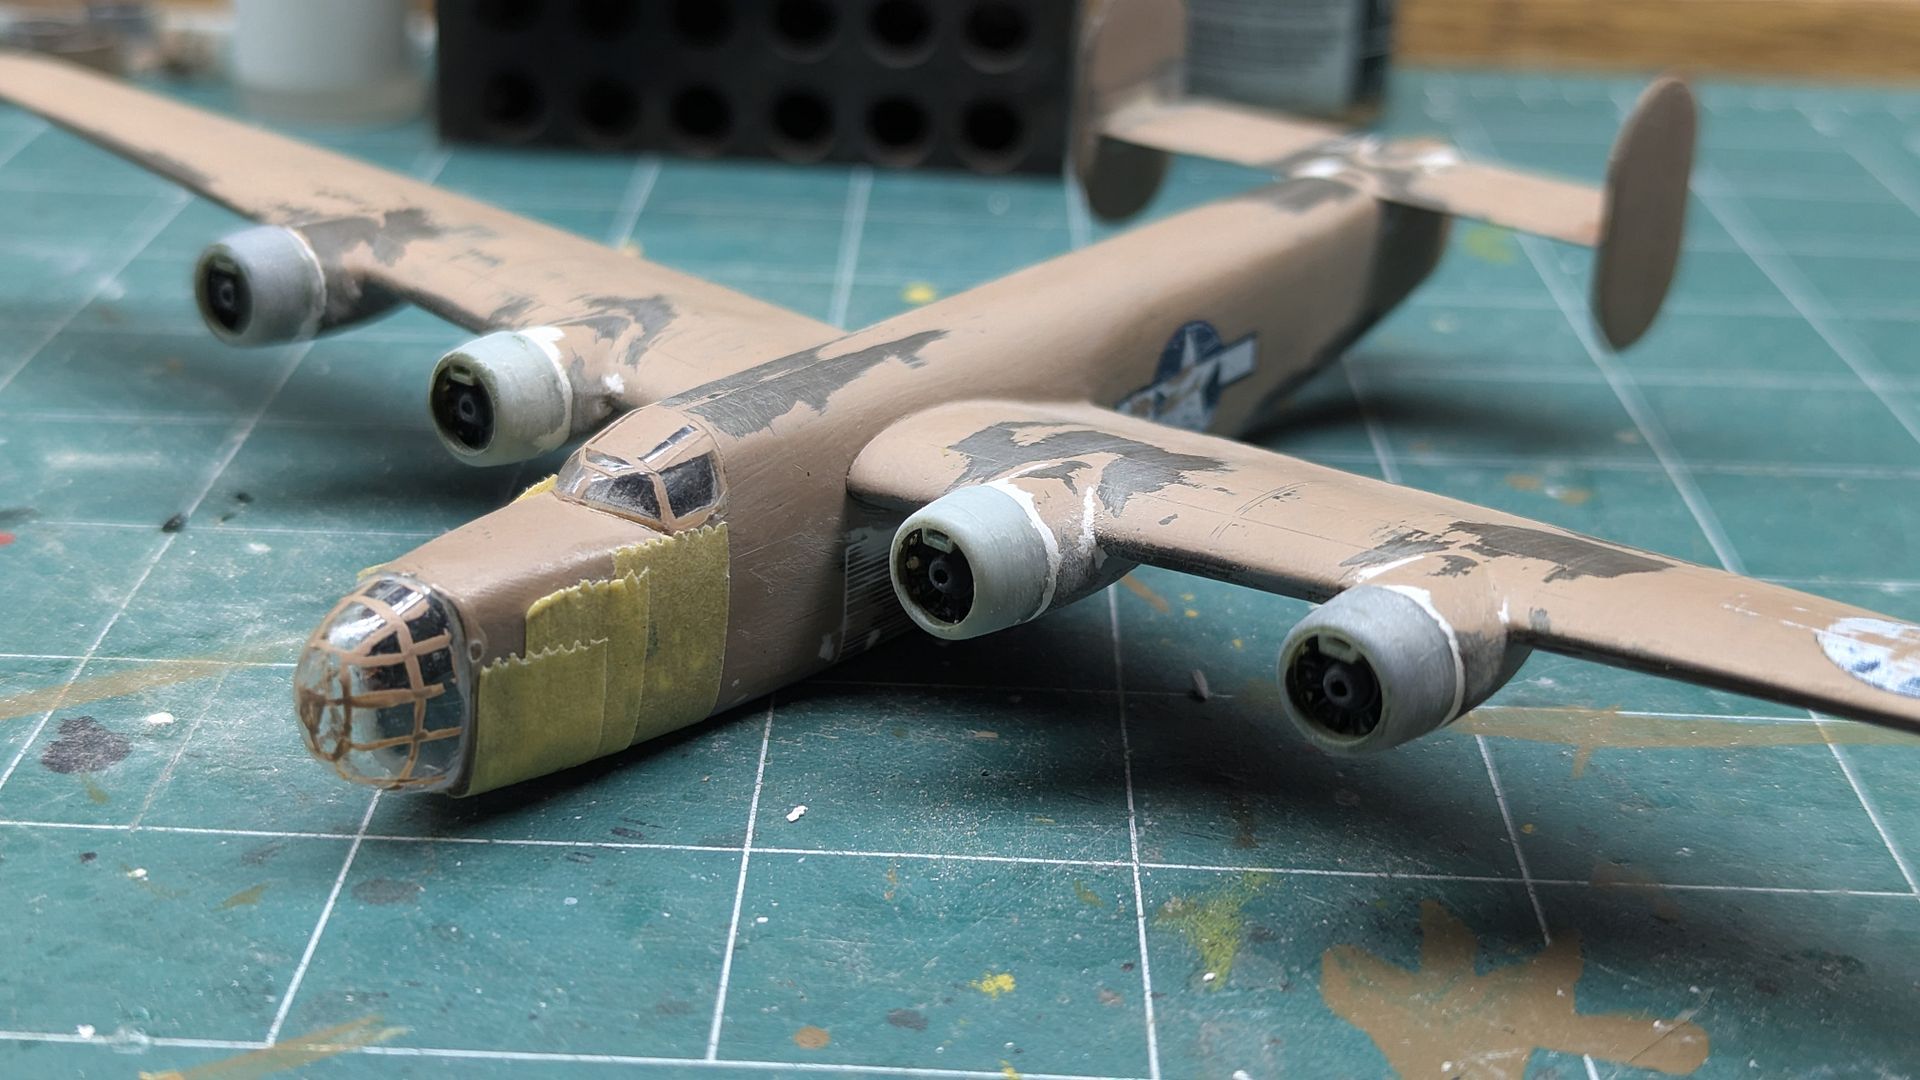
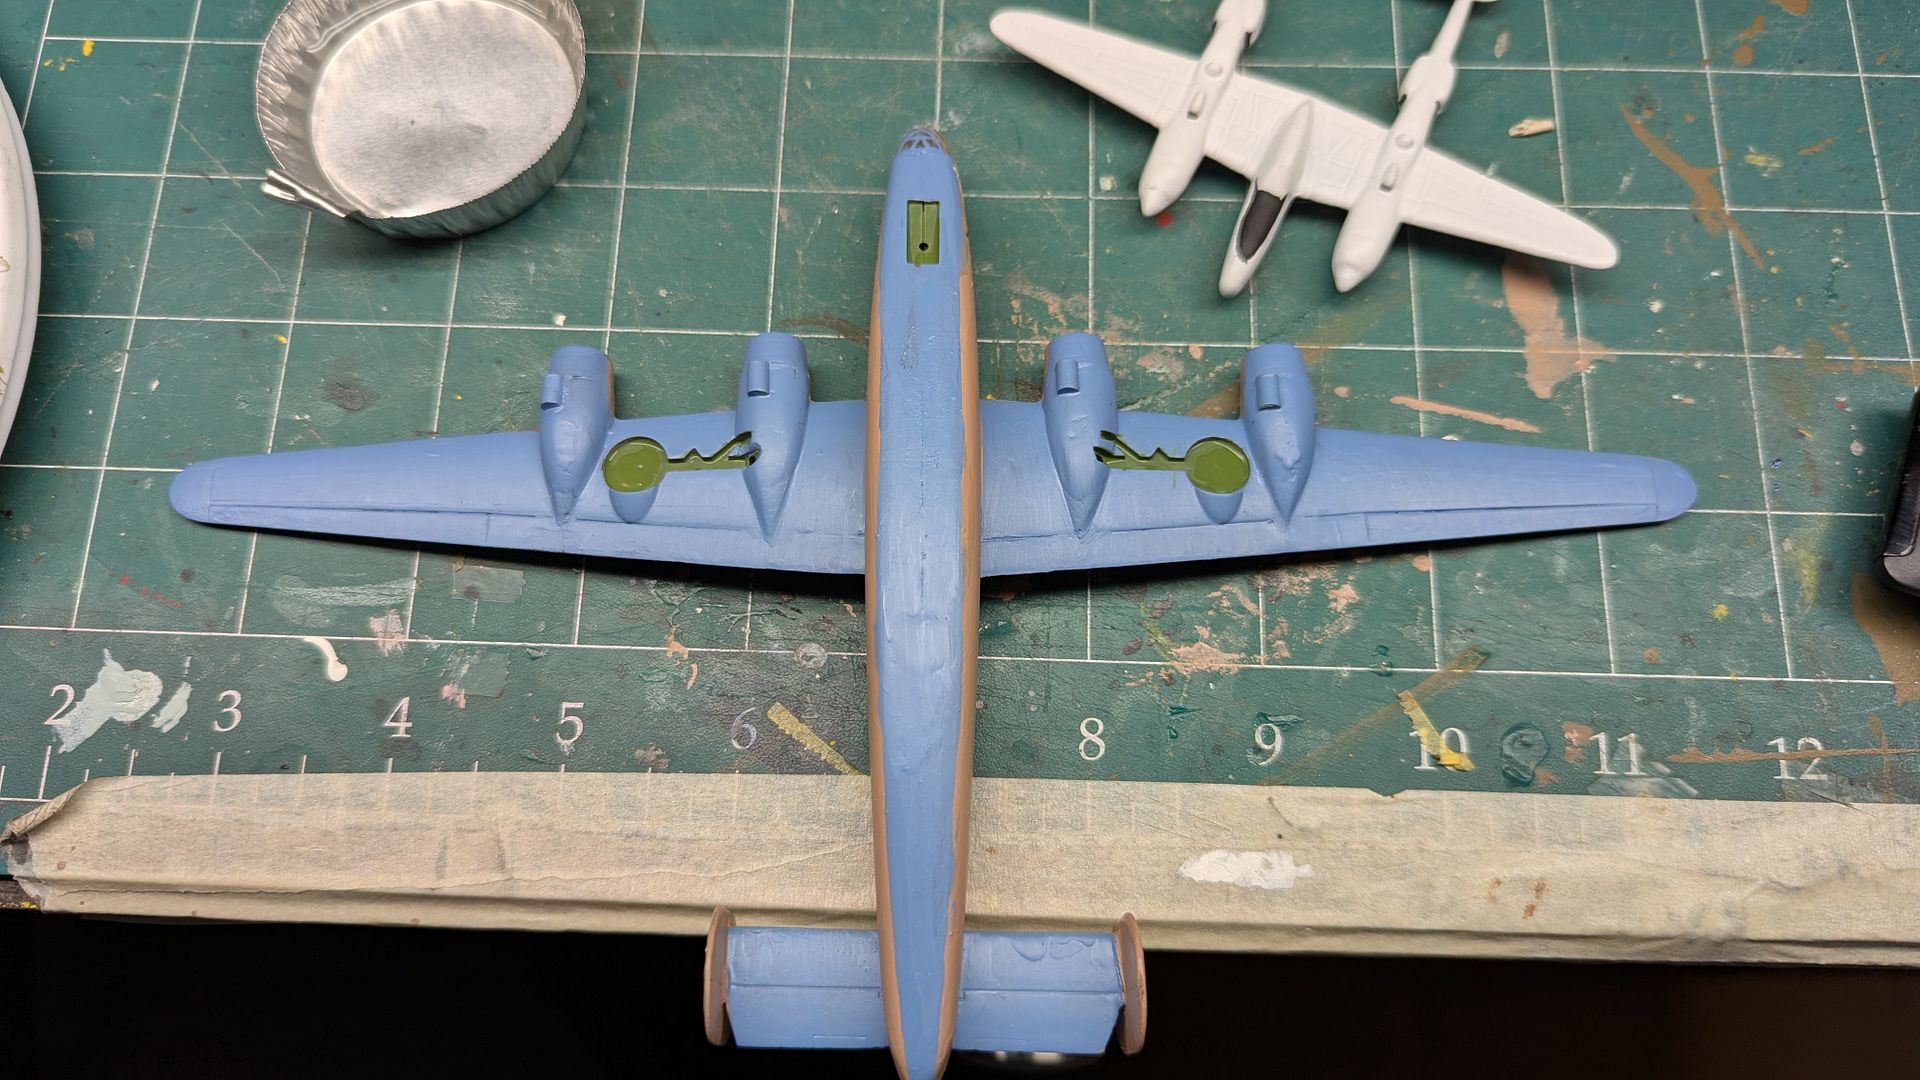
I'm not worried about the decals as the stars will come from an aftermarket sheet, and I now have the know-how how to design and make some decals for myself on the printable sheets on clear and white. This will include all the windows on the fuselage as well. Looking at more and more reference photos, you really start to get an idea of this ancient kit's shortcomings. Namely the glass. Initially my idea was to completely redo the plane and preserve the cockpit glass, greenhouse glass, and nose art to preserve the homemade "charm" of it like so many other example's my father painted for me back in the day (i.e. P-51B Shangri-La, FG-1D Skyboss, etc.) Right now I'm thinking of using a spare canopy from the Cobra PB4Y set and maybe a Minicraft D model greenhouse glass (in case anyone out there has one and is not using it). Otherwise maybe I'll try and make my own again.
So far this whole experience has been a fairly pleasant and quick one. Not to mention familiar... I wonder why? Perhaps because (as you fine folks know) I had already done all this before...
 "Ole 927"
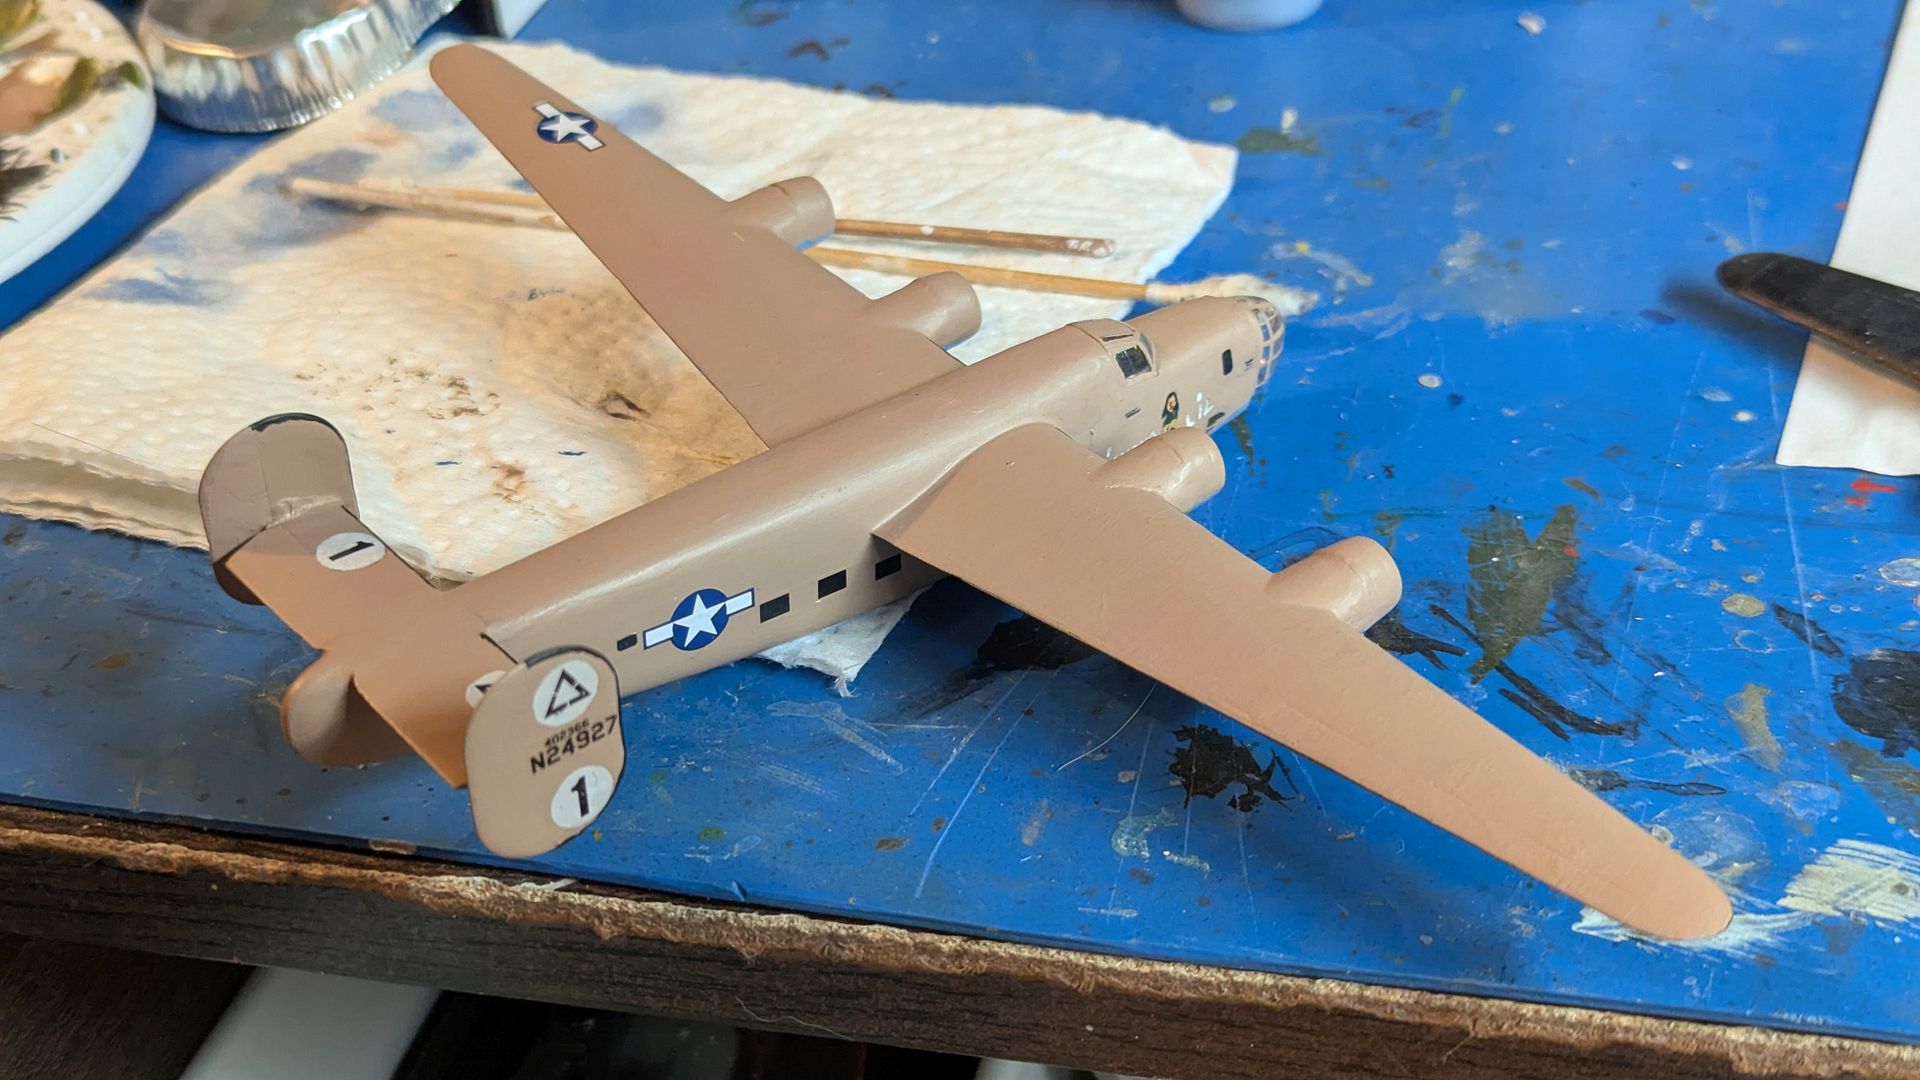
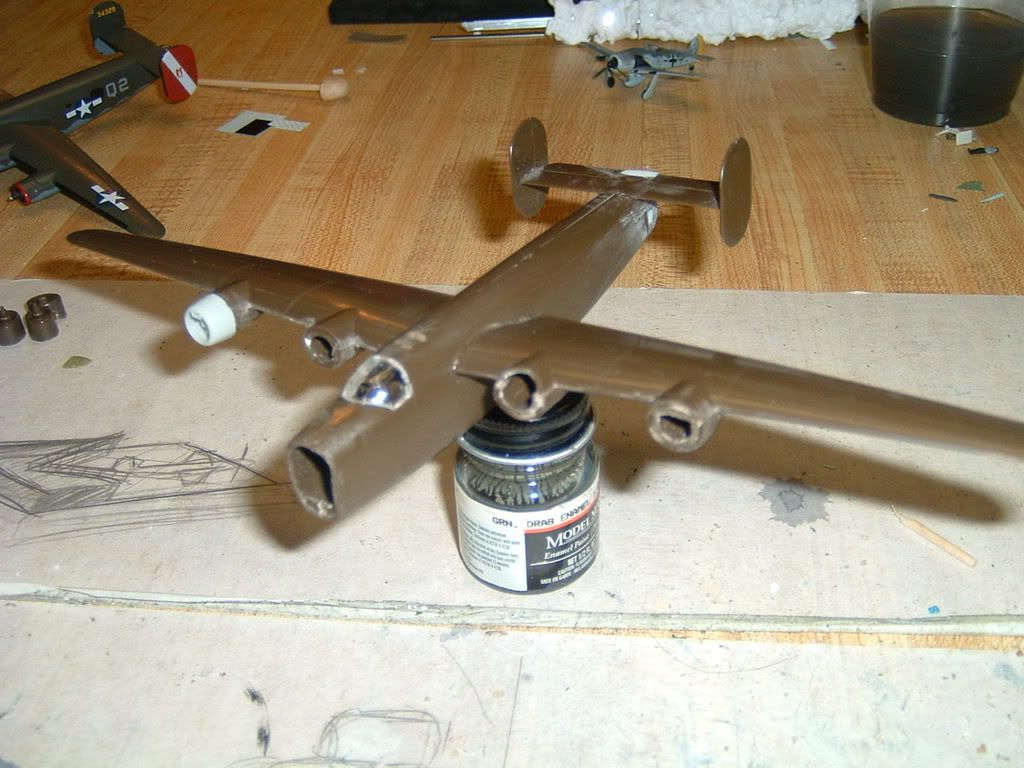
Recap: I started with a standard Crown/Minicraft B-24J. I had a modeling associate cast four new PBY engines and cowlings for me, since these are the engines that can be found on the B-24A. I used the tail turret, turned it around and pushed it farther into the fuselage and glued it into position. I then puttied and sanded it smooth as the original tail gunner position does not extend out from under the tail really. I did the same process with the engines and nacelles as described above, along with making my own flight deck framework. As you can see, this model as well has been stagnant and half-finished for more than a few years now. And maybe (finally) now I will have the motivation to complete it alongside itself.
This is the only decent shot of this model I could find of "Ole-927" from back in the day. (don't know where that old account I had went with those pictures!)
So now you're caught up to where I am! Thanks for looking.