I suppose it is time to get back to doing updates. During the inspection process on
Chuckie the left battery support tray was found to be corroded. The "anti-fouling" paint evidently wasn't applied quite as thickly on this tray versus the two in the right leading edge--they look great. Here are a few photos of the damaged unit after removing it from the wing:
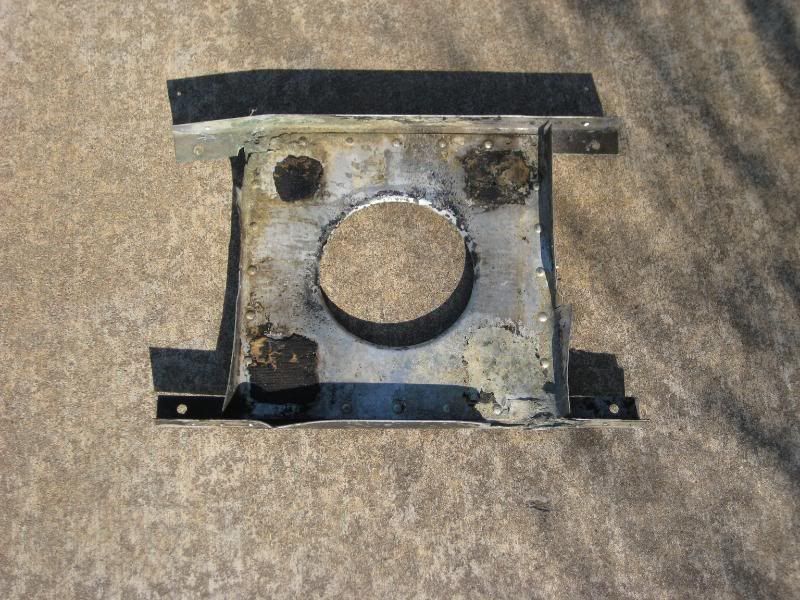
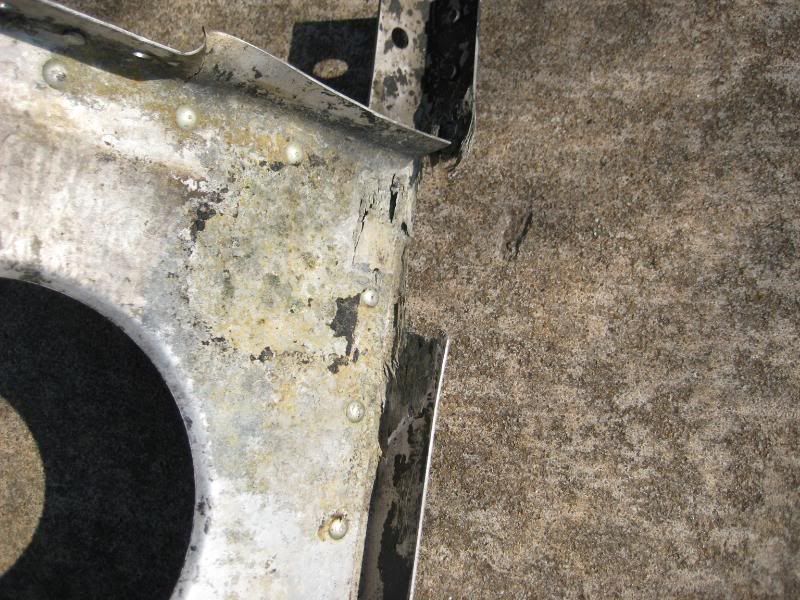
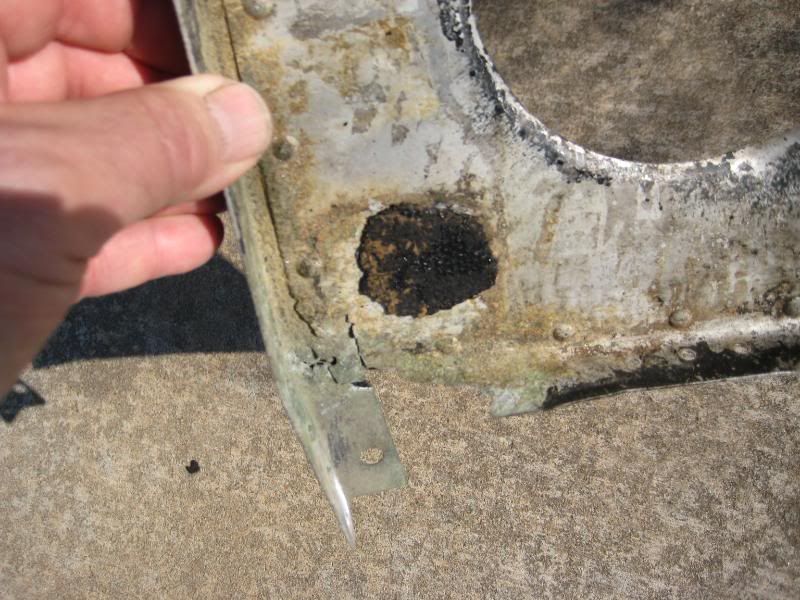
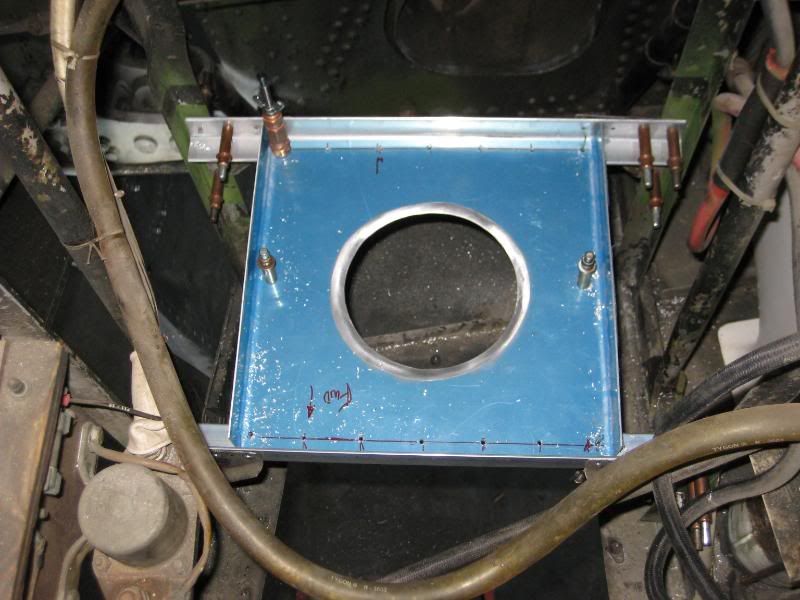
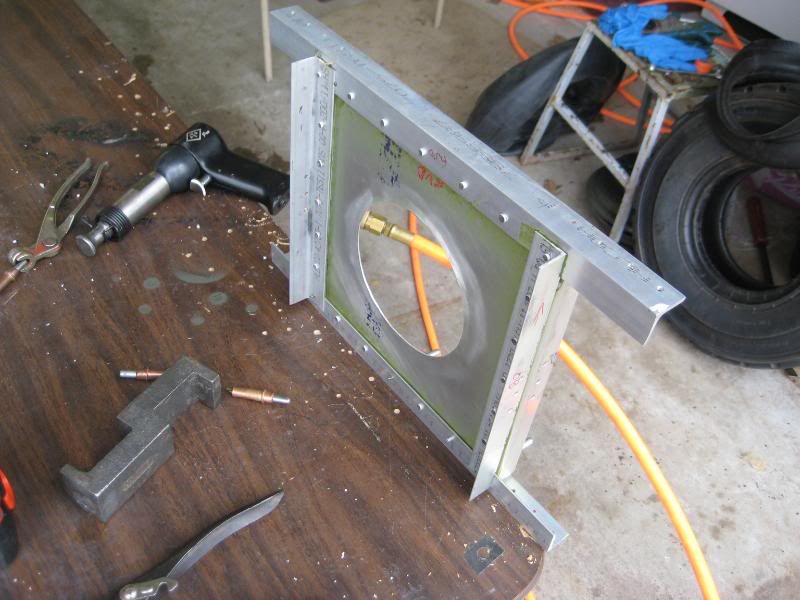
Since there was damage on the base and horizontal supports I decided to manufacture new pieces to replace the corroded parts. Here are the components clecoed in the airplane after I fabbed them.
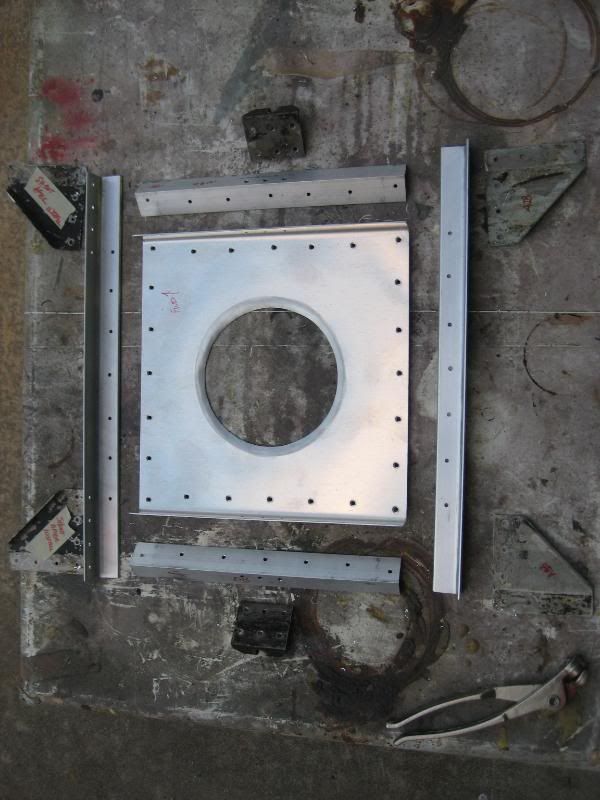
Top view:
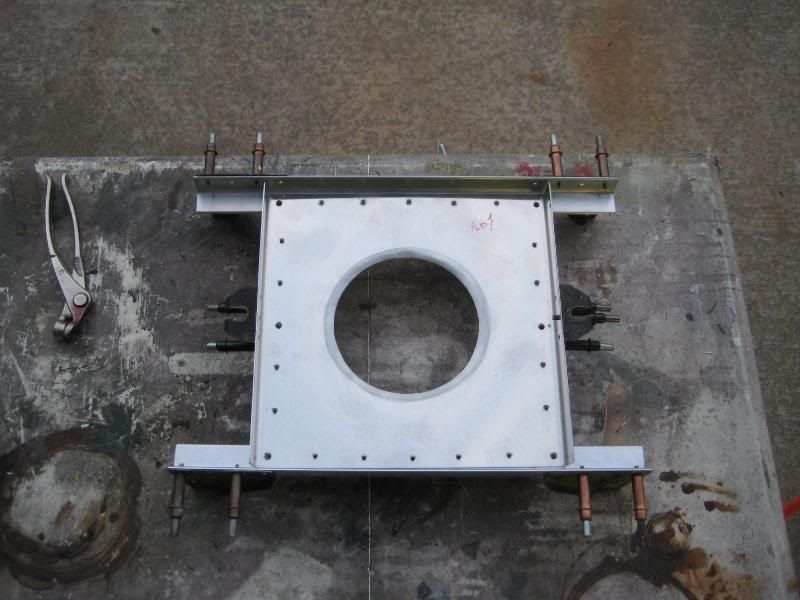
Bottom view:
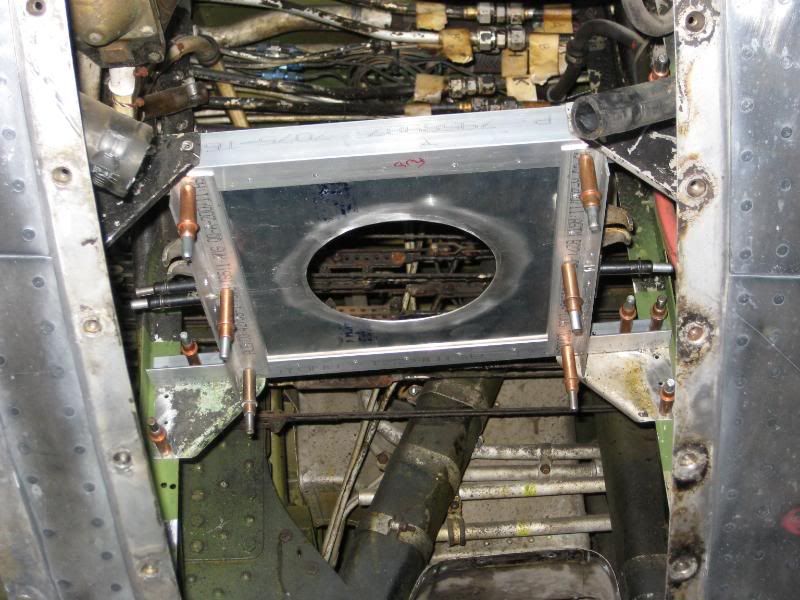
For a change, there is lots of room to work and really good access since we had the leading edge intake removed for the spar AD. The battery is normally accessed through the Dzus-fastenered upper wing door.
The new parts laid out, then clecoed together, and finally, being shot together:
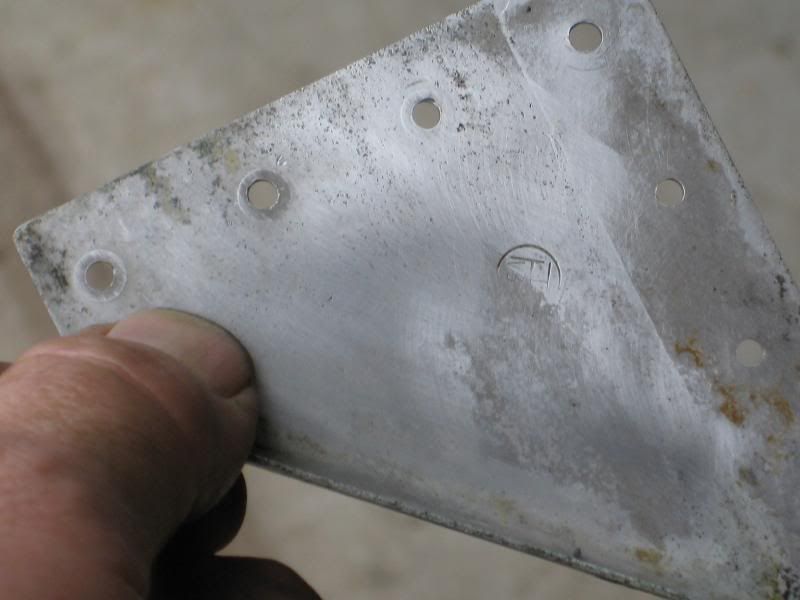
Here are two of the four original support angles that I'm able to re-use. Notice the part number on the first one and the Vega inspection stamp on the second:

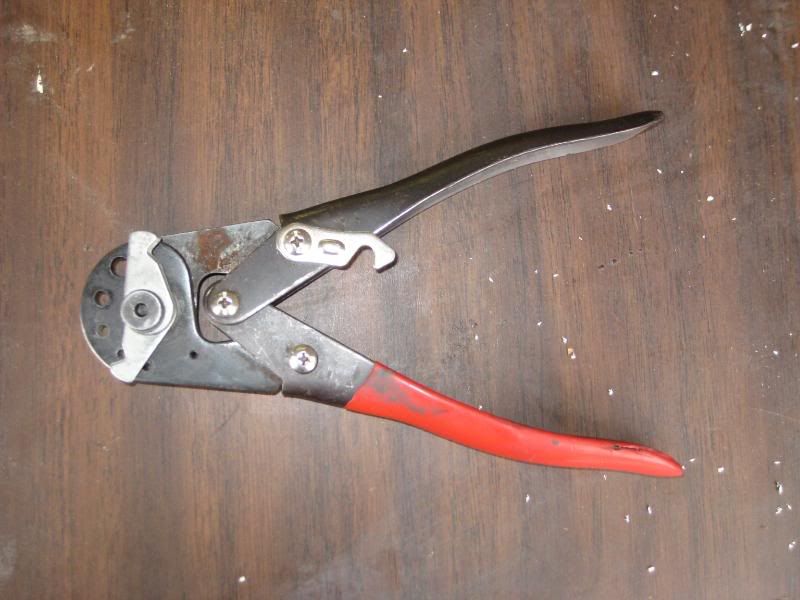
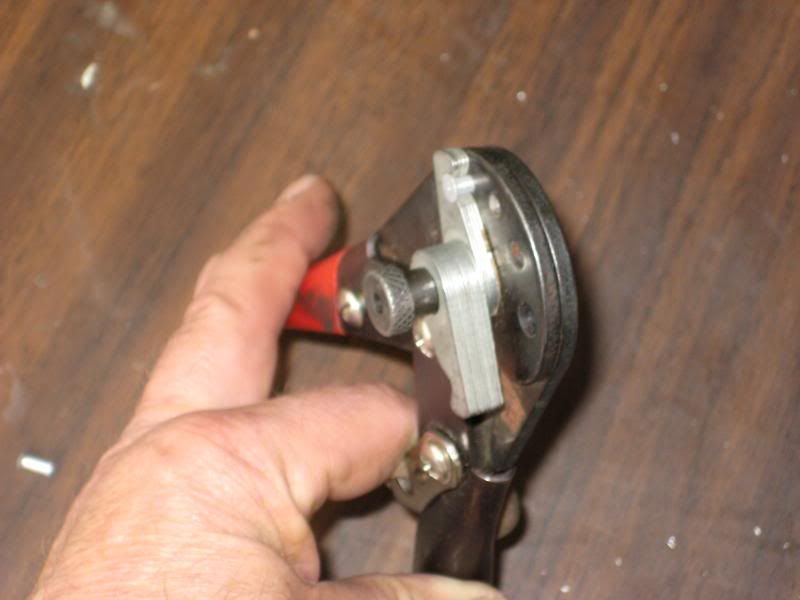
While I'm sort of on the subject of rivets, I'll demo how we use a rivet cutter. Ideally, we would have a stock of every different length rivet that we could possibly use for any given project. In the real world that isn't always possible. The VFM parts room has a LOT of fasteners in stock that are the correct material and diameter for the battery tray, just too long. Rather than go out and buy shorter ones when I have plenty of the long ones, Pat loaned me his rivet trimmer:
It's pretty simple, just determine the grip length you need and rotate the correct number of stops to hold the rivet at the right position:
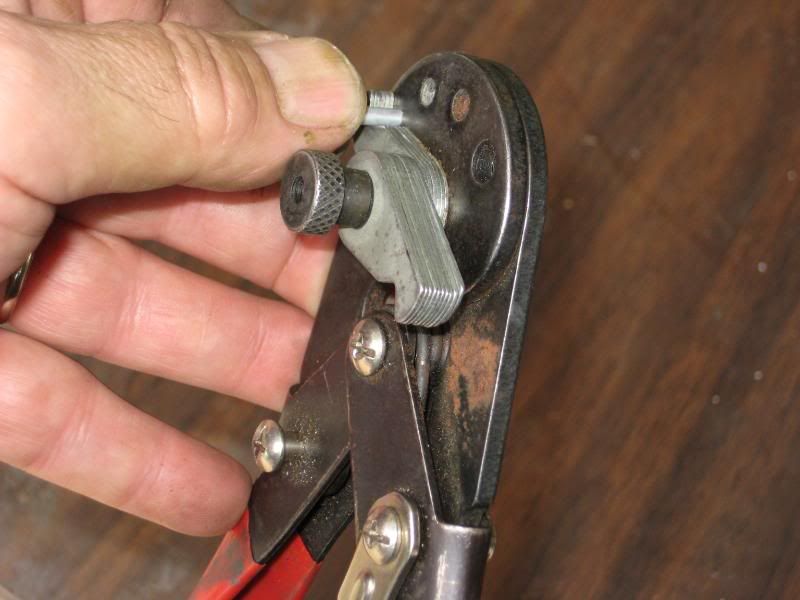
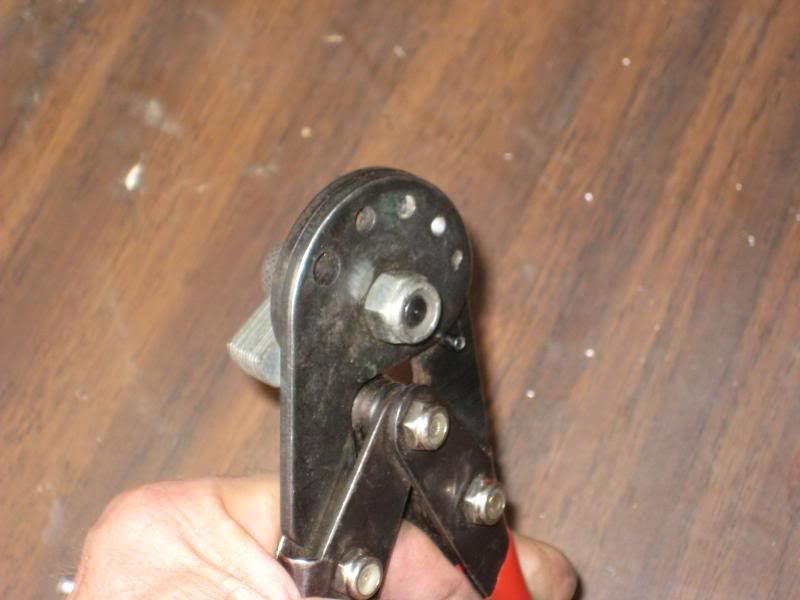
Here is how it looks from both sides before you squeeze the handles:
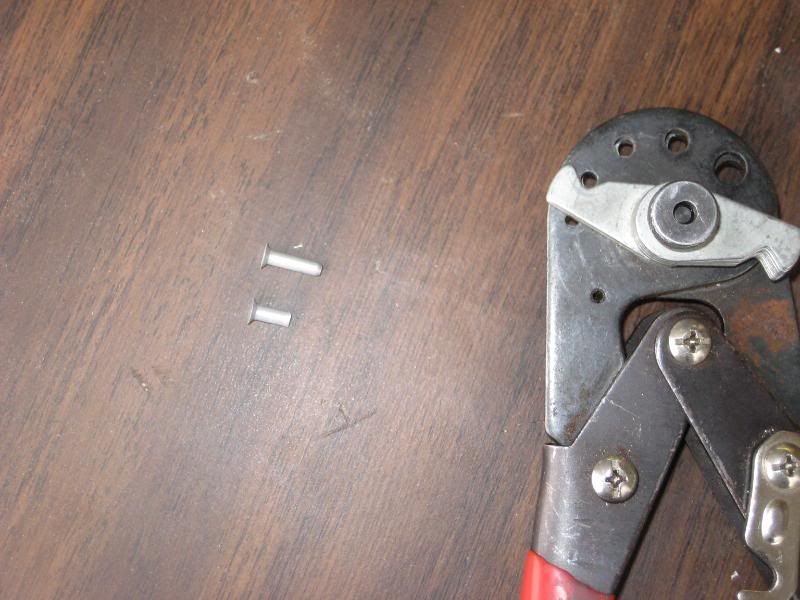
And the final product, ready to shoot:
The tray is primered and ready for the battery box paint. We'll shoot it back into the airplane after the spar AD has been completed as it gives us extra access for those two terminal fittings.
More later,
Scott