Thank you all for the kind responses to my earlier post. That was just a little insight as to what makes me tick (and work so hard to get these ol' clunkers flying).

Now back to a regular update......
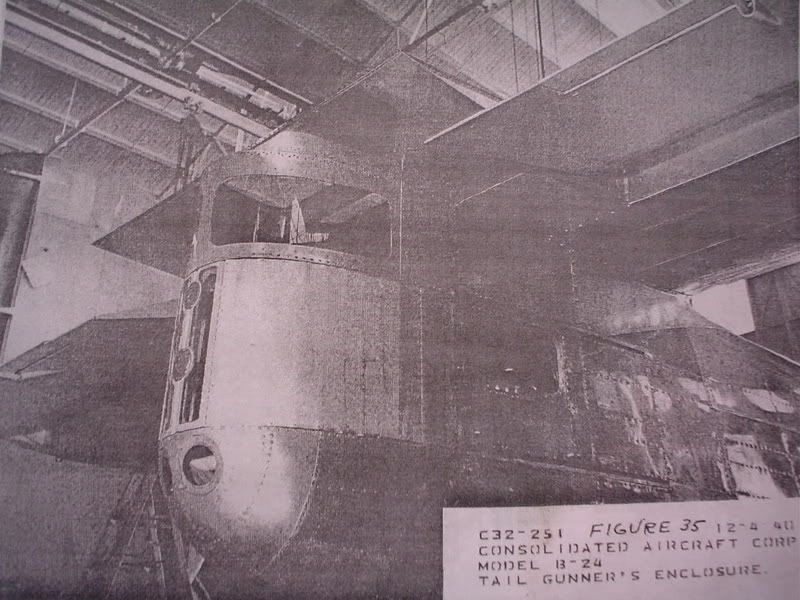
With my deadline getting frightening close, I decided to move forward with the tailgunner's lower fairing and not smooth it out as much as I'd like. In hindsight, I wish I'd have put some more effort into making it just perfect, but I'm just out of time and have got to move on. So, after an initial priming of each part for the fairing, I started riveting them together. This was a pretty easy, straightforward task that I was able to do on my own with no assistance. It's just a matter of riveting each section, on one at a time, starting at the bottom and working my way to the top on each side........

I made sure I had numbered each piece of sheet metal as they were removed initially so that it would help with reassembly. You can see that they all look similar and it would've been tough to figure out what went where had I not numbered them........

Every little project can be different on how many clecos you need to hold your pieces together while riveting. This one required me to put a cleco in every other hole and then shoot a rivet in between them. Once the first set of rivets were in place, then I removed the clecos and filled those holes with rivets. Once that piece was finished, then I just moved on to the next one, and so on...........


I came across one little mistake I made when shooting the second piece of aluminum on. I had not broken the edges of the skin over slightly so that there wouldn't be any edges sticking up. That is one of those "got in a hurry" mistakes. I got lucky, however, and only the corner of the sheet was sticking out. So I was able to just put a little bend in it with a pair of pliers before shooting the rivets in that area. It laid down just fine once it was all shot together. I made sure I put that required bend in the remaining sheets.
Here's the corner sticking up........

Just a little tweak with the little pliers......

And the end result after shooting. It's better to be lucky than good........

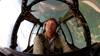
Shooting these skins on wasn't that big of a deal, but with this picture, you can see that it's nearly impossible for a fat boy to suck in his gut while having a picture taken, while shooting rivets.

...........

Here's what it looked like all shot together while on the airplane.......

And with the fairing removed, about to be primed completely.......

And finally, the pictures from this morning, after the primer had cured overnight. I will only have it clecoed onto the fuselage for now. I need to fabricate the gun mount and door tracks before I make this a permanent part of the airplane, but you can see it's starting to look like it belongs there (even though it's not as smooth as I'd like

).........


Gary