Well, I know it's been a while since I've given you a photo update of my own, but to be perfectly honest, I just haven't had the initiative to get much done for the past few days. I did get a fire lit under my butt today though (now
that is a big fire), so I'm back after that ol' B-24 like stink on poop.
One thing that definitely requires an announcement is an "Atta-boy" to the folks in EAA Chapter 123 here in Midland. They heard how the folks that had previously promised to recover our flight control surfaces had backed out and left me high and dry, so they thought they'd do something about it. They all got together and decided to take on the project themselves. They are quite anxious to want to help out and I'm equally anxious to finally get this part of the B-24A project going. We'll be loading up some of the surfaces as early as tomorrow for them to get started. This is tremendously helpful, as I was starting to think I'd just have to do them myself, which would be another setback in time.
Speaking of time, I can't tell you how much of it our latest circulation of volunteers has saved me. You've already seen the update(s) from Alan Brooks and got his version of what it's like to help out here. What he didn't mention is that along with his group, we actually had two of our own Squadron members here at one time helping. So with the entire crew working hard for several days, a huge dent has been knocked out of the work I would have had to do myself otherwise.
If anyone thinks that all they can do is "unskilled labor" and they wouldn't be much help, they are wrong. All of these little projects have to be done, whether it's taking little vinyl letters off the side of the airplane or whether it's forming a new piece of structure. Anything that someone else can do to help just saves me that much more work and time. So thank you to everyone that has come out so far and to those who are considering being part of this team.
Okay, so after all of that, the part of today's update about the work I've done will be lackluster at best. Here's what I have to offer........
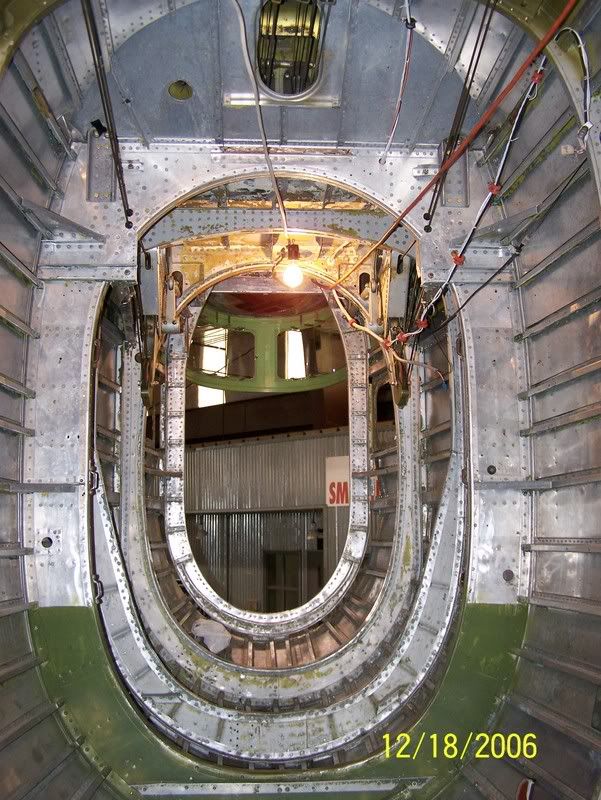
During our last episode, I had just gotten the tunnel gun door hinges all worked out to what their location needed to be and so on. I then disassembled the components of the door and prepped and primed them. While the primed parts were curing, I fabricated a reinforcing plate that goes on the original structure to beef it up in the area where the hinges are located. This was imperative to do, as the original structure had been altered when the airplane was converted to a transport and some of the tunnel gun structural components were removed. I forgot to take pictures of this process, but it was a pretty straight forward piece to build. The only "trickery" involved was the use of the bead roller again to add some additional strength. After the piece was all trimmed up and primed, I riveted it and the stationary hinge points in place.........

Once the components of the door were cured, I started working out what I was going to do with the latch arrangement. I actually have some of the factory drawings of the tunnel gun setup, but with me being as dumb as a box of rocks, I just can't make heads or tails of it. I stared at those drawings for twenty minutes and still couldn't figure out how they latched the door. Sooooo, I went to the photos.
I was able to find what I needed from a picture that DanK posted a link to back on page 31 of this thread. It was a shot of a B-24L's tunnel gun and was taken at just the right angle to give me a clue as to what kind of latch assembly they used. And it just so happened that I knew where one very similar to it was laying around in one of our piles of parts here.

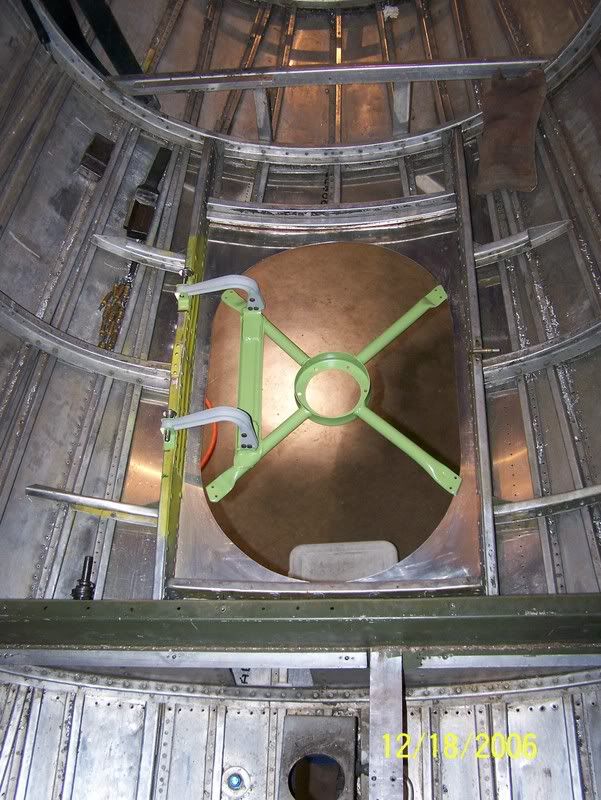
Here's what I came up with......

So now that the latch assembly had been "acquired," it was time to start working out how I was going to attach it to the door. No real rocket science here, I just installed the door (with no Plexiglas to make it easier to work with), sat the latch in the center, and clamped it in place so that the first mounting holes could be drilled........


After drilling the first two holes, the latch is held in place with a couple of clecos. I reinstalled the door just to make sure everything is going to line up where it's all happy..........

So for now that's where I'm at. I told you it wasn't much of an update, but I hope to have better detailed photos for you on the next one. The next step will be to fabricate the structure to attach the rest of the latch to the door. Stay tuned.

Gary