Hey guys!
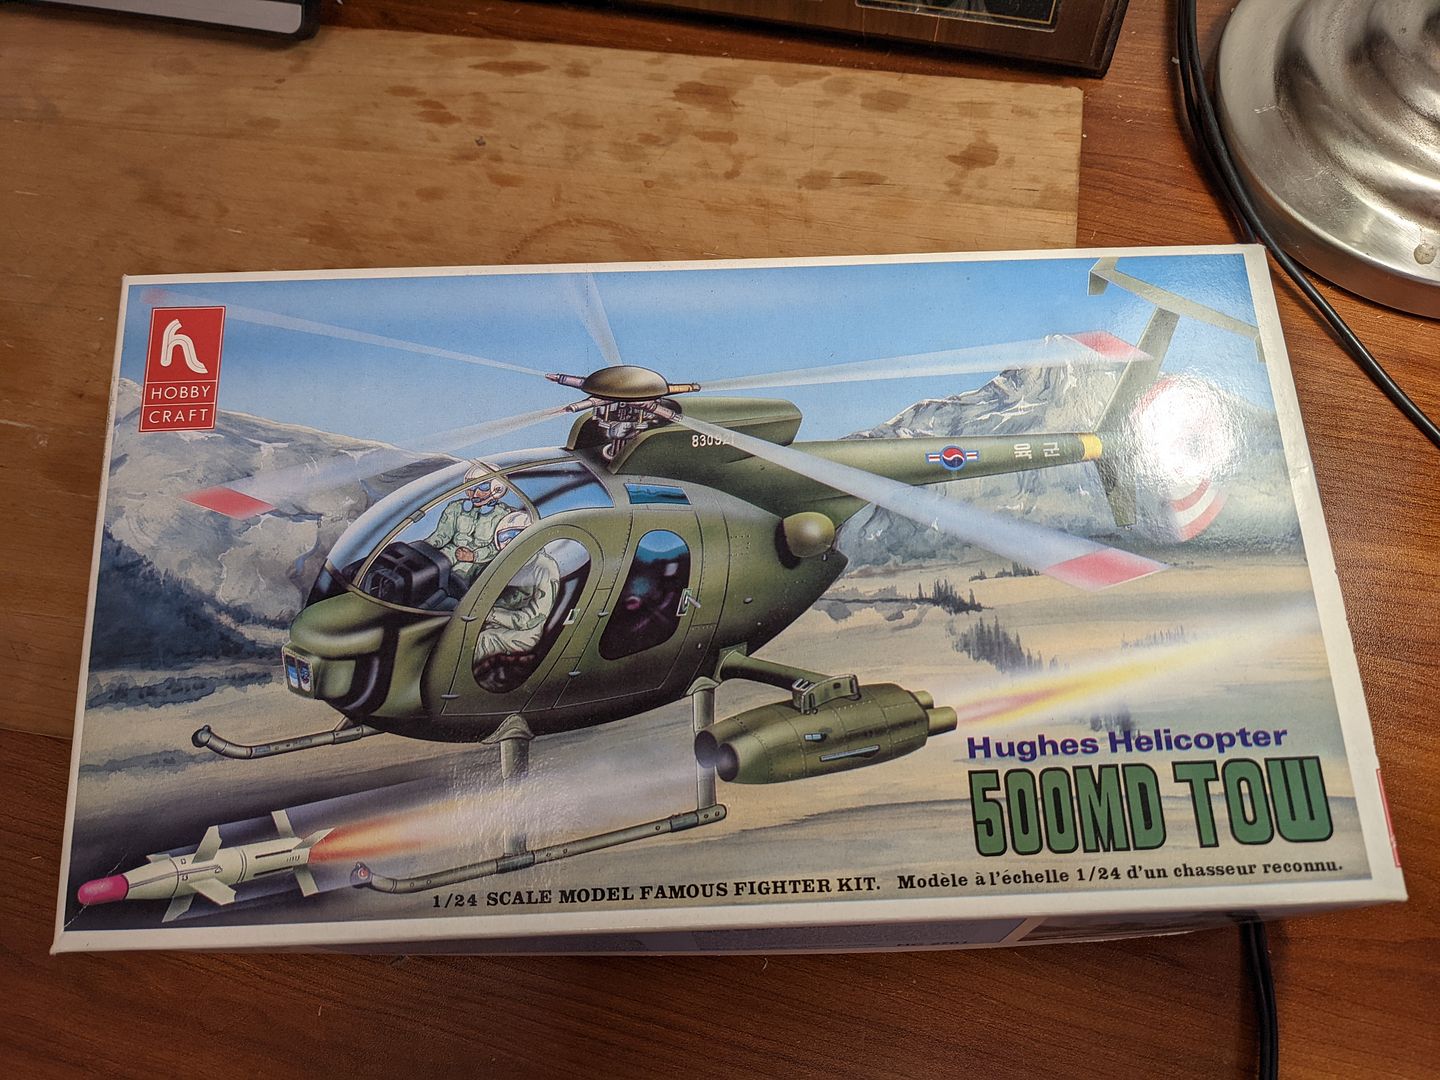
Recently I was approached by the president of the museum and a fellow BOD member with a request to find and build a 1/24th scale OH-6 of our own combat vet. His plan was to give a close ally of the museum (a local trucking company that has helped with the transportation and exhibition of many of our aircraft) a gift they wouldn't forget. My fellow BOD member already had the appropriate model of the tow truck. Now I just needed to find a Cayuse. I finally found a Hobbycraft Hughes 500MD on Ebay and, it was fairly pricey to say the least. Good thing the museum bought it!
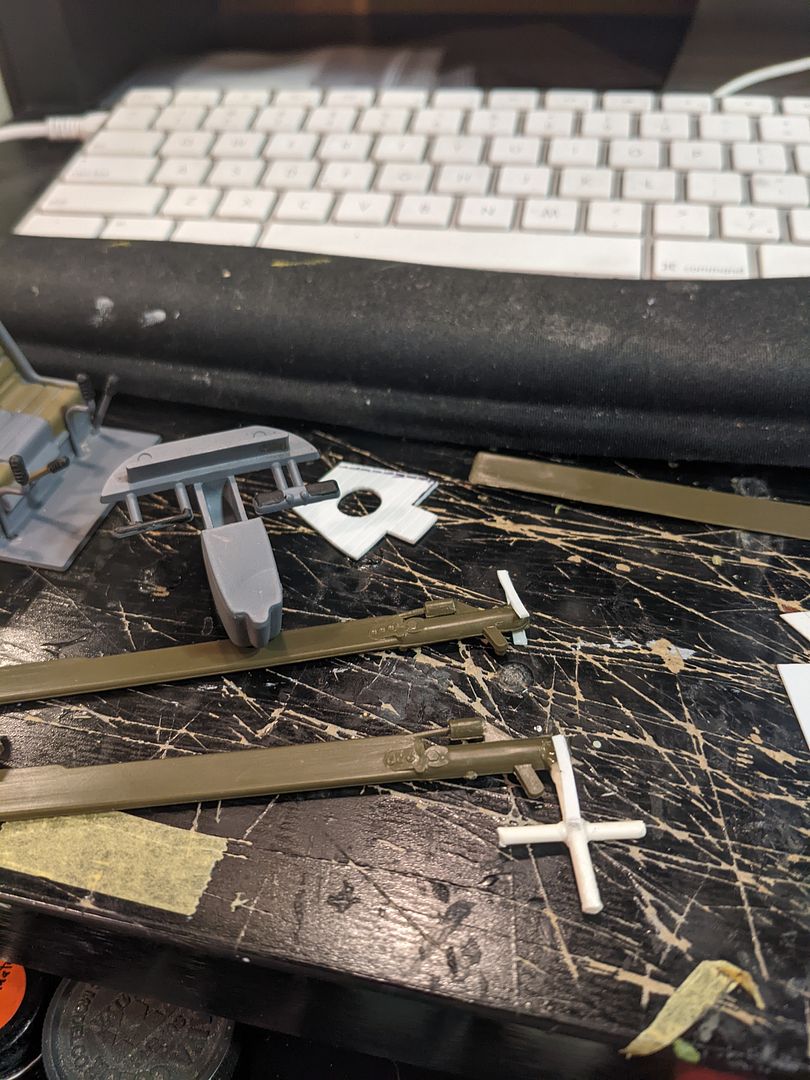
Seeing as its a later model OH-6 / 500, the tail would require some scratch building.

Basic kit to say the least. This is one I am not going to be detailing out like crazy. Fairly straightforward project (hopefully).
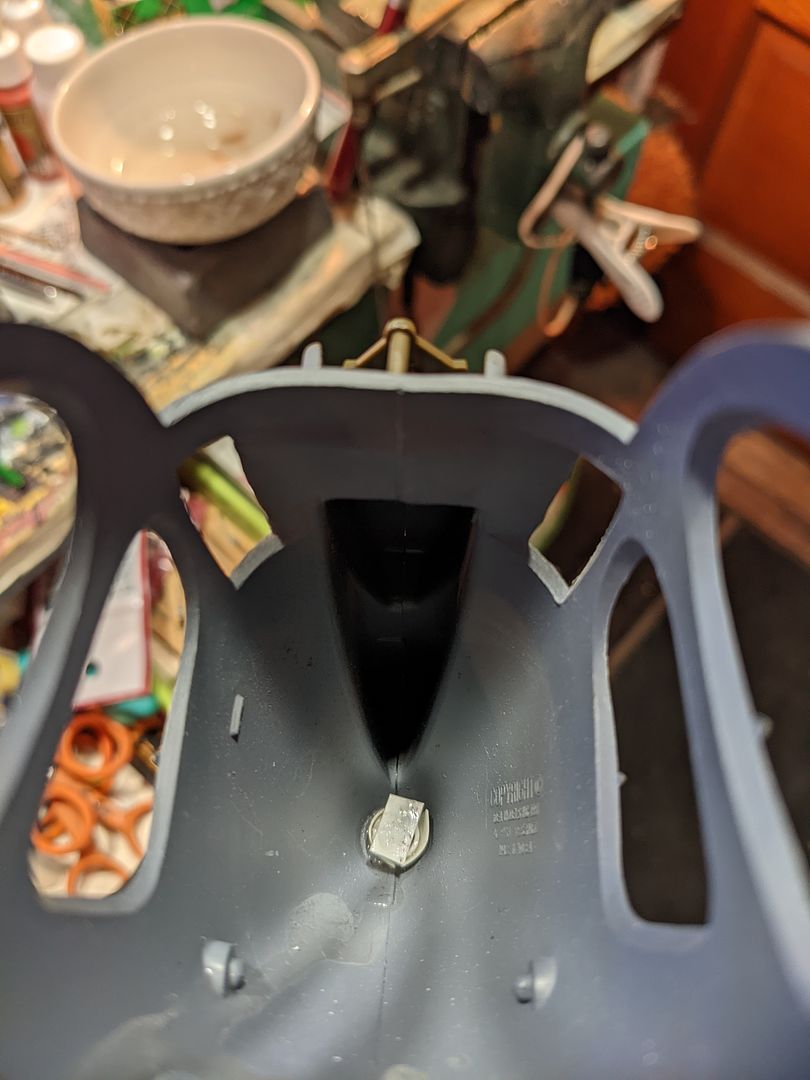
Took some effort to get the fuselage lined up correctly.
A little bit of styrene goes a long way!
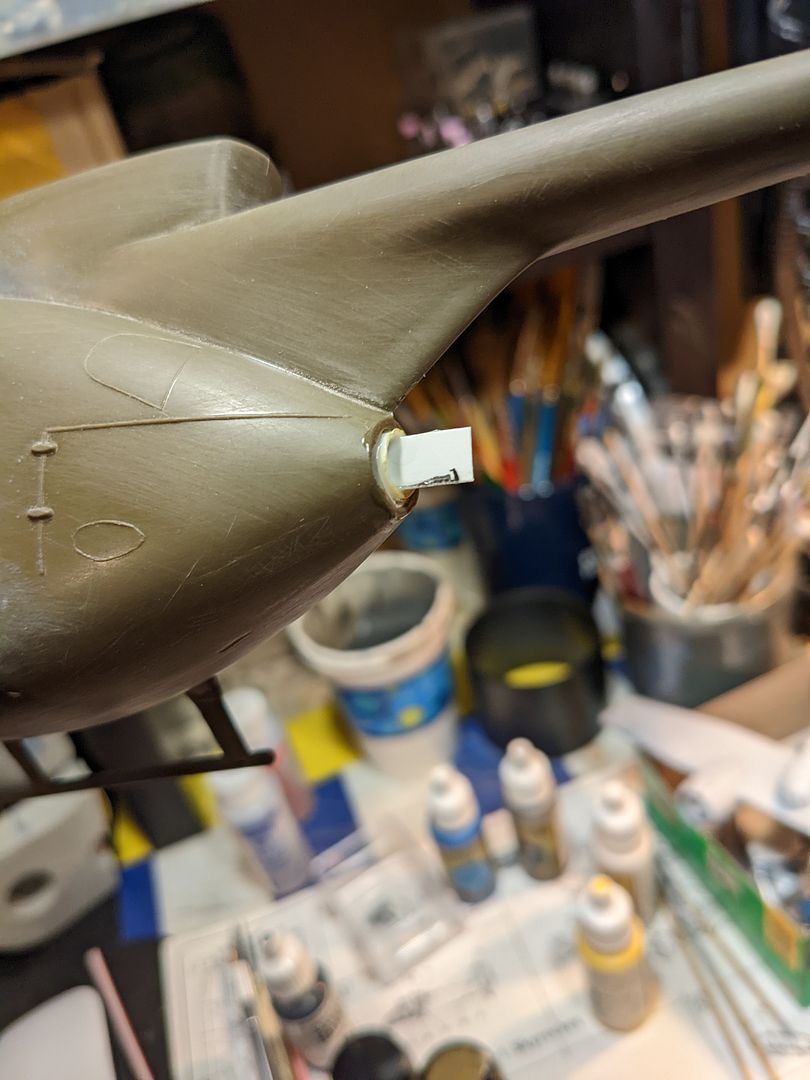
I cut off the faired over tip where the exhaust was rerouted on later models and put in the original exhaust.
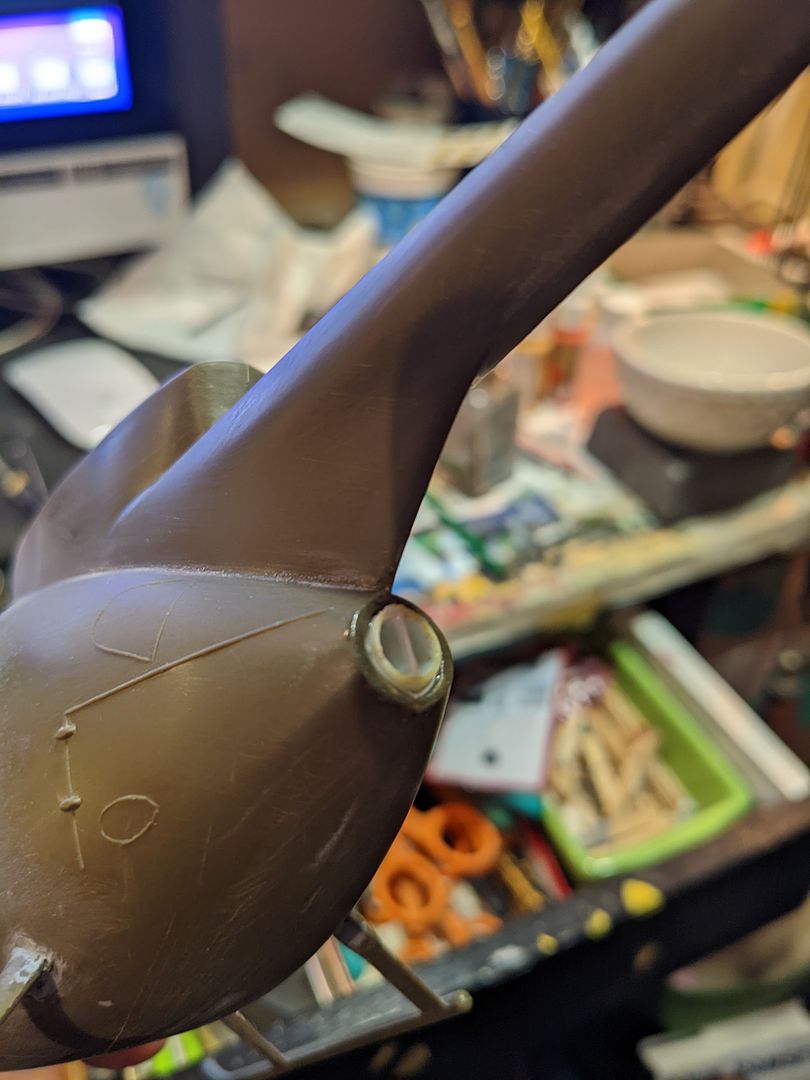
The finished result.
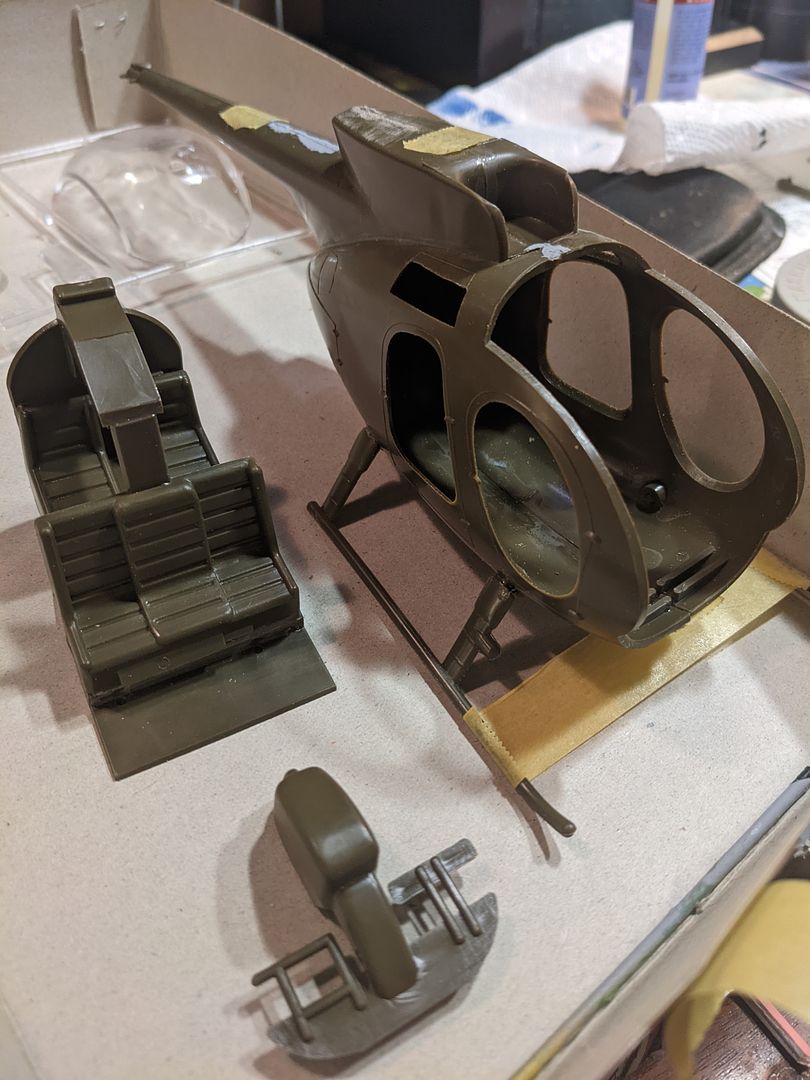
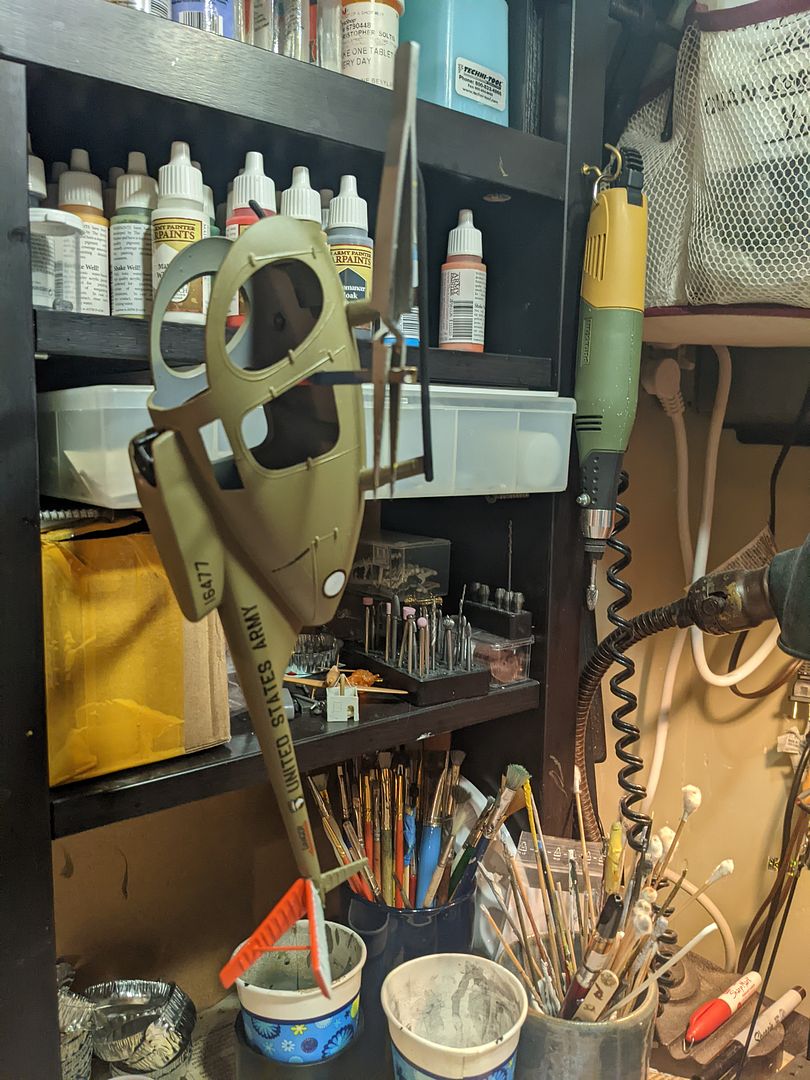
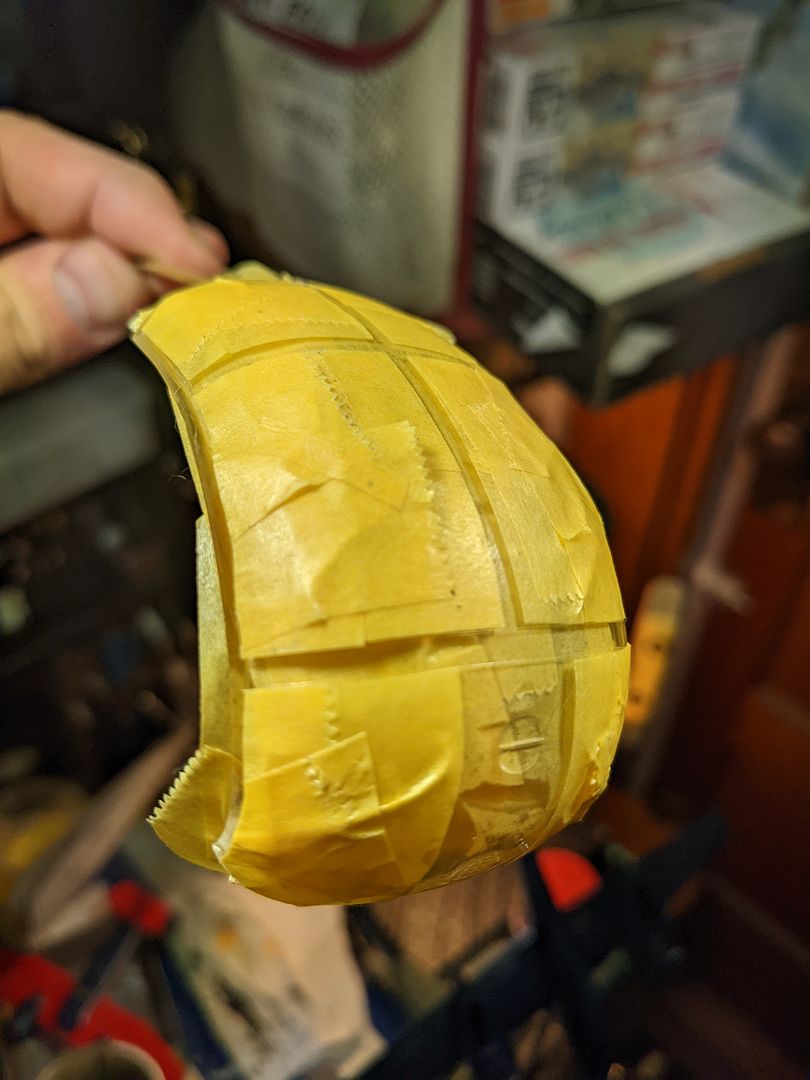
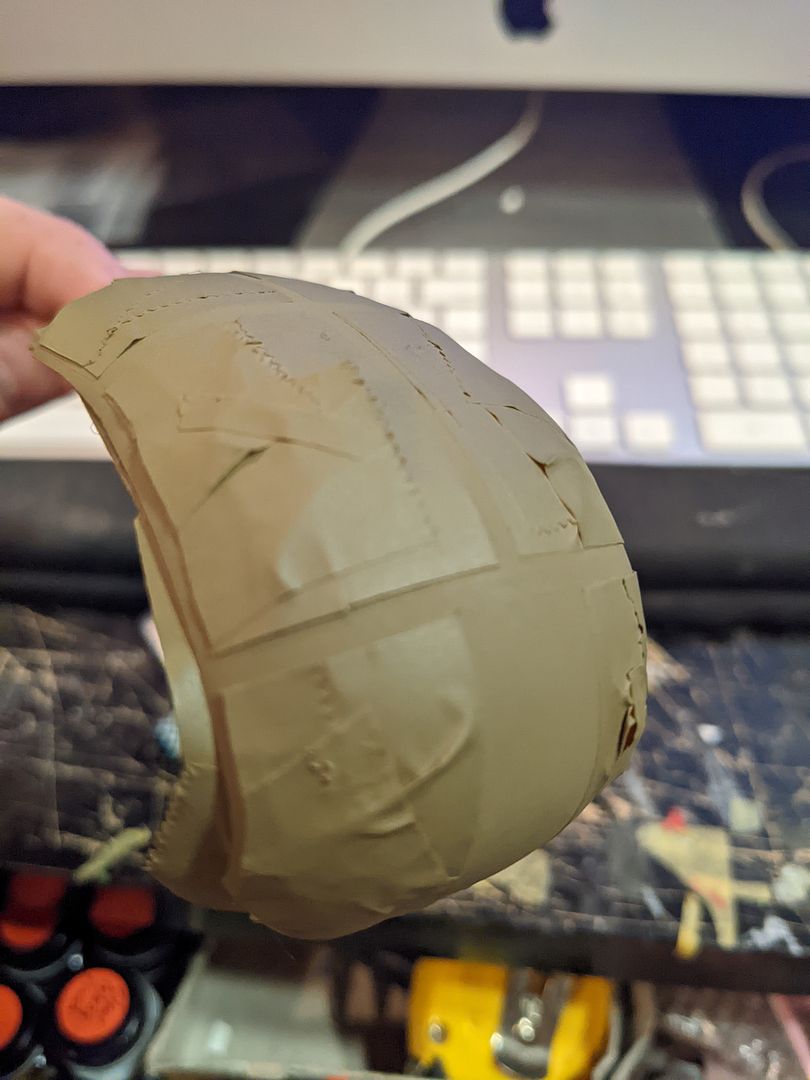
Don't look behind the curtain! After some putty and sanding, the entire helicopter received primer gray. I masked off the inside and shot the exterior Olive Drab. Then masked off the tail for white and then high visibility Orange.
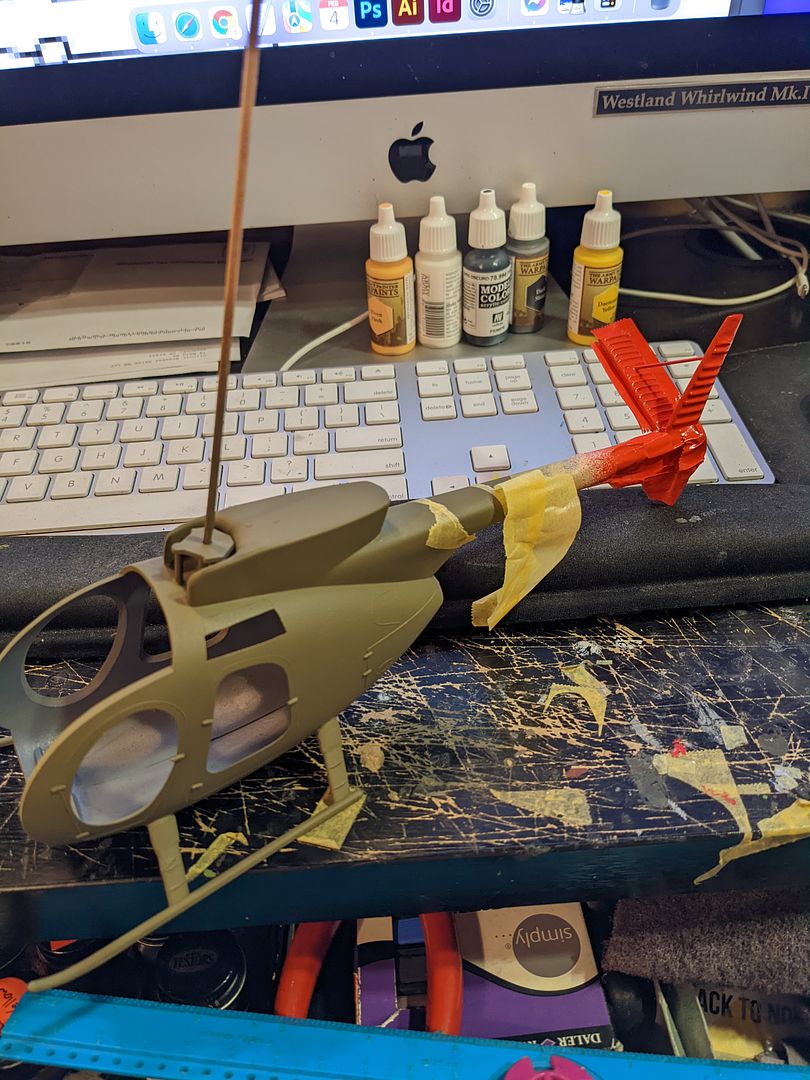
Starting to come together!

Hey, maybe I wont mess this one up!
The first of some decals to go on. Cant wait to clear coat the entire thing!

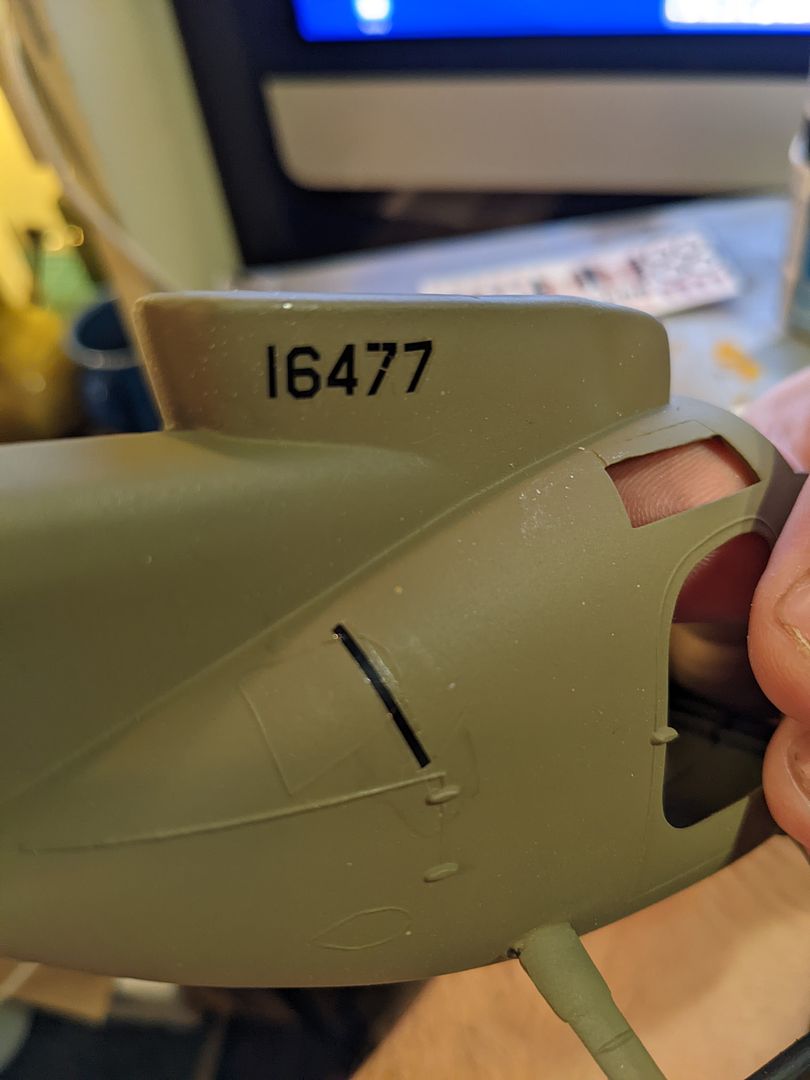
Since I couldn't find any aftermarket 1/24 OH-6 decals, I decided to make my own. Being a Graphic Designer can be useful sometimes. They have been sprayed so we'll see how they come out.

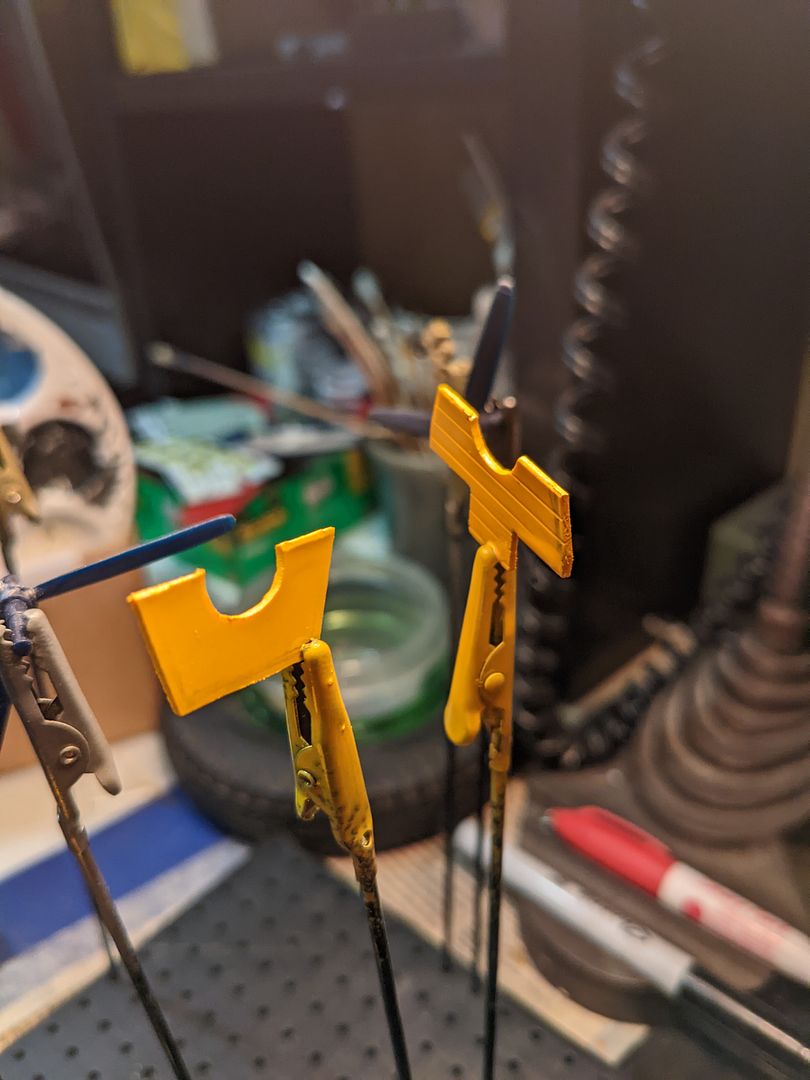
Since I'm replicating our specific bird, on the back of a specific tow truck, I guess I have to make the specific blade holder on our bird.
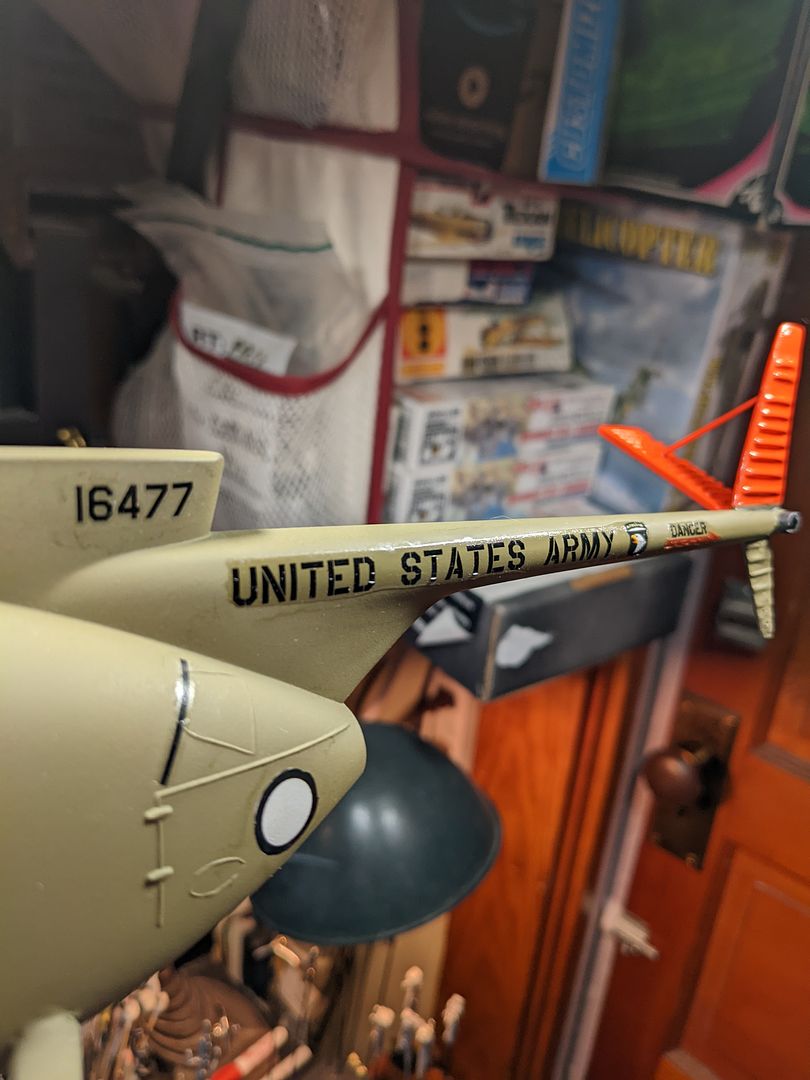
Homemade decals worked out great! I used the typical laser / scanner / printer you'd find in a office workspace at work. Last decal is the emblem that goes on the front windshield after masking and painting. Once I make sure all the decals are really down, and a few small touchups, and the fuselage gets its final clear coat.
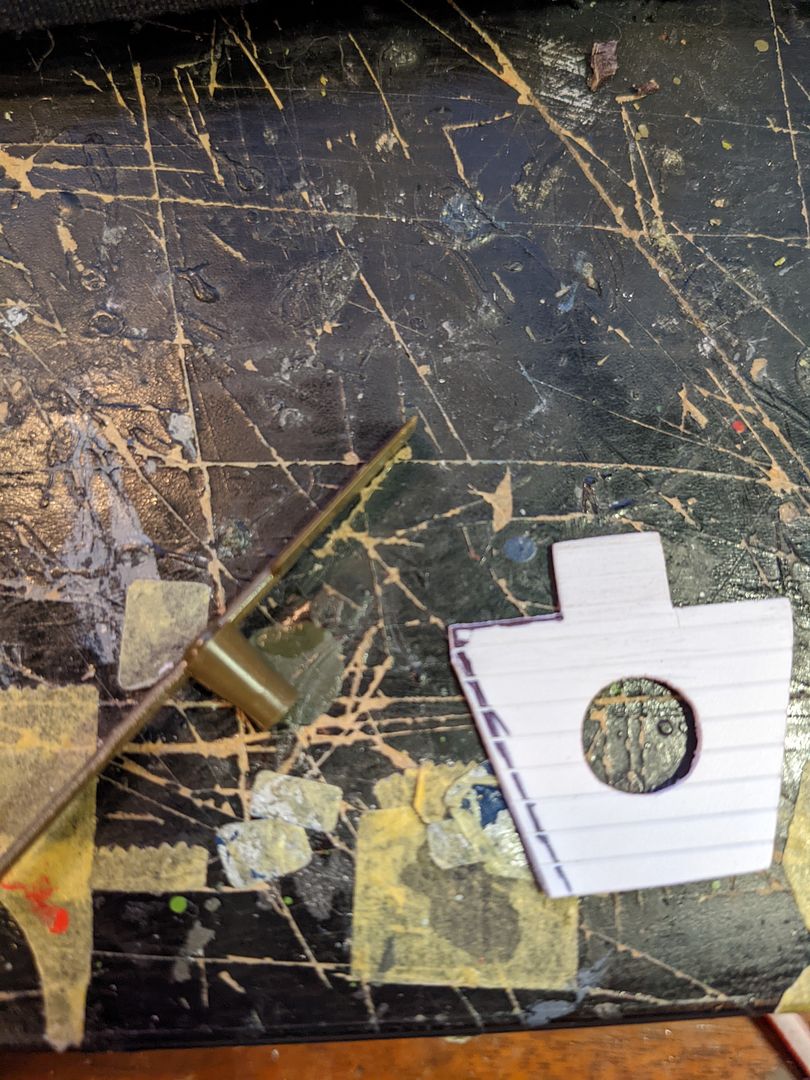
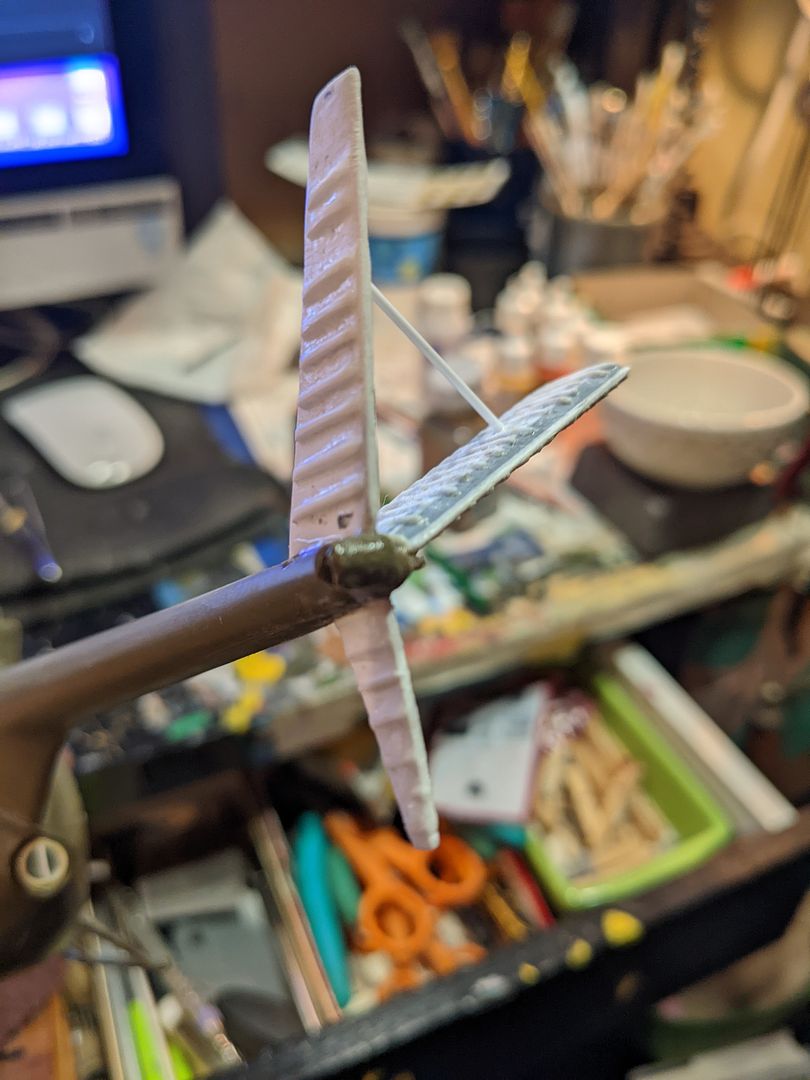
Tail Rotor is ready for paint. Blade holder is now cut and shaped. Now I have to cut it in half and begin scratch building a four blade rotor hub.
Shot the fuselage in a matte clear coat to see in everything. No weathering for this bird as our actual OH-6 is pretty pristine after being restored to static display.
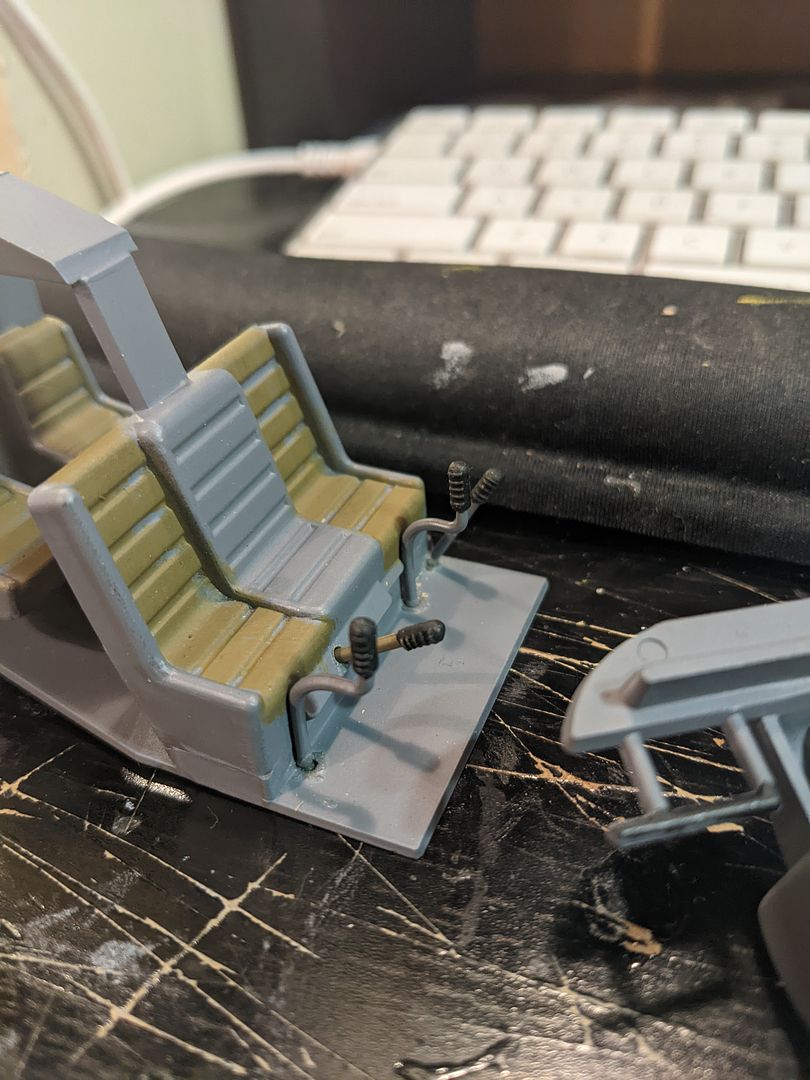
Sticks added into the cockpit. (I realize I glued them in backwards. I went back in a corrected them! No customizing or adding onto here. Just a basic build. I might do some touch work and add seatbelts, but that's it.
And the side glass is now in!
I'm going to add an extra bead of crystal clear around the back to further prevent any of these popping out in the future.
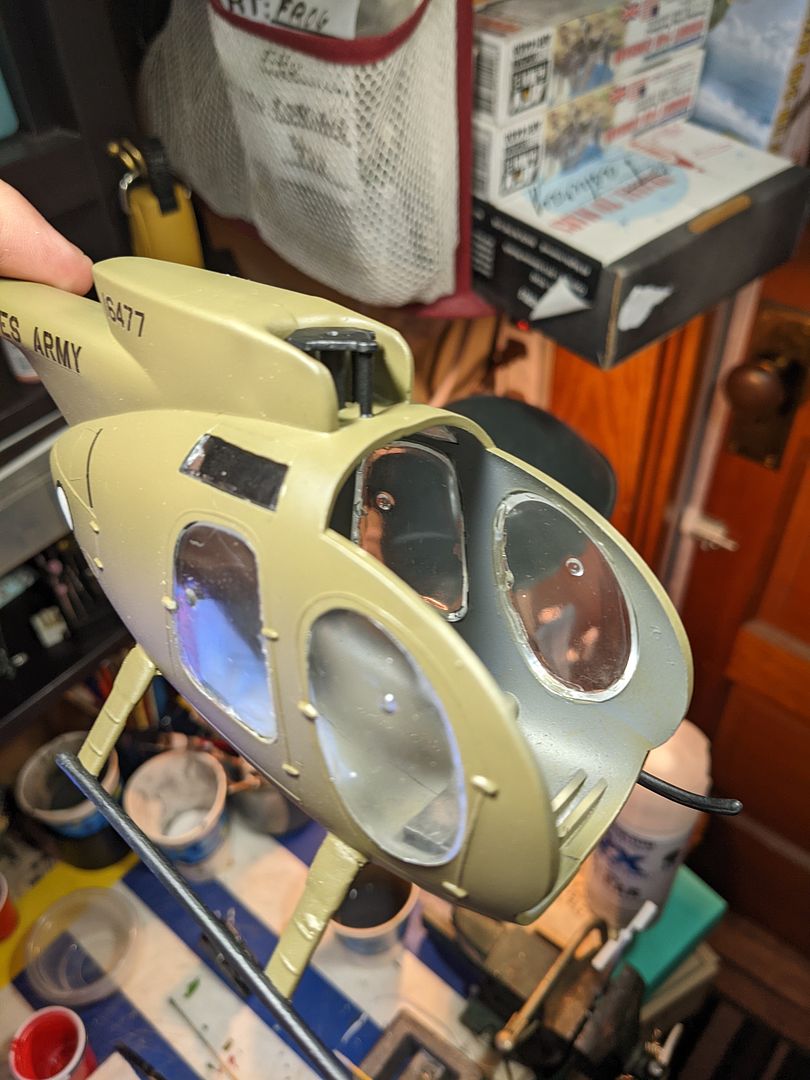
Not 100% great but I'll take it.
I've added weight so the OH-6 sits on her skids and isn't a tail dragger. And now I've begun the process of crudely scratch building a new four bade rotor hub, which means I'll have one blade left over! I then glued the interior and instrument panel into place. (don't seem to have a picture!)
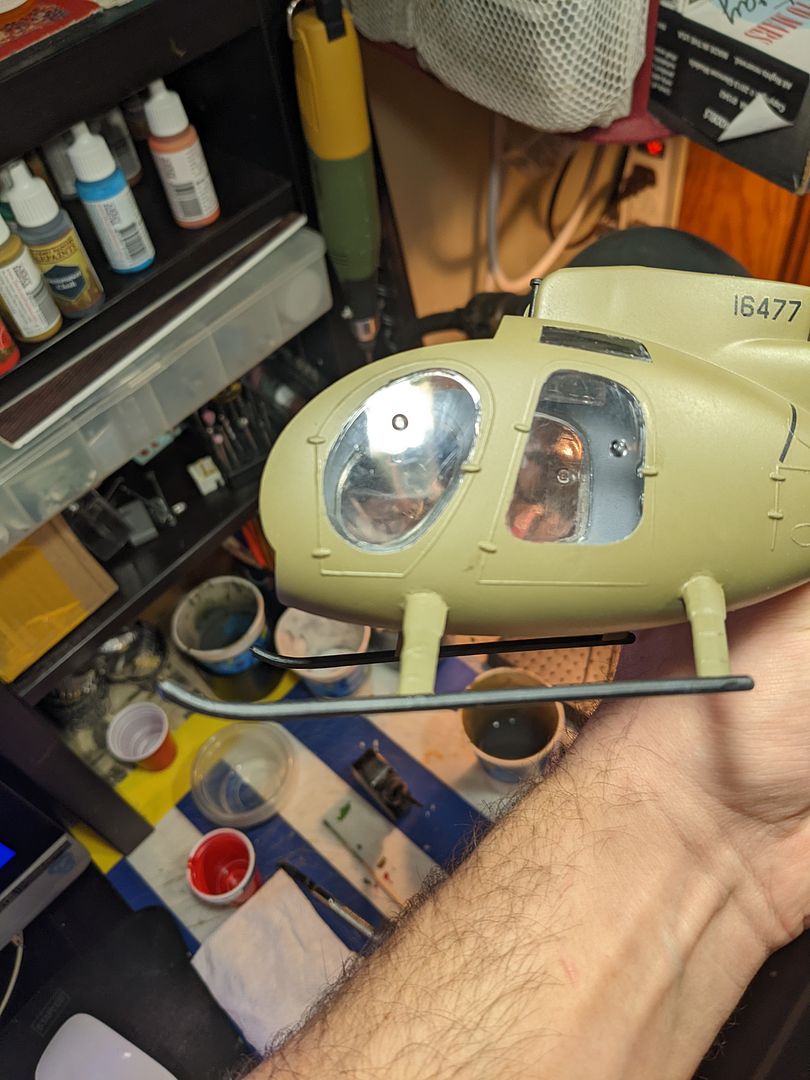
I then masked the front canopy and painted it.
I then applied the small Brandy Wine emblem decal (that I made for the full sized version). Now all I have to do is paint in the center light, clear coat the entire thing, demask it, and glue it in place.
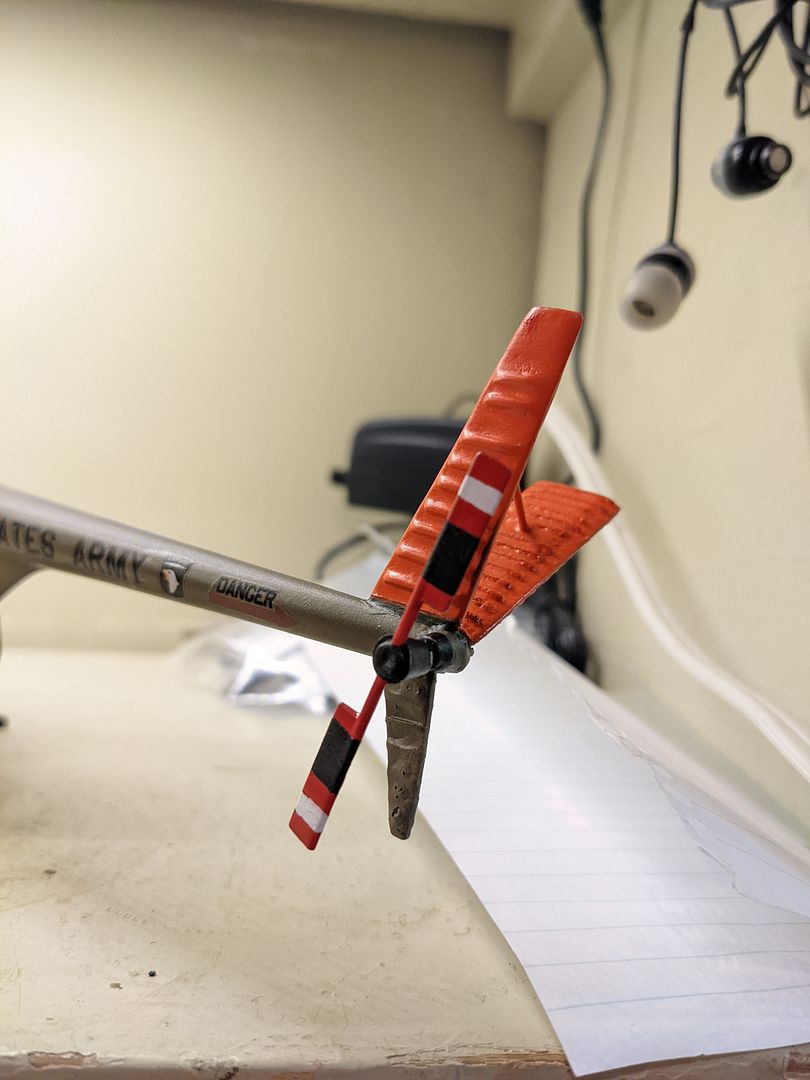
Tail rotor touched up, and added.
Main Rotor Blade Holder painted
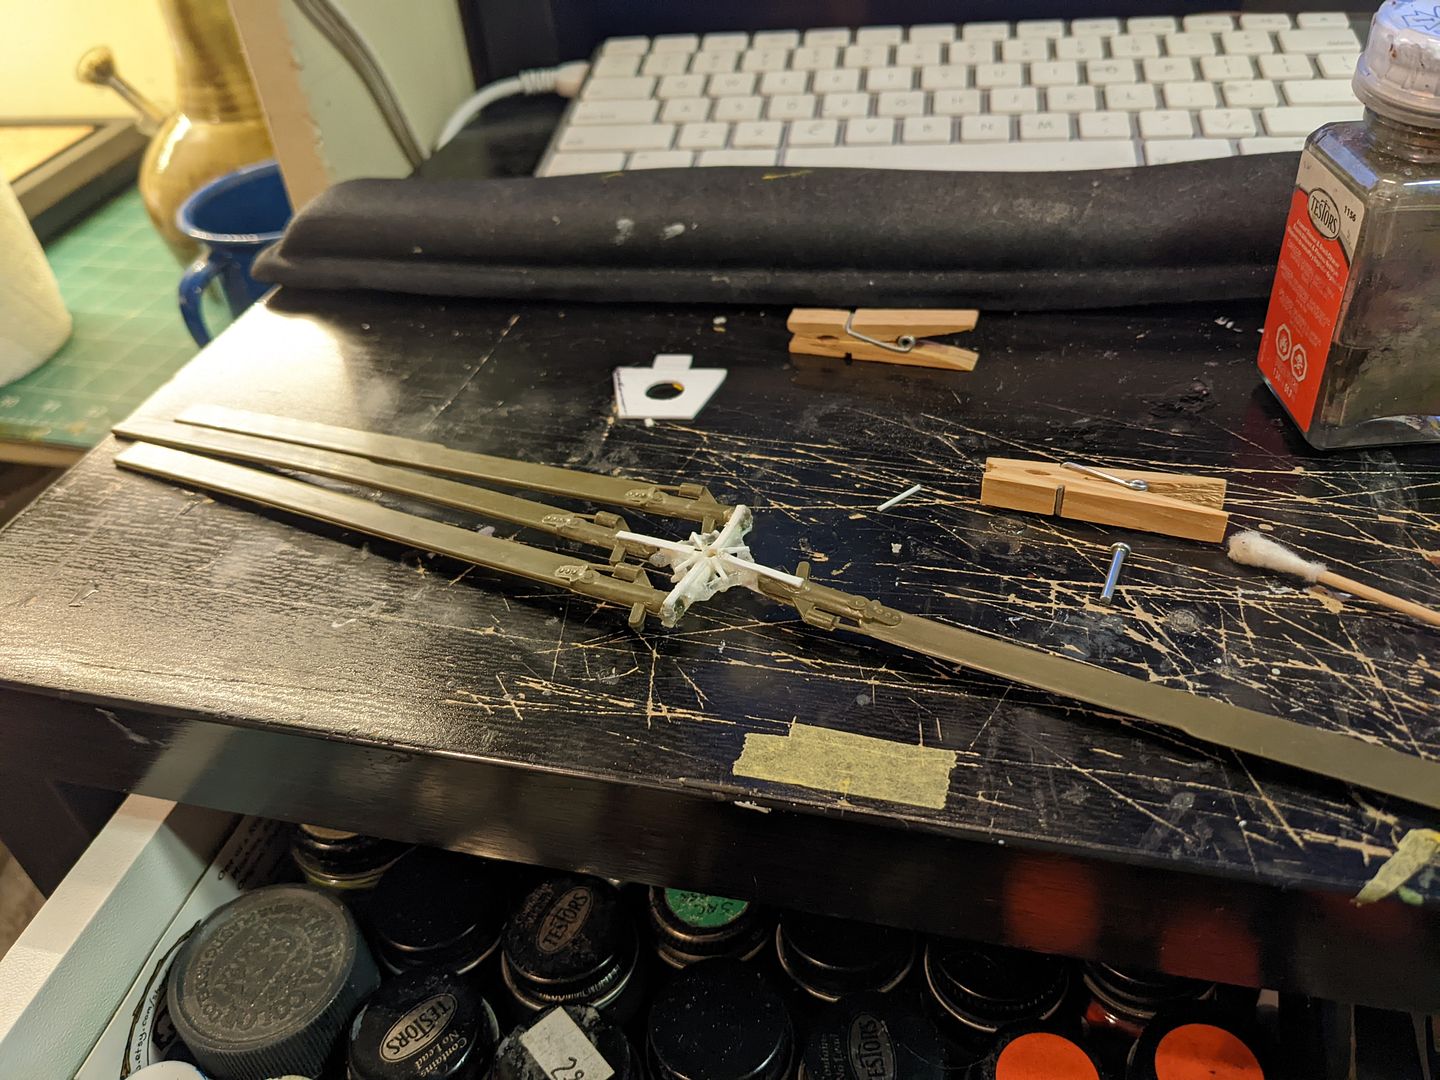
New rotor blade hub for an OH-6
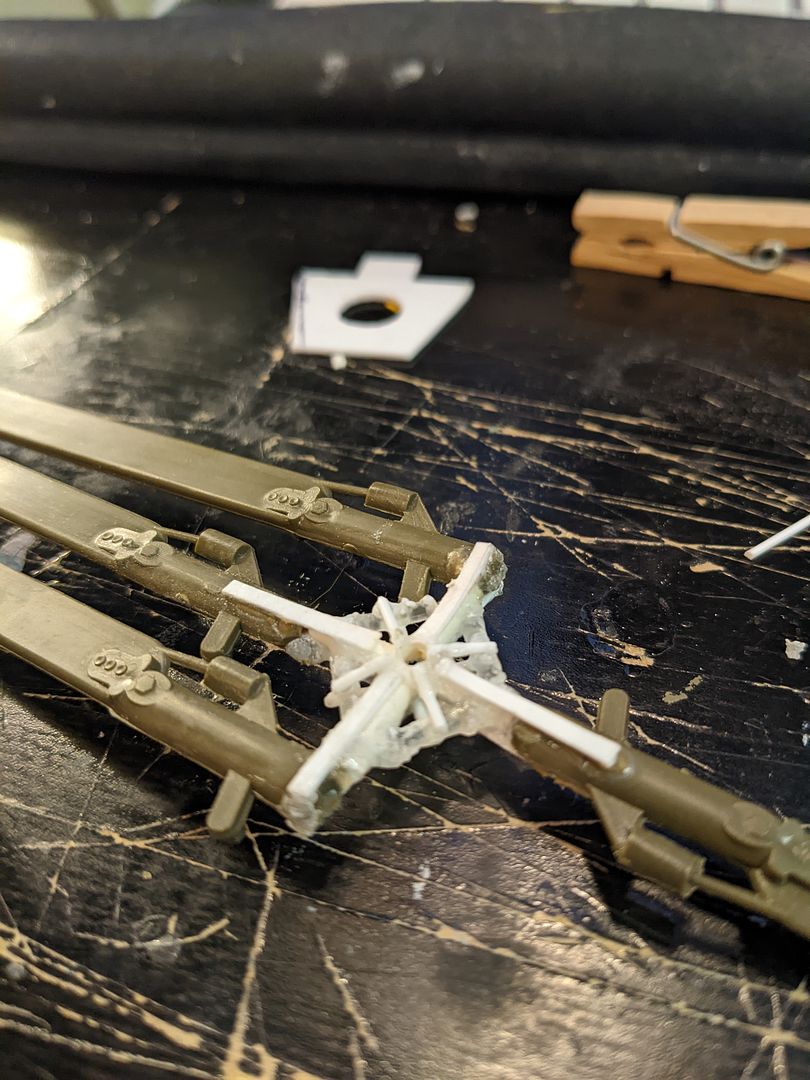
Close up shot of the hub. Not crazy detailed. Just enough to sell it.
So after throwing the rest together, I think I'm calling this one done.
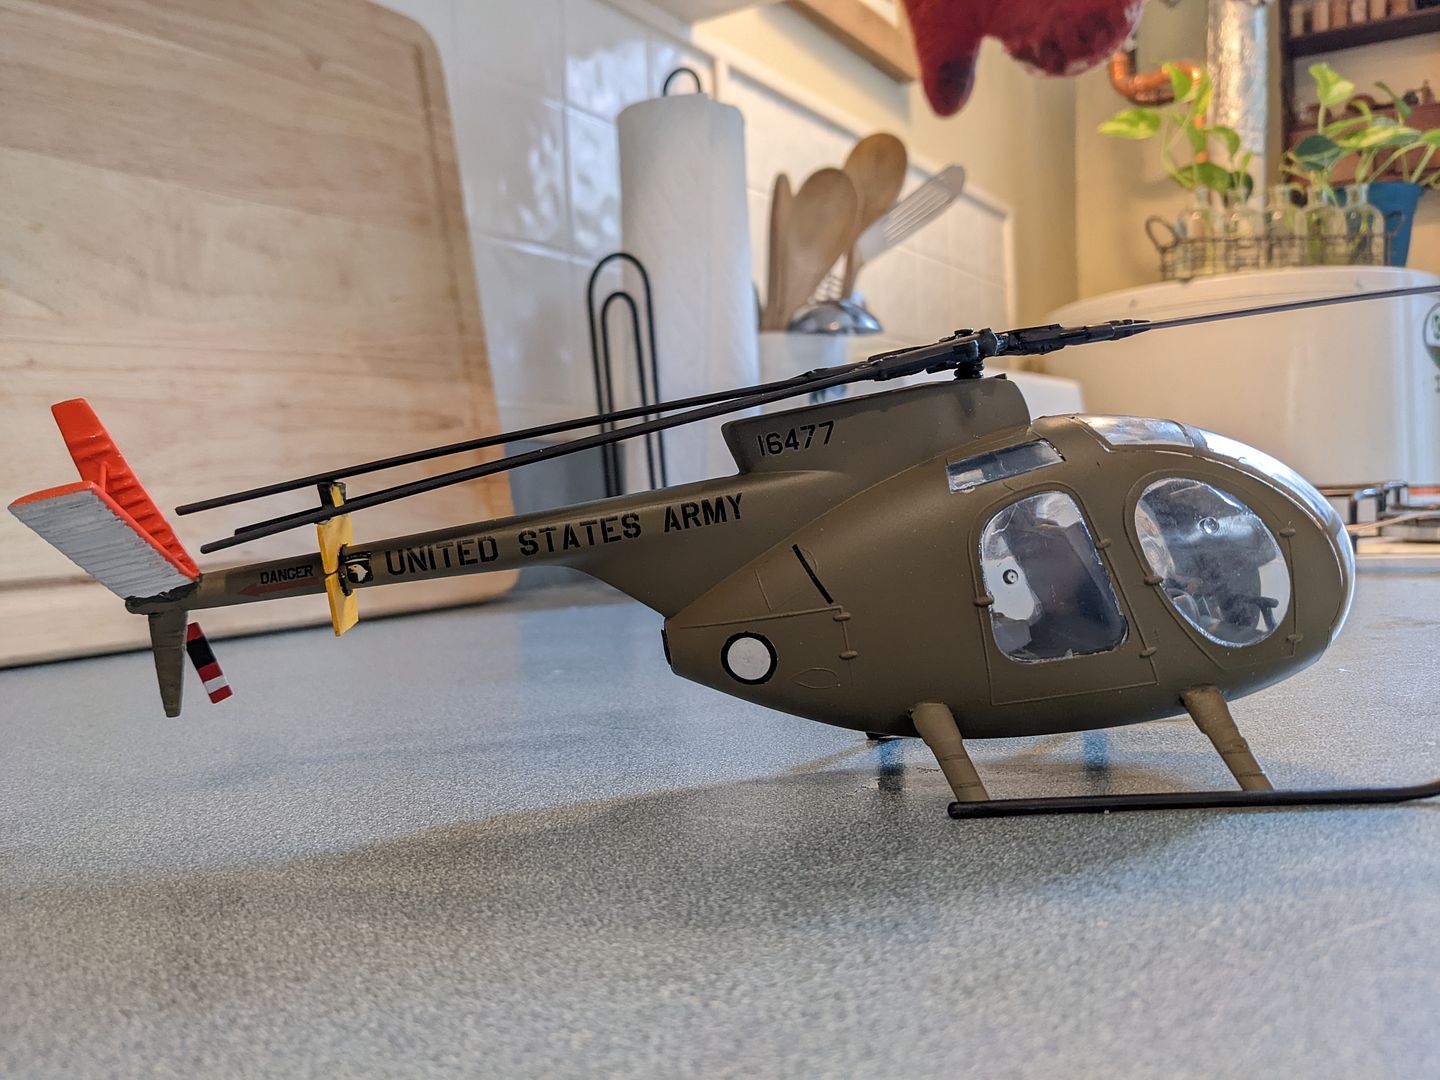
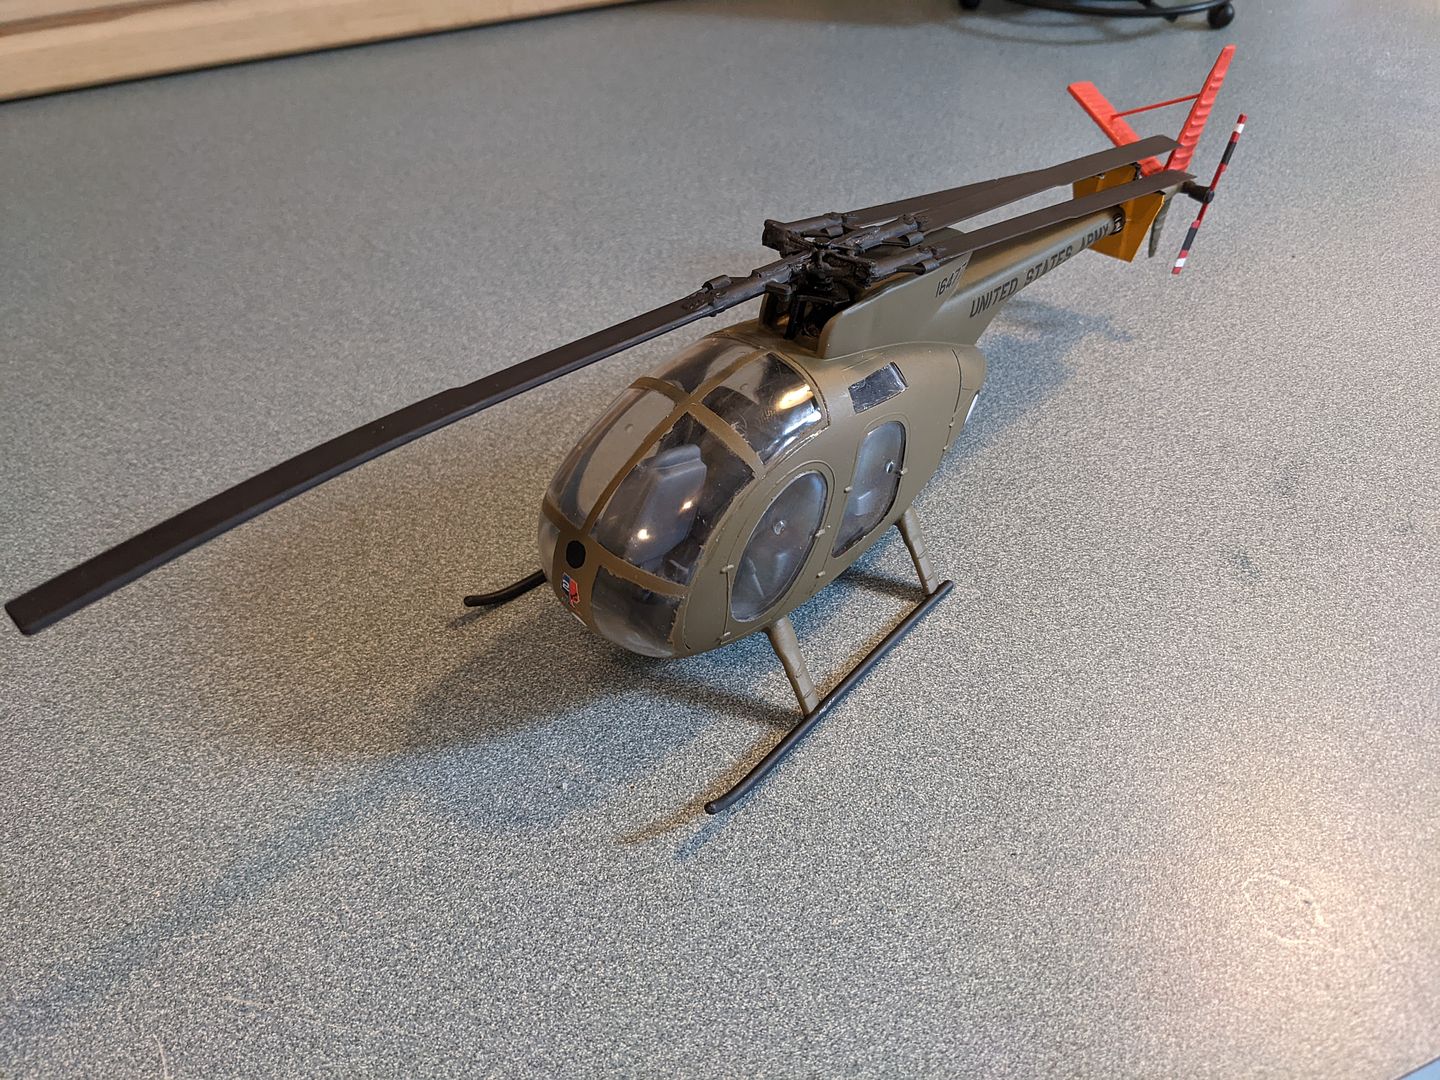
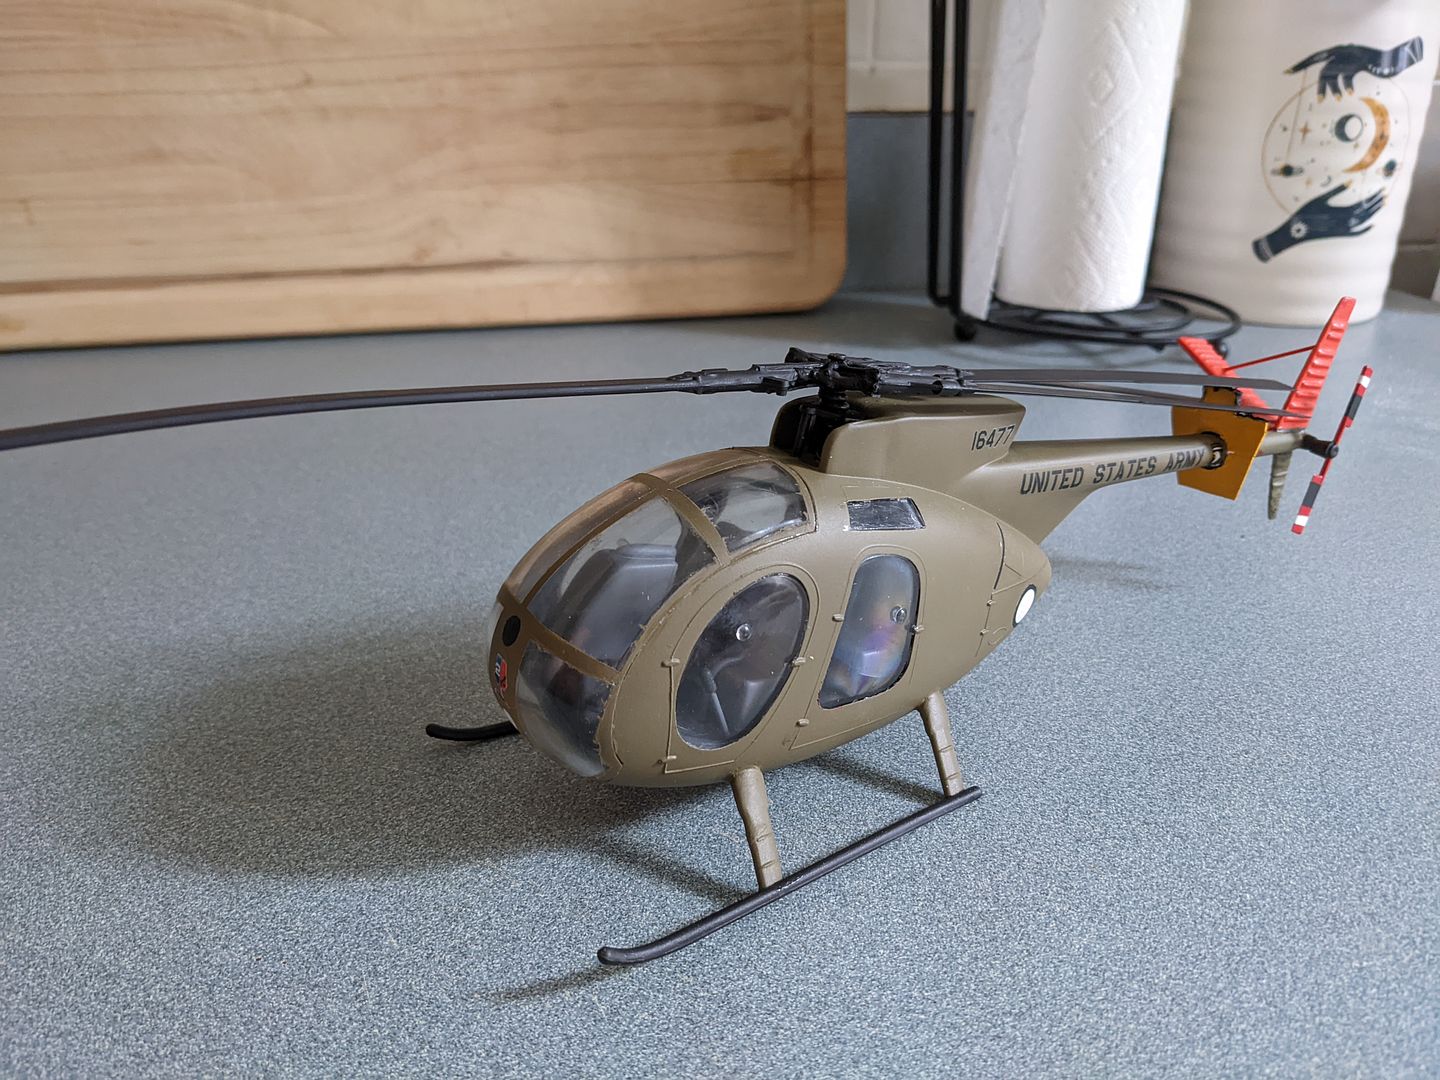
Hope you liked it! Again not a detailed build by any stretch. Just a fairly straightforward backdating / modification job. Now I'll bring it to the museum and put it on display in the Vietnam case, overlooking the real thing until the tow truck model is completed. Thanks for checking out my build!