Now that Photobucket is cooperating, let's do some work!
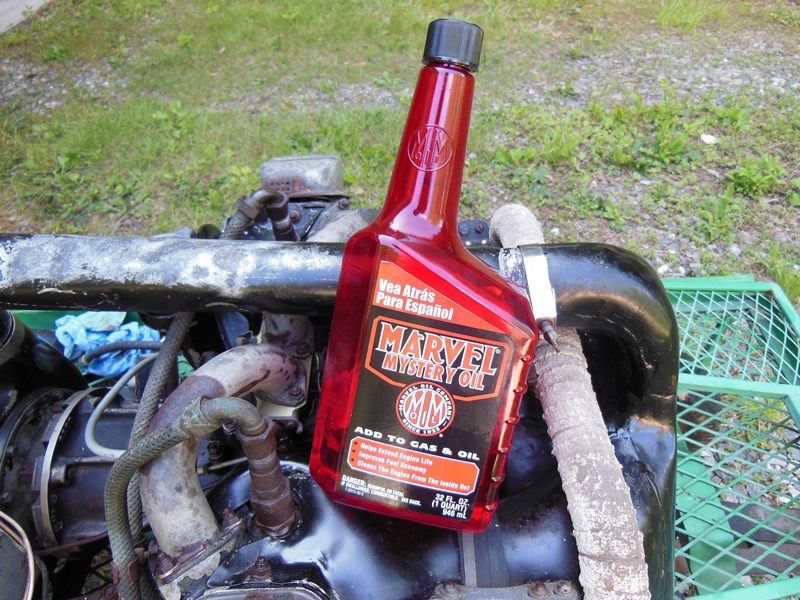
To help us bring this engine back to life, the first thing we're going to need is some good ol' Marvel Mystery Oil. Now, some people will tell you that MMO is nothing but snake oil, while others religiously swear by it for everything from engines to curing baldness and treating broken bones. I personally have found it to be a great product, and I consider MMO an indispensable tool when bringing these old engines back to life and keeping them happy, but your mileage may vary

So the first thing we're going to do is pull the plugs and load the cylinders up with MMO. Right now I cant rotate the crankshaft until I remove the generator and scroll, so I don't know if the engine is froze up or not. But in the meantime, we'll let the MMO do its job and soak down into the piston rings, etc.
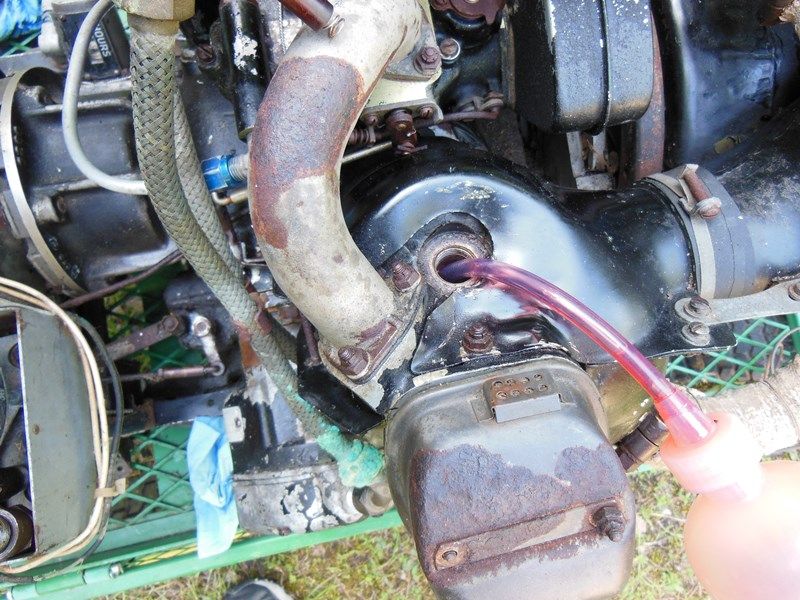
As of this post, the cylinders have been soaking for about two weeks now with more MMO added every couple days as needed. Here you can see the MMO doing its job (be very gentle and careful if you're going to probe around inside the cylinder--scratches are not good!)
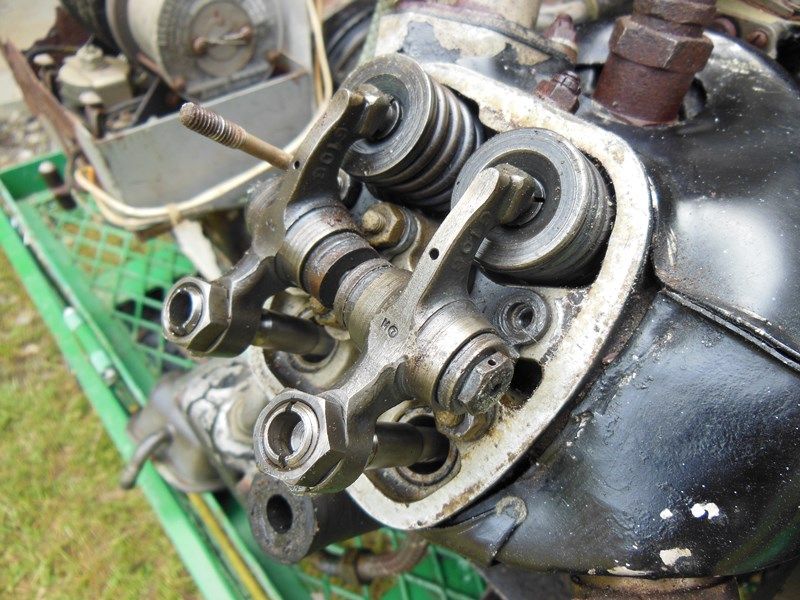
Next we'll turn our attention to the rocker boxes. Everything looks pretty good on the #1 cylinder (aside from the rusted nuts that backed the studs out with them)...
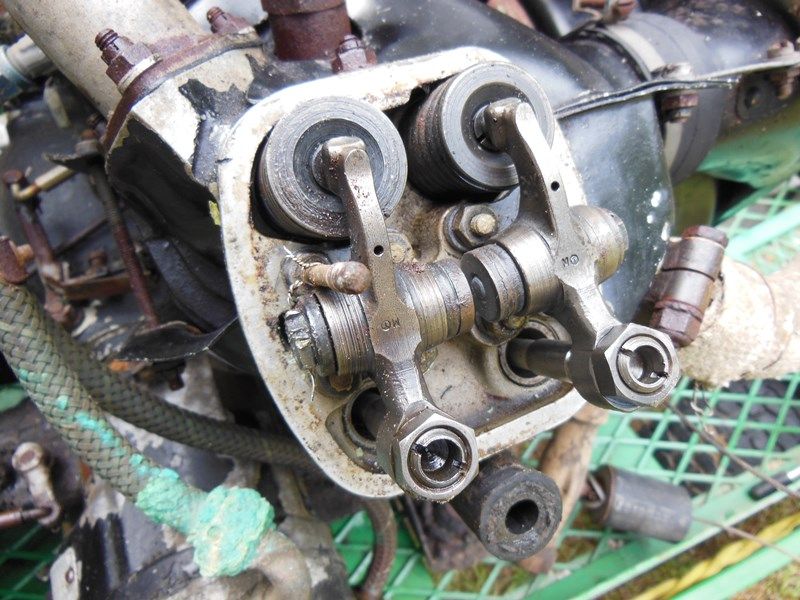
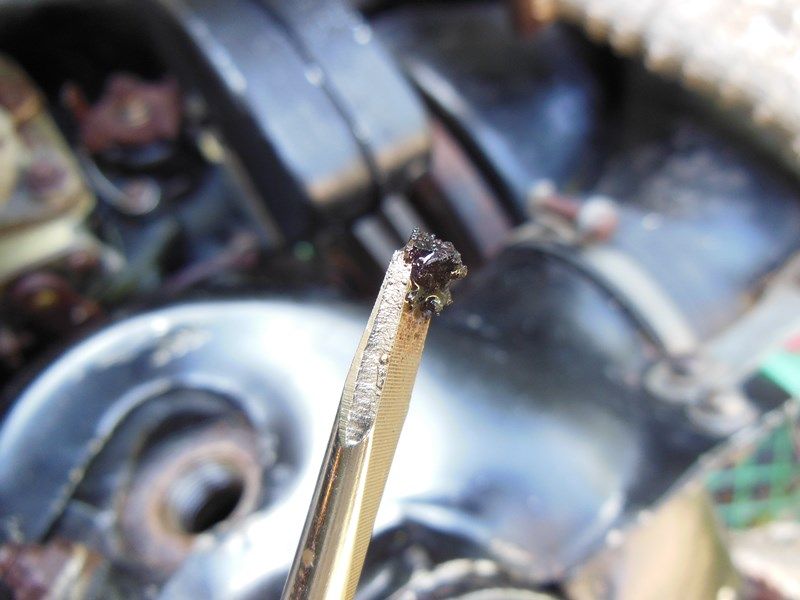
But if you saw the "walkaround" video I posted earlier, then you already know what we found on the #2 cylinder!
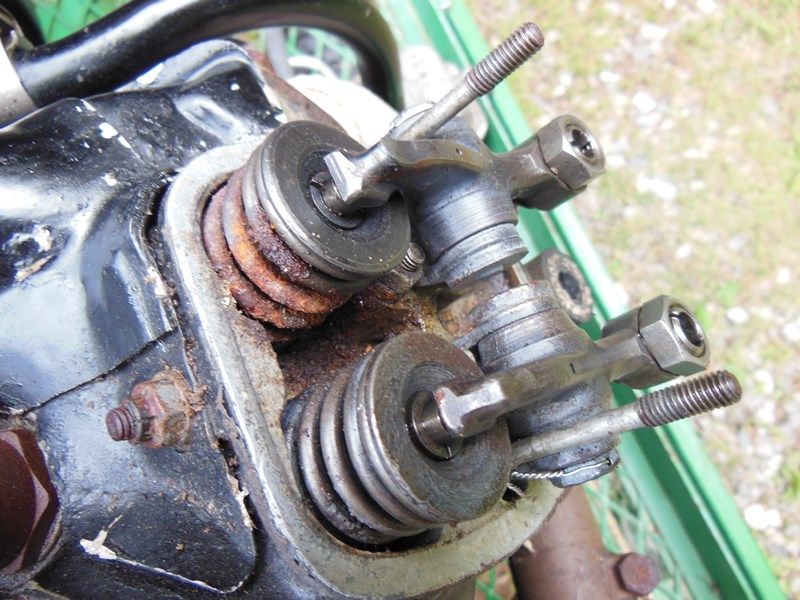
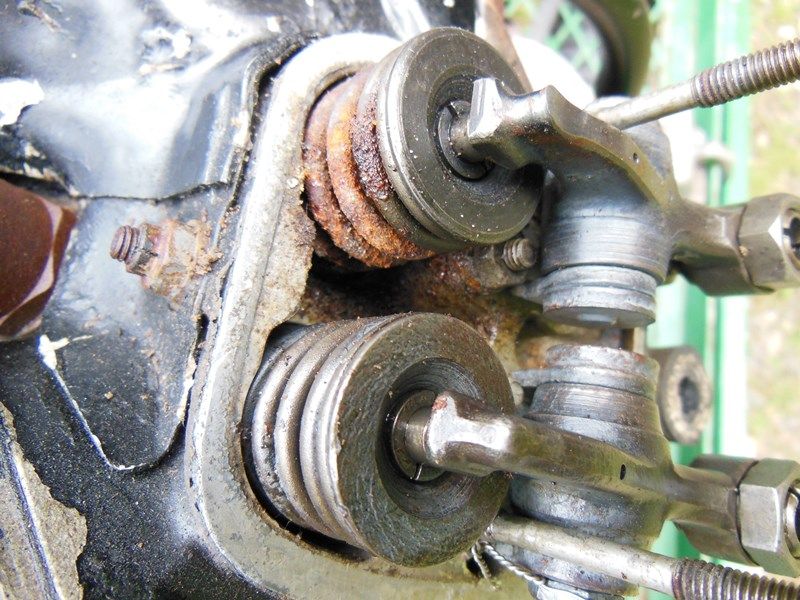
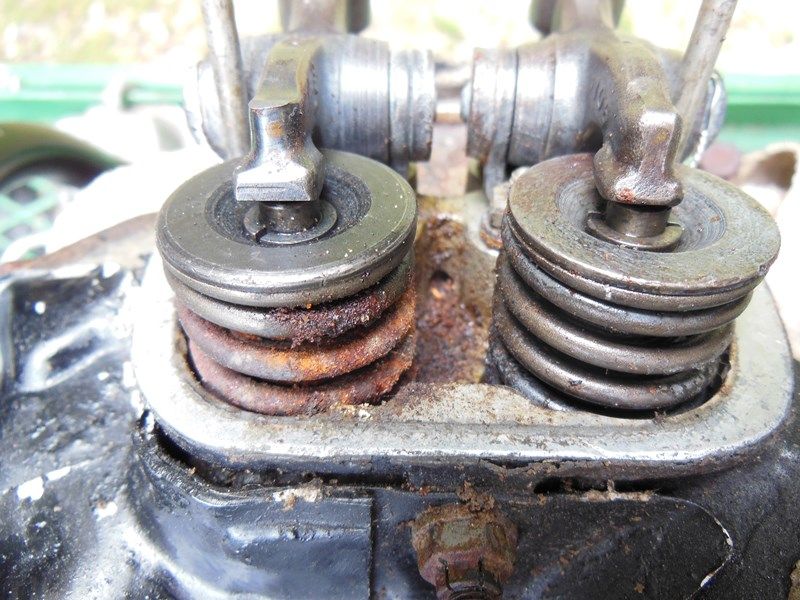
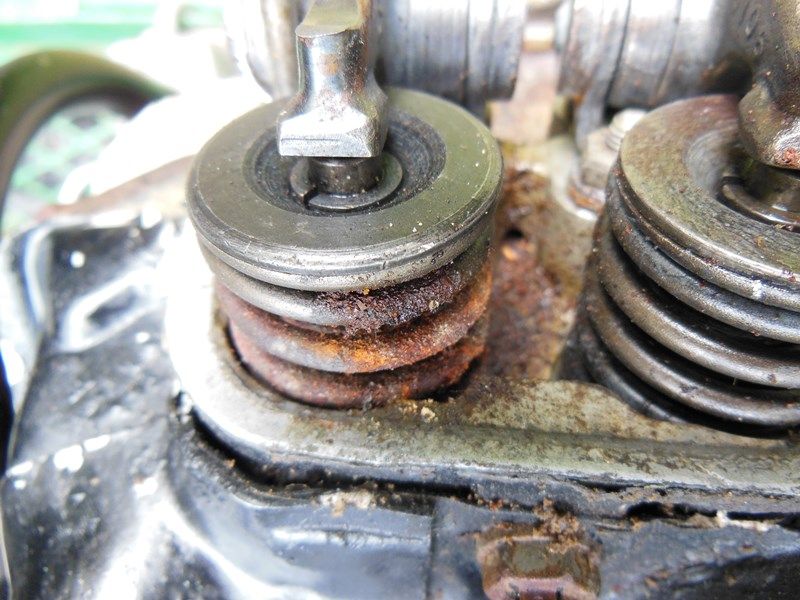
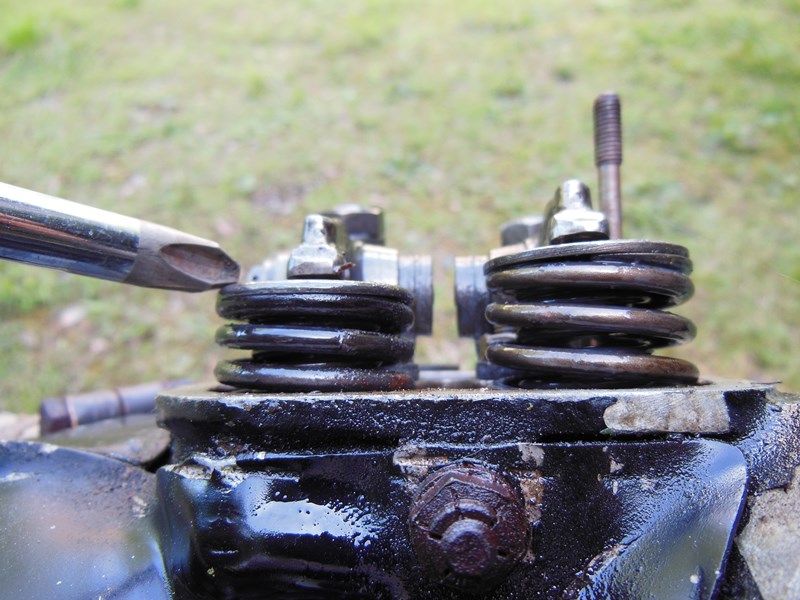
That valve spring is toast! The rocker box covers on these engines have vents built into them (I'll touch on that in a later post), and as you can see, that vent permitted moisture to get in there and that spring is gone. The good news is the valve is closed, so hopefully none of that moisture made it down into the cylinder (it doesn't appear any did).

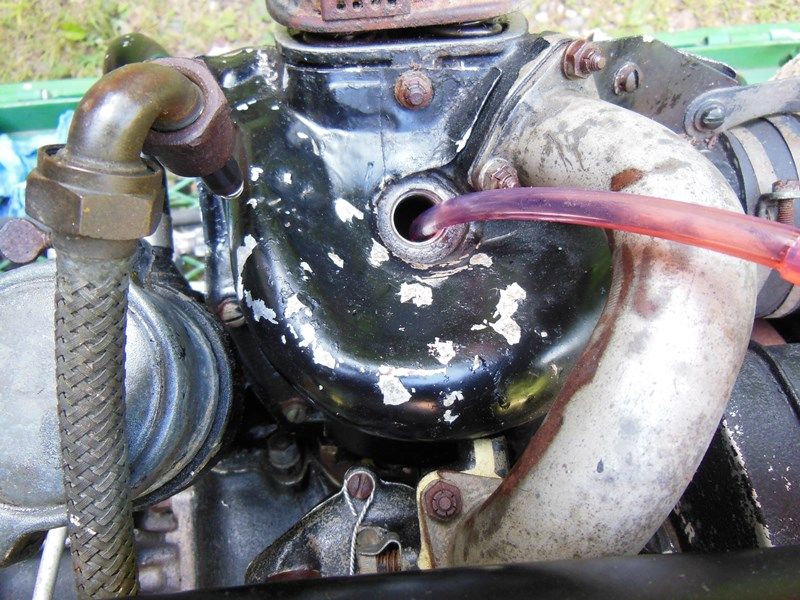
While the rocker box covers are off, we'll go ahead and drench everything in MMO as well.
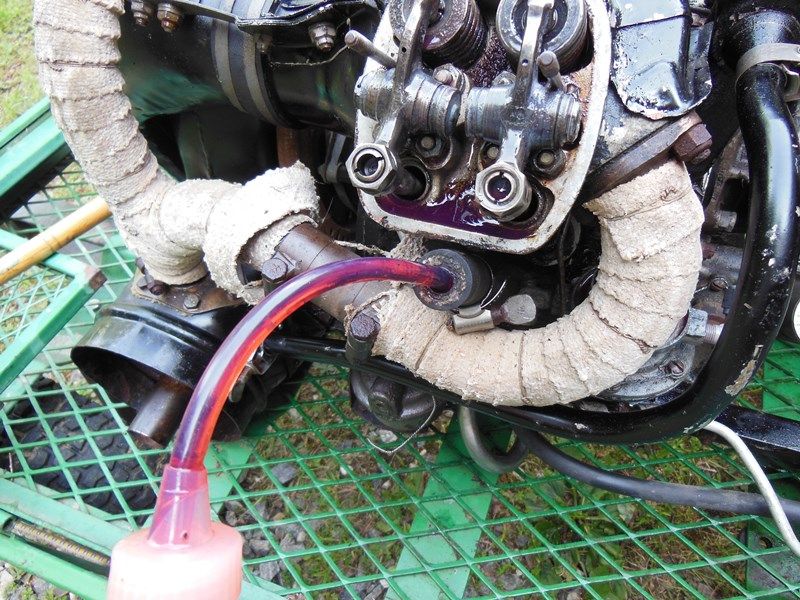
At the bottom of this hose is a one-way valve that's connected to the rocker box covers (part of the crankcase ventilation system--have you guessed the purpose of those rocker box cover vents yet?
), so we'll squirt some MMO down there as well.
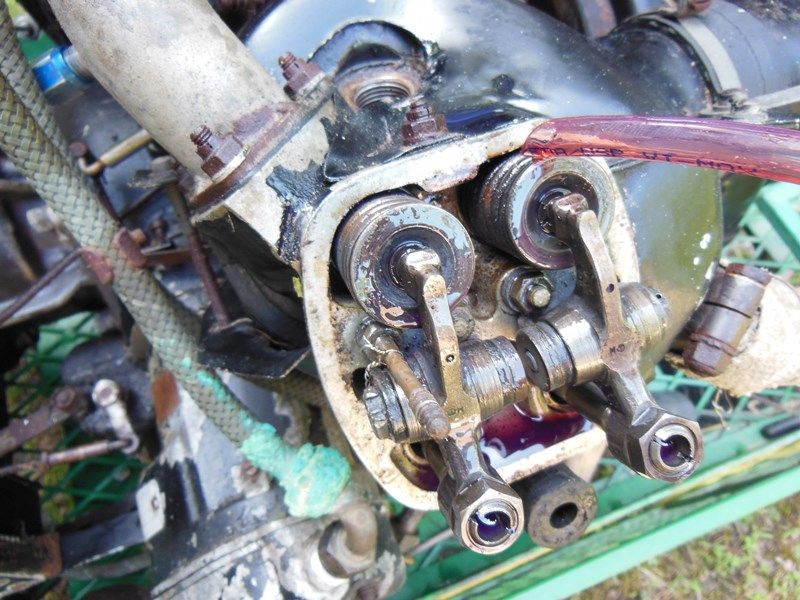
The next thing we'll do is put the handle of a rubber mallet on the rocker arms and push the valves open to see if any of them are stuck. I'll also squirt some more MMO on the valve stems and let it work down to the valve guides as I open and close the valves.
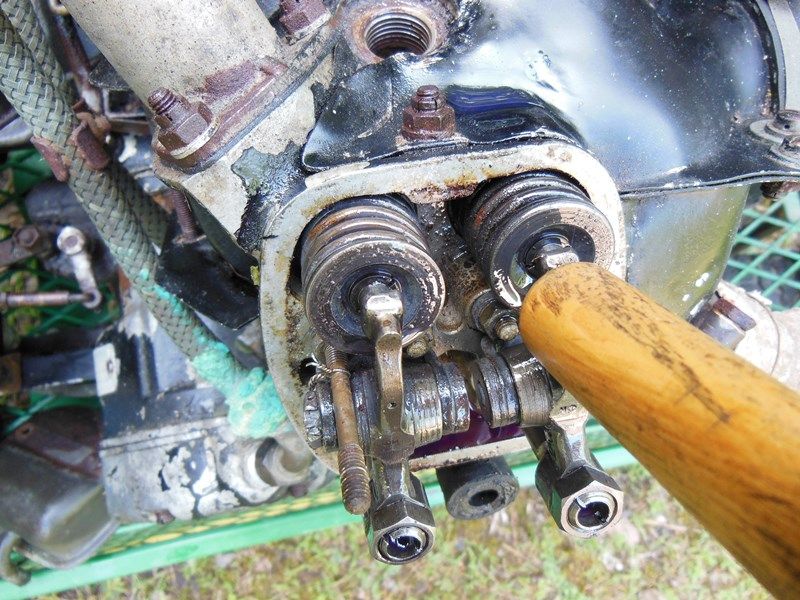
All of the valves are opening and closing just as they should...except for the exhaust valve on #1 cylinder. As you can see, the exhaust valve (on the left, from this angle) is partially open from when the engine was last shut down. Now, I can open and close the valve to the extent that the push rod will let me, and the valve is not stuck, but considering how long this engine probably sat outside in the weather, this could be a problem! Looking into the cylinder with a flashlight, I can see some scattered areas of light rust on the cylinder walls, and that, my friends, is not good. The rust doesn't look so bad that there's going to be pitting as well, but it's just really hard to tell. Either way, that was all I needed to see---off with the cylinder!!
So to sum up the to-do list, as of right now, I need to pull the #1 cylinder and see how bad that rust is (and it's probably a good idea to pull the #2 cylinder as well), and I need to replace a valve spring on the # 2 cylinder. So much for putting some gas in her and going
Stay tuned!