Lots of stuff going on lately at the shop. Unfortunately it hasn't let me out to play with the Harpoon nearly as much as I would like. Here are a few areas showing progress though:
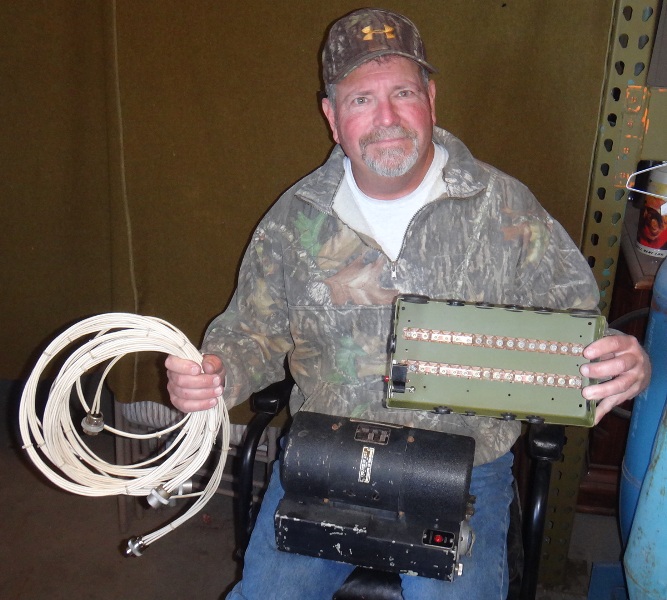
Mark, our hard working radio guy, has been wiring up the ARC-5 set by making the harnesses at his home and bringing them up to install. He just finished putting together the main junction box for the Command set today.
The ARC-5 was used for short range, plane to ground and plane to plane communications and is made up of many components. The Harpoon has a junction box where a lot of the power and shared audio and mic connect together. This box is also a power distribution box not only for the ARC-5 but for the navigators station too. Power from this J box goes to the flux gate compass system, nav lighting and other points aft.
We used an existing box that Mark set up to replicate the original. He installed the terminal strips and breaker as per the drawing. He then made the buss bars from copper stock.
Mark also lubed up the dynamotor bearings for the ART-13/ATC transmitter.

Thanks Mark!
Recently I went back to Florida for Collings ground school and I was able to swing by and see Tampa Jay. We had a great time talking about the old days and swapping stories. Jay then let me look through his cool stash and I found some goodies for the PV-2. A pretty stock ARB receiver and two covers. This pretty much makes sure we will have two operating Liasion receivers. Thanks Jay!. We also found the correct cylinder head instrument with the correct Munsel green face and many other goodies like radio connectors and antenna insulators and an ARN-8 mount and some cool lights and a dynamotor for the flux gate compass and a dynamotor for the drift sight and a lolipop and...
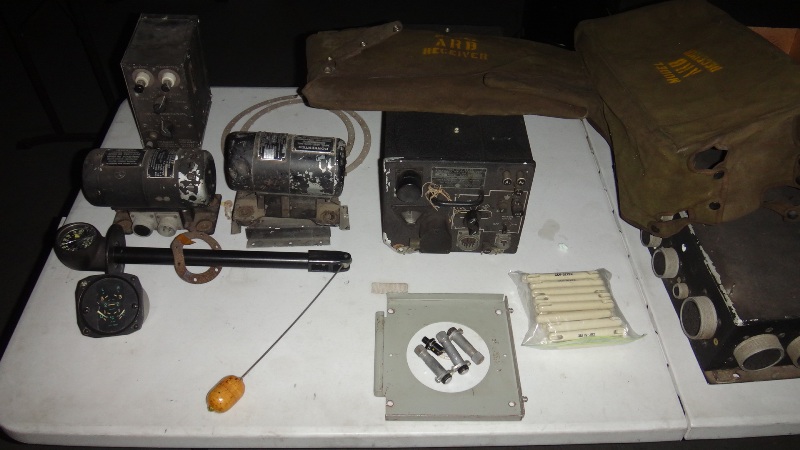
I love the search for the puzzle pieces. Jay is the largest and best place for Warbird puzzle pieces. Thanks again Jay. You da man!
Here is another foundry project that may be a bit pre mature but hopefully not. I was concerned about ever being able to find the special castings for the guns in the nose. Since they only made 35 of our 8 gun D model harpoons, actually being able to find the real gun mounts was going to be pretty high on the difficulty scale. The next best thing is to make them.
After looking at the drawings and what little information exists, I was finally able to wrap my head around just how the guns mounted. They used a quick release kind of setup with an edgewater adapter on the front trunion of the gun. Many guns in WWII were mounted with some sort of recoil mechanism to reduce shock loads to the airframe. The guns are firing/hammering at over 10 rounds per second so it either has to be a real strong rigid mount (read heavy) or the gun installation has to have a form of shock absorption. The two most common recoil absorbing methods in WWII were the Bell oil/piston type and the Edgewater mechanical spring type.
The edgewater adapter is a can like device with internal springs that absorb the shock between the gun and the mount bolts. This whole device screws on the front of the 50. In the Harpoon these edgewater adapters mounted in a ring style mount with pivots at 90 degrees allowing for the adjustment of the guns in both azimuth and elevation. The rear of the gun mounted on a post and slide type of arrangement.
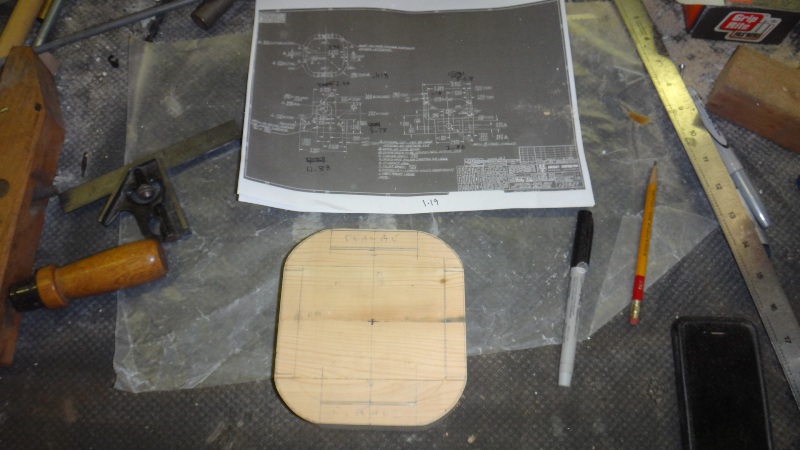
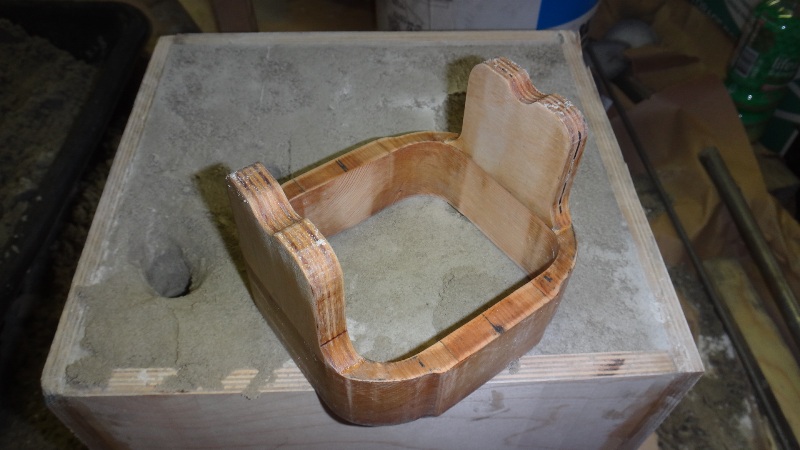
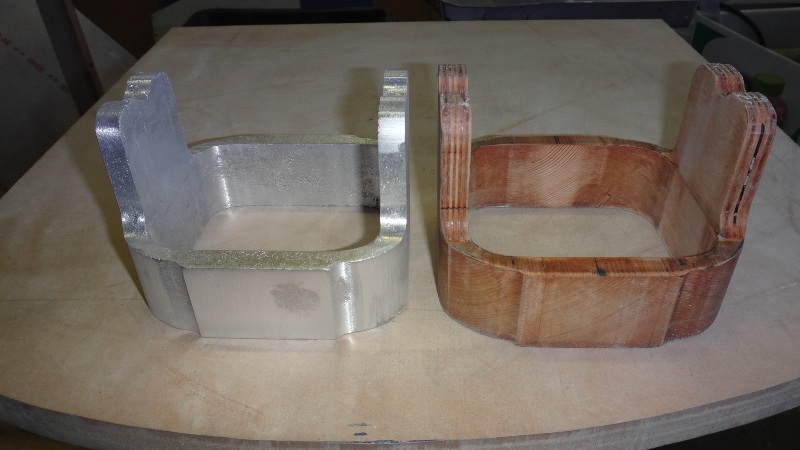
The first step to making the casting is fabricating the pattern. The pattern can be made out of anything really but I like wood for ease of fabrication. I glued up a block of nice tight grained wood for the main frame.
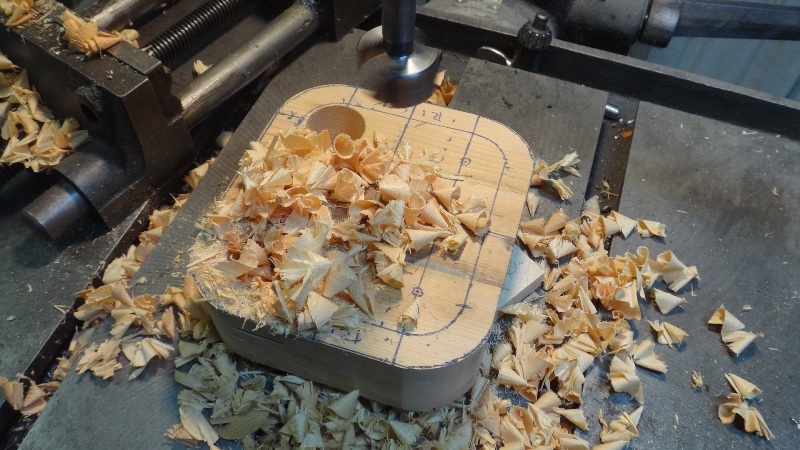
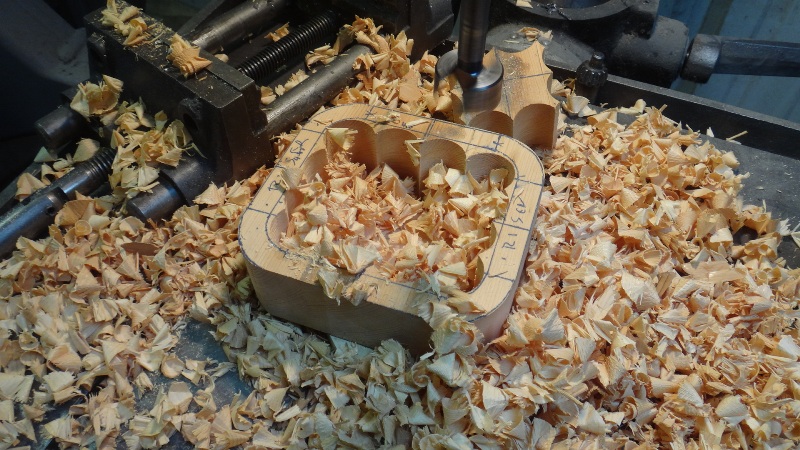
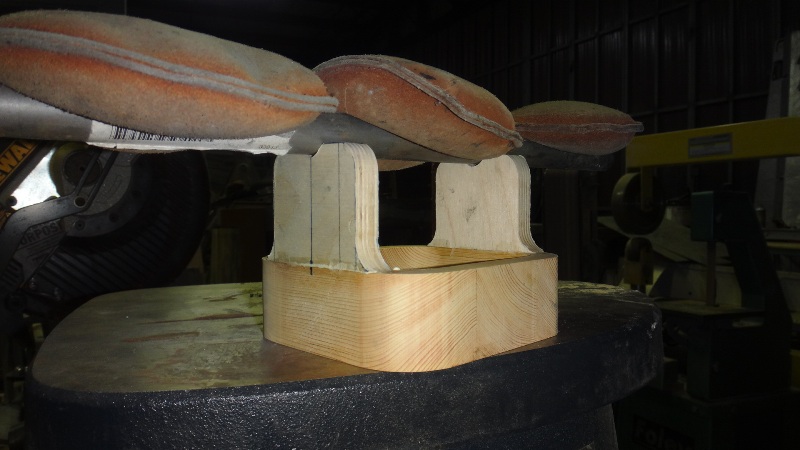
Then the inside is opened up with the forstner bit.
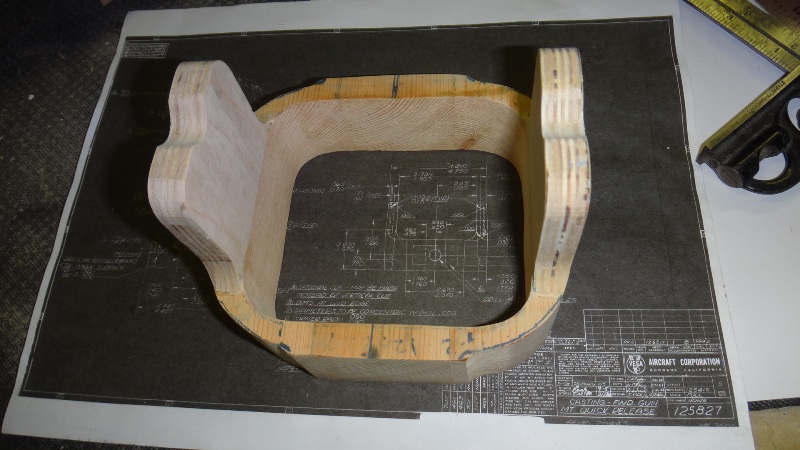
The ears are fabricated out of some marine grade plywood and glued in place
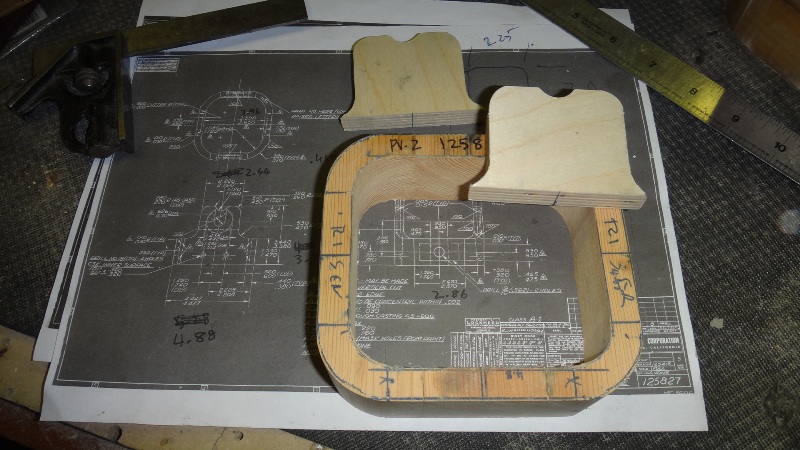
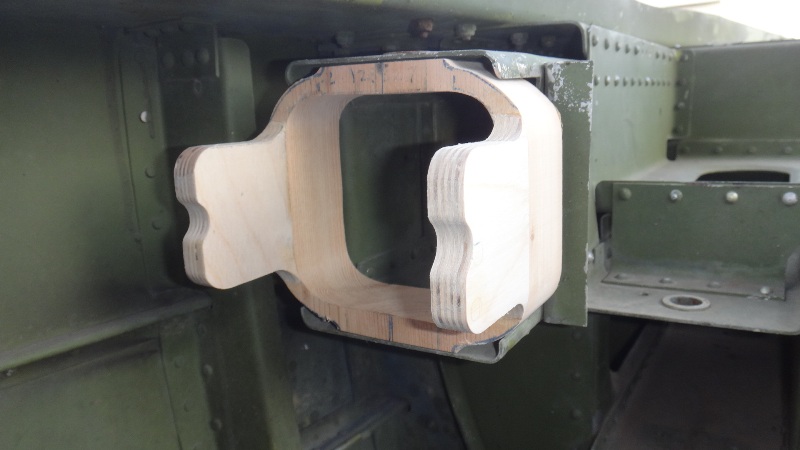
The block is sanded to dimention allowing for the contraction of the aluminum in the casting process and the finished product is checked in the aircraft to be sure it will fit

Next its time to make the mold by packing the pattern in the sand. I had to make a new cope because the part was too large for the other one.
My old jewelers furnace was also too small for our other little parts so I found a larger one on Craigslist for cheap. Now I can melt more than 15 pounds. Here it is heating up the aluminum.
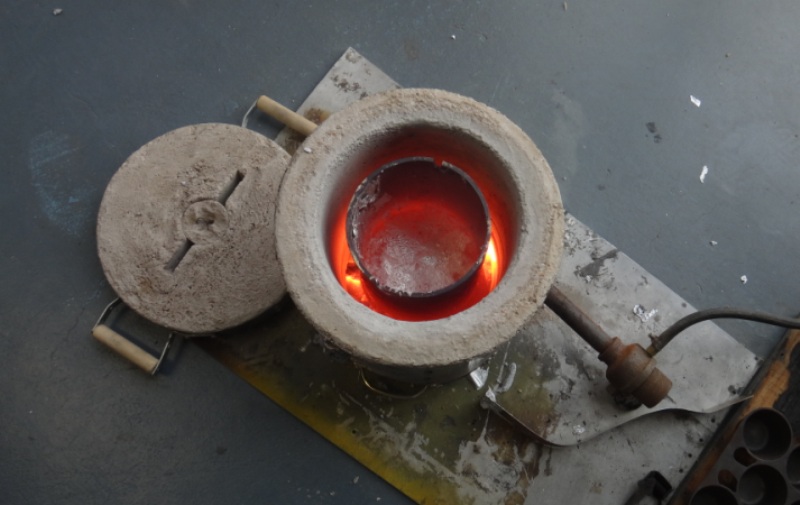
It takes two hands so doing this solo means no action shots during the pour
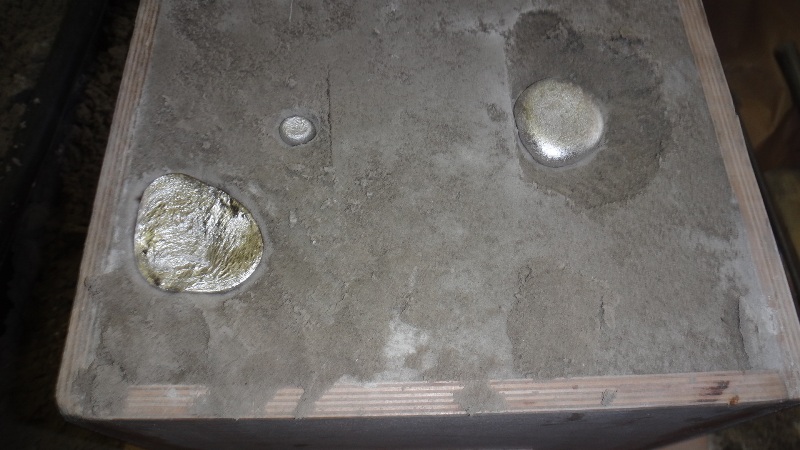
The extra metal goes into the cast iron cup cake pan to make ingots for the next casting project

After it cools for a little while the cope and drag are seperated and the rough casting comes out to play
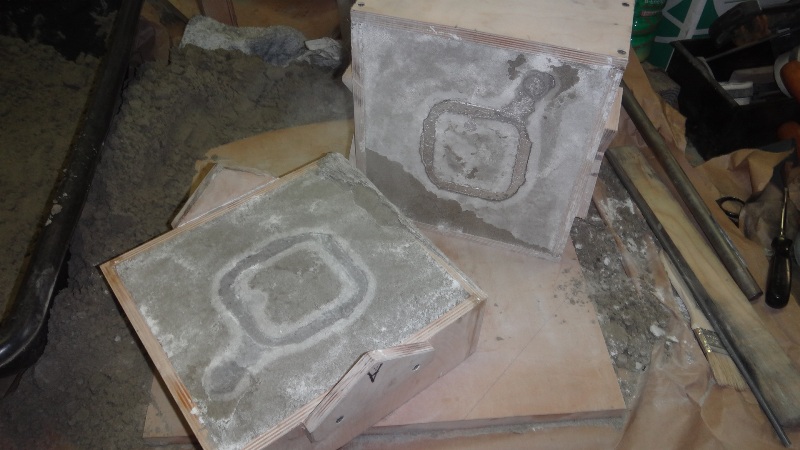
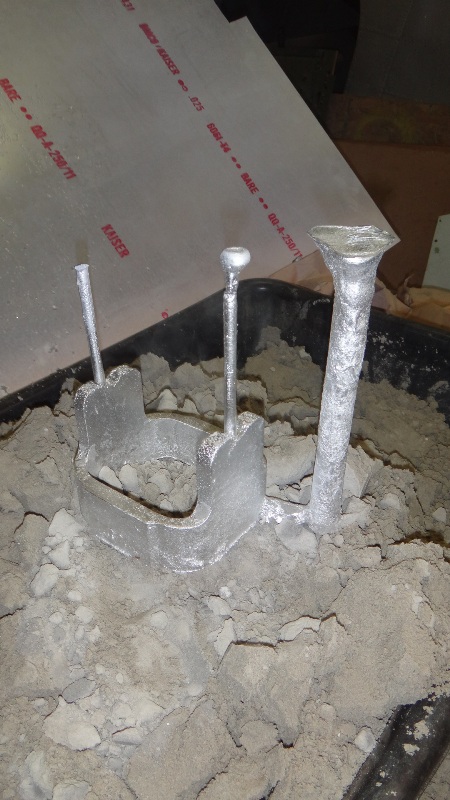
The sprue and other excess material is removed and the rough casting is cleaned up

One down and seven more to go. Then machining of the mounting holes and making the other parts to finish them off
_________________
To donate to the PV-2D project via PayPal click here
http://www.twinbeech.com/84062restoration.htmWe brought her from:

to this in 3 months:
Help us get her all the way back
All donations are tax deductible as the Stockton Field Aviation Museum is a 501c3 nonprofit organization. Tell a friend as the Harpoon needs all the help she can get.
Thank you!
Taigh Ramey
Vintage Aircraft, Stockton, California
http://www.twinbeech.com'KEEP ‘EM FLYING…FOR HISTORY!'