Thanks for all of the kind words guys.
Al - there is nothing wrong with your Fury. I like it and I'm glad you posted another pic of it. I was inspired to do this bird after seeing yours don’t forget. You are right that this kit did take a lot of patience to build and it was a struggle at times.
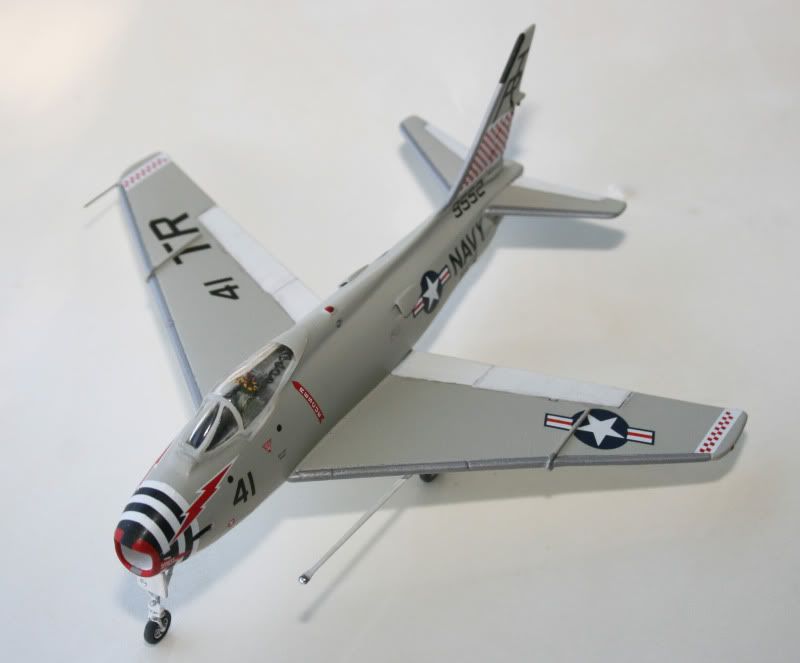
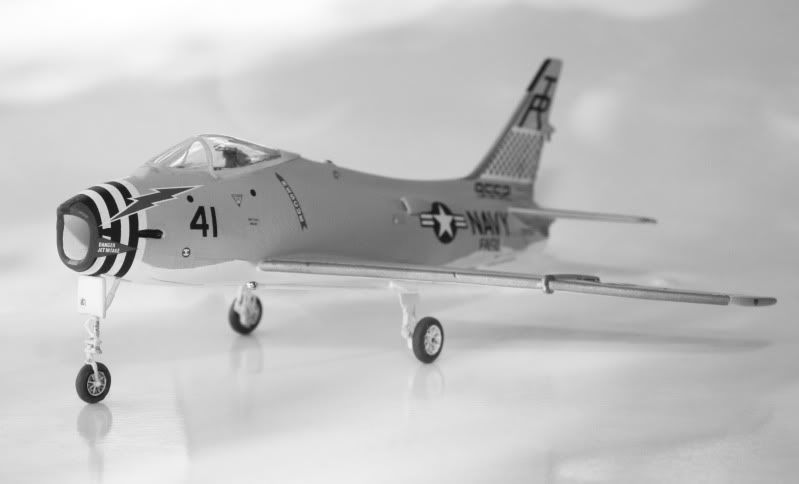
Getting the nose decals on wasn’t too bad actually. They fit pretty well with a just little bit of overlap. A little black and white paint touch up and it come out ok.
It’s funny that you mentioned the Emhar Demon Steve. I’ve had this one started in the stash and I’ve thought about opening up the box and starting it up again. I’ve got the Xtradecal sheet for it plus both old Airwaves photo etch sets and the Aeroclub ejection seat and landing gear. I’m just not sure I want to put myself through another Emhar kit so soon

The Sword 1/72 is a really nice looking kit. I could post some in-progress pics if you guys want to see them.
-Derek