Warbird Information Exchange

DISCLAIMER: The views expressed on this site are the responsibility of the poster and do not reflect the views of the management.
It is currently Sun Jun 08, 2025 5:40 pm

All times are UTC - 5 hours


Classic Wings Magazine WWII Naval Aviation Research Pacific Luftwaffe Resource Center
When Hollywood Ruled The Skies - Volumes 1 through 4 by Bruce Oriss


Post new topic Reply to topic  [ 1022 posts ]  Go to page Previous  1 ... 31, 32, 33, 34, 35, 36, 37 ... 69  Next
Author Message
PostPosted: Mon Jan 04, 2010 9:59 am 
Offline
User avatar

Joined: Sun Sep 28, 2008 9:44 pm
Posts: 379
The Saturday after Christmas, I had a nice group come out and play at the hangar with me. Chris, his Dad Greg, Mark, Neal and Shawn.

This is Shawn, my newest favorite volunteer!! Sorry guys? He came out with his Dad and said he wanted to help with "FIFI"! I gave him something that was just his size and he loved it. He cleaned up all the tires and didn't miss a spot.

Image
Image
Image
Image
Image

Chris and Mark were finishing up the flap lube.

Image

Greg was working on cleaning up a spot on the #2 engine aft mount structure. After that was done, he cleaned up the hopper for #1's oil tank.

Image

Neal was found really getting into his job. I had him removing the old engine mount bolts from the nacelle attach points. There are 6 of them, two are easy four are not!!

Image

Image

Image

A few days later, I had my daughter here from Ohio. She came out to the hangar with me and got right in there. First I had her cleaning up the engine mount points on #2, where those bolts had been removed.
Image

Then she worked on the #4 cowling, cleaning the cowl flap bushings.
Image

Then the day after Derek got the #1 nacelle cleaned up, she started the taping.
Image

Finally, back in Oct. after AirSho, I went back to Pennsylvania to move my Dad here to Midland so I could have him closer to me. We brought him out to the Hangar and my daughter and I gave him the grand tour. he really enjoyed it.
Image
Image

Hope you all have a safe and happy New Year!

Dave


Top
 Profile  
 
PostPosted: Mon Jan 04, 2010 1:36 pm 
Offline
1000+ Posts!
1000+ Posts!
User avatar

Joined: Sun Feb 18, 2007 12:39 pm
Posts: 1817
Location: Irving, Texas
I'm glad to see your Dad with you now in MAF. I hope he enjoys the better weather (no joke intended).


Top
 Profile  
 
PostPosted: Tue Jan 05, 2010 4:36 pm 
Offline
User avatar

Joined: Sun Sep 28, 2008 9:44 pm
Posts: 379
I just got the "IN MEMORY OF GARY AUSTIN" stickers that Simon Diver made for us. They are available for sale thru me at this point, for $5.00 each or 3 for $10.00. Procedes will go toward the purchase of an aircraft sponsorship in Gary's name for the B-24 and the B-29. They measure 3" X4" and are darker green than the picture I took shows. Mail check or money order to;
Dave Miller
CAFHQ
B-29/B-24 Squadron
PO Box 62000
Midland, Tx. 79711
Image


Top
 Profile  
 
PostPosted: Tue Jan 05, 2010 8:23 pm 
Offline
User avatar

Joined: Tue May 16, 2006 10:06 am
Posts: 871
Location: Midland, Texas
Here is a low-res scan with a little better idea of the colors.

Image

Randy


Top
 Profile  
 
PostPosted: Fri Jan 08, 2010 10:42 am 
Offline
User avatar

Joined: Sun Sep 28, 2008 9:44 pm
Posts: 379
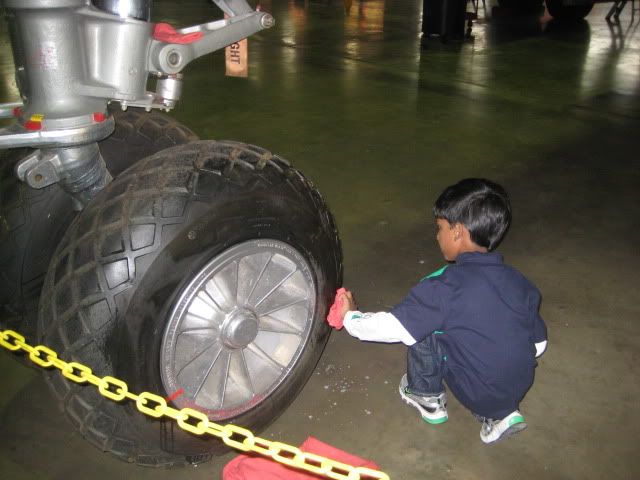
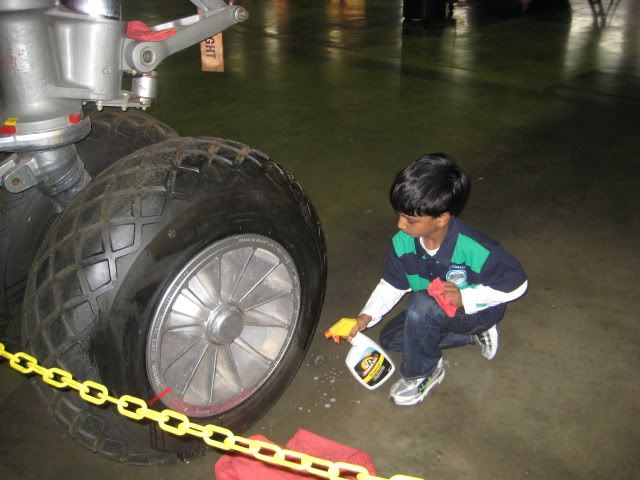
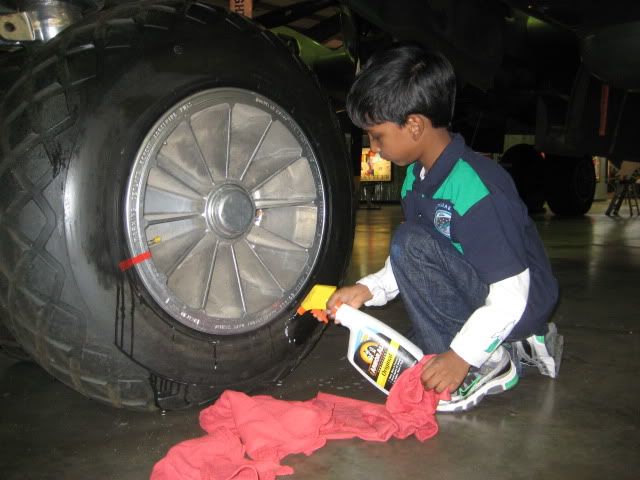
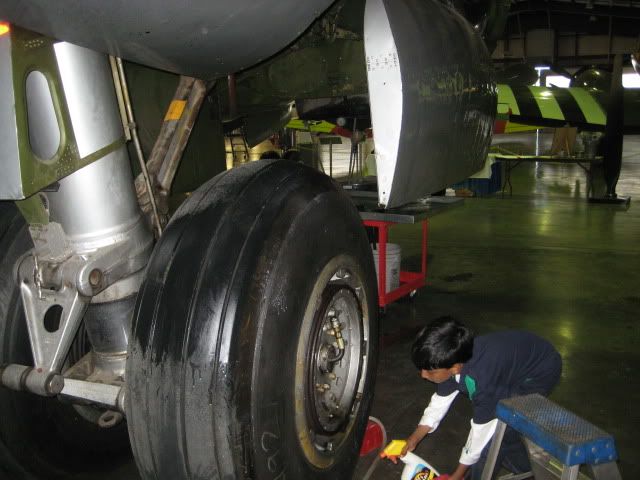
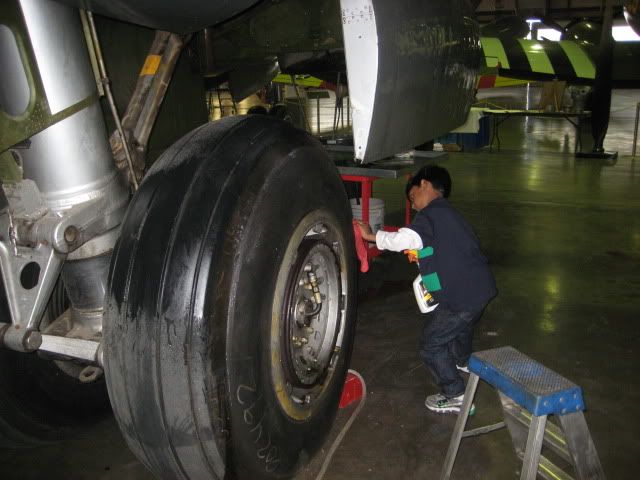
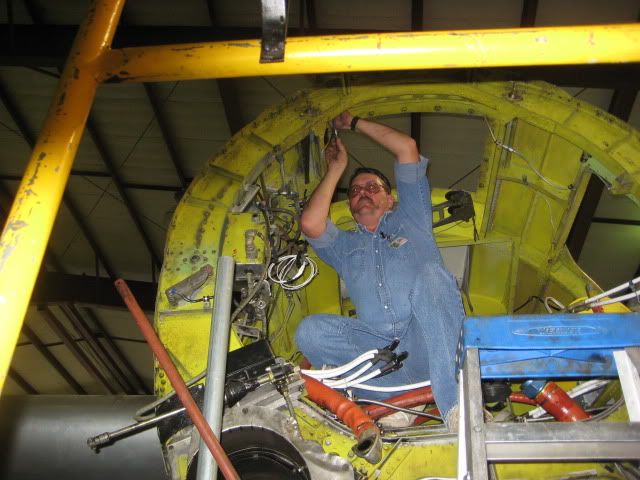
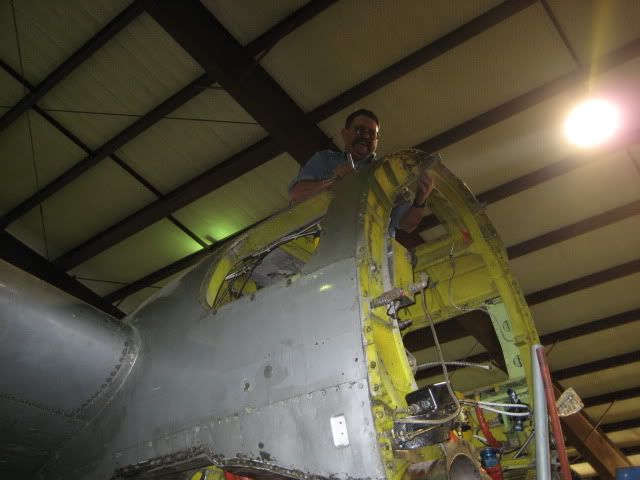
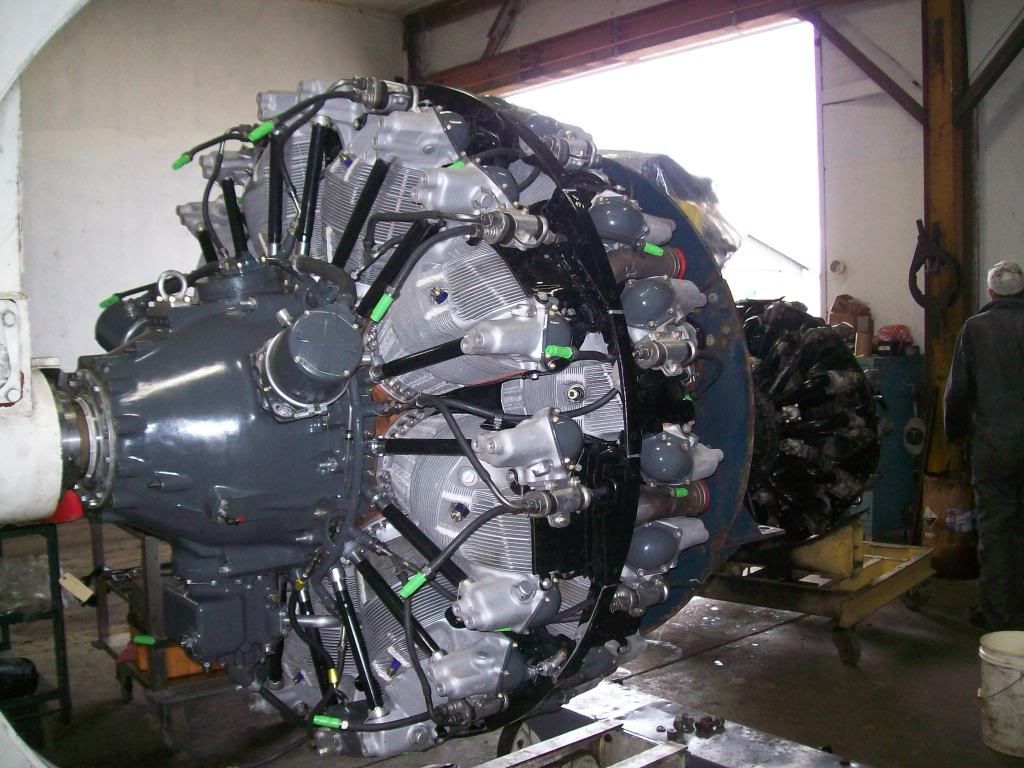
I don't remember if I showed this before but if I did, my bad.
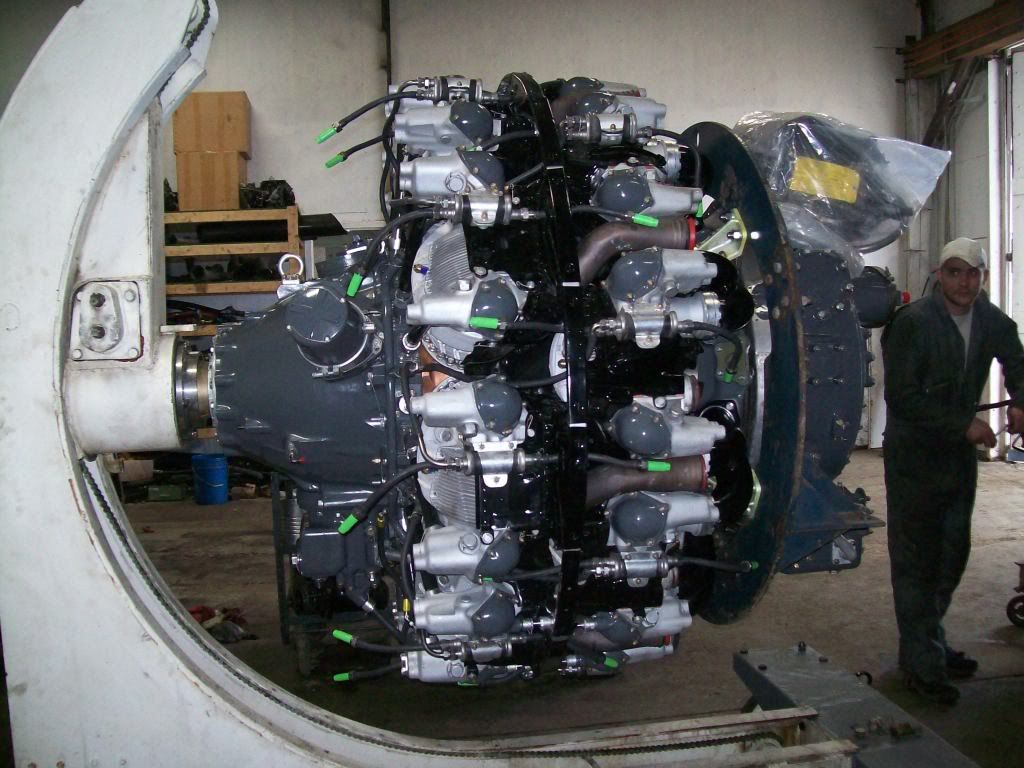
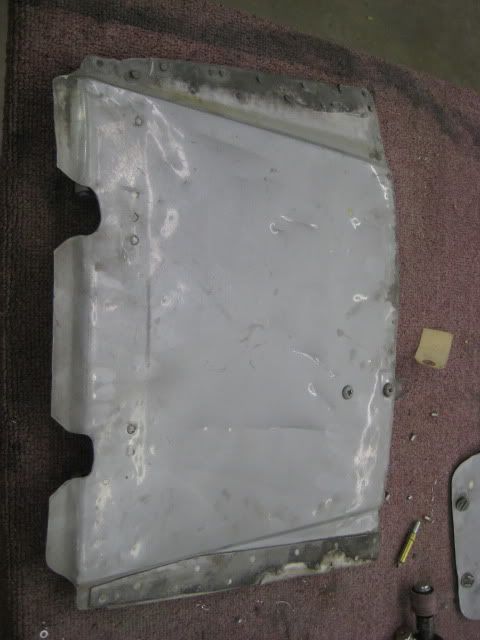
One of the things about this project or any for that matter, are the little things that need attention, that many times get over looked or there's just not enough time to get them done. As Gary showed many times, there are several steps to a process of completing a repair. In this series of pictures, I'll show you what a single cowl flap needed to complete a repair. There's 12 of them on each cowling. We removed them all so they could be cleaned, inspected, repaired and repainted. This ones from the #4 cowling.

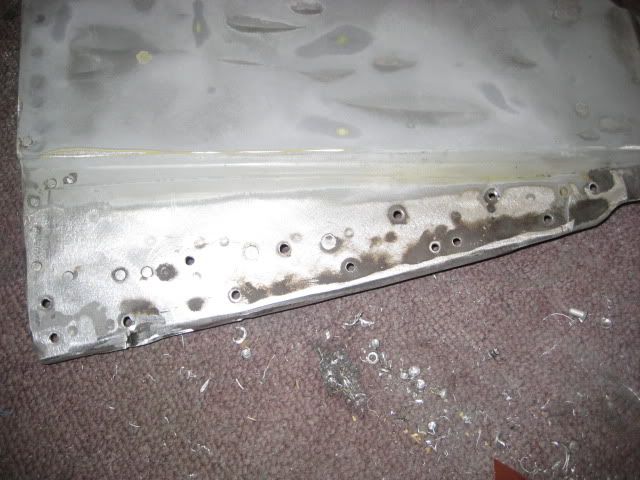
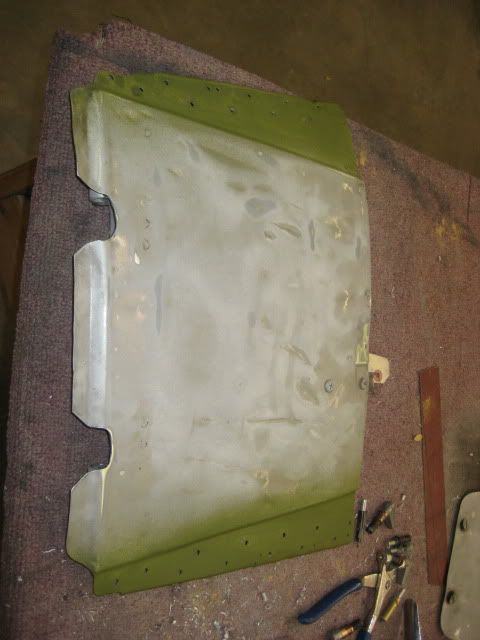
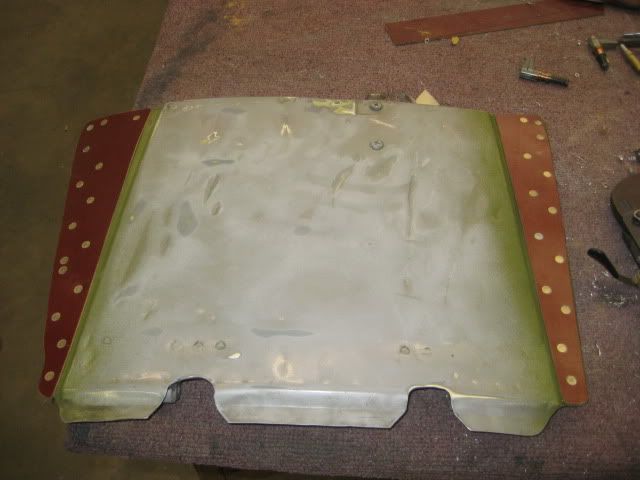
This first picture shows what it looked like before I started. At the bottom of the flap, you'll notice the rub strip is partcially broken and missing in some areas. The top one is completely gone, meaning the rivets that held it on are rubbing directly on the cowl flap next to it, causing more damage.


Image


The first step is to drill out all the rivets that hold the strips on.

Image

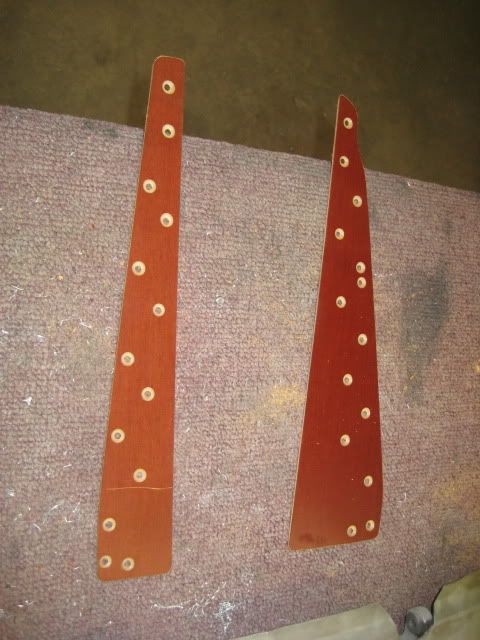
Next step is to fabricate a new set of rub strips. These strips are made of a product called phenolic. It's a material that has been used in aviation for years and really does hold up to alot of abuse. This application calls for 1/16" sheet and can be cut very easily on the metal shear. Rough cut two pieces and hold them in place with cleco clamps.

Image

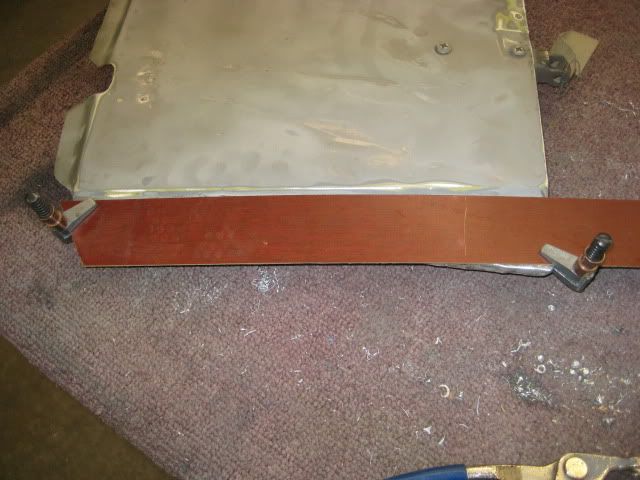
Next, you flip it over and drill thru the exsisting holes and thru the phenolic. add clecos.

Image

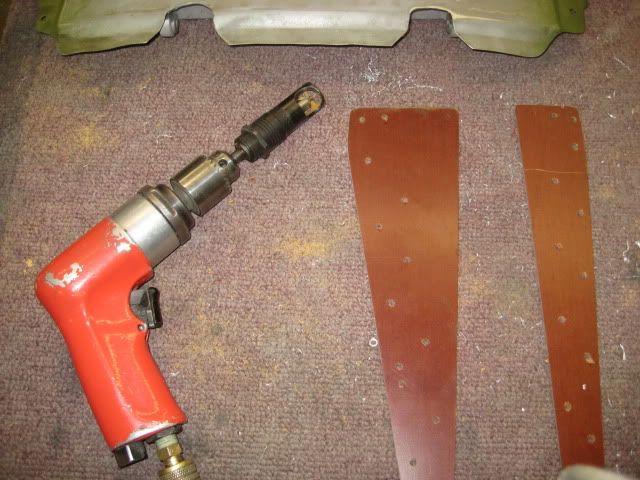
Mark the strips, trim to fit and countersink the holes for flush rivets. This tool on the end of my drill is a countersink that can be set for a specific depth, so all you have to do is drill too it's stop depth and go to the next hole. Makes life alot easier and all the holes are uniform.

Image
Image

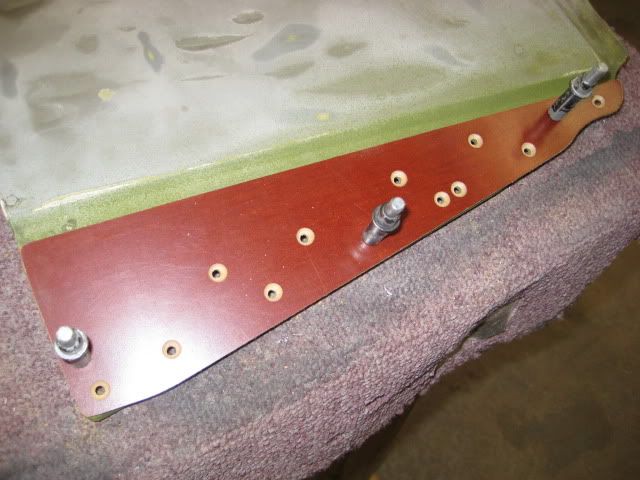
Now before you go and cleco that back on and rivet the new strip on, you want to prep the surface where you removed the old one. Take some ScotchBrite and clean the old paint and grime off. If you're down to bare aluminium, you'll alodine, then prime with a good zinc chromate primer.

Image

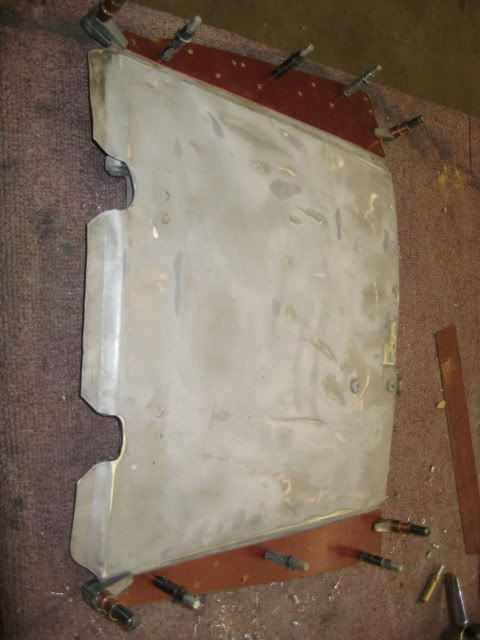
Now you can go ahead and cleco it back on and get ready to rivet.

Image

This tool is called a rivet squeezer. Real handy when it's just you in the shop.

Image

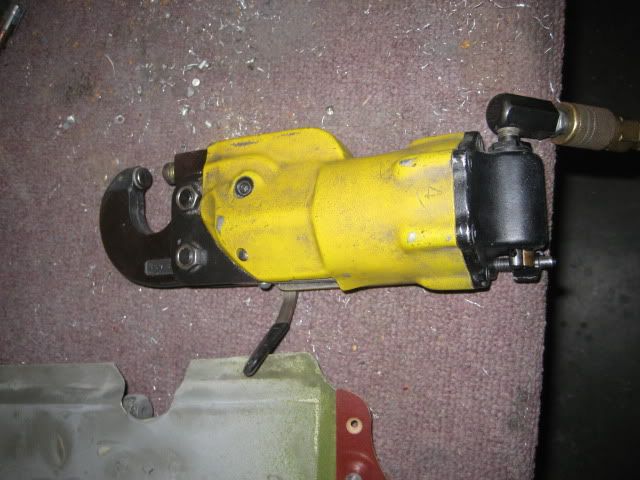
Just load a rivet and put the squeezer in place and pull the trigger. It too does a real nice job and all your rivets come out looking great.

Image

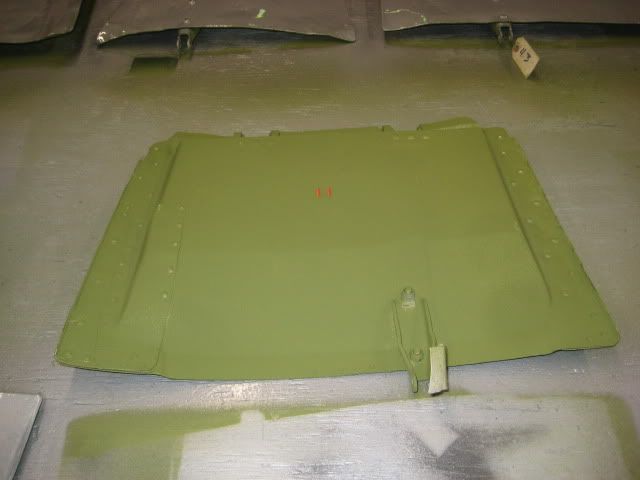
Last thing to do is prime, number and paint the flap.

Image


Image

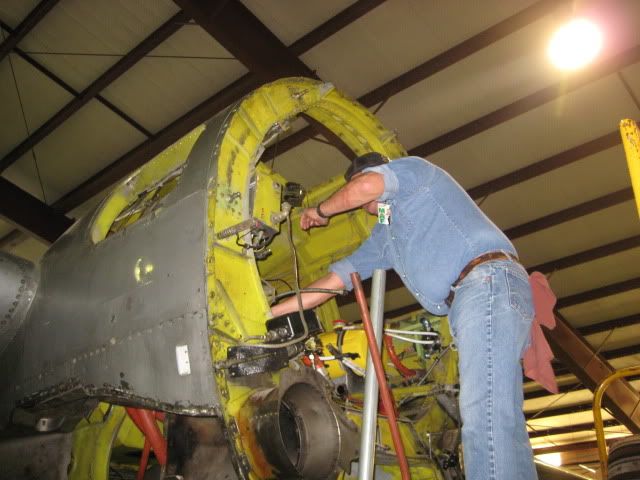
Next I'll show what Mark and I are doing on the interior of the cowl to close up the holes.

Dave


Top
 Profile  
 
PostPosted: Sat Jan 09, 2010 10:37 am 
Offline
3000+ Post Club
3000+ Post Club
User avatar

Joined: Thu May 18, 2006 3:08 pm
Posts: 4542
Location: chicago
Interesting. What gave you the idea to use the Phenolic?

_________________
.
.
Sure, Charles Lindbergh flew the plane... but Tom Rutledge built the engine!

Visit Django Studios online or Facebook!


Top
 Profile  
 
PostPosted: Sat Jan 09, 2010 12:24 pm 
Offline
1000+ Posts!
1000+ Posts!
User avatar

Joined: Sun Feb 18, 2007 12:39 pm
Posts: 1817
Location: Irving, Texas
Phenolic is original.


Top
 Profile  
 
PostPosted: Tue Jan 12, 2010 11:48 pm 
Offline
User avatar

Joined: Wed Nov 18, 2009 6:21 pm
Posts: 14
will she make it to Airventure 2010?

C.

_________________
Chris Williams
B-17 Texas Raiders Supporter.
GCW Member
Keep 'em Flying!


Top
 Profile  
 
PostPosted: Wed Jan 13, 2010 9:29 am 
Offline

Joined: Wed Apr 25, 2007 8:08 am
Posts: 563
Location: Copperas Cove Texas
Is there a chance that she might be at T.O.M 2010 ?

_________________
Always Keep Em Flying !

Glen

Lookie Capt Jim! Wham! Wham! ...............................Termights


Top
 Profile  
 
PostPosted: Wed Jan 13, 2010 10:04 am 
Offline
User avatar

Joined: Sun Sep 28, 2008 9:44 pm
Posts: 379
All I can tell you now is that is being worked on. It is my hope that we could do both but I'm just the crew chief! Those decisions are made a few heads higher on the totem pole than where I am.

Dave


Top
 Profile  
 
PostPosted: Wed Jan 13, 2010 12:47 pm 
Offline
Account Suspended
User avatar

Joined: Wed Nov 14, 2007 3:06 pm
Posts: 2713
Somwhere I have a HUGE PDF scan of some Boeing docs during the end of 1945 that shows various modifications performed on the cowl flaps to increase the cooling on the engine.., if I find it., would you like it?

_________________
S.


Top
 Profile  
 
PostPosted: Wed Jan 13, 2010 1:41 pm 
Offline
1000+ Posts!
1000+ Posts!
User avatar

Joined: Sun Feb 18, 2007 12:39 pm
Posts: 1817
Location: Irving, Texas
the330thbg wrote:
Somwhere I have a HUGE PDF scan of some Boeing docs during the end of 1945 that shows various modifications performed on the cowl flaps to increase the cooling on the engine.., if I find it., would you like it?


The cowl flaps were shortened by about two inches to improve cooling and lessen the drag.


Top
 Profile  
 
PostPosted: Mon Jan 18, 2010 10:42 am 
Offline
User avatar

Joined: Thu Nov 30, 2006 2:16 pm
Posts: 382
Location: Lubbock, Texas
Dave is taking a quick vacation to visit family, and asked me to post this report.

Last week, Anderson Aeromotive ran our new #2 engine for between four and five hours and were please with the results.

The engine is currently being put in the can, and is expected at Midland for Dave's return next week. Below are a few pictures

Image

Image

Image

Another step closer to putting John S. back to work in the engineer's seat

Enjoy! :D :D :D :D :D


Top
 Profile  
 
PostPosted: Tue Jan 19, 2010 9:37 pm 
Offline
1000+ Posts!
1000+ Posts!
User avatar

Joined: Sat May 08, 2004 2:59 pm
Posts: 1715
Location: Safford, Az
MAN, Anderson sure makes some pretty engines!! :D :D


Top
 Profile  
 
PostPosted: Tue Jan 19, 2010 10:19 pm 
Offline
User avatar

Joined: Thu Nov 30, 2006 2:16 pm
Posts: 382
Location: Lubbock, Texas
Steve
Have you done any of the work on our projects there, or have you been busy with one of the other aircraft in the hangar in B-ridge...


Top
 Profile  
 
Display posts from previous:  Sort by  
Post new topic Reply to topic  [ 1022 posts ]  Go to page Previous  1 ... 31, 32, 33, 34, 35, 36, 37 ... 69  Next

All times are UTC - 5 hours


Who is online

Users browsing this forum: No registered users and 13 guests


You cannot post new topics in this forum
You cannot reply to topics in this forum
You cannot edit your posts in this forum
You cannot delete your posts in this forum
You cannot post attachments in this forum

Search for:
Jump to:  
Powered by phpBB® Forum Software © phpBB Group