A place where restoration project-type threads can go to avoid falling off the main page in the WIX hangar. Feel free to start threads on Restoration projects and/or warbird maintenance here. Named in memoriam for Gary Austin, a good friend of the site and known as RetroAviation here. He will be sorely missed.
Post a reply

Lockheed PV-2 Harpoon Interior Details, Stencils and Decals

Wed Dec 31, 2008 9:42 pm

Time capsules, we are all exposed to them at some point in time in the things that we do, documenting them and keeping them as a record are now easier than before. Hey, digital photography and the internet have made film photography and hand drawings much easier in recording the things that we see and easier to share. So here goes, I will let Pooner fill in where I have not put enough down in detail for the following digital photos of decals and stencils that we find as we remove the sprayer sheet metal and fixtures from a Lockheed PV-2 Harpoon.

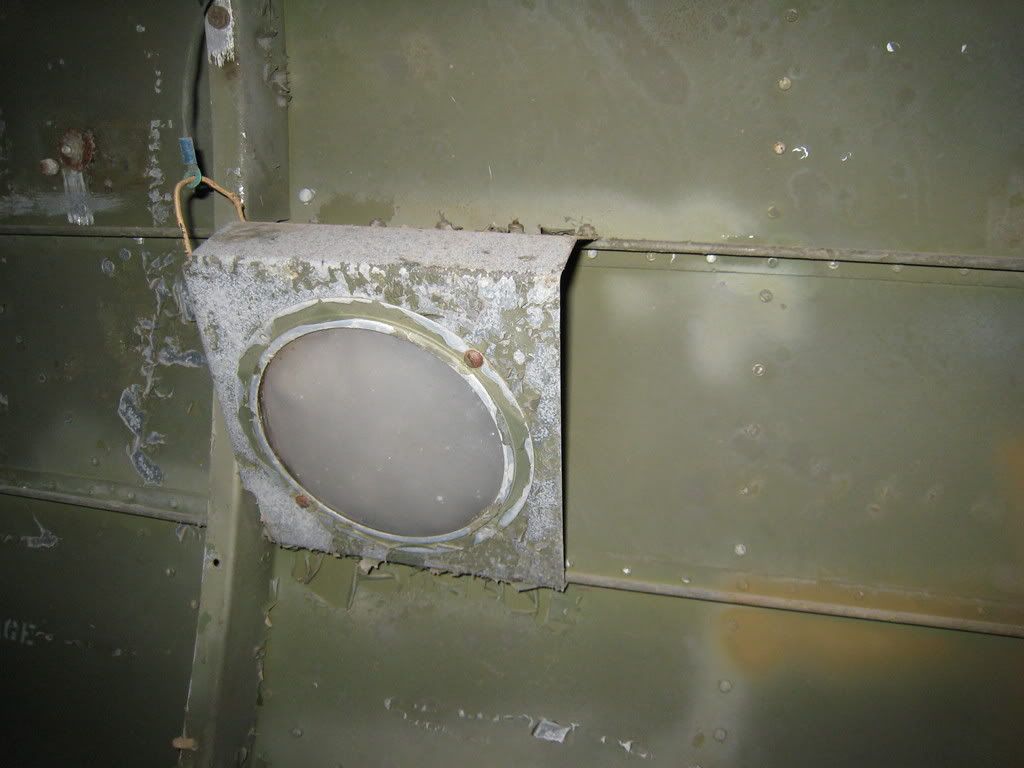
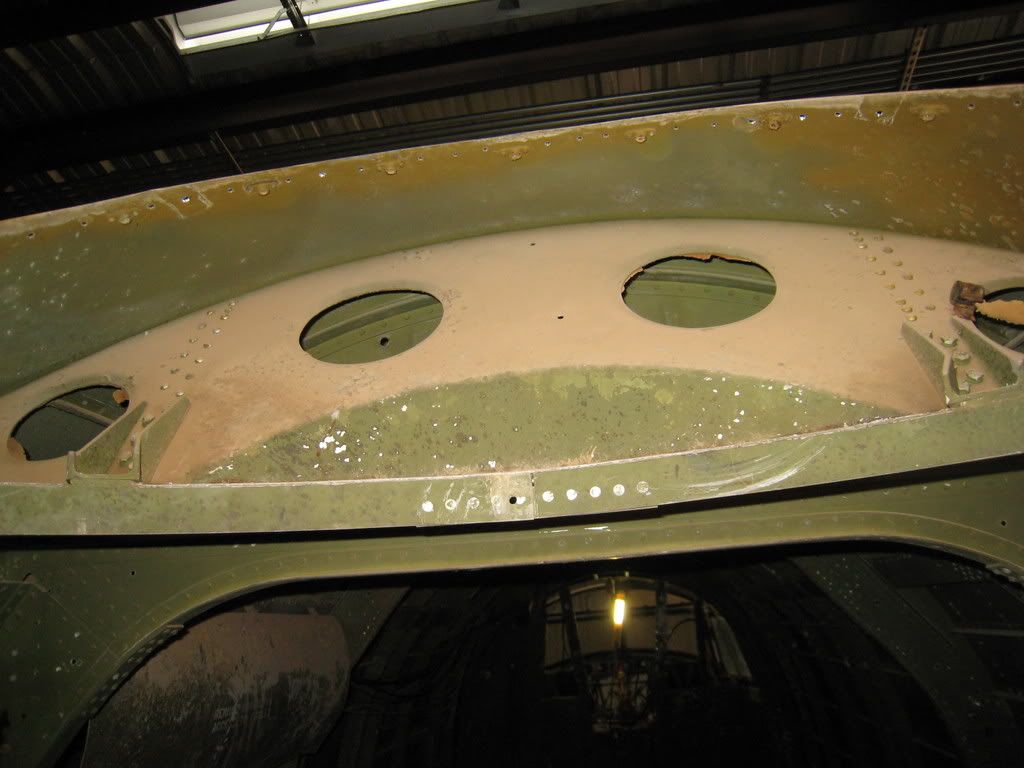
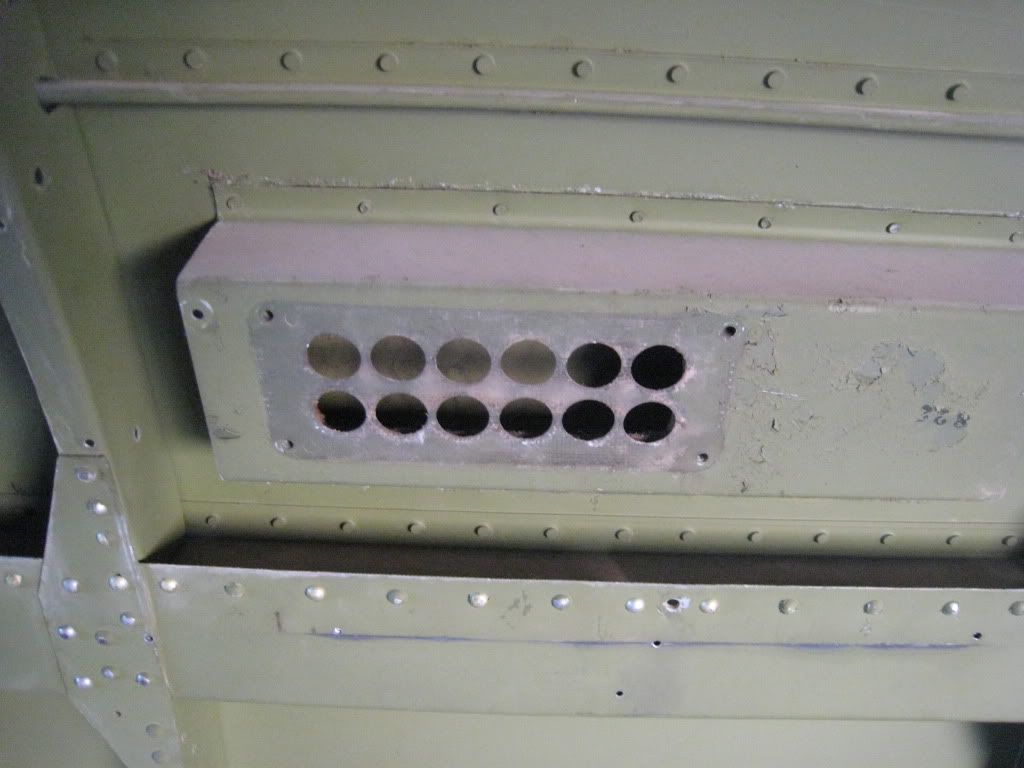
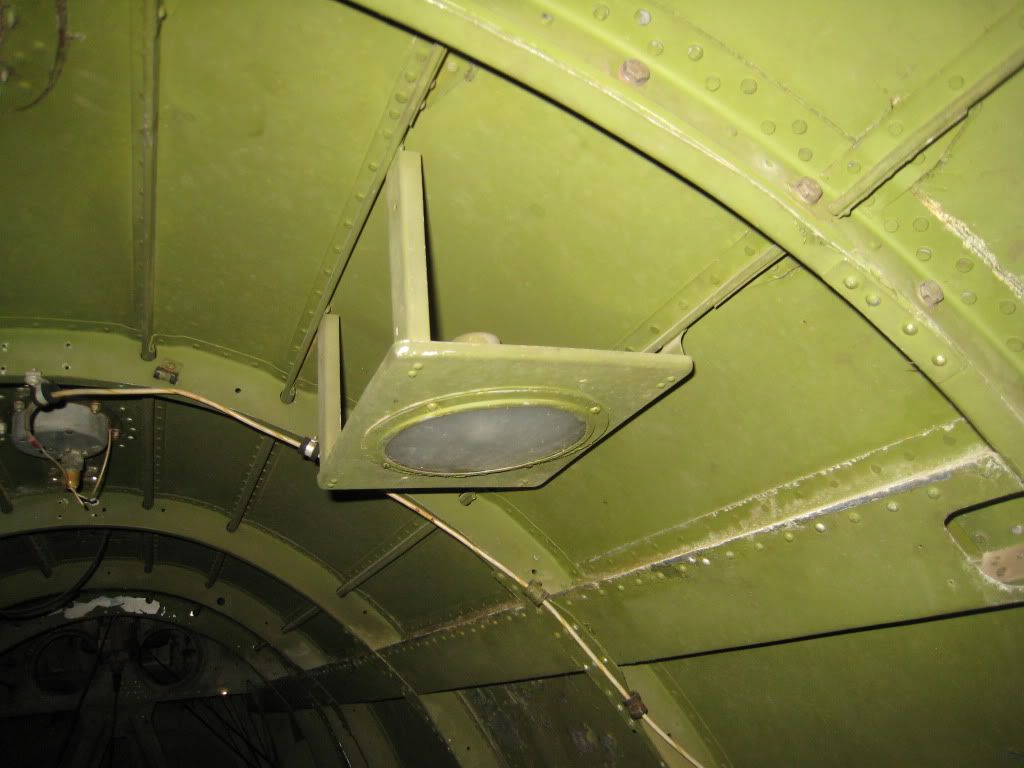
An overhead cabin light fixture still in situ, as located and used by the Navy crew that flew and worked in ther interior space of the Harpoon.
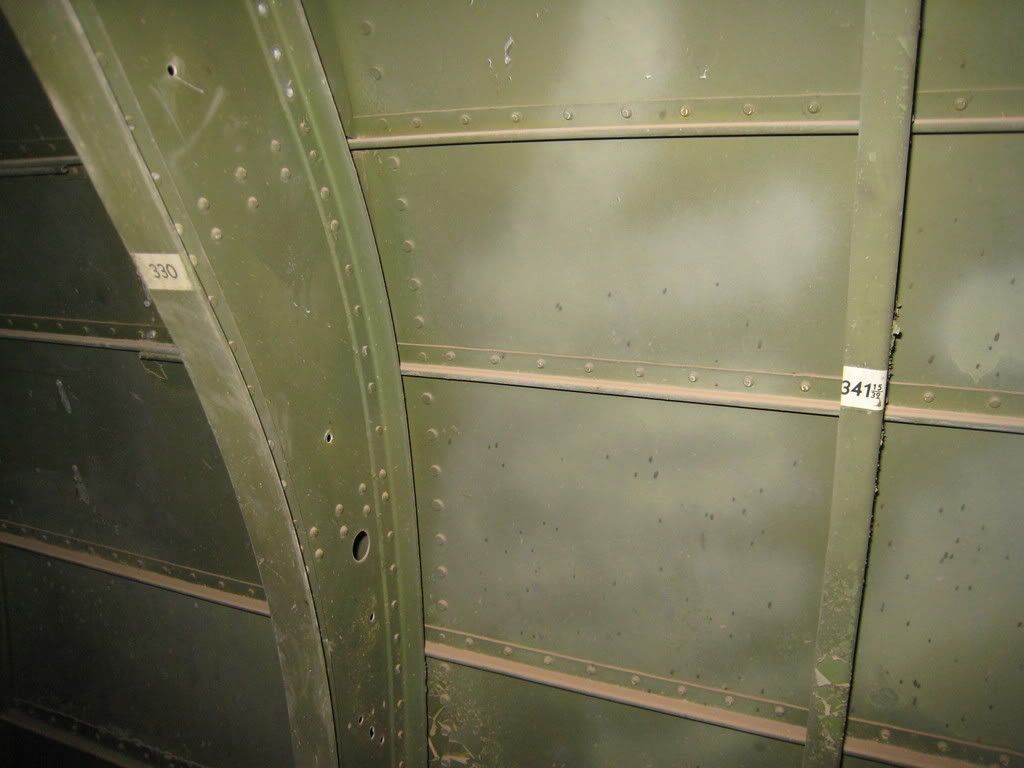
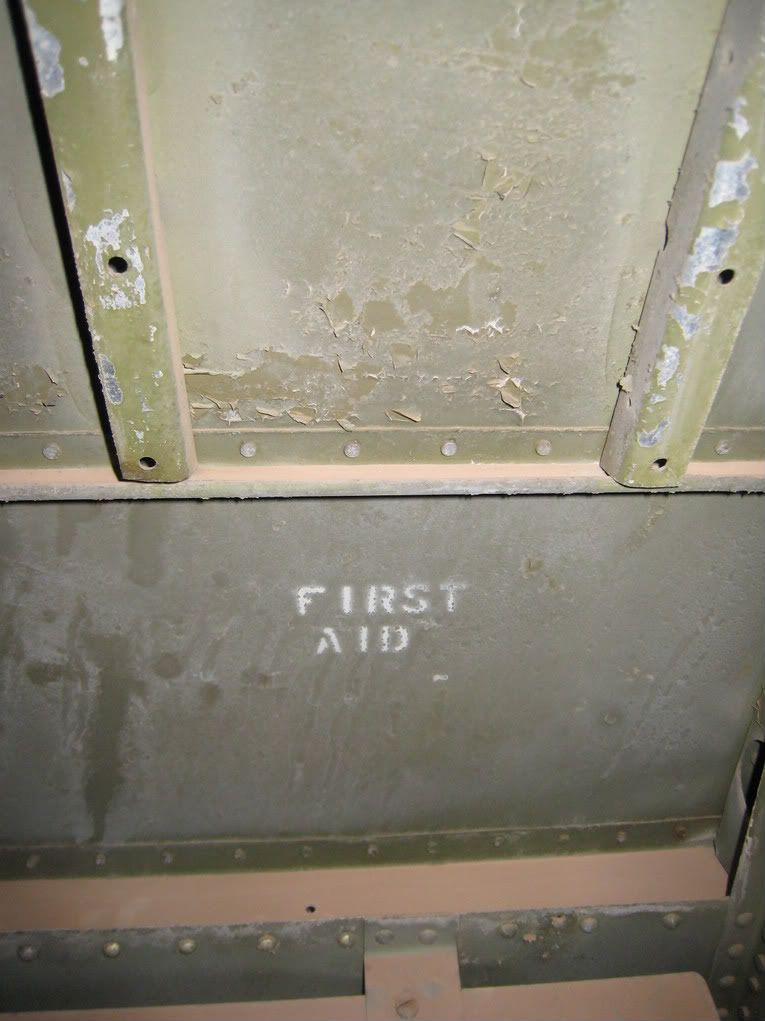
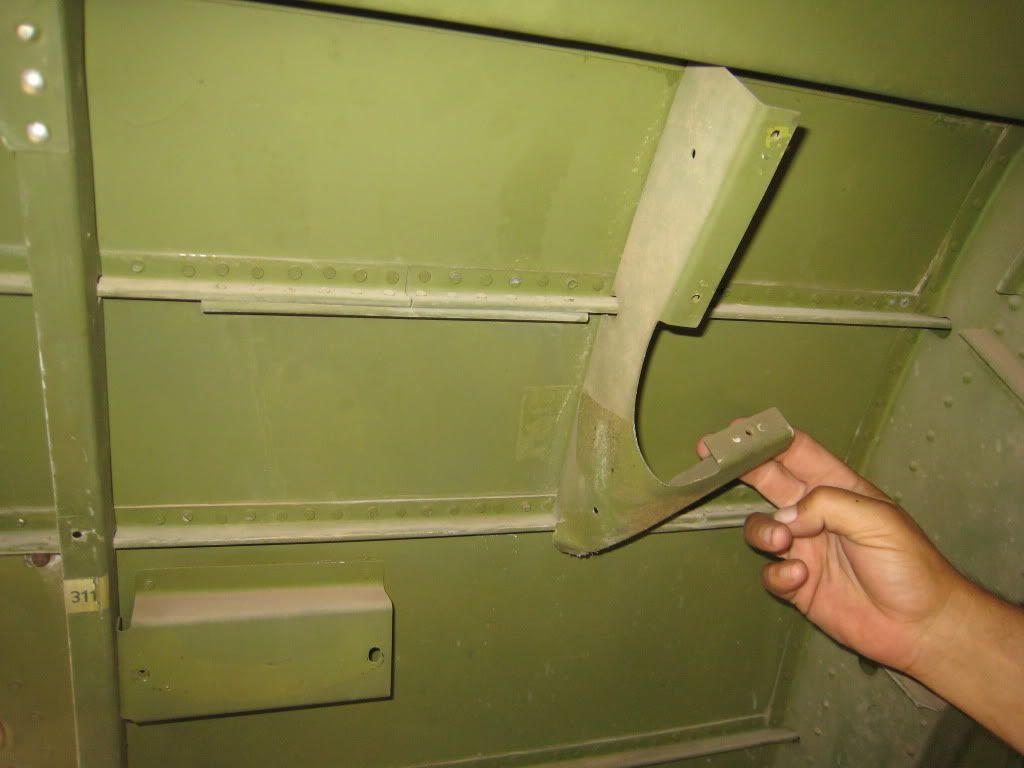
Image

Station decals.
Image

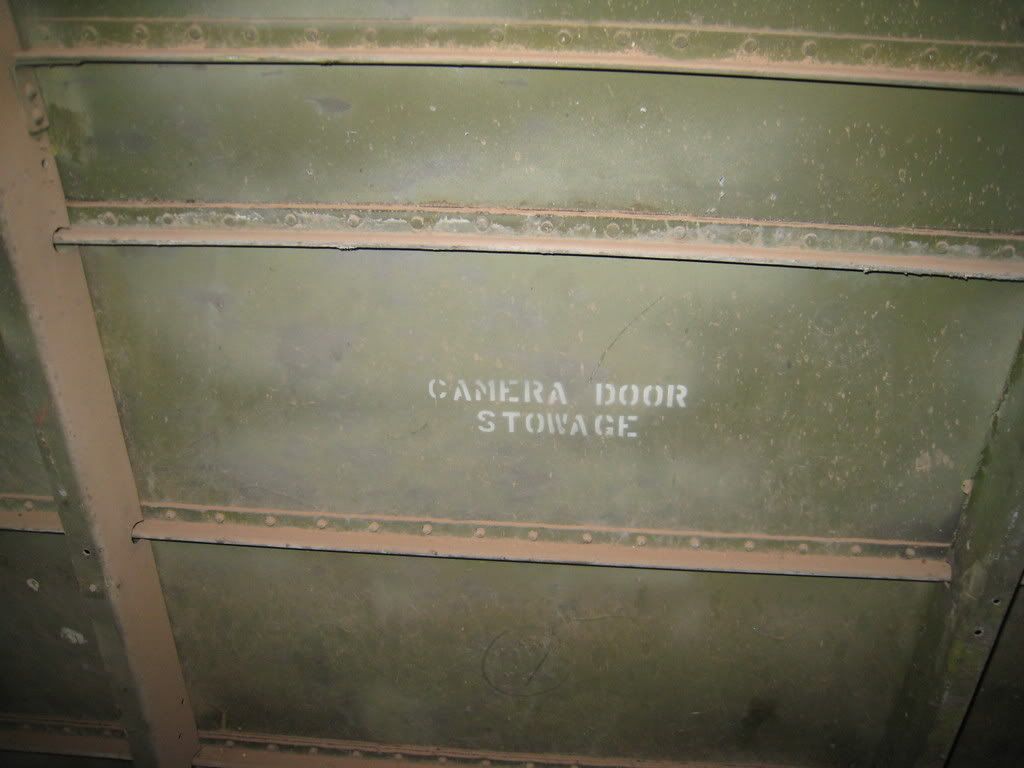
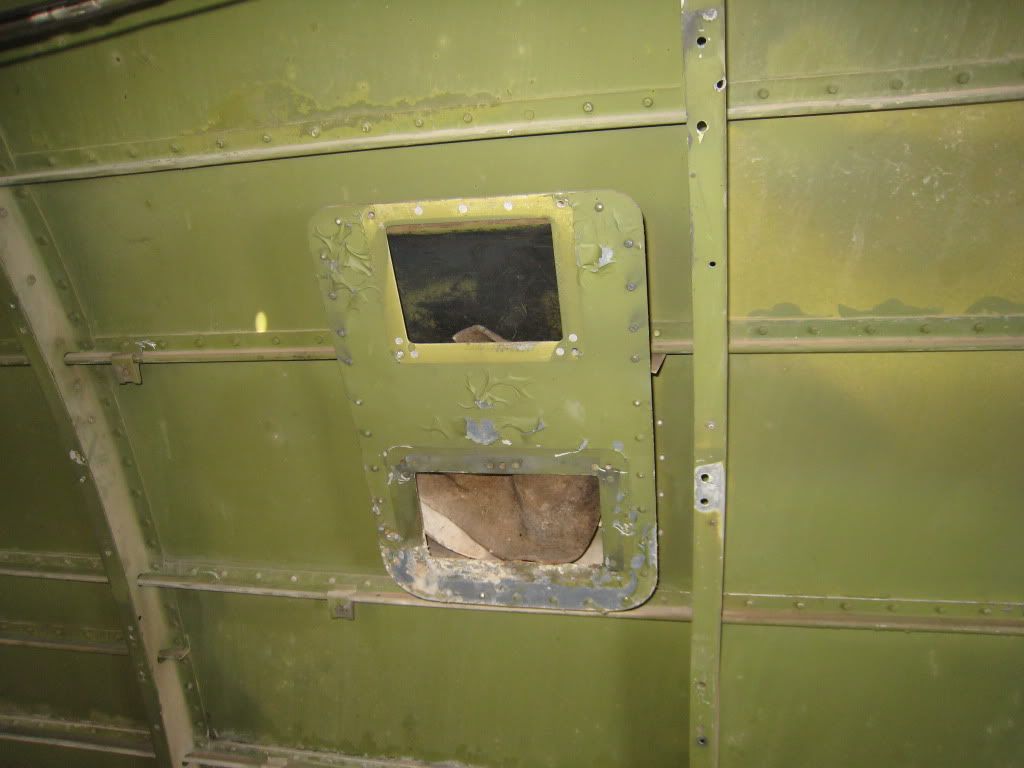
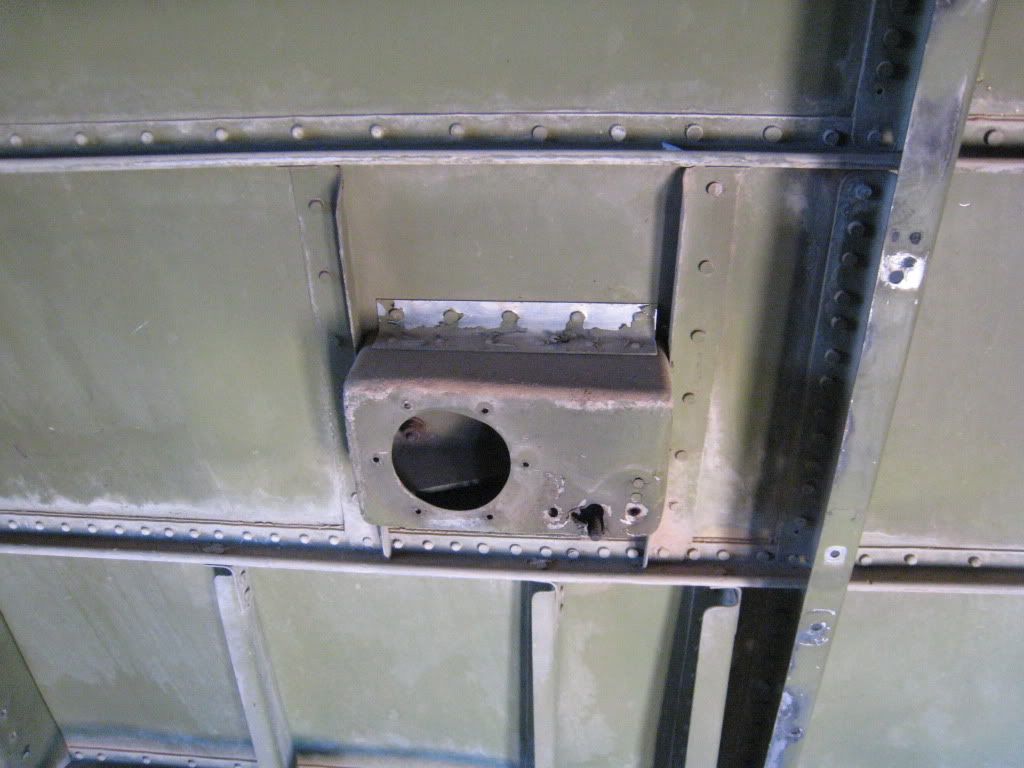
Camera door stowage stencil. I wonder what the storage bin or shelf and camera looked like? Image

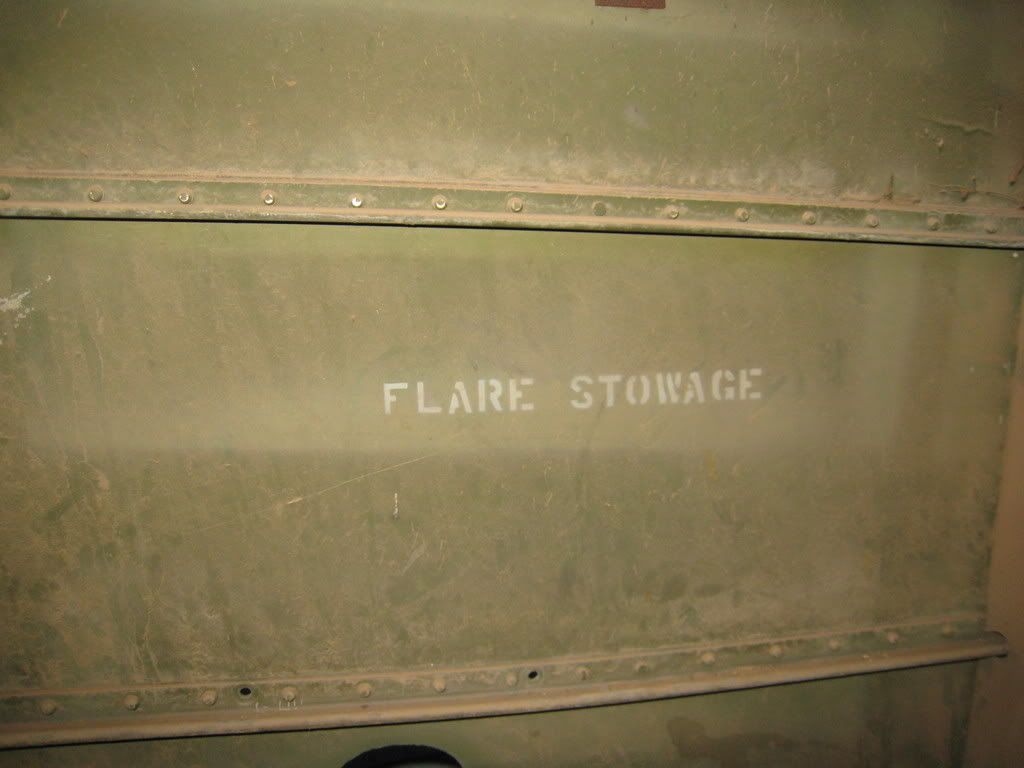
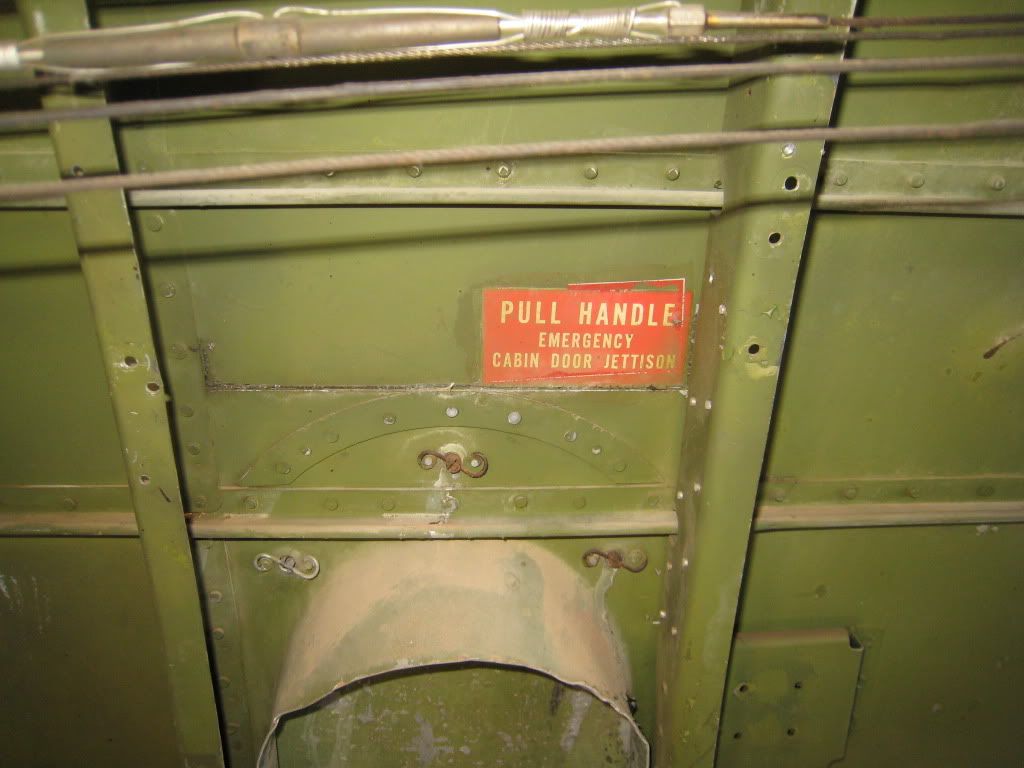
Flare stowage stencil. I cannot wait to see the flare stowage bin and flare tube in place.
Image

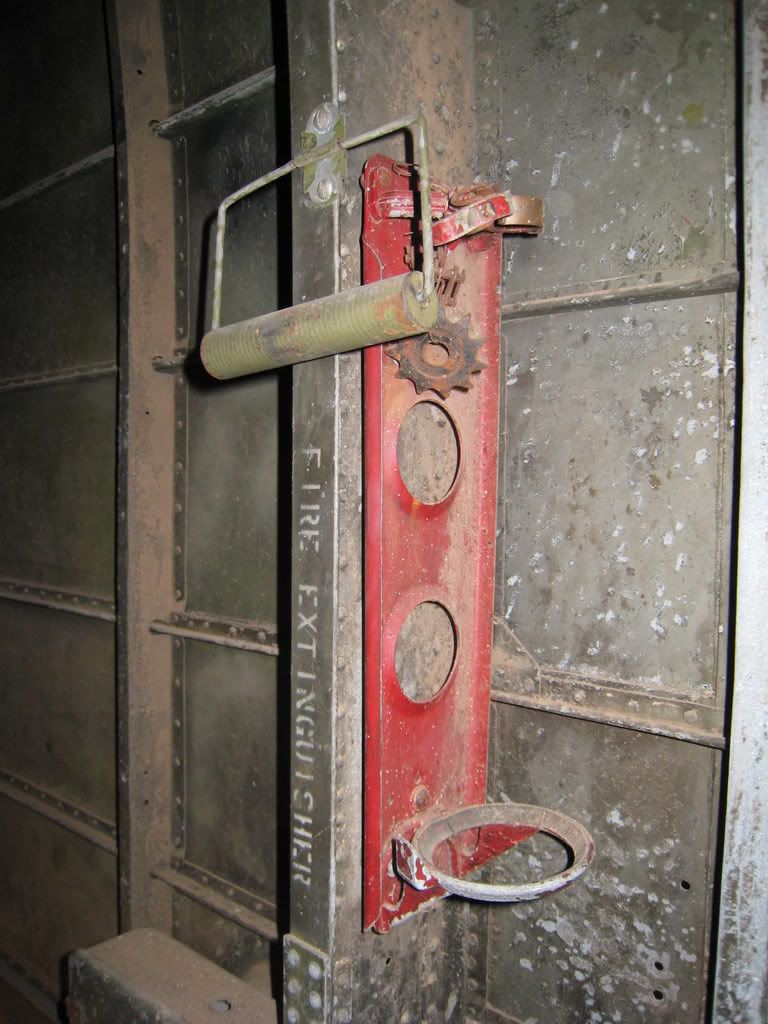
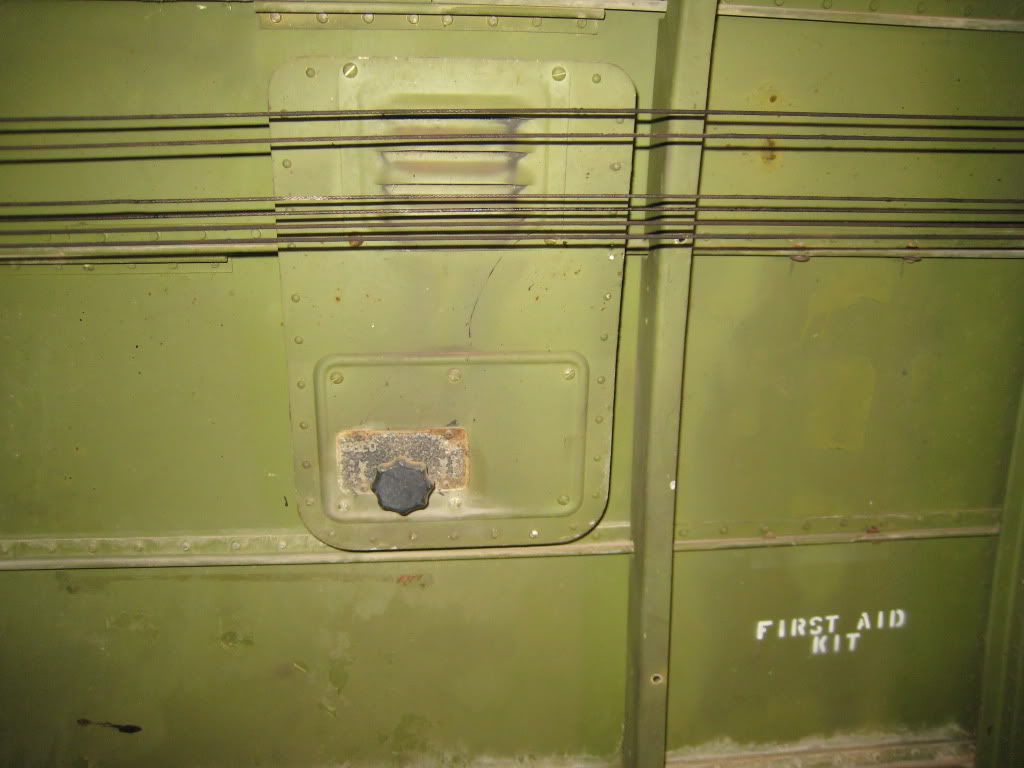
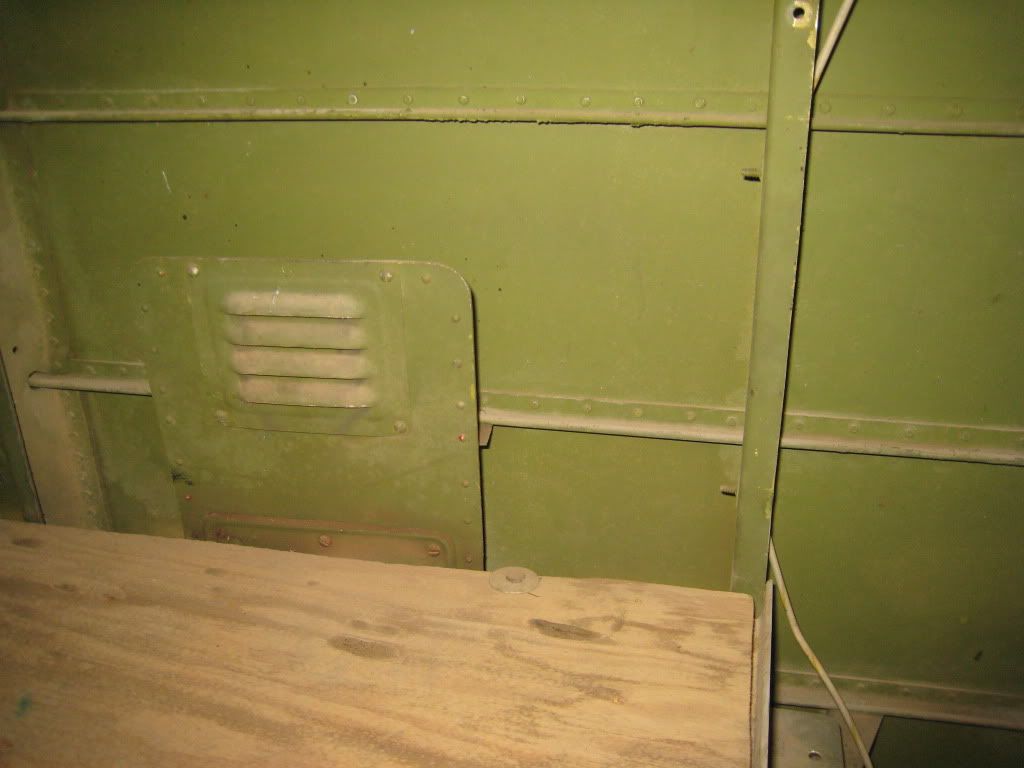
Fire extinguisher stencil and mount with tissue holder.
Image

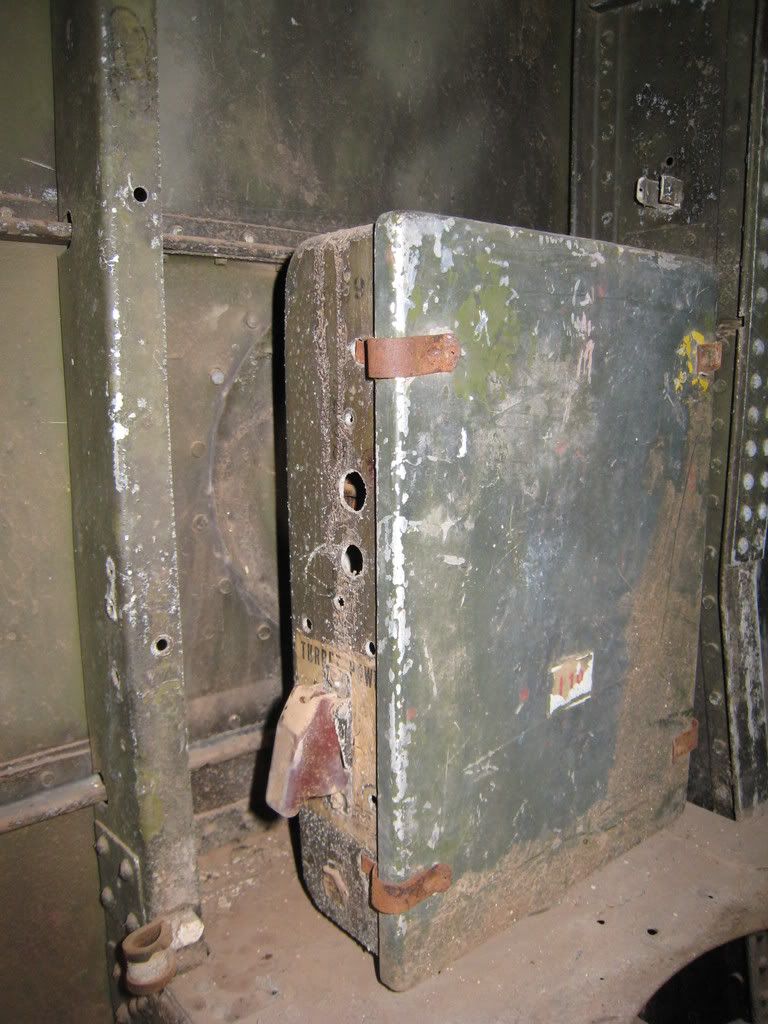
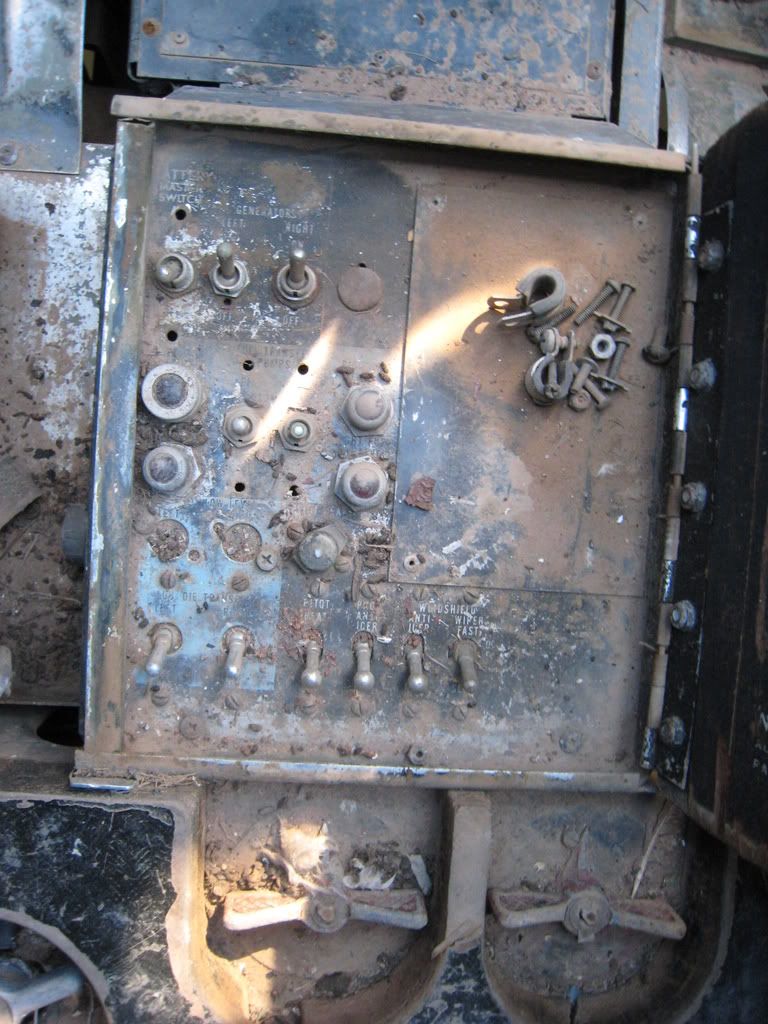
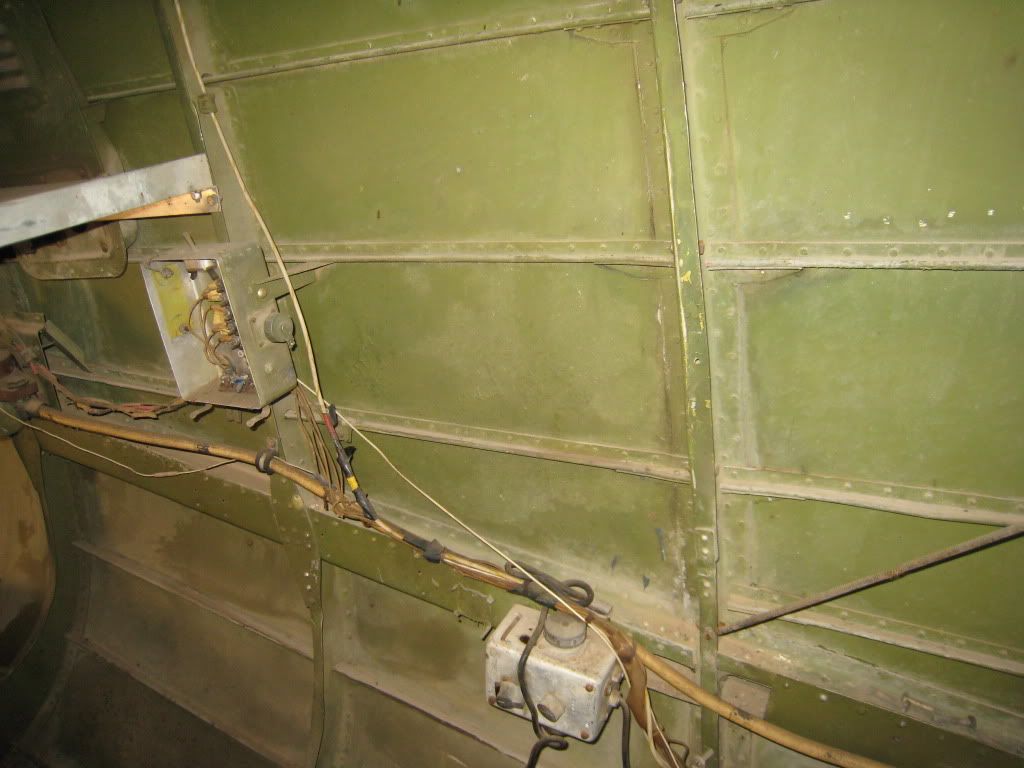
Turret power switch decal, switch and power box.
Image

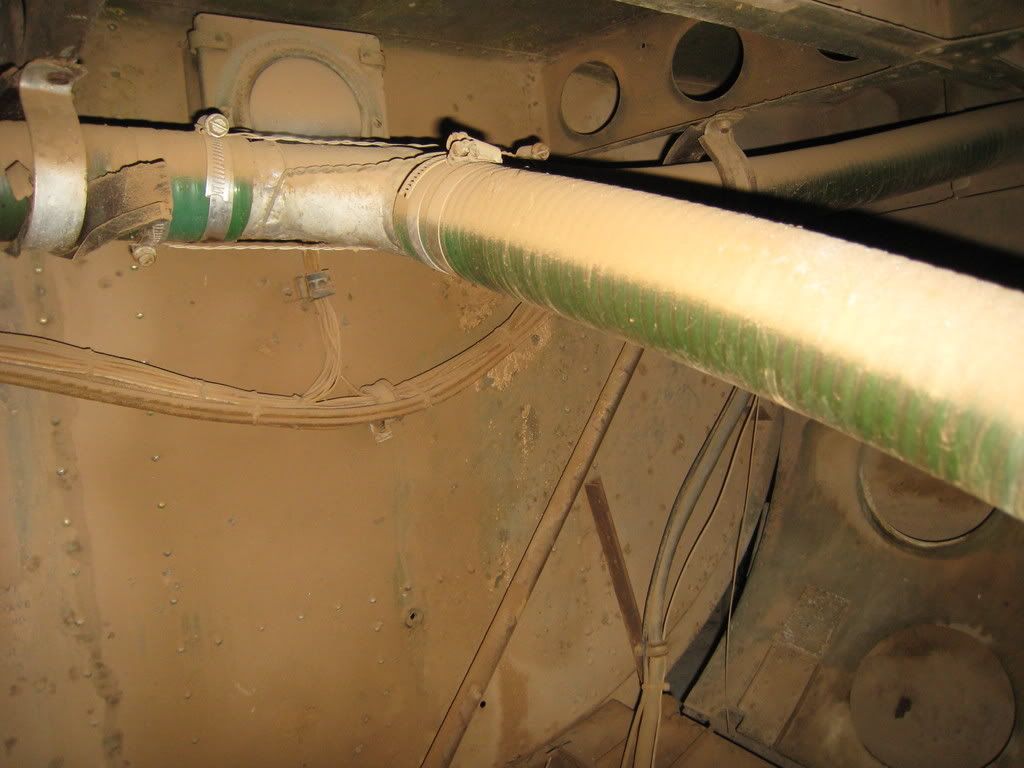
Bomb bay light with some sprayer hose still in place.
Image

Torpedo bomb hoist decal. Normally the floor would cover this location, but here the sprayer modification opened the floor into the bomb bay.
Image

2000 pound torpedo decal in the bomb bay.
Image

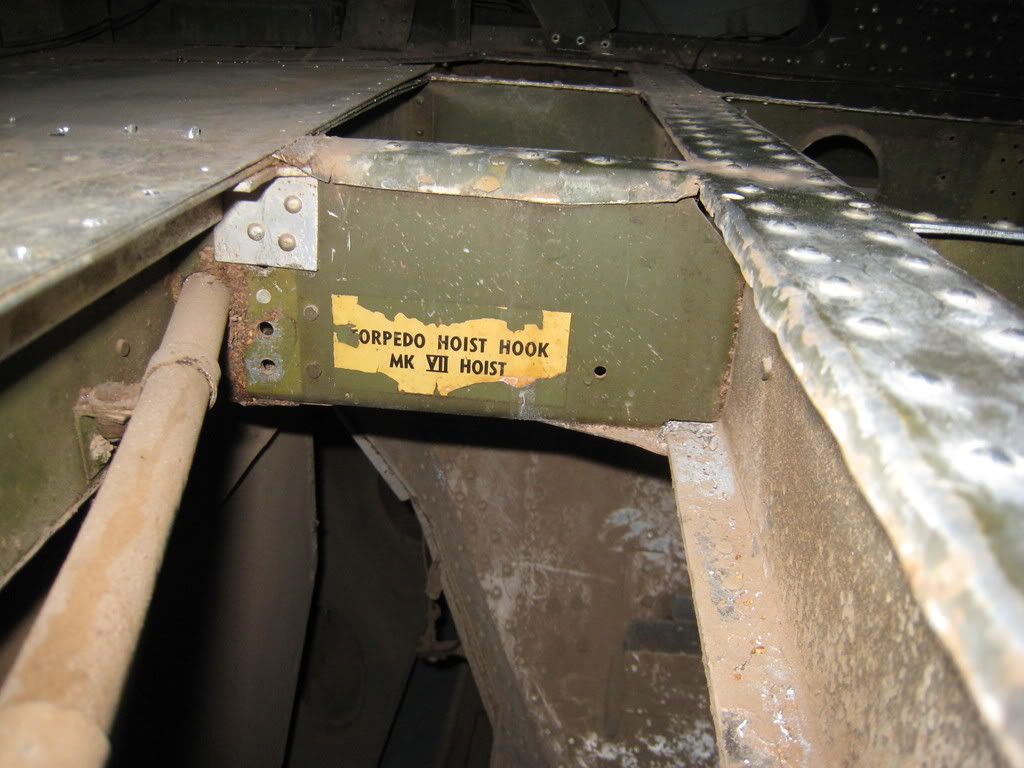
Torpedo hoist hook decal in the bomb bay.
Image

Okay Pooner, it is your turn to fill in more details on the PV-2 Harpoon.

Fly Fast, Fly Safe, and Happy New Year,
Cadet77
Larry
Last edited by cadet77 on Sun Jun 21, 2009 1:17 pm, edited 1 time in total.

Thu Jan 01, 2009 11:53 am

If you happen to find any of the original radio junction boxes, would you mind posting a few pics open/closed? Thanks!
Robbie

Cockpit Switches and Misc.

Thu Jan 01, 2009 1:37 pm

Robbie,
Here are a few photos taken over the last several years of some of the panel switches and boxes that may be original or added sprayer gear. Again, Pooner needs to give more details on the installations.

Right side, not much, the com box is wired internally so it is a sprayer mod.
Image

Left side switch and circuit breaker panel.
Image

Left side com box, another sprayer mod.
Image

Center pedestal below throttle quadrant, rough, but fairly complete.
Image

Center console between seats, mostly there, just needs lots of care and kind cleaning.
Image
Hey Pooner, this is where those lights go that I cleaned up last night, but that is another story. :wink:

Sun Jan 04, 2009 9:17 pm

Here are a few more images of stencils and other items in the fuselage of the PV-2.

Key Stowage with Key Holder
Image

Ladder Stowage
Image

First Aid
Image

Rain today at Falcon Field, lucky to be in the hangar. The sheet metal that covered the top turret has been removed with another opening to the fuselage.
Looking forward at the top turret support ring structure.
Image

Left side looking forward below the support ring structure of the top turret.
Image

Thanks Pooner for another afternoon of photos of the PV-2.
Last edited by cadet77 on Sun Jan 04, 2009 11:00 pm, edited 1 time in total.

Sun Jan 04, 2009 10:43 pm

Looks like a bad place for the magneto switch. I can see someone reaching for the trim wheel and hitting the master magneto switch... OOPS! :shock:

Mon Jan 05, 2009 6:32 pm

The mag switch is in the location that Lockheed assigned in the design. Rather than good or bad placement, it appears to be the common location for Lockheed twin engine aircraft.
The Ventura:
http://uscockpits.com/Early%20Bombers/B ... entura.jpg
The Lodestar:
http://uscockpits.com/Cargo/C-60A-1-LO%20Lodestar.jpg
The XC-35:
http://uscockpits.com/Cargo/Lockheed%20XC-35.jpg
The Hudson:
http://uscockpits.com/Early%20Attack/A- ... Hudson.jpg
Last edited by cadet77 on Mon Jan 05, 2009 8:48 pm, edited 1 time in total.

Mon Jan 05, 2009 8:29 pm

Scary.... I hope you see what I mean though.

Mon Jan 05, 2009 8:30 pm

Scary.... I hope you see what I mean though.

Mon Jan 05, 2009 9:19 pm

With regard to the Mag switch....the one on my aircraft is a push-in/pull-out set up...so even if you hit it , all you do is take a chunk of skin off your knuckle. I do see what you mean with the switch in the photo...might want to change that :shock:
I'll post some photos of mine and some of the other stencils...when I can figure out how I did it before :oops:
Dave
PV-2 "AW"

Wed Jan 14, 2009 10:49 am

b29flteng and D Hansen,

Thanks for the comments on the mag switch, I will check with Pooner on changing it to one that is a push-pull type on the master on-off end.

Sun Jun 21, 2009 1:44 pm

Here are additional photos of interior details in a PV-2 Harpoon that were not removed when the aircraft was converted for agricultural use.

On this aircraft there are three cold air vents on the left side of the fuselage. The mid cabin cold air vent with control and placard.
Image
The forward cold air vent without the cover panel and air control knob.
Image
The aft cold air vent is complete but partially covered by a plywood shelf.
Image

Instruction decal for opening the cabin door in an emergency.
Image

Various brackets.
Image
Image
Image
Image

Interior cabin light installation.
Image

ICS control installation.
Image

Interior liner.
Image

Mon Jun 22, 2009 10:14 am

Cool! A lot of original stuff still on place. Any idea of what direction the "look" of the rebuild will be heading? Will she play squadron mates with Attu Warrior or Hot Stuff?

Sun Jul 19, 2009 12:24 pm

b29flteng wrote:Scary.... I hope you see what I mean though.


A friend of mine was actively hunting a horse fly in the cockpit of a DC-3 one day on his way up north, swatting at it with his ballcap. Guess what he hit?!? :shock: Fortunately he had the presence of mind to close the throttles before flicking it back on.

Dan

Thu Jul 23, 2009 7:55 pm

Great pictures, I did the same thing with my NA-64 project. I also scanned every panel piece that would fit on the scanner.
Post a reply