Warbird Information Exchange

DISCLAIMER: The views expressed on this site are the responsibility of the poster and do not reflect the views of the management.
It is currently Fri Jun 06, 2025 4:03 pm

All times are UTC - 5 hours


Classic Wings Magazine WWII Naval Aviation Research Pacific Luftwaffe Resource Center
When Hollywood Ruled The Skies - Volumes 1 through 4 by Bruce Oriss


Post new topic Reply to topic  [ 1022 posts ]  Go to page Previous  1 ... 5, 6, 7, 8, 9, 10, 11 ... 69  Next
Author Message
 Post subject:
PostPosted: Sun Dec 14, 2008 4:01 pm 
Offline
User avatar

Joined: Sun Sep 28, 2008 9:44 pm
Posts: 379
CAPFlyer wrote:
Great to see more progress!

Check your HQ e-mail, I finally got the freakin' image to go through... (ugh)


Copy that! I've got it, looks good ,send the CAD file.

Dave


Top
 Profile  
 
 Post subject:
PostPosted: Sun Dec 14, 2008 5:32 pm 
Offline
2000+ Post Club
2000+ Post Club
User avatar

Joined: Tue Nov 15, 2005 6:23 pm
Posts: 2950
Location: Somewhere South of New Jersey...
Why is the dome black? Aren't they normally silver/natural color?

_________________
"Everyone wants to live here (New Jersey), evidenced by the fact that it has the highest population per capita in the U.S..."


Top
 Profile  
 
 Post subject:
PostPosted: Sun Dec 14, 2008 6:47 pm 
Offline
Co-MVP - 2006
User avatar

Joined: Fri Nov 18, 2005 10:39 am
Posts: 4468
Location: Midland, TX Yee-haw.
Not necessarily.


Top
 Profile  
 
 Post subject:
PostPosted: Sun Dec 14, 2008 7:46 pm 
Offline
Long Time Member
Long Time Member
User avatar

Joined: Tue May 11, 2004 5:42 pm
Posts: 6884
Location: The Goldfields, Victoria, Australia
APG85 wrote:
Why is the dome black?

Makes it go faster.

_________________
James K

"Switch on the underwater landing lights"
Emilio Largo, Thunderball.

www.VintageAeroWriter.com


Top
 Profile  
 
 Post subject:
PostPosted: Sun Dec 14, 2008 8:22 pm 
Offline
1000+ Posts!
1000+ Posts!
User avatar

Joined: Sat May 08, 2004 2:59 pm
Posts: 1715
Location: Safford, Az
APG85 wrote:
Why is the dome black? Aren't they normally silver/natural color?


I would take a guess in that the domes aren't even painted but in fact Black Anodized.


Top
 Profile  
 
 Post subject:
PostPosted: Sun Dec 14, 2008 9:22 pm 
Offline
3000+ Post Club
3000+ Post Club
User avatar

Joined: Fri Mar 02, 2007 6:52 pm
Posts: 3413
Location: Wichita Falls, Texas, USA
B29B24crewchief wrote:
CAPFlyer wrote:
Great to see more progress!

Check your HQ e-mail, I finally got the freakin' image to go through... (ugh)


Copy that! I've got it, looks good ,send the CAD file.

Dave


Need to answer my questions from the original e-mail that I kept not being able to get the file to attach to first... :)


Top
 Profile  
 
 Post subject:
PostPosted: Sun Dec 14, 2008 9:28 pm 
Offline

Joined: Wed Sep 01, 2004 11:12 am
Posts: 871
Thanks for the update!


Top
 Profile  
 
 Post subject:
PostPosted: Mon Dec 15, 2008 6:24 pm 
Offline
3000+ Post Club
3000+ Post Club
User avatar

Joined: Fri Mar 02, 2007 6:52 pm
Posts: 3413
Location: Wichita Falls, Texas, USA
Since Dave's approved the layout, I thought I'd give a "before and after" preview of what the new panel will look like -

BEFORE
Image

AFTER
Image


Top
 Profile  
 
 Post subject: Fifi
PostPosted: Tue Dec 16, 2008 11:09 pm 
Offline
User avatar

Joined: Fri Apr 30, 2004 12:17 am
Posts: 741
Location: Burleson, Tx
Great stuff Dave! To all other readers, members, lurkers, etc...... There are more photos on our website..... http://www.cafb29b24.org/a/B-29-Updates.htm
Our webmaster has set up a blog page for Fifi....... so keep checking for updates...... Alan

_________________
Just call me Al.


Top
 Profile  
 
 Post subject:
PostPosted: Wed Dec 17, 2008 1:08 am 
Offline
3000+ Post Club
3000+ Post Club
User avatar

Joined: Fri Mar 02, 2007 6:52 pm
Posts: 3413
Location: Wichita Falls, Texas, USA
Another quick update from me. The AutoCAD drawing that goes with the above concept image was e-mailed to Dave early this afternoon. We should see it installed and Testiclese running in no time now that the slow-poke has finished his work! :)


Top
 Profile  
 
 Post subject:
PostPosted: Sun Dec 21, 2008 3:04 pm 
Offline
User avatar

Joined: Sun Sep 28, 2008 9:44 pm
Posts: 379
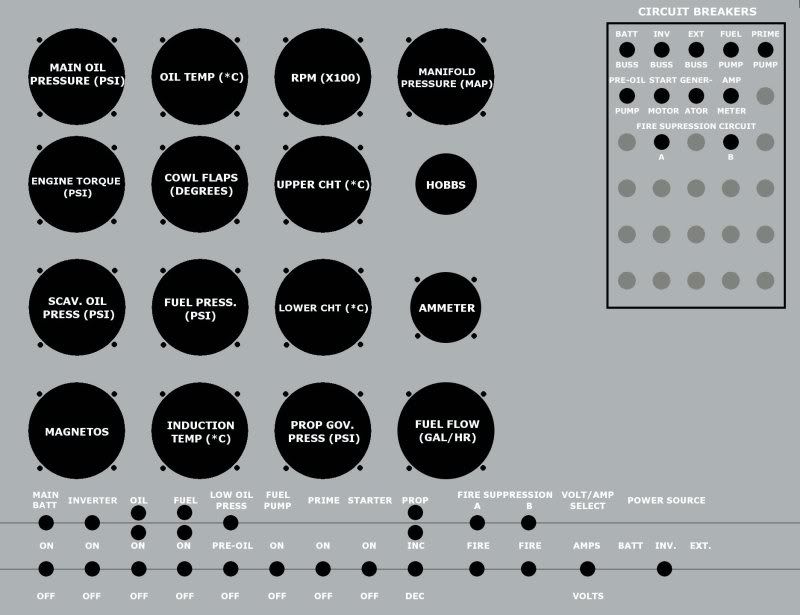
You've done a great job and I'll be getting the panel done ASAP.

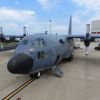
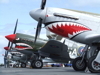
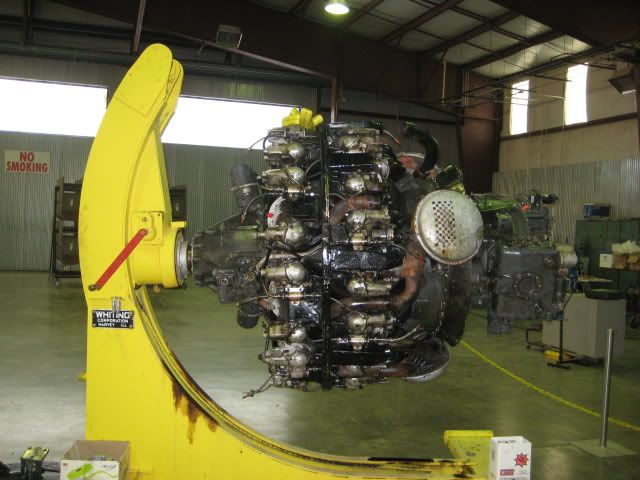
We finally got the prop job done and they have been delivered to San Antonio Propeller for the AD work and repainting. I leaning toward having the domes natural. Many of the pictures I've seen, show them that way. No, they are not anodized black.

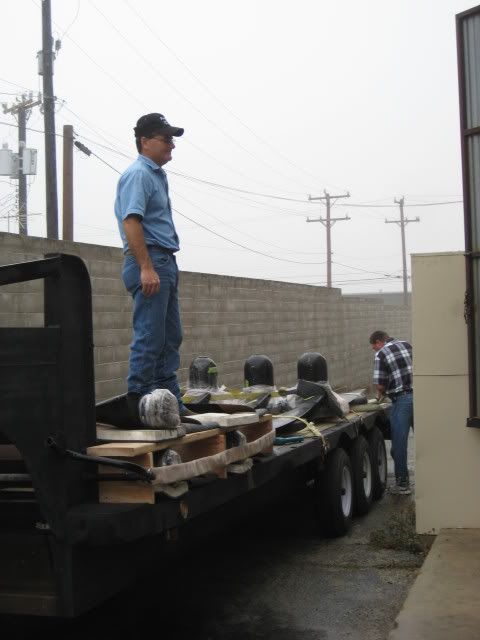
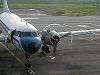
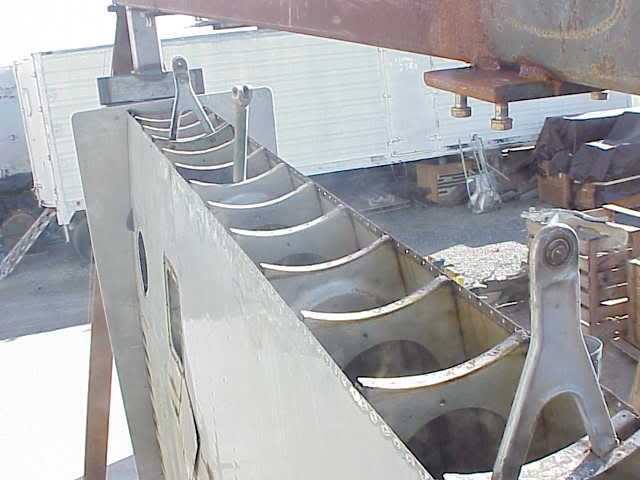
The #2 and #3 props had already been removed and just needed disassembled. Once that was done I got to work taking the #1 and #4 props off.

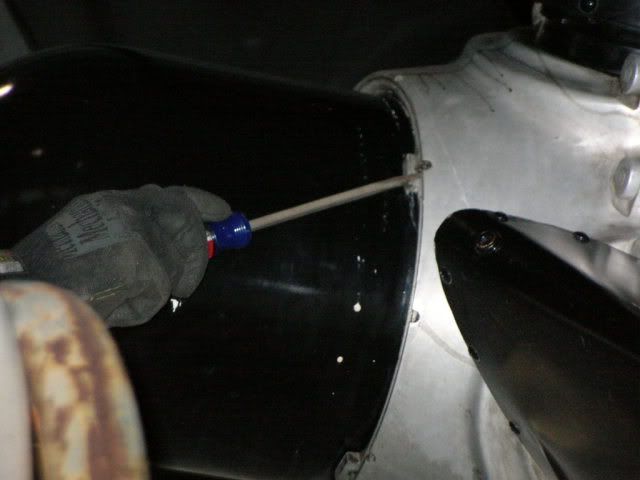
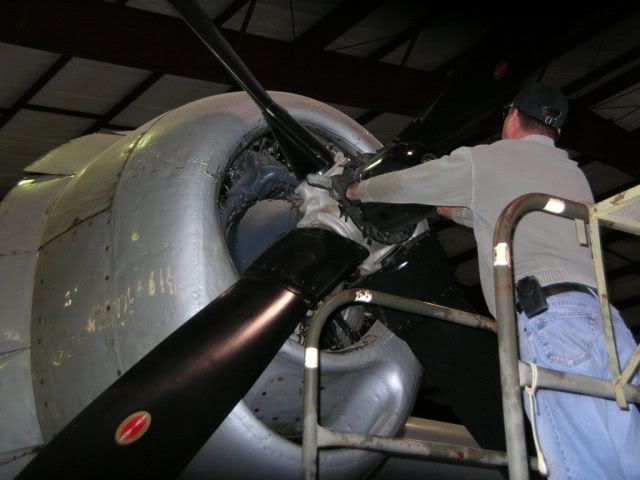
First, remove the safety ring and remove the dome cap.
Image

Image


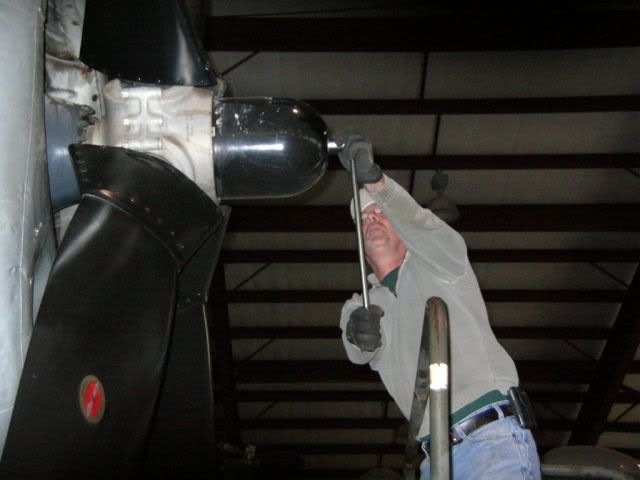
Next, put the lift ring on the dome, remove the lock screw on the dome nut and start unscrewing the dome nut.
Image
Image


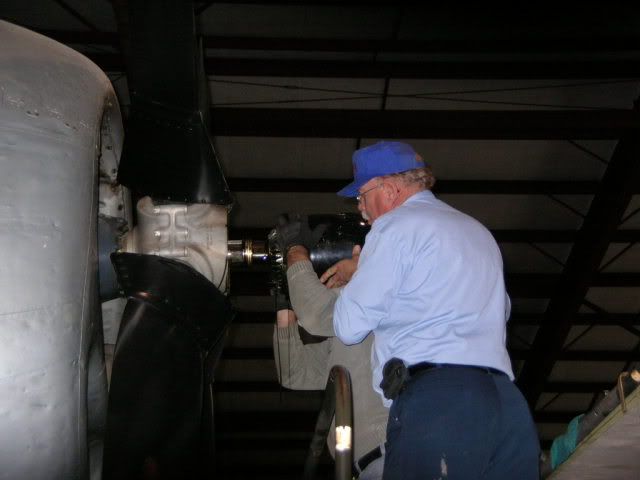
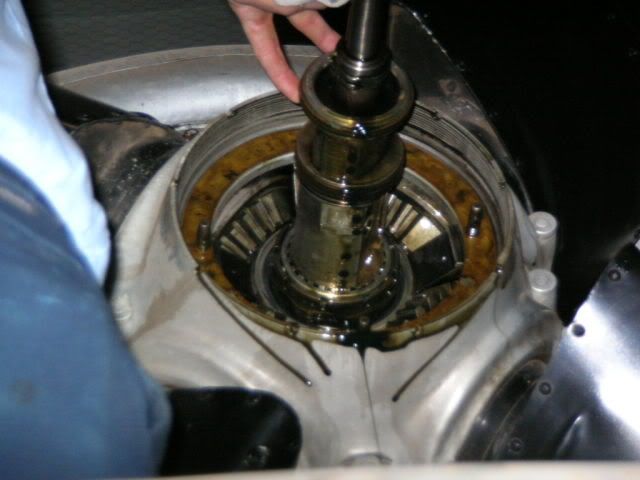
Get someone to hold the lift ring while you continue to unscrew the dome nut. When oil starts running out, you know it's close to coming off. Let the oil drain for a bit and get a shoulder under the dome. Once it's loose, pull it off the distributor and put it down somewhere, cause it's spewing oil all over your pants.
Image
Image
Image


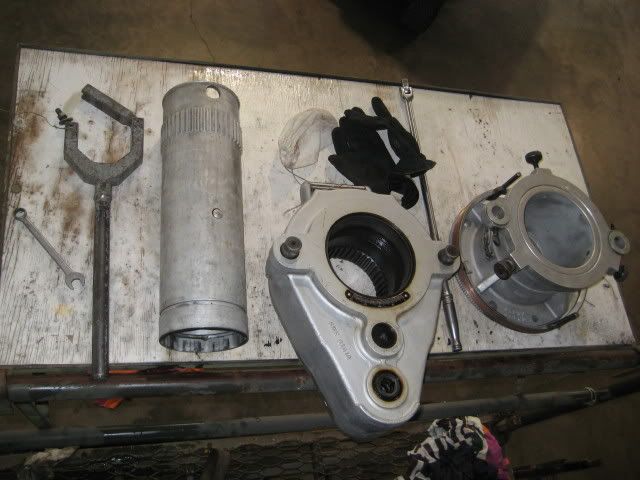
The prop removal tools in this picture are from left to right: Distributor wrench, prop shaft nut wrench/socket, Sweeny Tool and the Sweeny Tool fixture. And a breaker bar.
Image


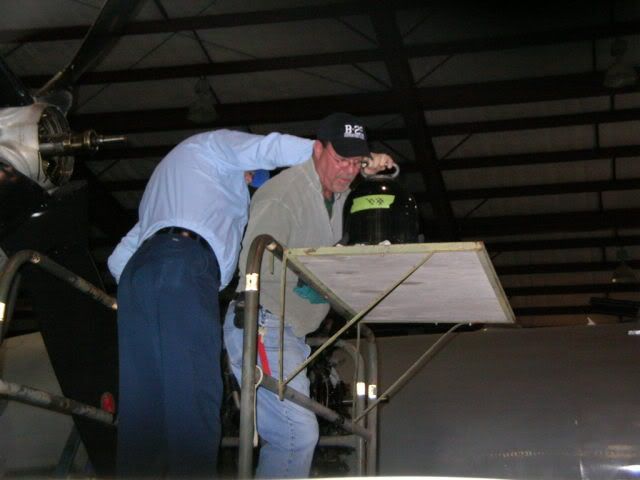
The next thing to come off is the distributor. Remove the locking devise and put the distributor wrench on. Unscrew the distributor.
Image


Someone forgot to take the rest of the pics :oops: 
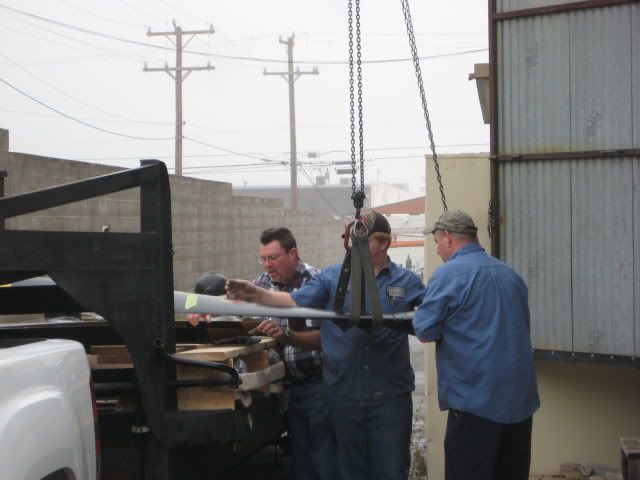
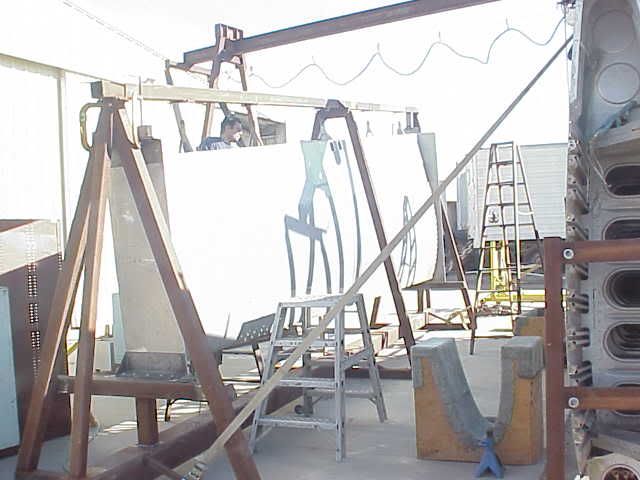
anyway the next thing is to install the fixture that holds the Sweeny tool. It screws on where the dome nut came from. Once you have that on, pick up the Sweeny Tool, ugh, and put it on the fixture. Then insert the prop shaft nut wrench/socket into the middle of the Sweeny Tool. Rotate until it lines up and goes over the prop shaft nut. The Sweeny has splines on the inside and the wrench/socket has them on the outside. You can see this in the previous pic. With the Sweeny, you can loosen the 2200 foot pounds of torque with a 1/2 drive breaker bar. It is probably about 200 foot pounds of force to break it loose. You torque the nut on with the same Tool. Gary showed me this, very cool!! Once it's broke loose, continue to unscrew it until the prop shaft nut until it's completely unthreaded. The prop won't fall off like I thought it would!! Then put the lifting straps on and with the help of your trusty crain operator, slide the prop off and yer done.


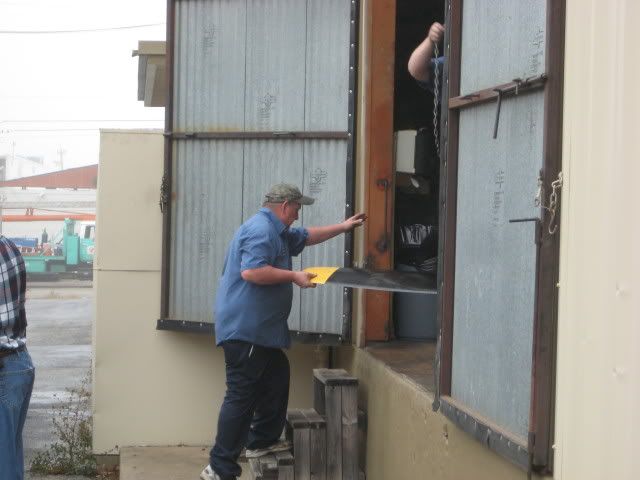
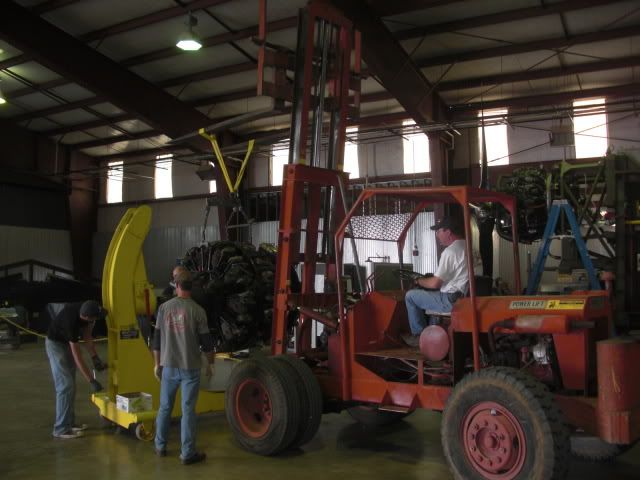
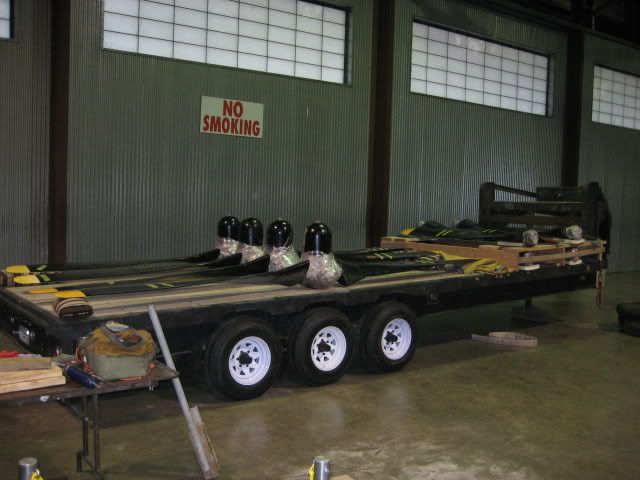
We got all 4 props apart and loaded and I rolled out for San Antonio Thursday morning.
Image
Image


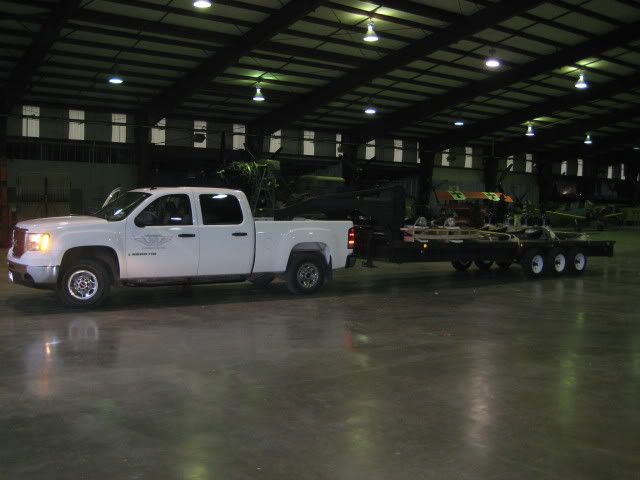
Got to San Antonio Propeller about 2:00 that afternoon and unloaded.
Image
Image
Image


Top
 Profile  
 
 Post subject:
PostPosted: Sun Dec 21, 2008 3:26 pm 
Offline
User avatar

Joined: Sun Sep 28, 2008 9:44 pm
Posts: 379
Here's some pics of our right wing section at the repair facility in California. Notice they have it all put in a "jig" they made especially for it.
Image
Image
Image
Image

Now that they have it in place, they can remove the rivets needed to peel back the skin and find those nasty corroder bugs.


Top
 Profile  
 
 Post subject:
PostPosted: Sun Dec 21, 2008 4:24 pm 
Offline
User avatar

Joined: Sun Sep 28, 2008 9:44 pm
Posts: 379
On to the next project!!

We found out recently that Nelson's shop needed a mockup of the 3350-95w with the 26wd rearend on it. They need it so they can start making the necessary modifications to make our cowlings fit. Soooooooo, we got one of our -95w's out of a can and put it on our Whiting stand. We will remove the power section and replace it with a 26wd's power section. Anyone need any of these -95w power sections, PRTs, etc. I'm going to have about 9 of them to sell.

Image
Image
Image


This Whiting stand is a perty cool gadget!
You use this handle to turn the engine around its crankshaft axis.
Image


This shaft/gearbox is used to rotate the engine to a horizontal position with the back of the engine facing up.
Image


It looks alittle scary just hanging there on it's shaft!!
Image


Just some FYI. See the data plate for this engine. Can you say BowTie!
Image


Top
 Profile  
 
 Post subject:
PostPosted: Sun Dec 21, 2008 5:49 pm 
Offline
User avatar

Joined: Sat Oct 25, 2008 6:44 am
Posts: 257
The photos were great... thanks for sharing!

Glad to see the outboard wing getting attention and the cove already off. Be sure to post some photos of the aileron actuation intercostals (bell crank brackets?) from station 655 to 675 aft of aft spar. Curious if you have the large single hole (early) or double lightening hole (late) design. The Doc folks tooled up to hydroform the early ones. They had heavy rot in either end of upper/lower left and upper/lower right hand brakeformed flanges as well as the small structural parts in that access area. Then look out for rot in the pulley bracket, lower stringers from Station 510 to around 608 (water would run down to the lowest point of the outboard wing, accumulating desert dirt/hard water particulate which would corrode the stringer), assorted aft spar stiffener corrosion, corrosion on aft spar formers and webs near an access panel or hinge points 533, 603, 675, 747, and 795(notice a pattern?), chance corrosion on the milled wing spar caps due to bad heat treat, ramp rash on the sta 850 wing tips, corrosion on the spot welded sta 820 aft spar former with nutplates, then the light spotty freckles and the few unexpected things that are unique to every aircraft.... :roll: Too bad they only painted the spars on the outboard wings, flaps, and the horizontal stabilizer. They would have fared much better with some protection, though the gray lacquer wasn't nearly as good as the yellow they used in the main wing.


Top
 Profile  
 
 Post subject:
PostPosted: Sun Dec 21, 2008 8:37 pm 
Offline
User avatar

Joined: Sun Sep 28, 2008 9:44 pm
Posts: 379
You seem to know alot about this stuff. How about coming to Midland for a visit. I could use that kind of experience!

Dave


Top
 Profile  
 
Display posts from previous:  Sort by  
Post new topic Reply to topic  [ 1022 posts ]  Go to page Previous  1 ... 5, 6, 7, 8, 9, 10, 11 ... 69  Next

All times are UTC - 5 hours


Who is online

Users browsing this forum: No registered users and 7 guests


You cannot post new topics in this forum
You cannot reply to topics in this forum
You cannot edit your posts in this forum
You cannot delete your posts in this forum
You cannot post attachments in this forum

Search for:
Jump to:  
Powered by phpBB® Forum Software © phpBB Group