I know it's been a little while since the last
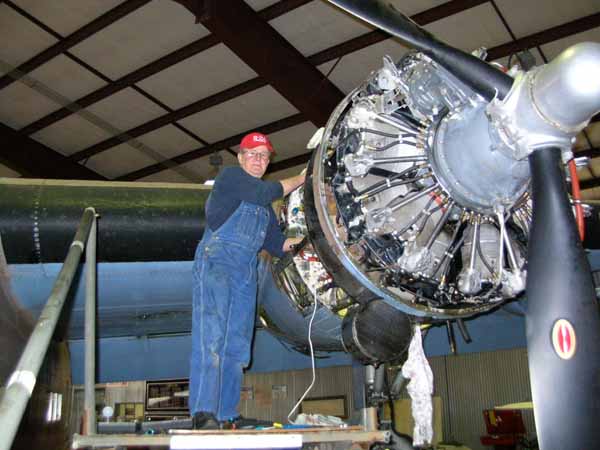
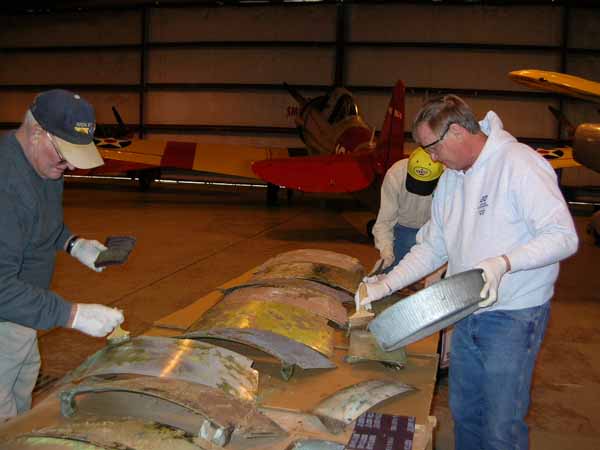
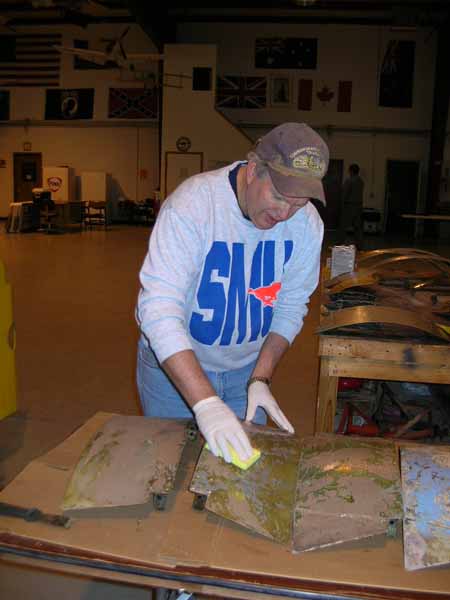
real update from me, so here you go. There has been quite a bit of activity due to the flurry of volunteers that have been showing up more often. The High Sky Wing, here in Midland, has been amazing with their show of support. They have taken the reins and have made excellent forward progress with some of the nastiest work this project needs. There have also been quite a few of the smaller, time consuming projects being worked on by other volunteers that have come in. Some days it actually looks like progress is being made. It truly is amazing what just a few helpers can do for a project like this.
Daniel Collier was able to come back in for a couple of days and help out with some of the more complicated sheet metal projects that I've started. After Don Obreiter fabricated the backing plates for the new pitot tubes, Daniel and I riveted them in place. I then installed the new tubes. They aren't exactly like the original "A" model tubes, but are pretty close to at least one of the styles we've seen pictures of.
Since Daniel was here, I had him take over the door project I was on so that I could focus on some other fabrication projects I had already started. One of which was the gun mount for the tunnel gun position. We recently obtained the ball socket that the gun slides into, so that was my first thing to install. Once I determined the center of the lexan, I was able to cut out the circle I needed. This was done with a cheap ol' gasket cutter. It took me forever it seemed, but made a nice, clean circle when I was done........

Now that the hole is cut, I can put the ball socket in place......


The next step was to make the framework that will support the ball socket and gun and tie it all into the outer frame for the lexan. And the first stage of this was to fabricate the steel circle that the ball socket will attach to. This was kind of fun, really. It's neat to be able to turn a flat piece of sheet metal into something not so flat. Those guys on American Chopper and similar shows make this look easy...because it is. At least with steel anyway. Steel has no 'memory'. When you move it, it stays put (more or less). But when you are working with aluminum, it tries to (in layman's terms) go back to where it started from. That's why it's so difficult to work with. So anyway, when you watch those motorcycle shows, keep in mind that those guys are good, but the ones that are building parts out of aluminum are reeeeeaaally good.
Here's how I made this ring. First, I took a flat sheet and bent it 90 degrees......

Once it's bent, I just start shrinking. I used my manual, foot-activated shrinker for this project. Our fancy new pnuematic one just didn't have the oomphf needed to squeeze the steel........

Check the fit...shrink some more...check the fit...shrink some more.........

Due to the small size of the circle here, I was unable to do it in one piece. The shrinker eventually gets in it's own way.......

That's no big deal. The way to solve it is to make two halves. Here is the first half......

Same song, second verse........

Now that I have two halves, it is time to trim them to fit. This is probably the most crucial part of this project, as the better fit you have, the better the weld will be. The better the weld is, the easier it is to hide it when you're done (without taking too much material off). The more your weld is hidden when done, the better your part will look. In this case, the goal was to make it look like one piece.......

The next step was to weld the two pieces together and then polish up the welds.......


And viola, we now have one ball socket holder-downer......

Now to make the arms that reach out to the outer lexan frame. I got lucky and found some tubing already close to what I was going to have to fabricate, so I used them. There was still a considerable amount of work that had to be done to them, but it cut out the step of forming the tubes to start with.......

Fast forwarding a little bit here.......After some tedious fitting, trimming, tacking into place, more fitting, some dirty words, a little bending, a touch more trimming, and final welding, here is the finished piece. I reckon if this whole Warbird thing doesn't pan out for me, I could get into the "overpriced, overdue deadline, Christmas tree stand business."


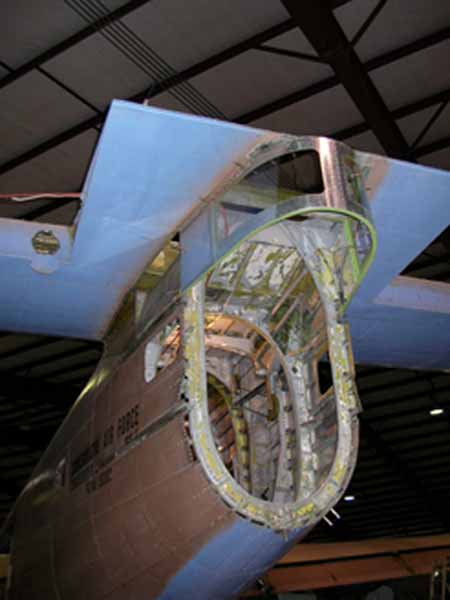
And here is the whole assembly sitting in the airplane. I'm obviously not finished yet, but once I hit the "Submit" button for this post, I'm going back out there to start working on the hinges for this setup......

Gary