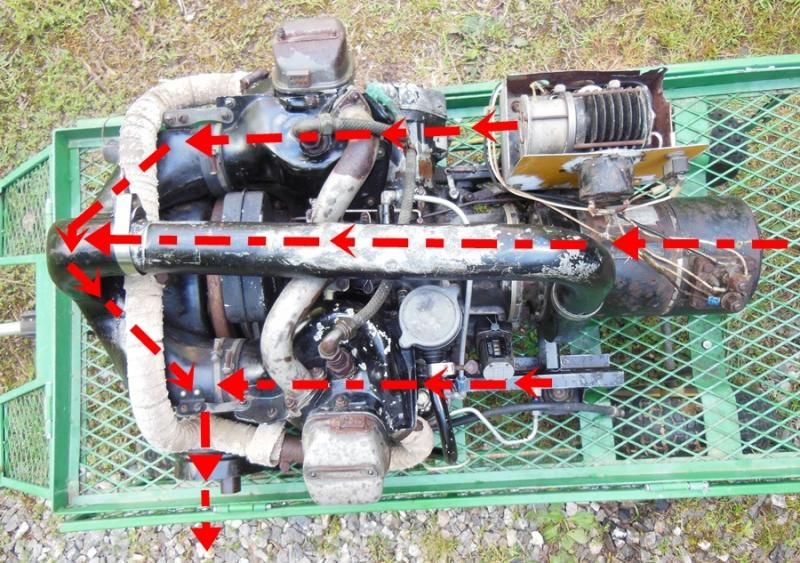
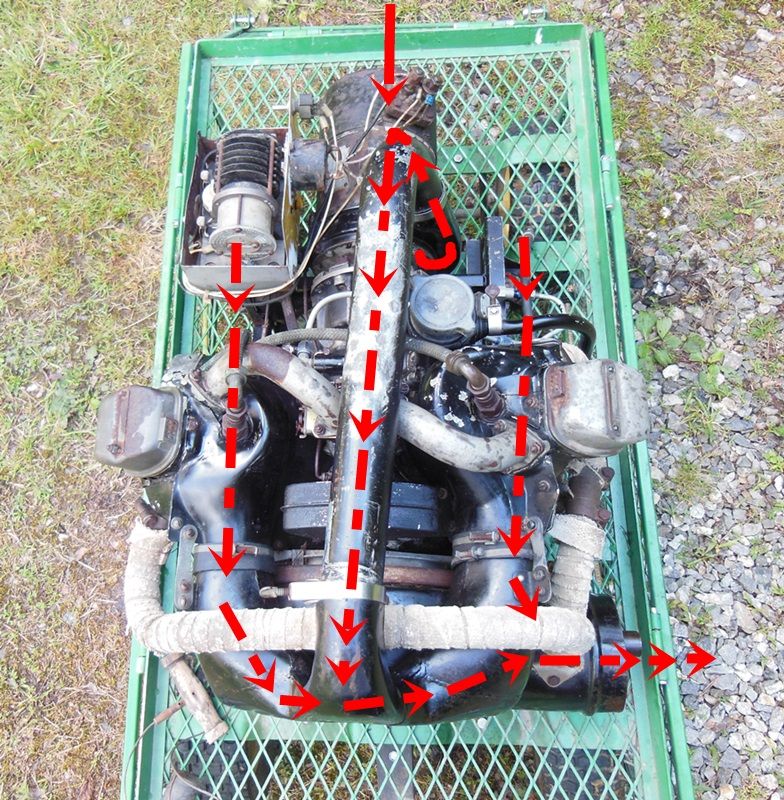
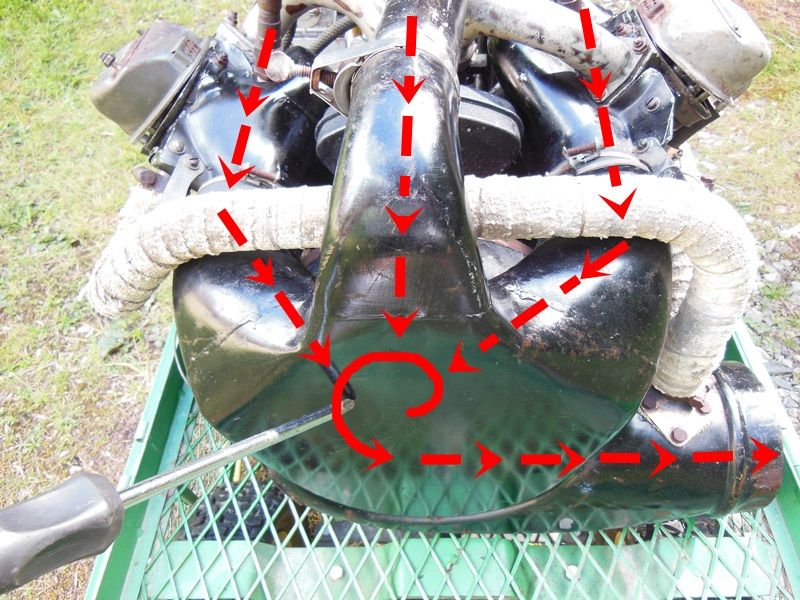
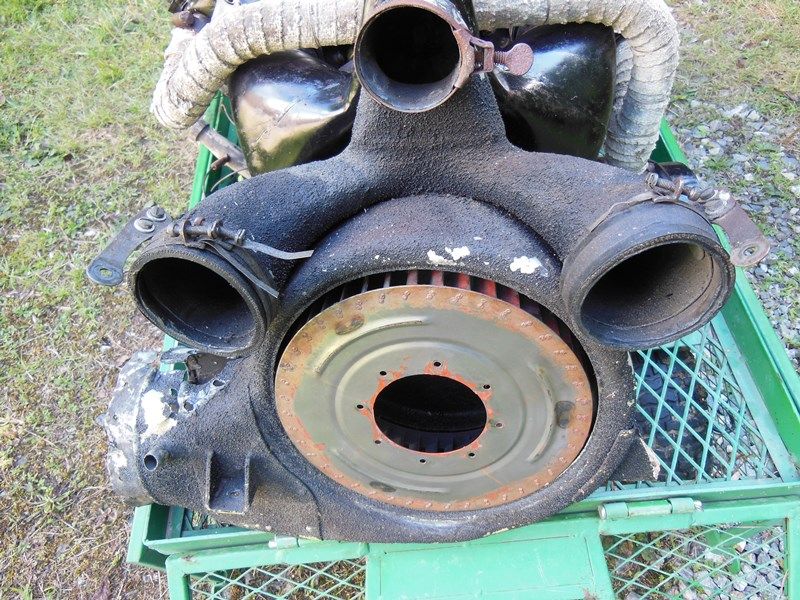
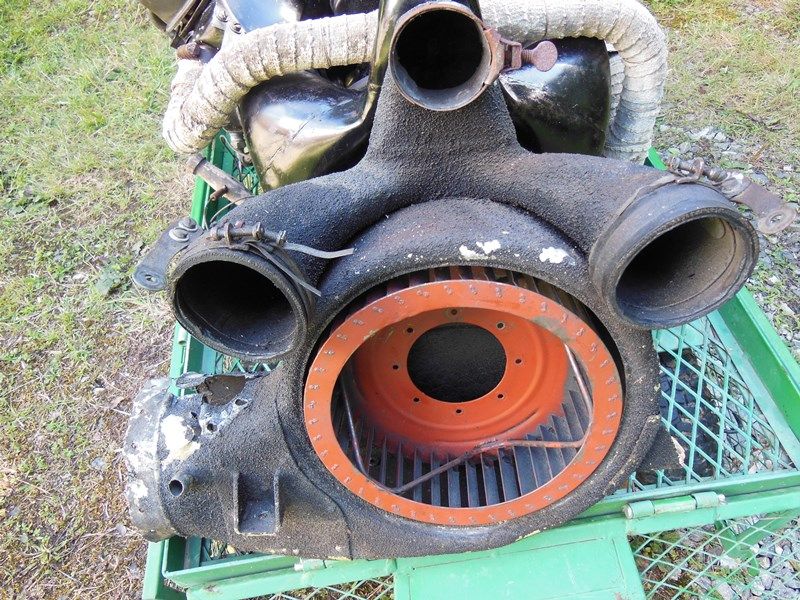
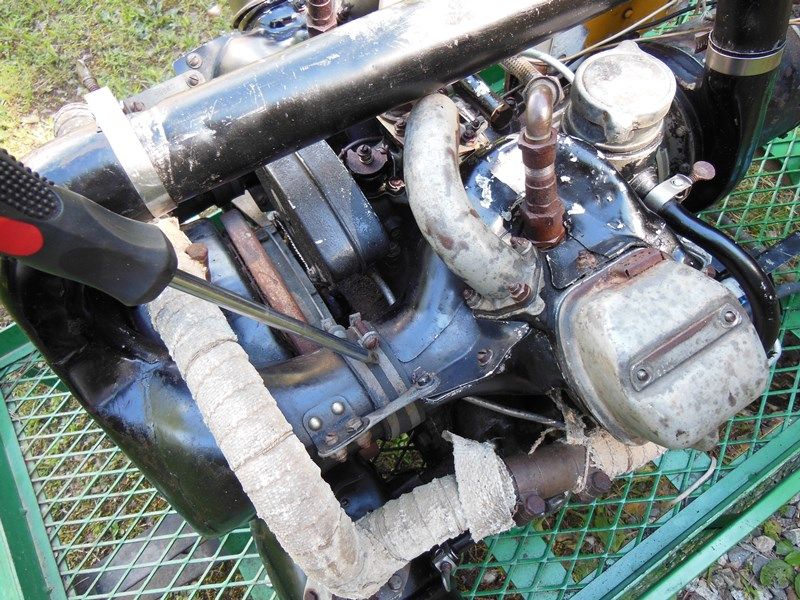
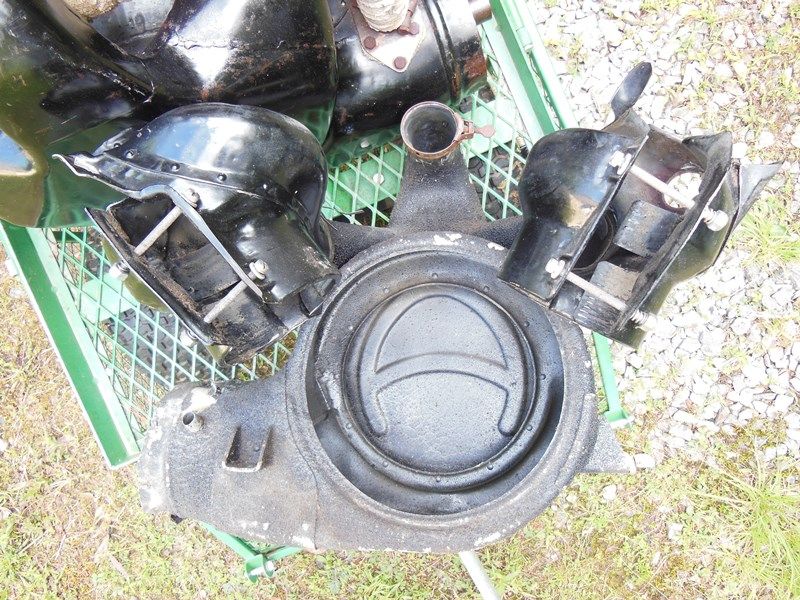
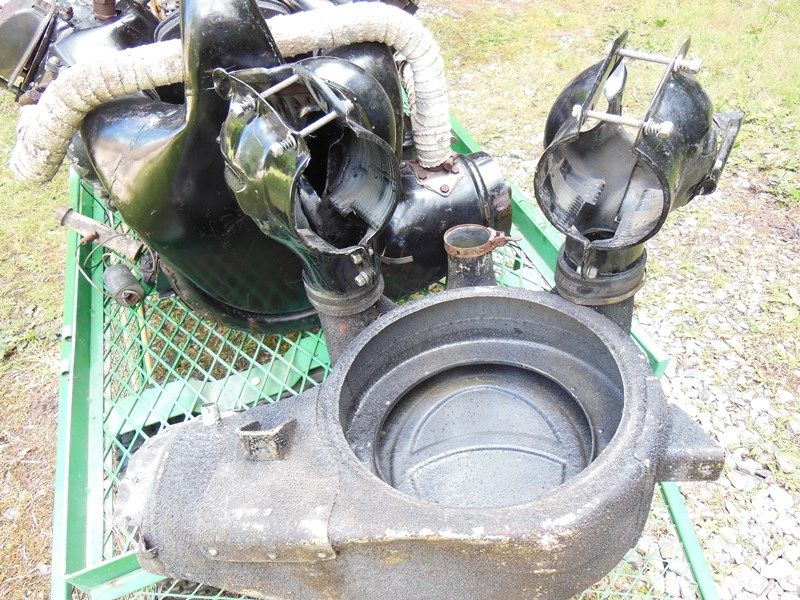
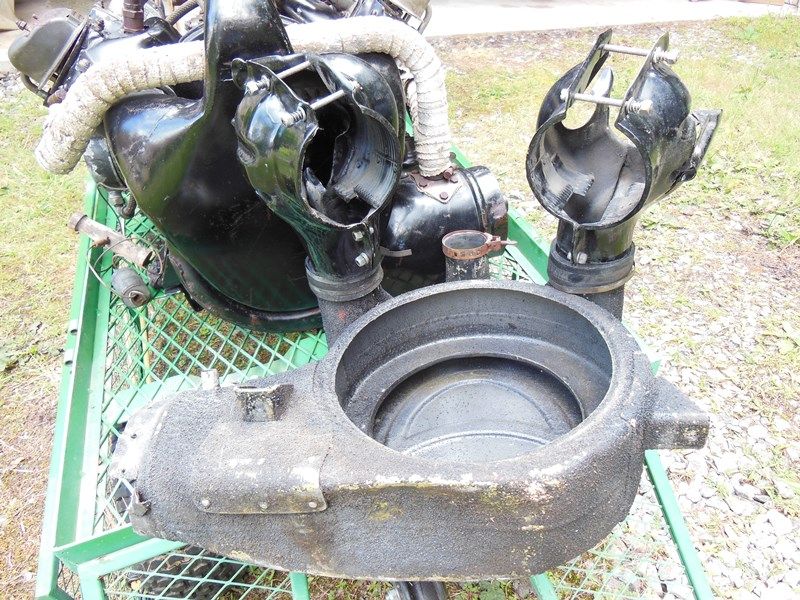
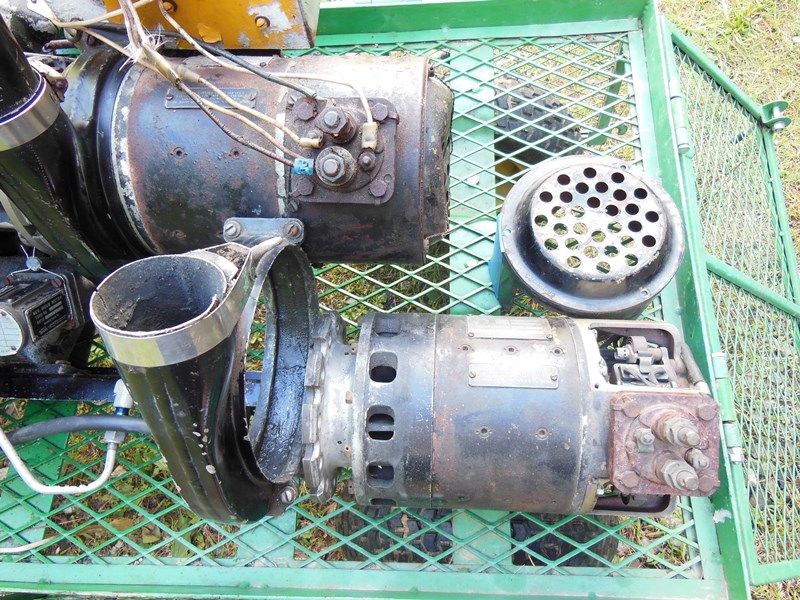
In this installment we're going to start doing some prep work on the engine's fuel system. Let us begin with the carburetor!
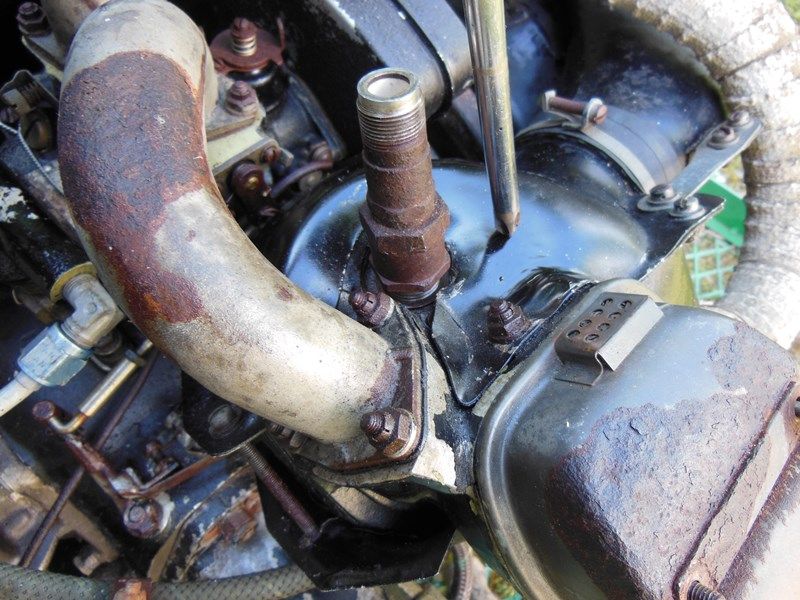
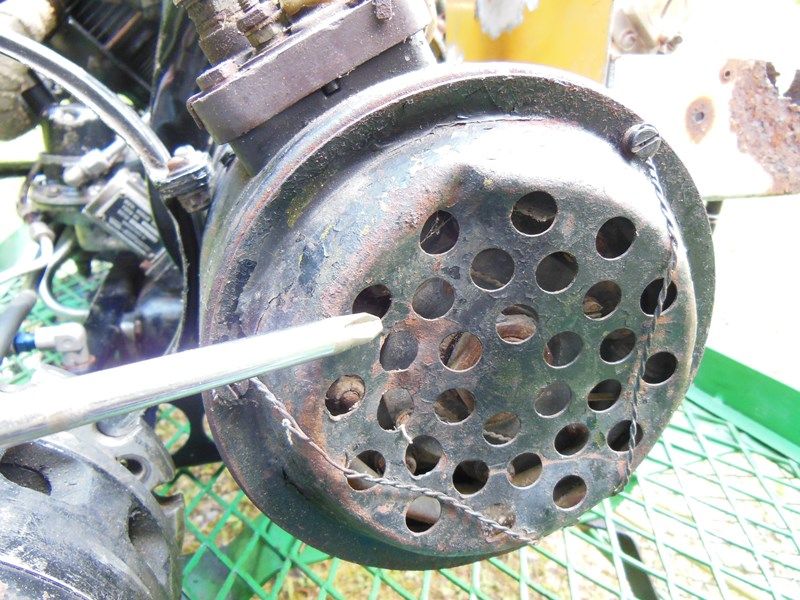
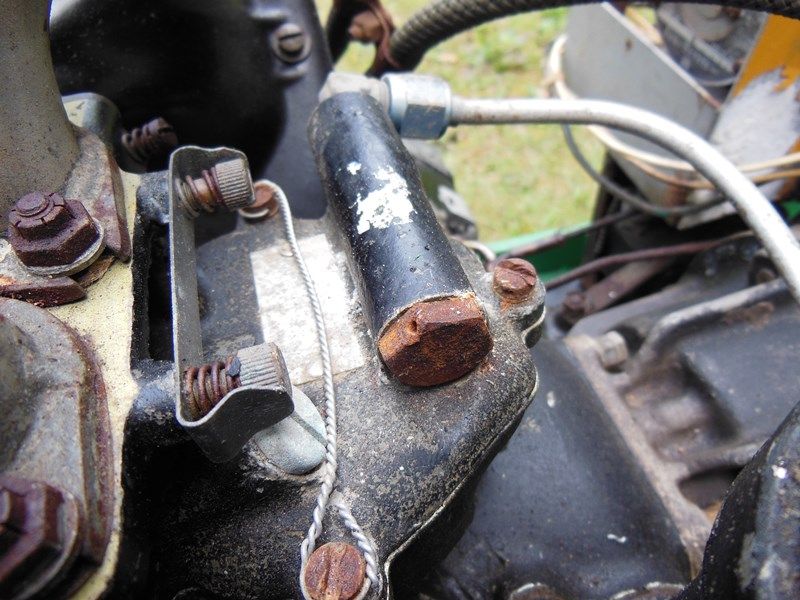
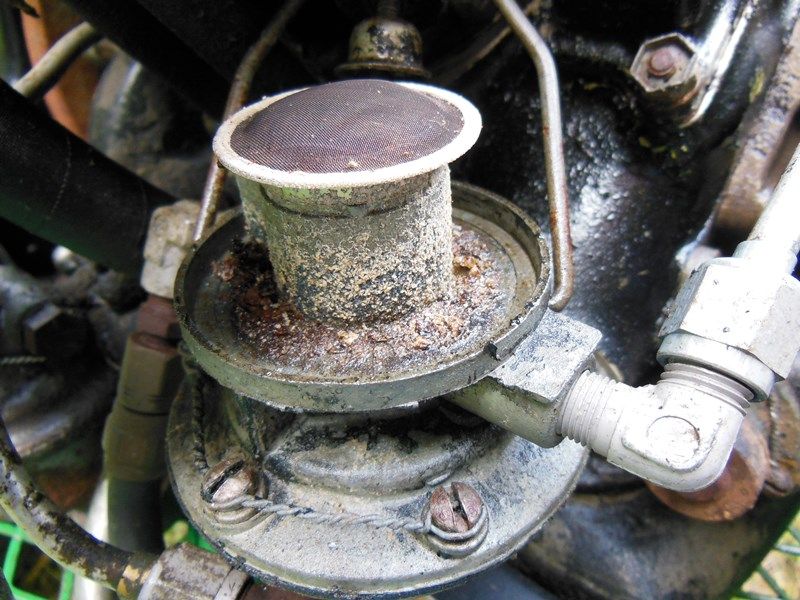
These engines use a simple two-barrel updraft carb, and the first thing we'll do is remove the fuel strainer and see what it looks like.


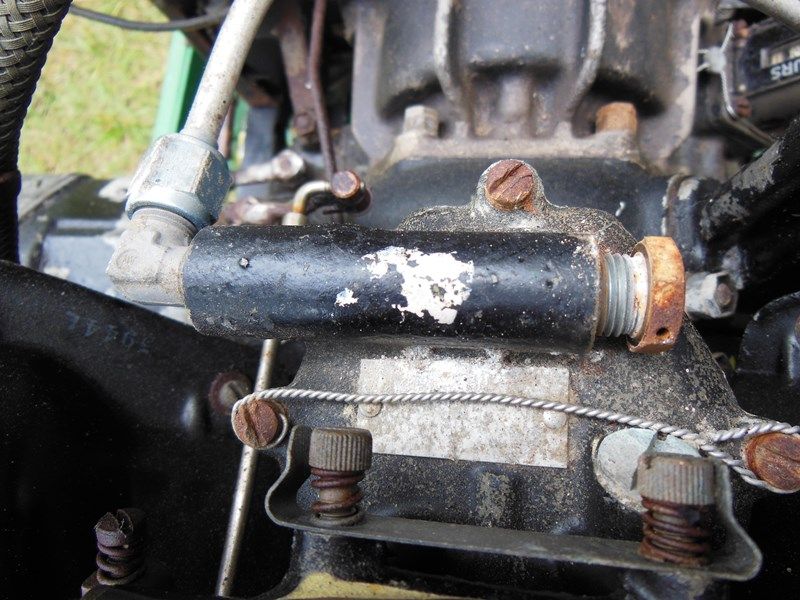
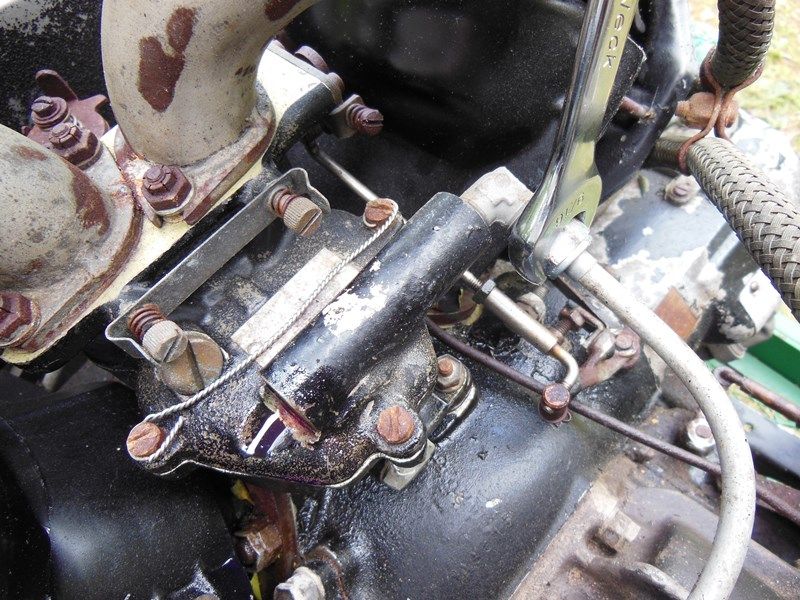
Safety wire removed, and it's time to start turning. Remember: lefty-loosey, righty-tighty...except in Australia, where
everything is backwards!

Almost there.
Here it comes..
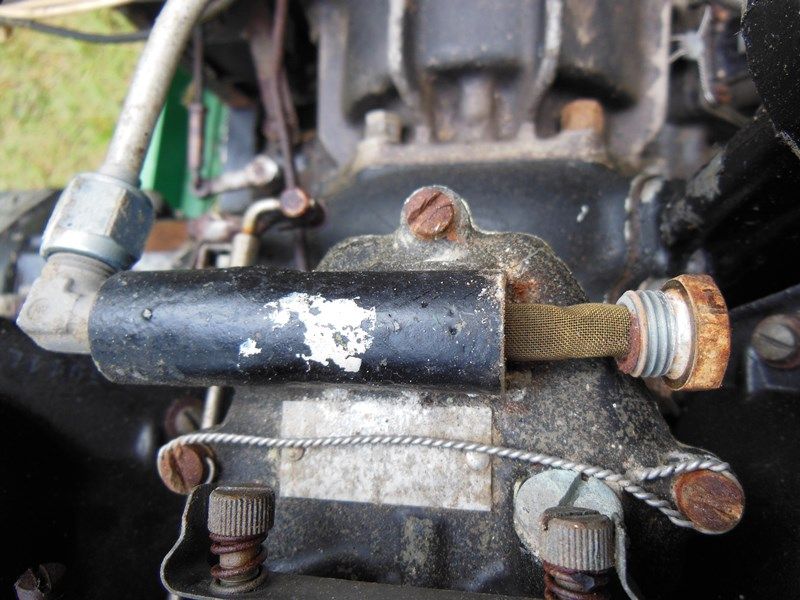
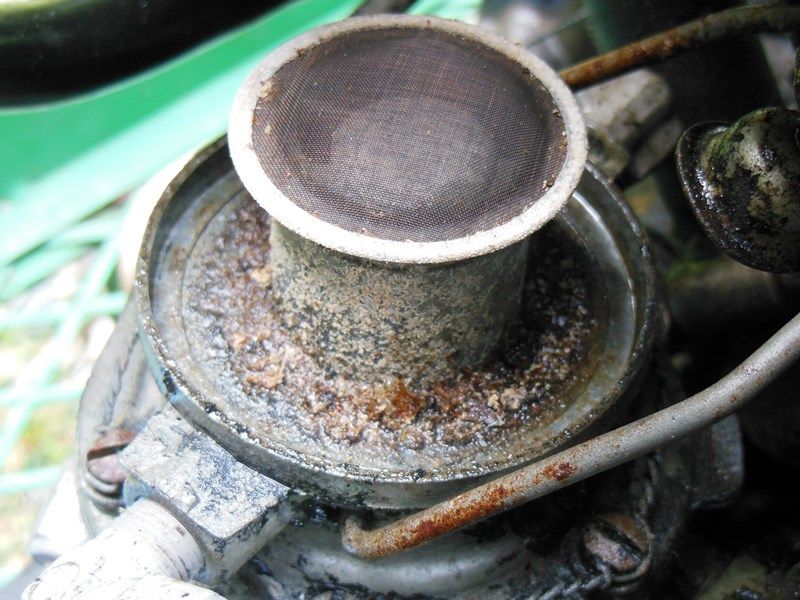
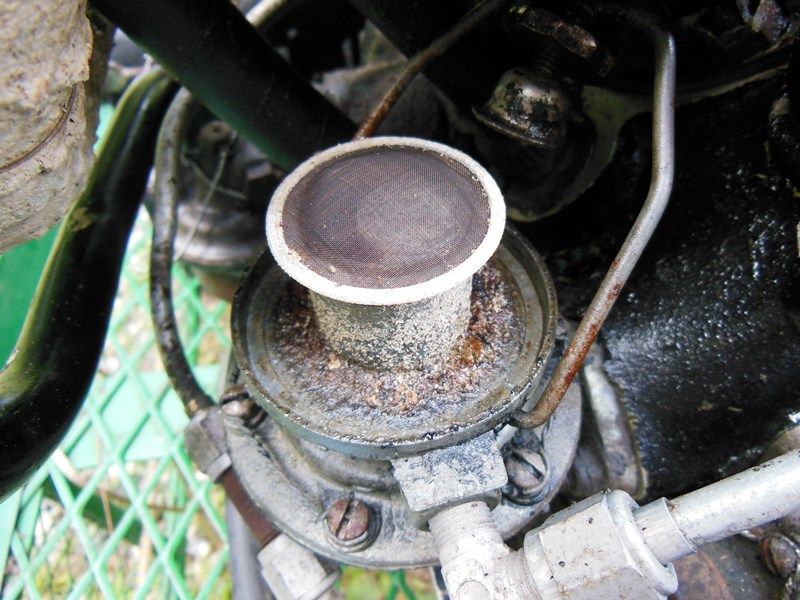
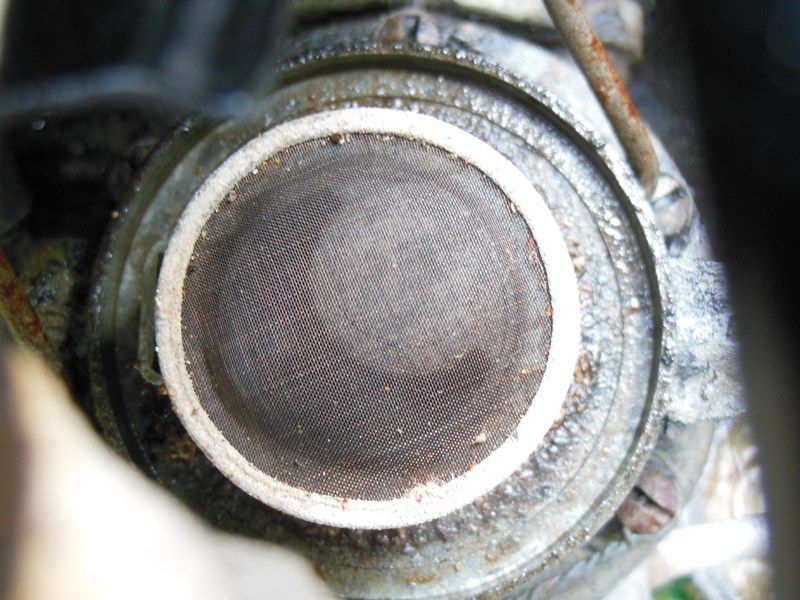
And the strainer is out! Aside from the rusty head, everything actually looks pretty good here.
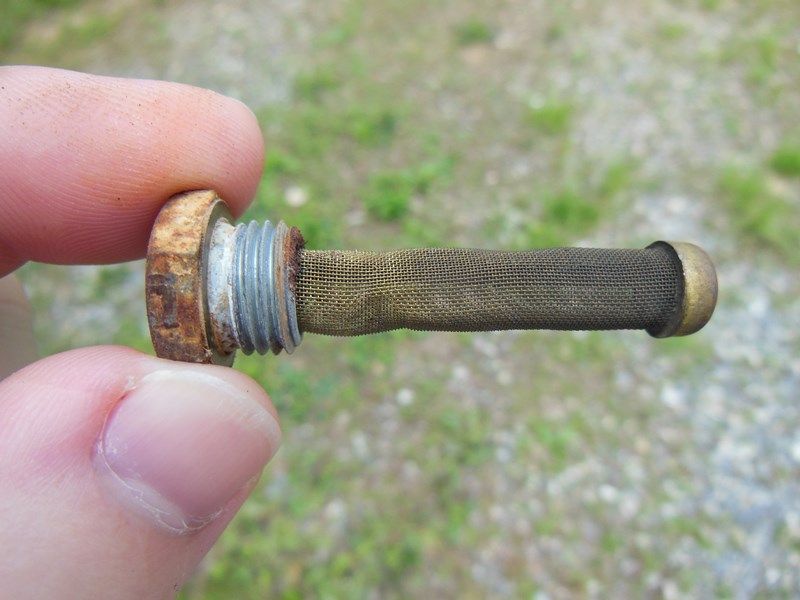
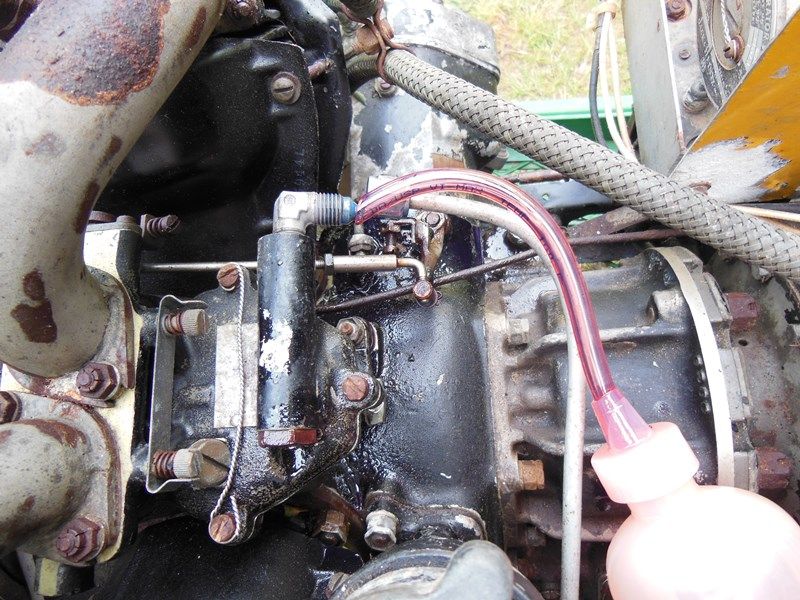
With the strainer removed, we'll squirt a little MMO in there.
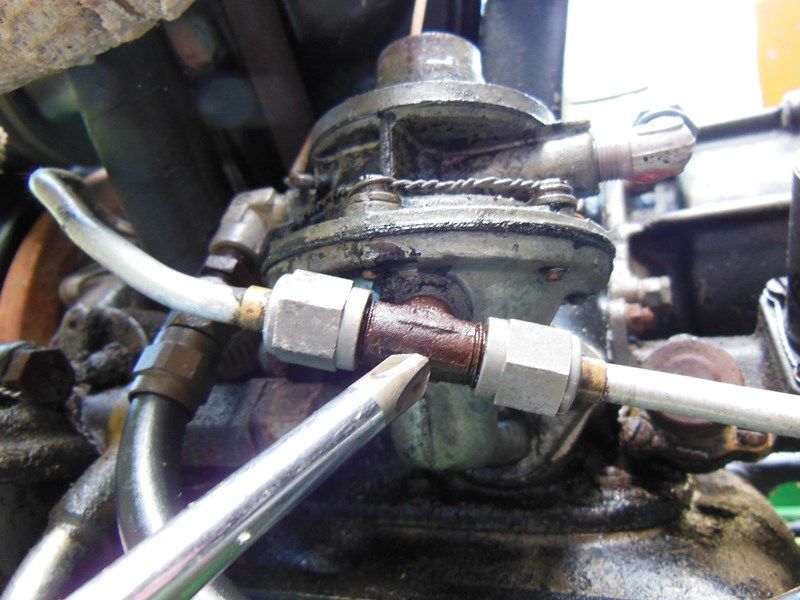
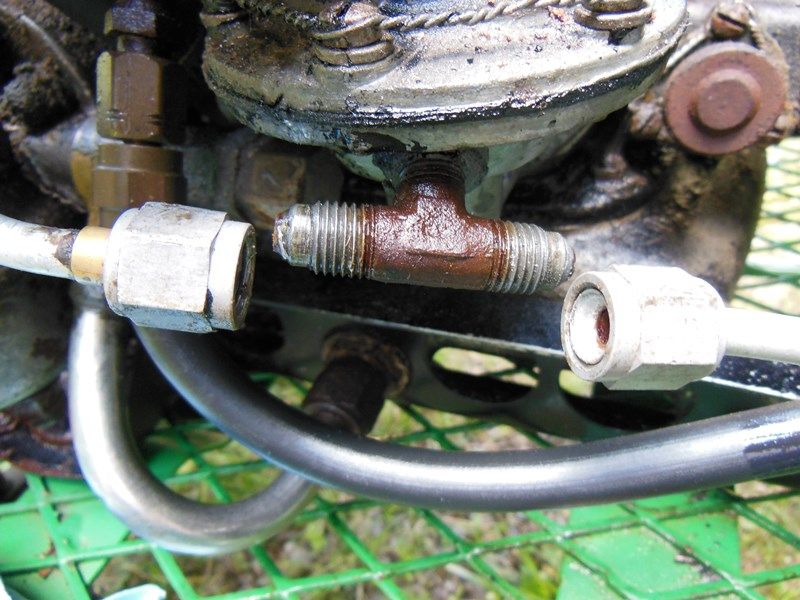
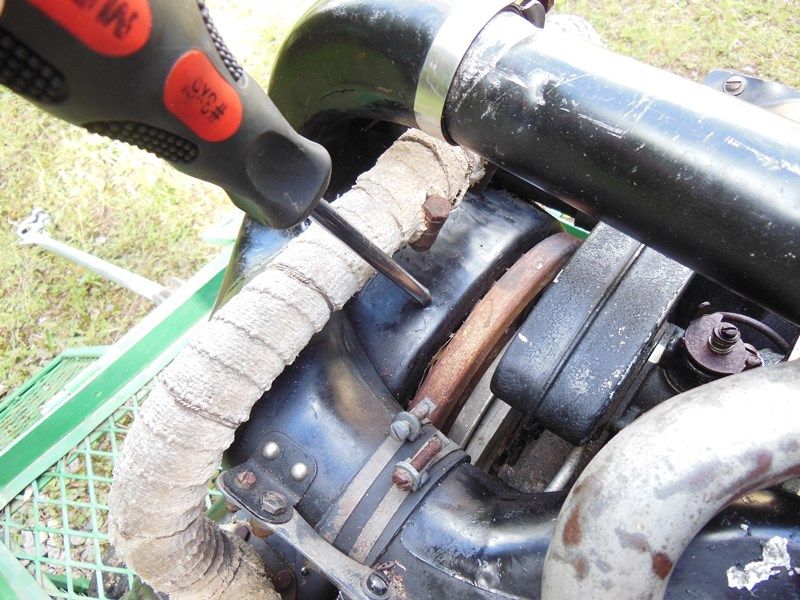
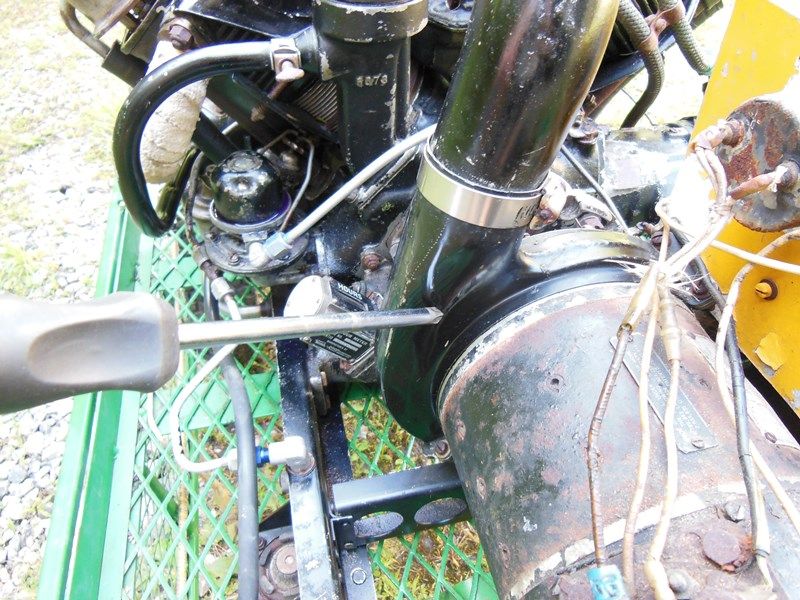
Next we'll disconnect the feed line.
This thing was being stubborn, so I had to give it a few "love taps" to persuade it to surrender

After 50 years--free at last!
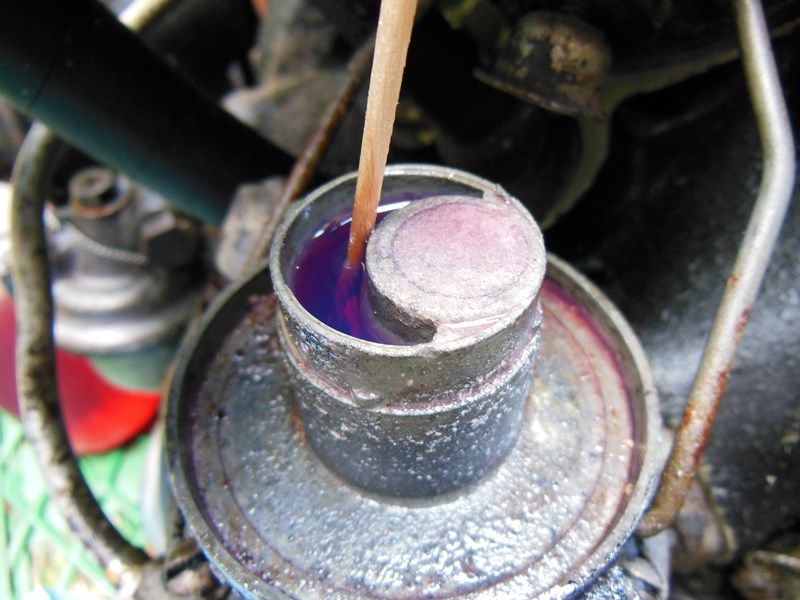
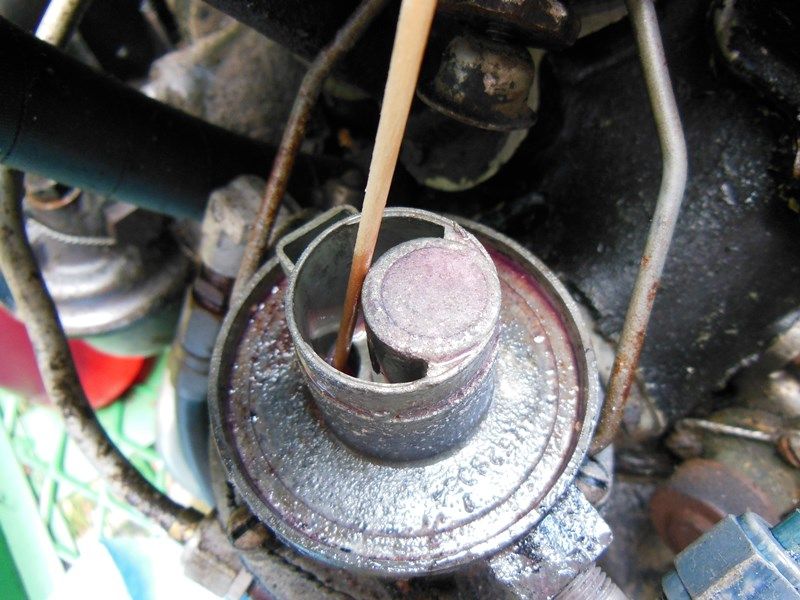
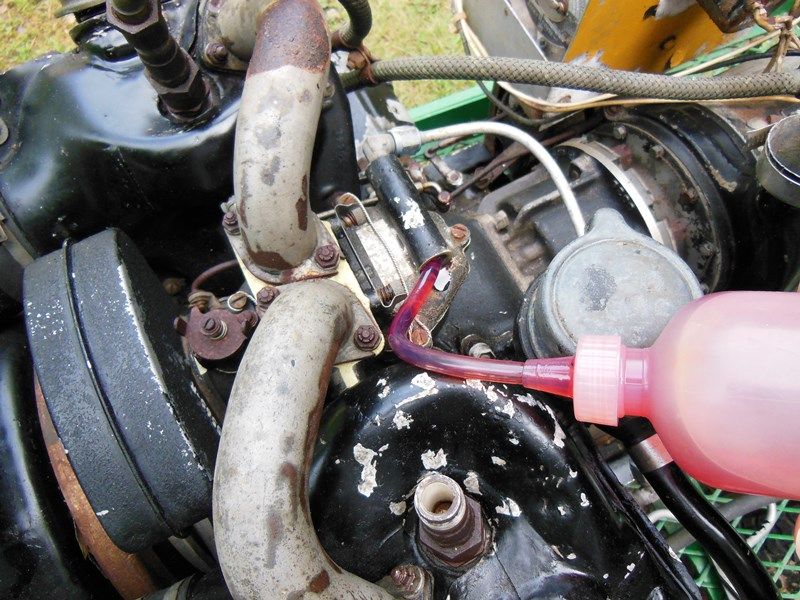
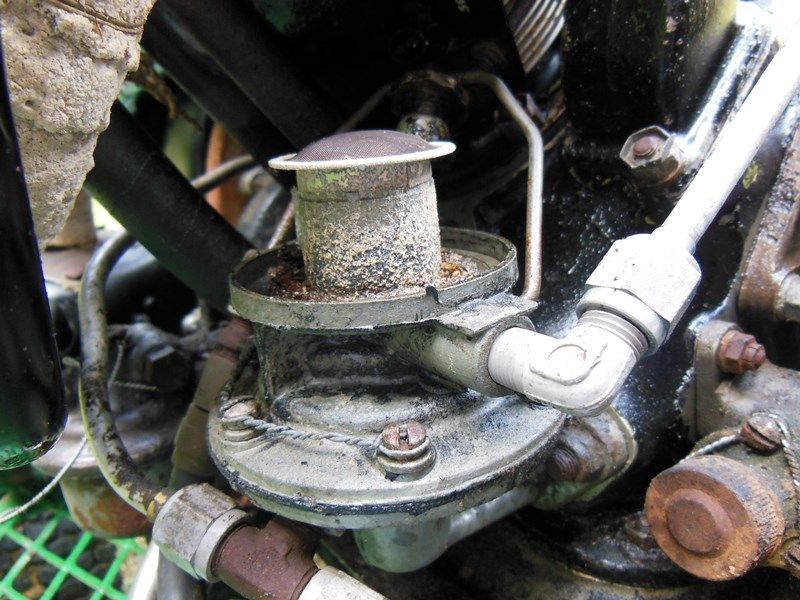
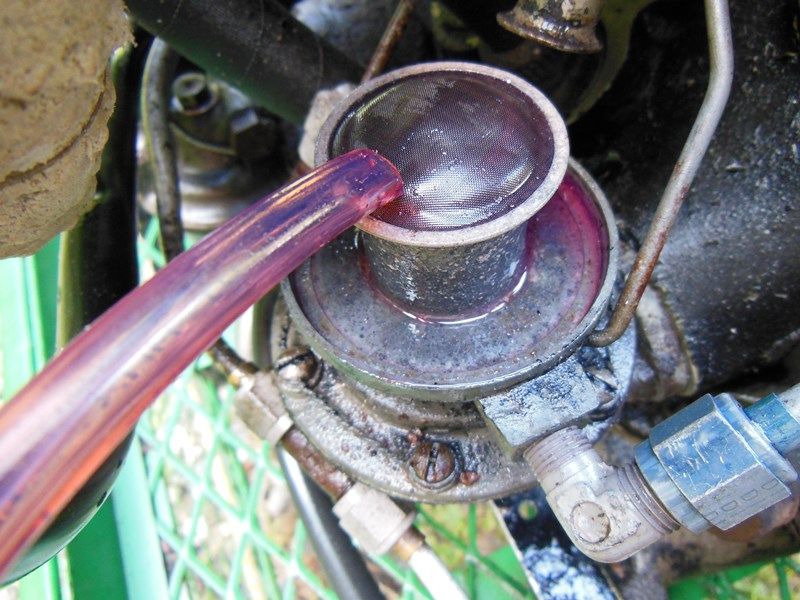
Next we'll reinstall the fuel strainer (after I cleaned it--forgot to take pics of that). Then I'll take the hose on my squeeze bottle and, holding it tight against the fitting, start pumping MMO into the carb. What we want to do here is completely fill up the float chamber (aka fuel bowl) with MMO and allow it to work into the jets, etc. Our concern here is any fuel varnish that might be inside the float chamber. (Fuel varnish is the gummy residue old fuel leaves behind when it deteriorates--nasty stuff!) If the float chamber was not drained after the last time this engine ran, then all of that fuel will have left behind a nasty varnish that can clog up the jets and cause all kinds of problems. (I don't want to stray into the details of how a carburetor works, but this is a good primer if you'd like to know more:
http://www.enginehistory.org/Accessories/HxFuelSys/FuelSysHx04.shtml.)
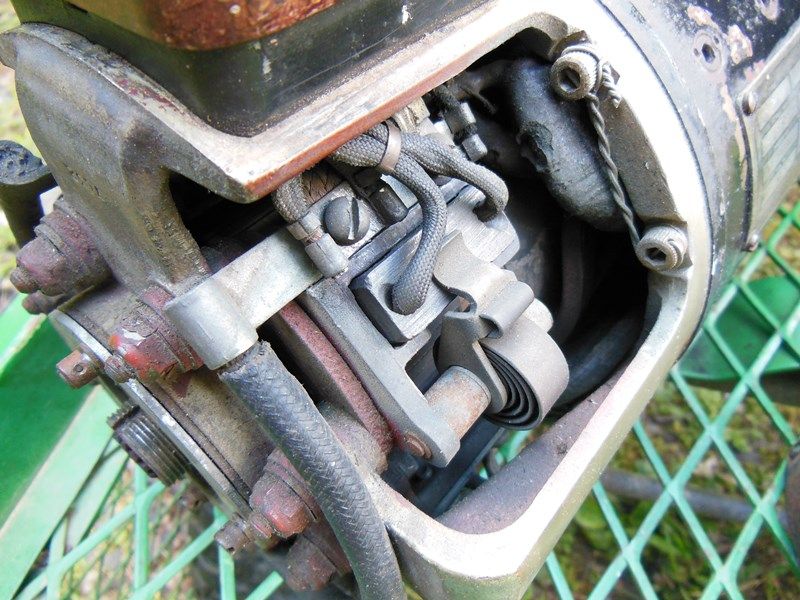
Inside the float chamber is a float, of course, and a needle valve that is opened and closed by the movement of the float. When the chamber is full of fuel (to the set level), the float rises and closes the needle valve. When the fuel level drops, so does the float, and this opens the needle valve and permits more fuel to enter and refill the chamber. By using the squeeze bottle, I can "feel" when the float chamber is full, and this tells me that both the float and the needle valve are working just as they should. On the other hand, if I was able to keep pumping MMO into the chamber, then that would tell me that either the needle valve is stuck open, or the float is not...floating!
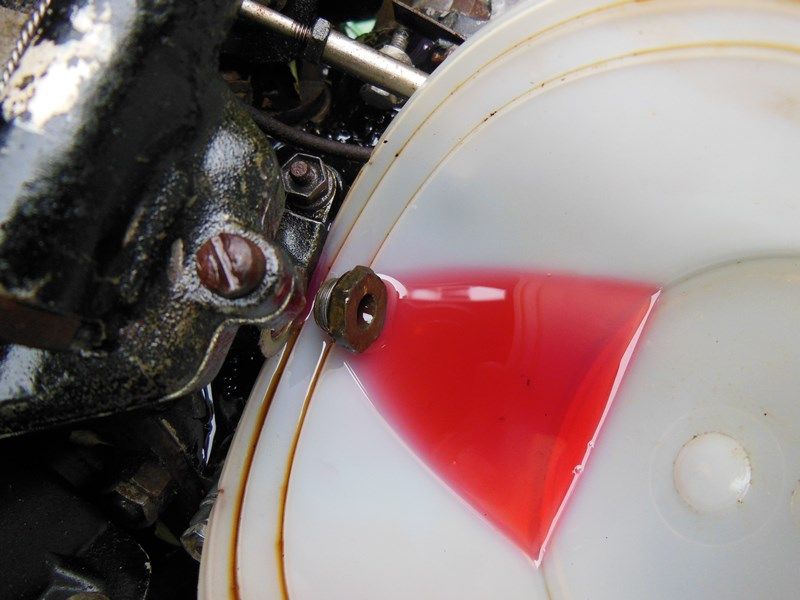
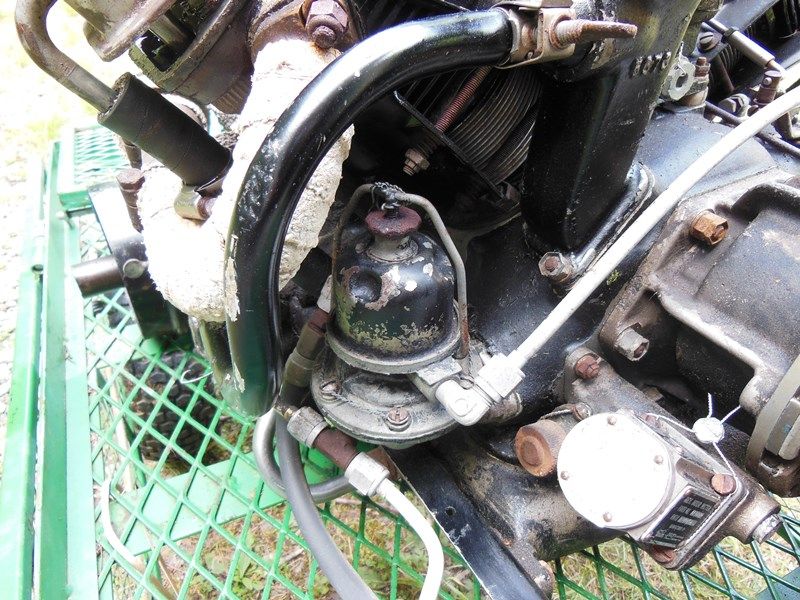
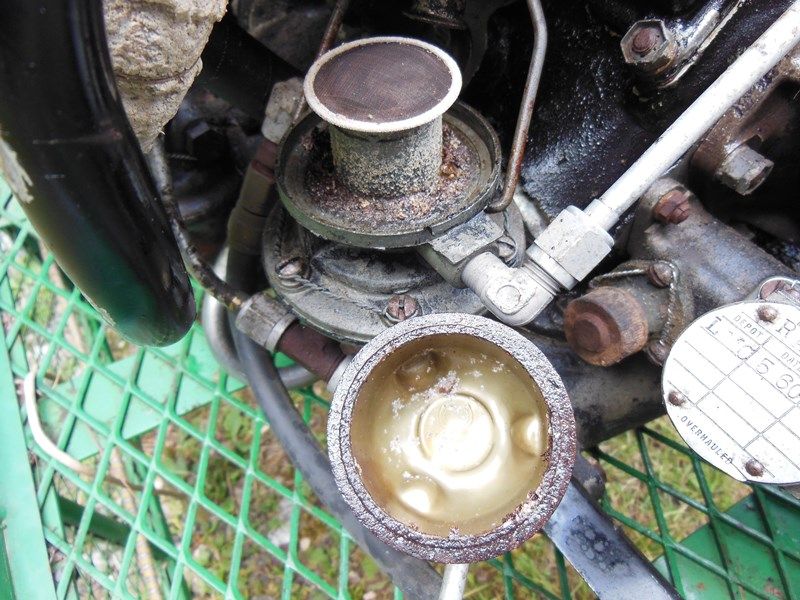
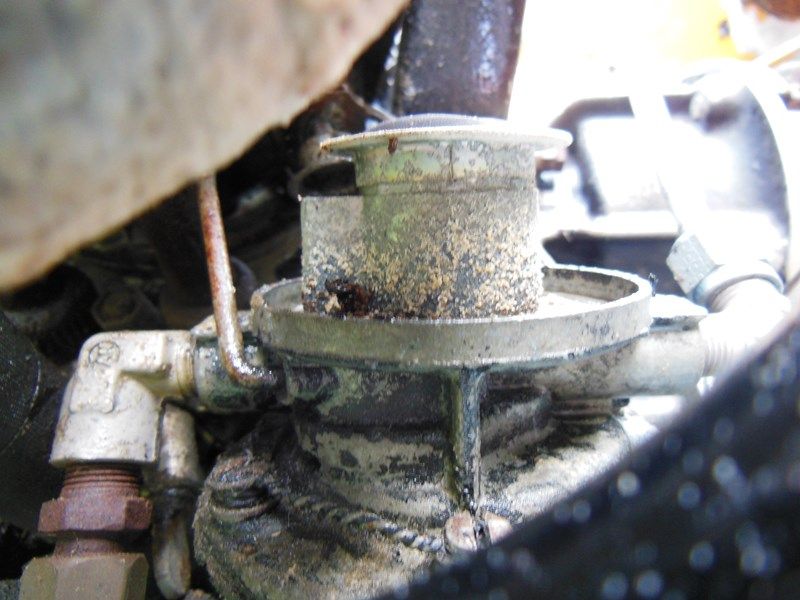
Here you can see the drain plug for the float chamber. This is the lowest point of the chamber and removing the plug will tell you right away if you have any varnish to deal with. I elected to leave the plug in place for now and we'll come back in a few days and remove it after the MMO has soaked for a while.
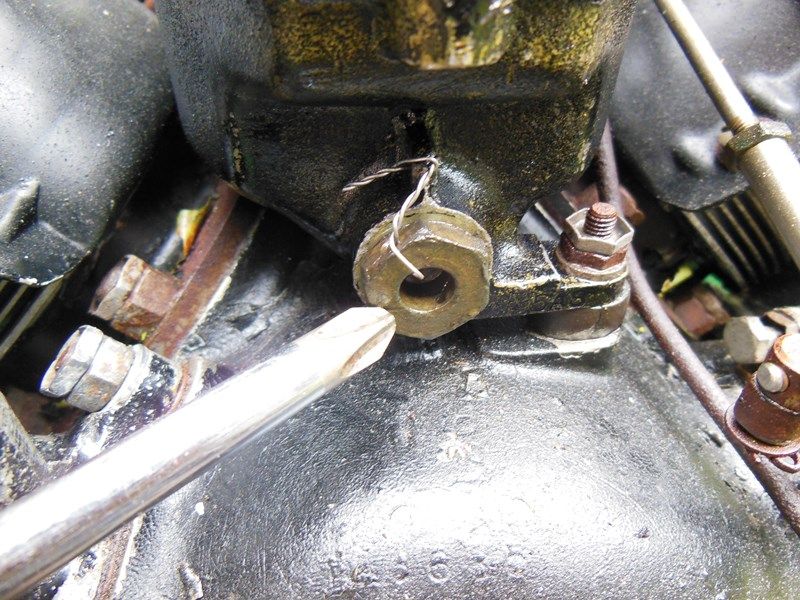
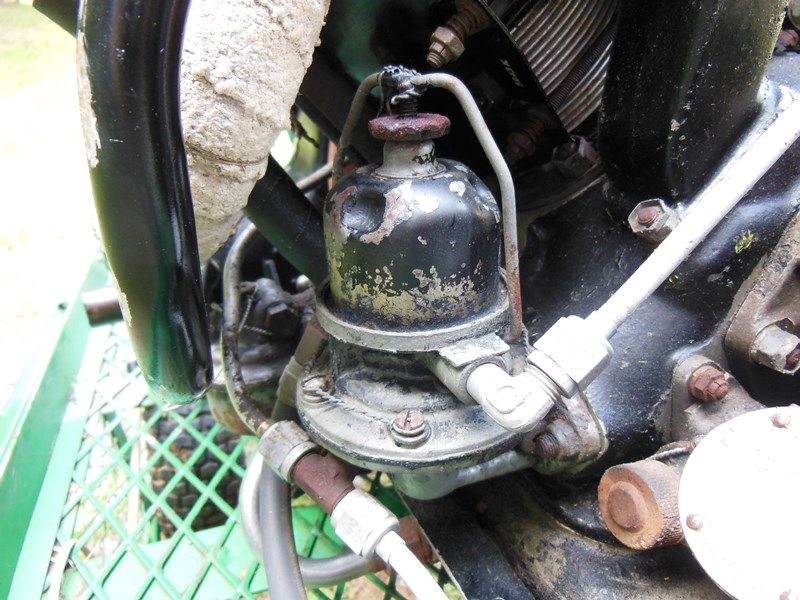
BUT, since I've been under the weather lately and have fallen behind on the updates, we'll magically fast forward and pull the plug now! Safety wire removed...
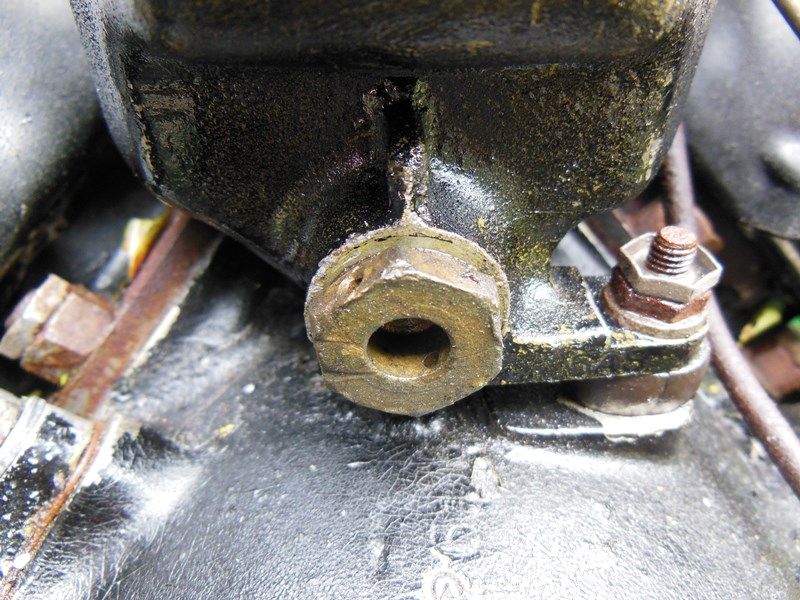
Turn and burn.
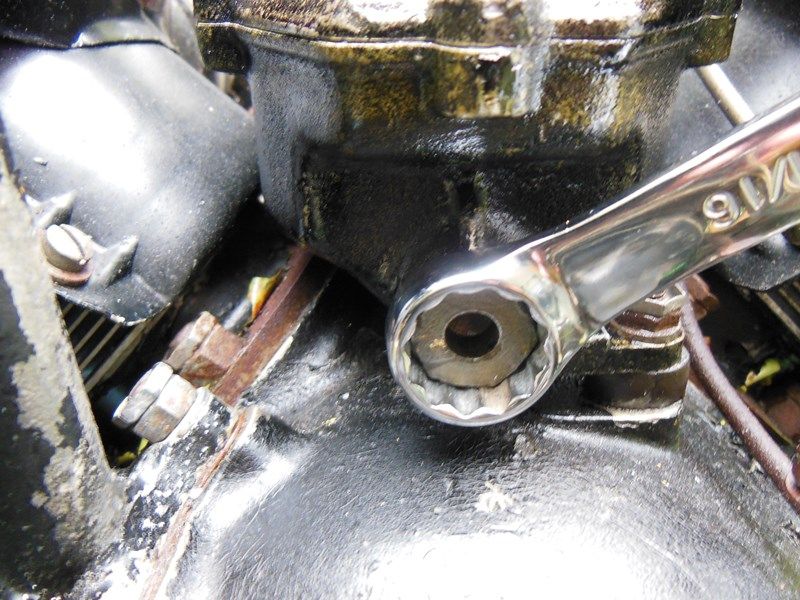
I struck "earl", as we pronounce it here in North GA. But half of it spilled over on the way out and now I have a mess to clean up!
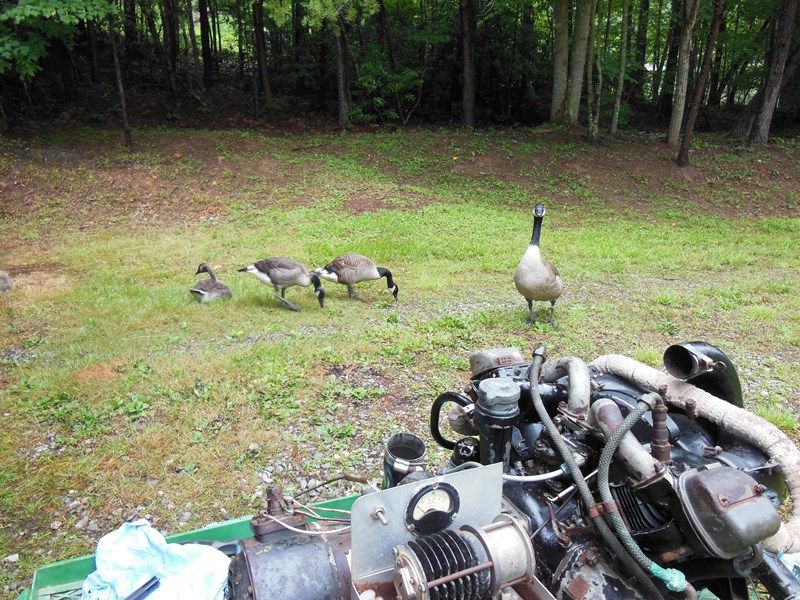
Thankfully some help shows up, and just in the nick of time!
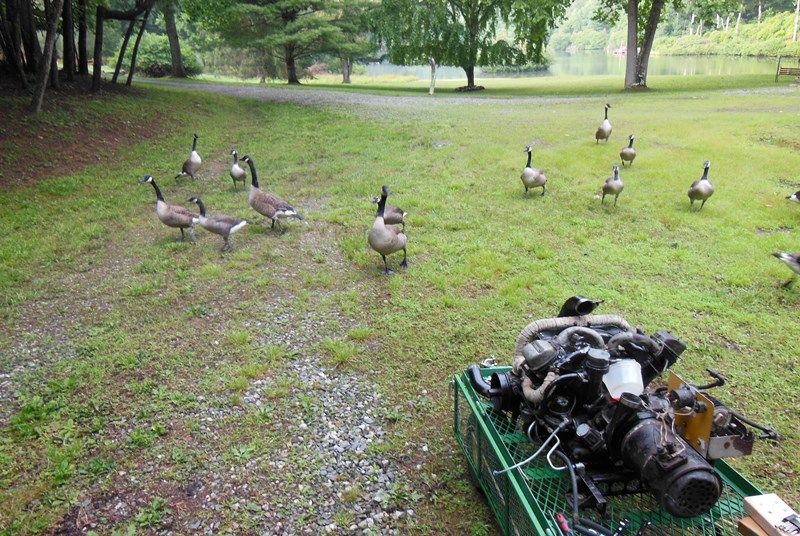
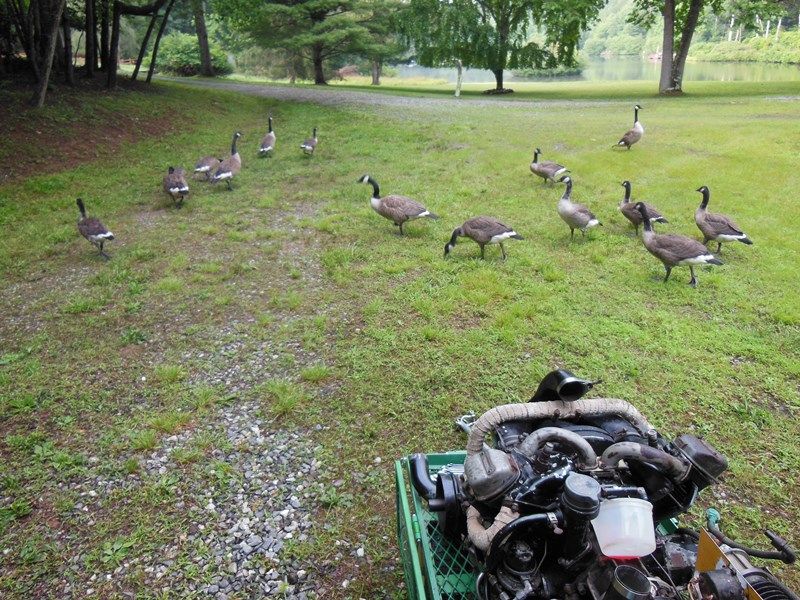
Aaaand they're gone. Ever notice how the help always seems to disappear when it comes to those dirty/oily jobs?? Hmm...
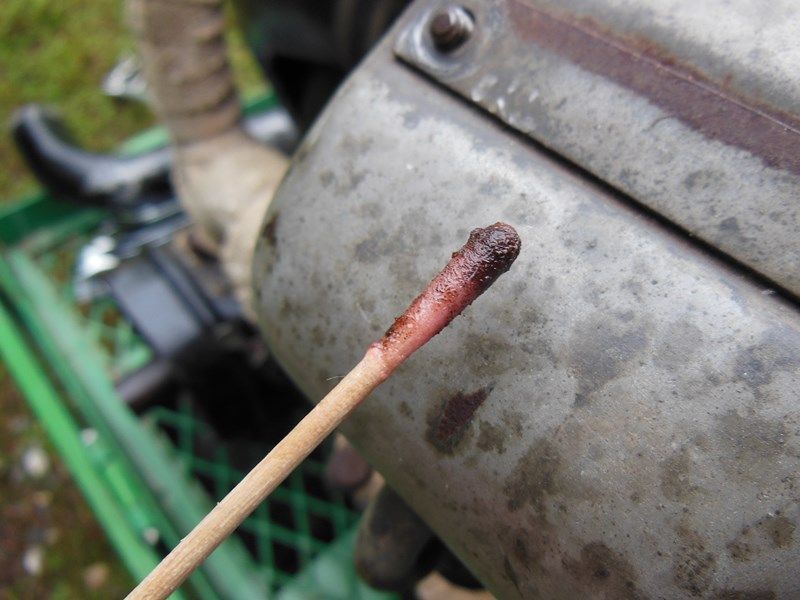
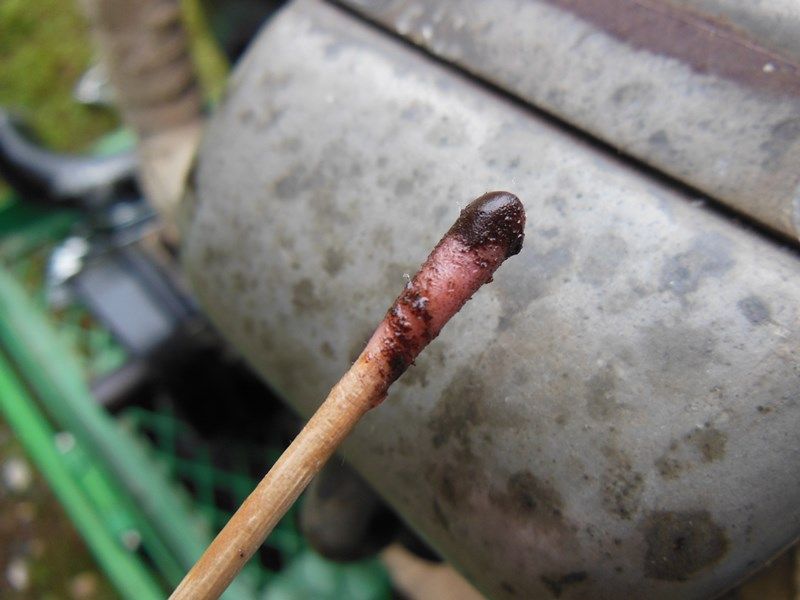
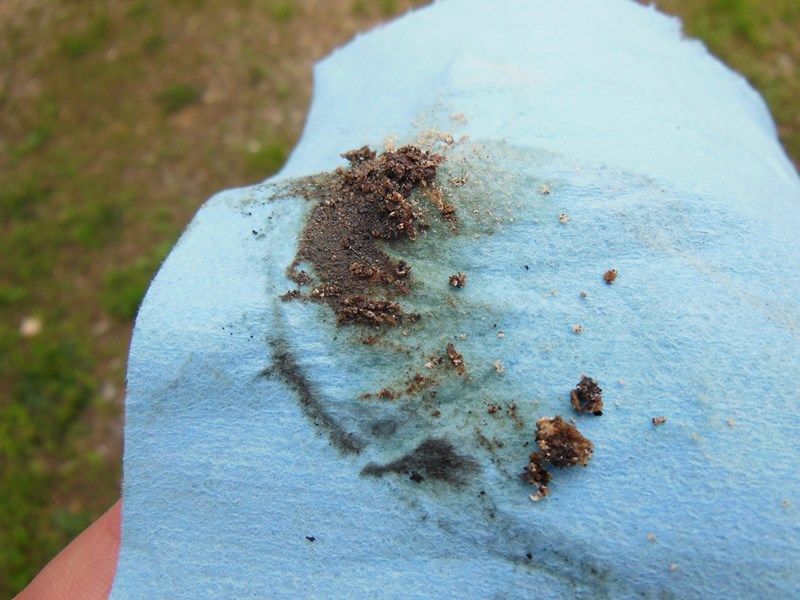
Here we can see the first signs of varnish in the float chamber.

So I swabbed around inside the bottom of the chamber and found even more. This tells me that there's also going to be varnish in the jets, and that means ya'll will get to see what the inside of this carburetor looks like, because now I have to take it apart and clean it!
But for now, I'll reinstall the plug and fill the chamber up with MMO again and let it soak some more.
And of course, now that the dirty work is over, a few helpers magically appear again. Ever feel like you're being watched??
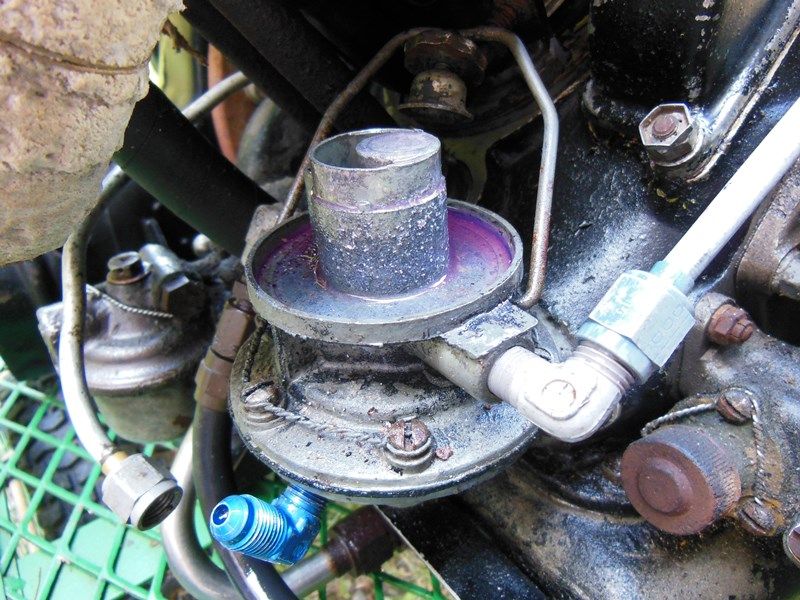
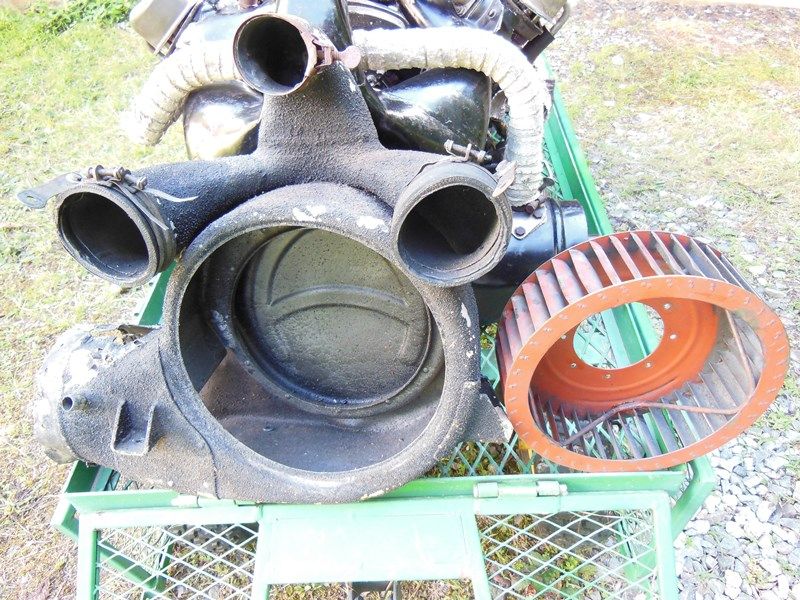
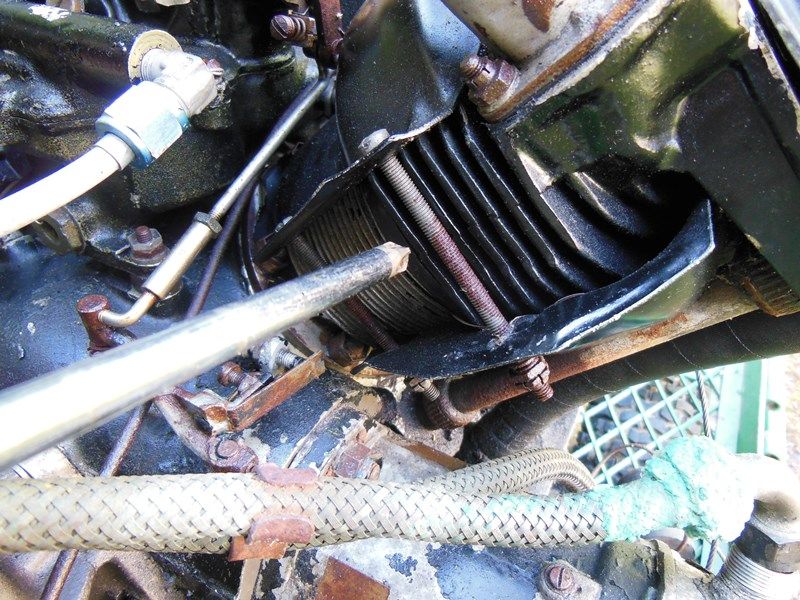
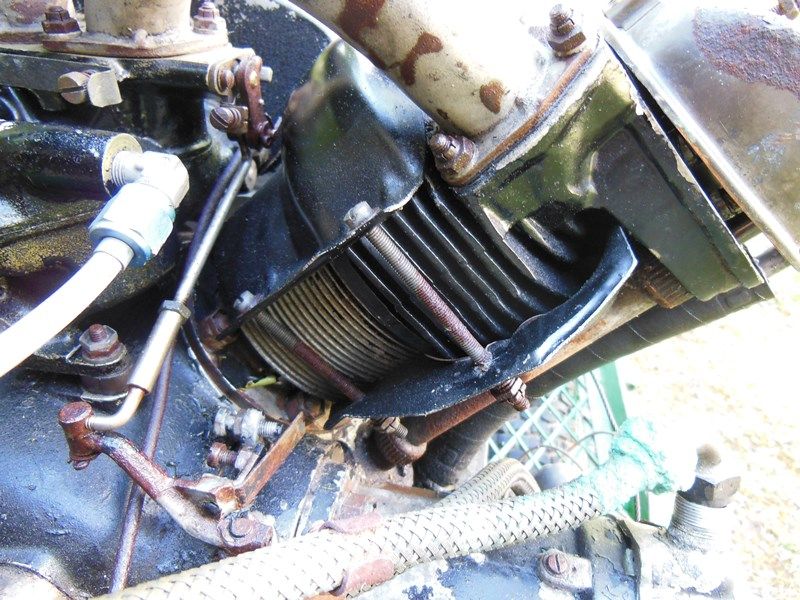
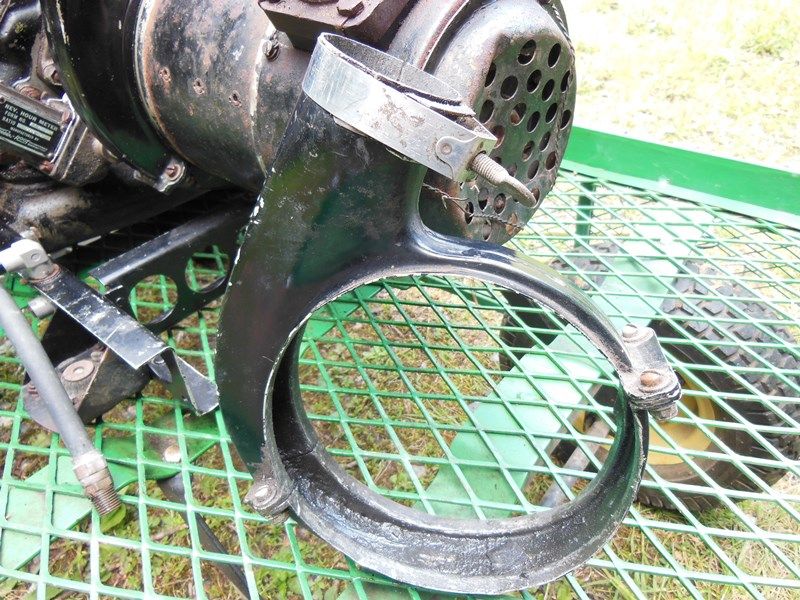
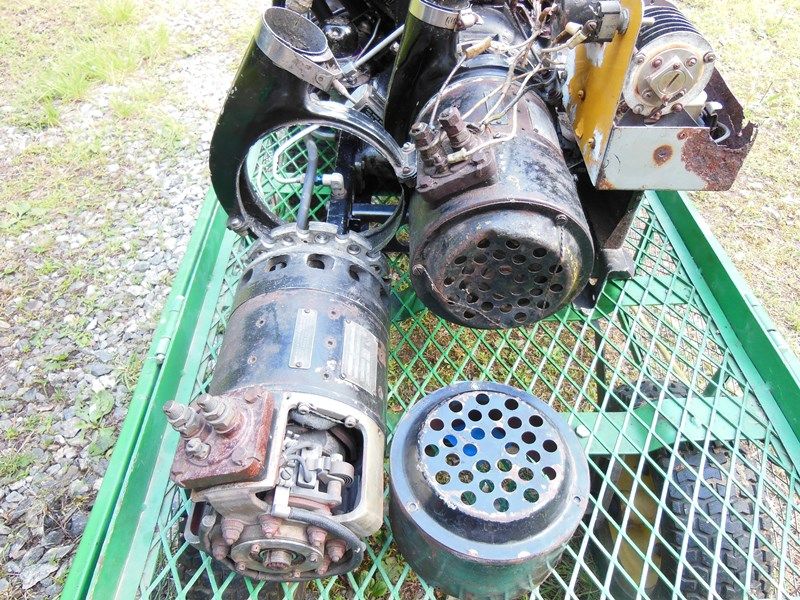
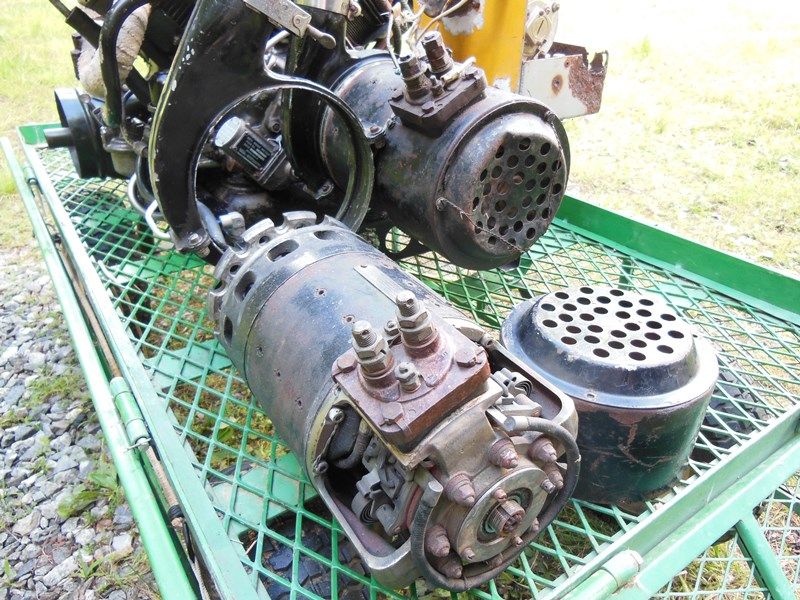
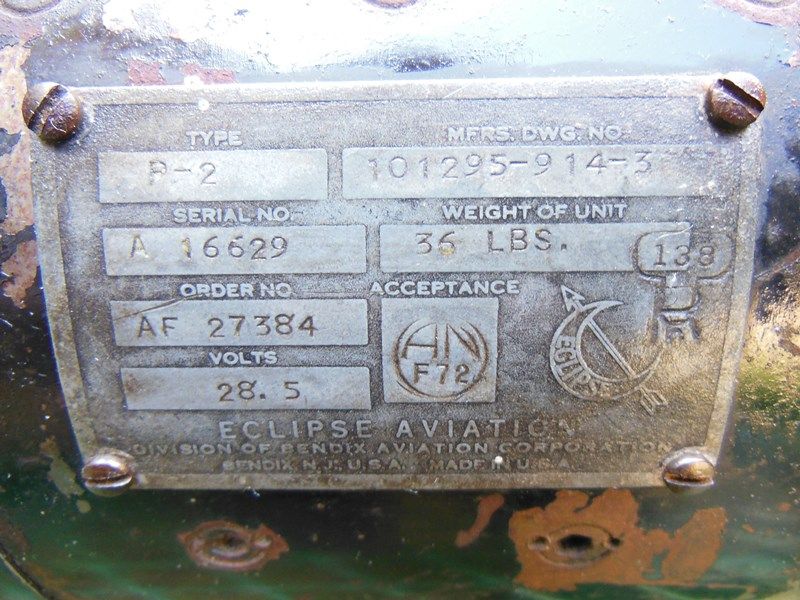
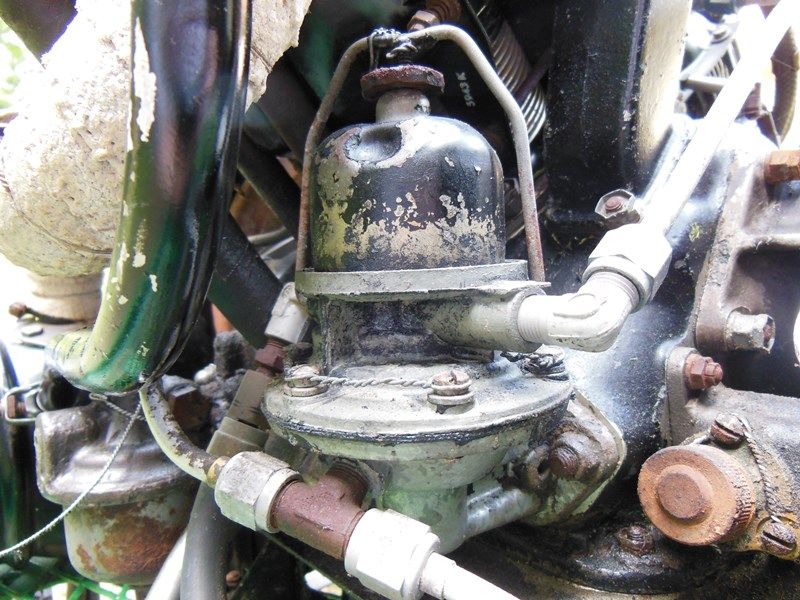
Now let's turn our attention to everyone's favorite component on these engines: the fuel pump! These are simple diaphragm pumps and as far as I can tell, they are practically identical to the fuel pumps used on WWII Jeeps. Now I'm no expert on Jeeps, but looking at the part numbers, I believe the only major differences are the rocker arm, diaphragm spring and the lack of a priming lever? Otherwise, as best as I can tell, the two pumps share the exact same parts.
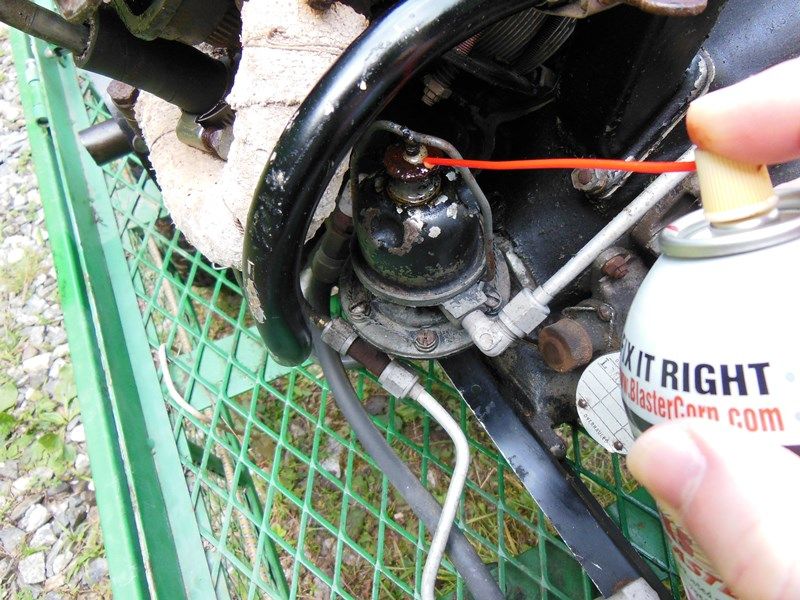
The first thing we'll do is squirt a bunch of MMO into the carb feed line and let it work down into the pump (more on that later).

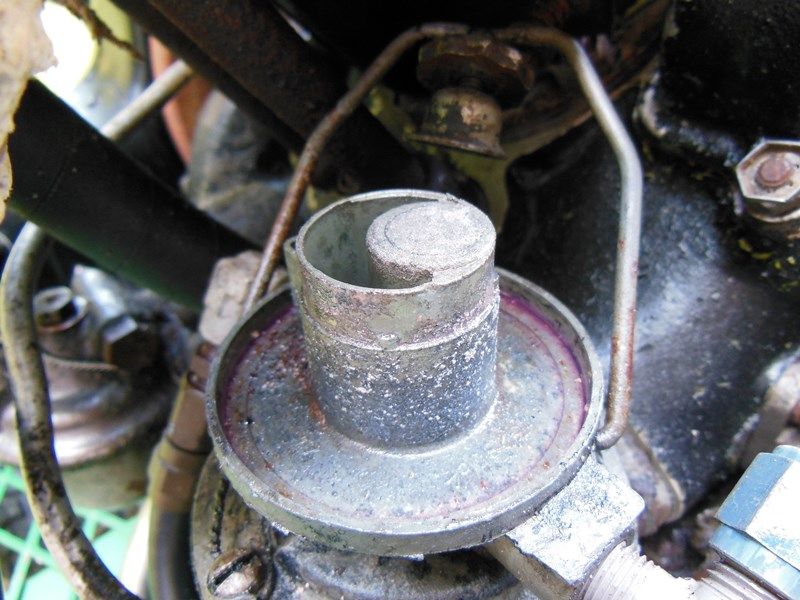
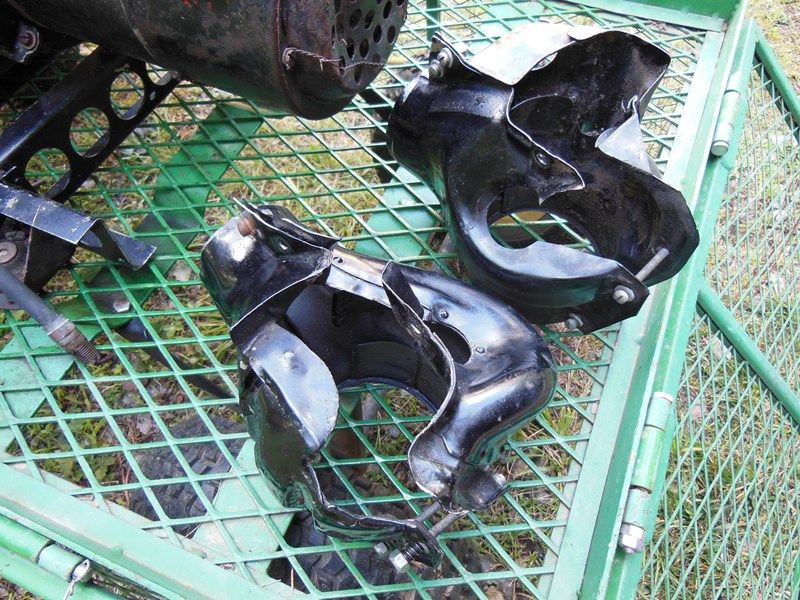
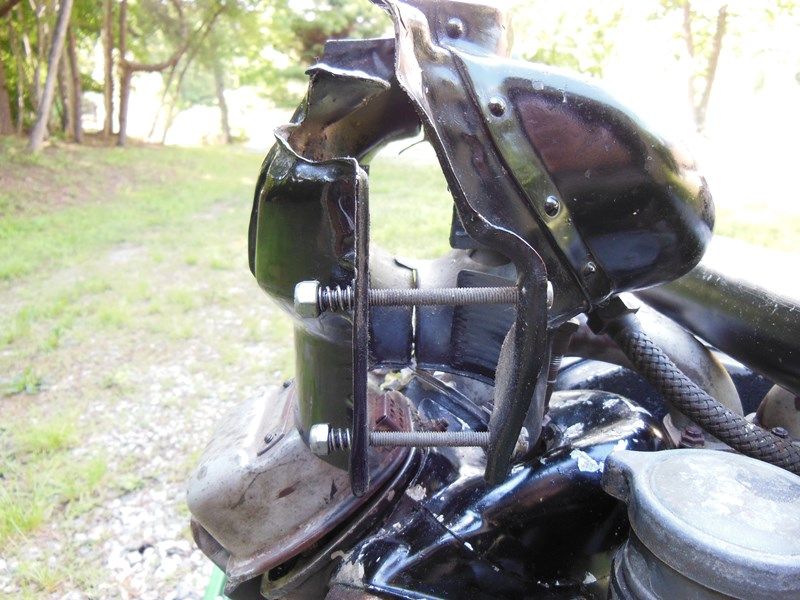
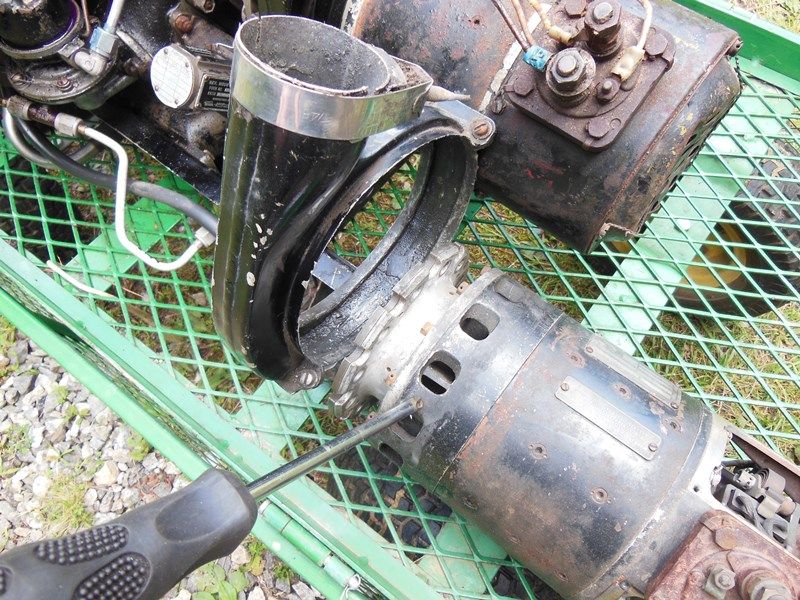
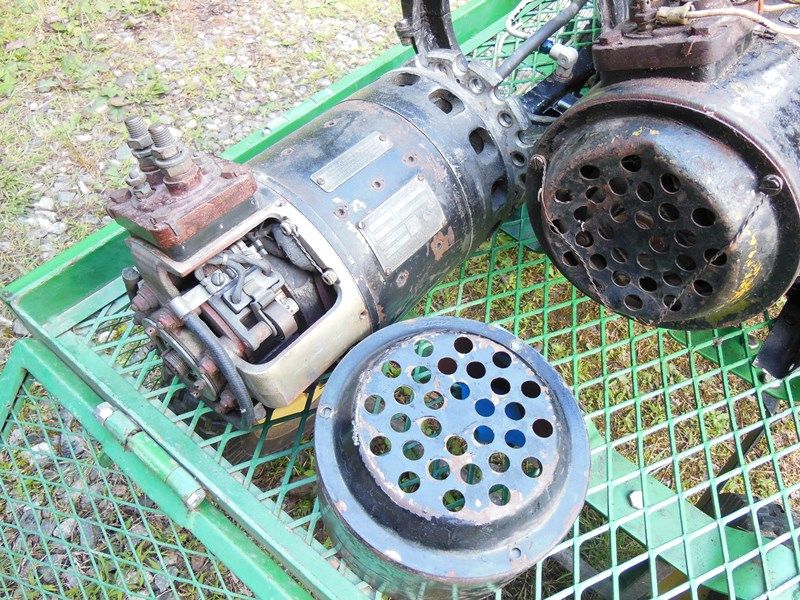
Next we'll remove the bowl and see if there's any fuel varnish we need to clean up. To remove the bowl, first we need to loosen the retaining knob on the bail. After removing the safety wire, I tried to loosen the knob, but it wasn't budging! We'll give it a few shots of PB Blaster and let it soak for a spell.
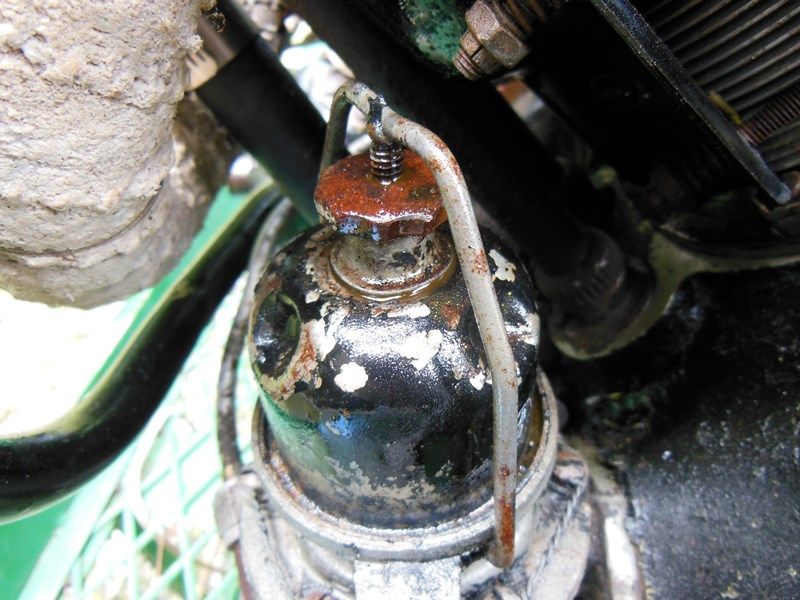
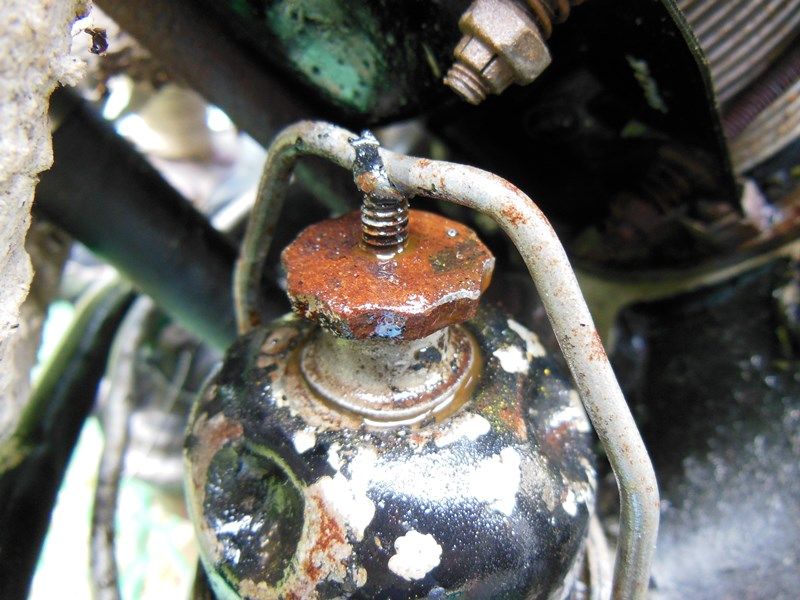
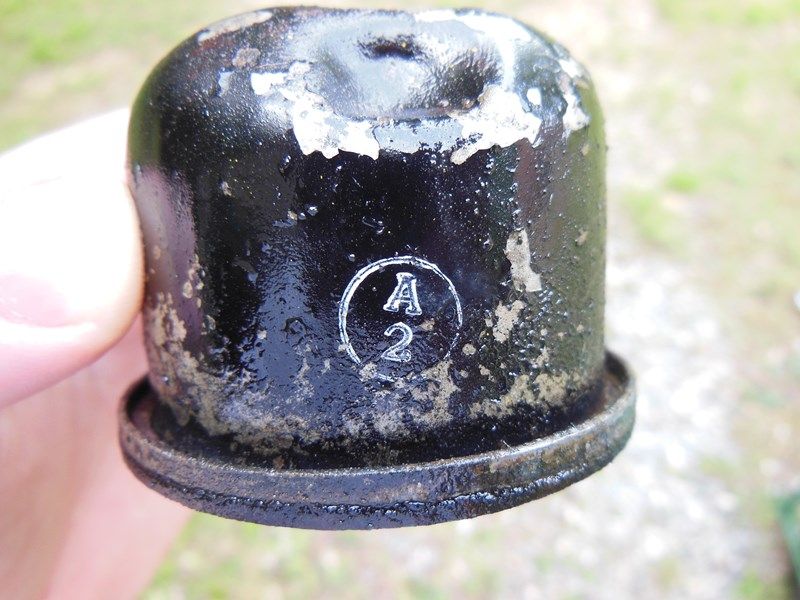
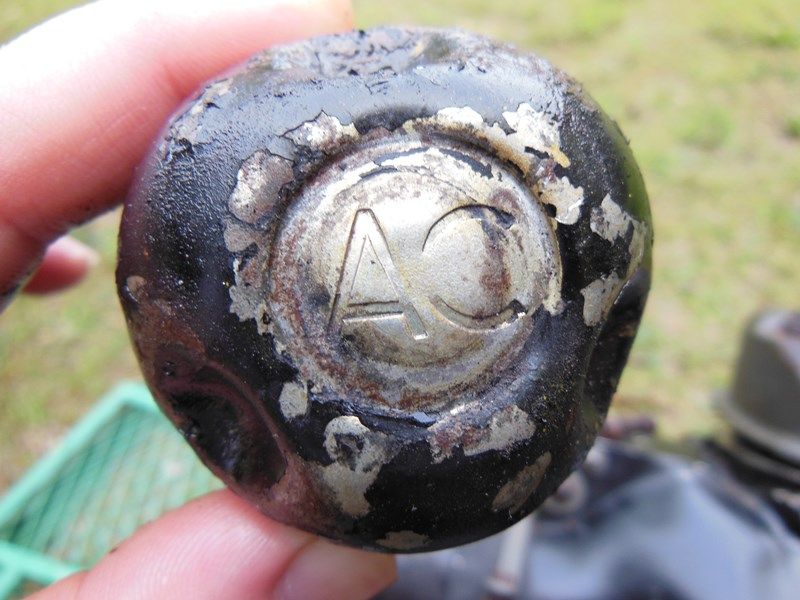
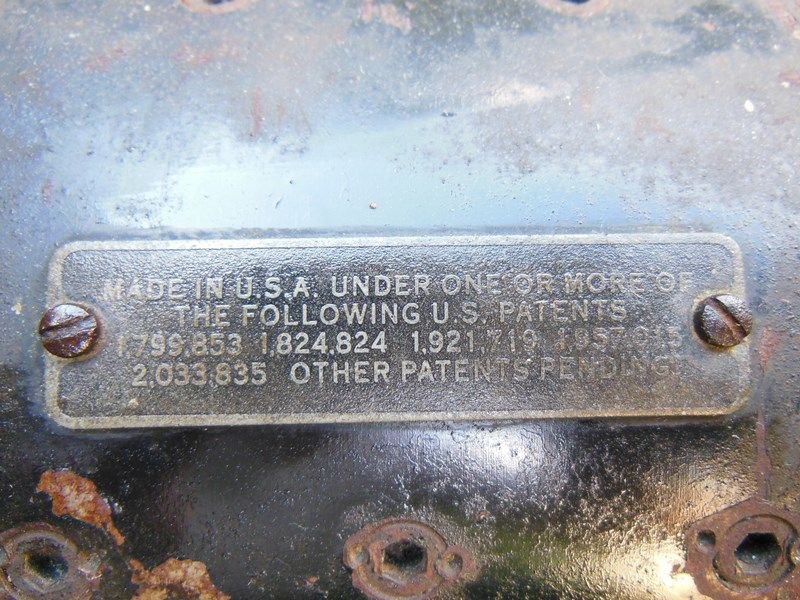
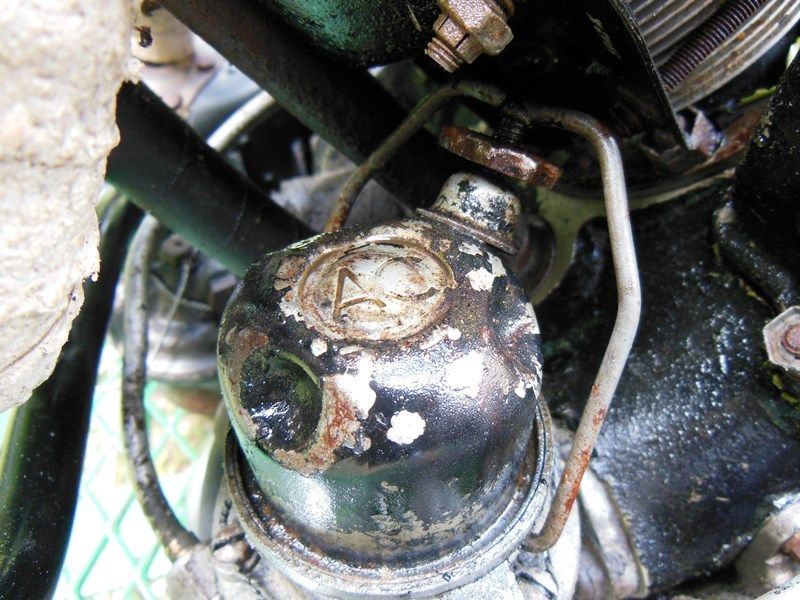
Coming back a few minutes later, the knob was still refusing to budge, so I hit it with some more PB Blaster and waited a few minutes. Well, that didn't work either! So I hit it again with the PB, and then I took a mallet and a flat tip screwdriver and slowly started tapping the knob loose. After a few minutes of slow going, the bail was finally free. These pumps were made by AC Spark Plug, hence the "AC" stamped into the bowl.
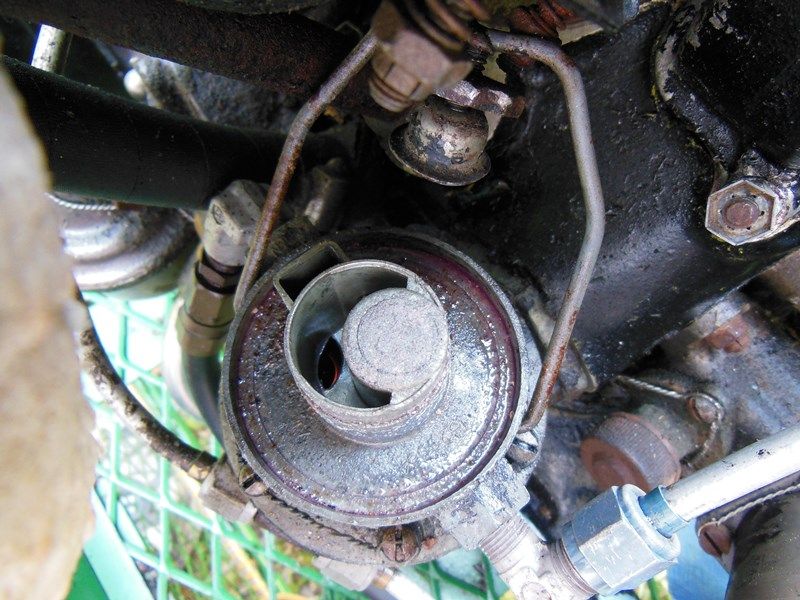
Let's open it up and see what we got!
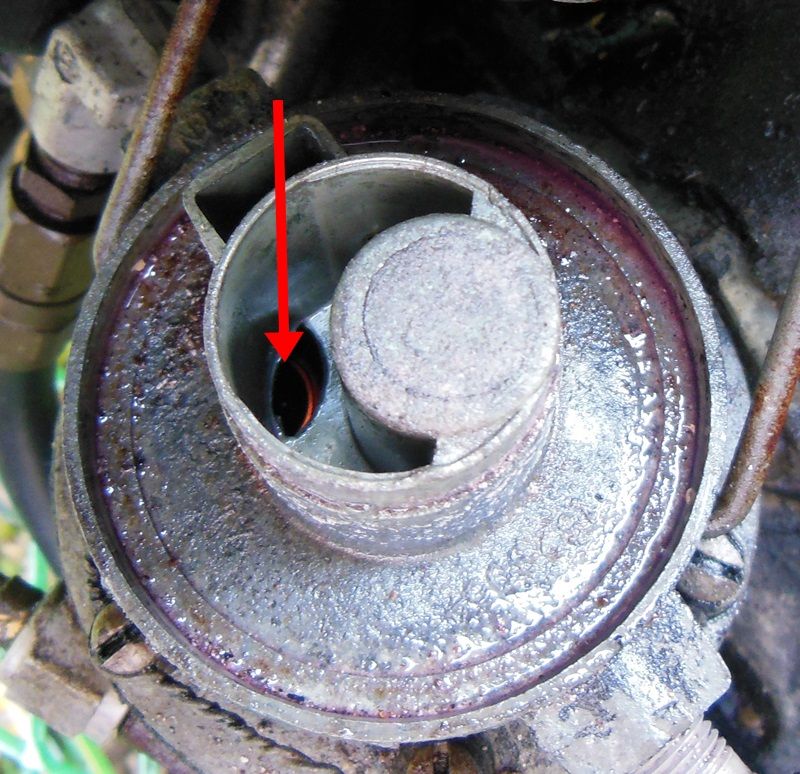
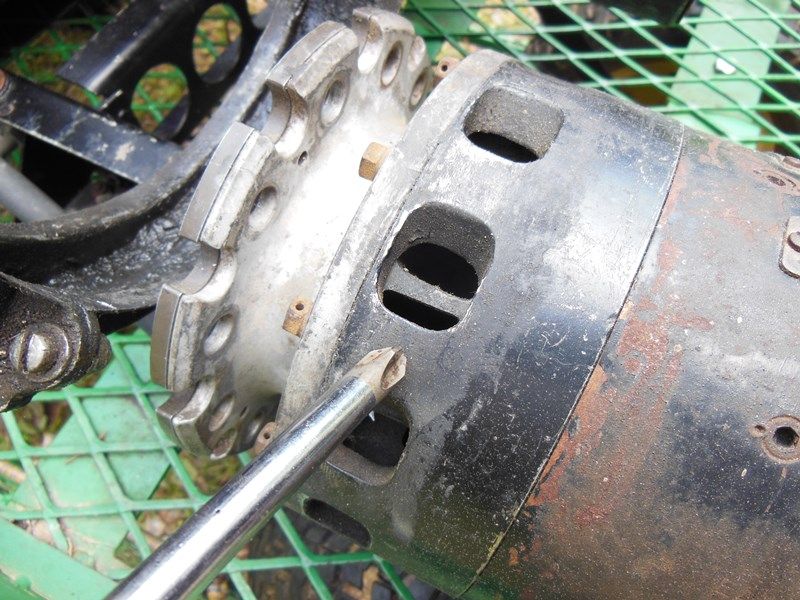
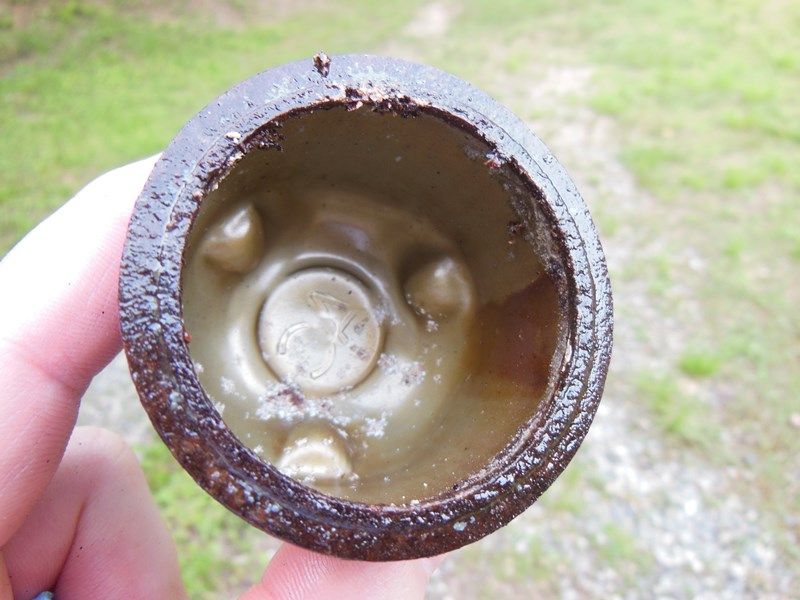
Here's looking inside the bowl. Aside from some gunk and a little corrosion, it doesn't look too bad. But what about the rest of the pump, you say?
Oh dear. There's all kinds of nasty goin' on right there!
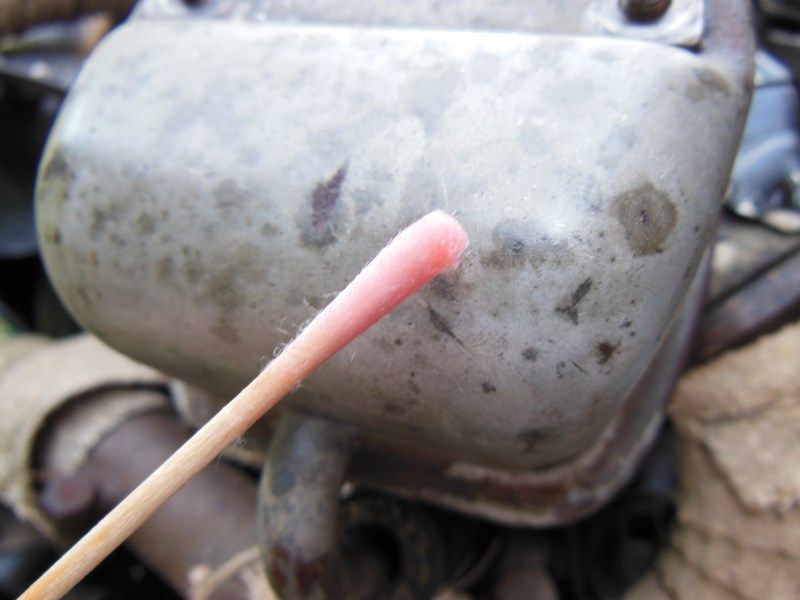
Here's some of "the nasty" that came out of it. This is a mixture of varnish, grime and who knows what else. There's also going to be more varnish down inside the pump that we cant see yet.
We'll come back and do some more cleaning on the fuel pump later, but for now, you guessed it: more MMO!
Now this has never happened to me before, but I actually ran out of MMO after that last picture! The Engine Gods will not be pleased! Part II of the prep work on the fuel pump will be coming soon, just as soon as I can get some more of my "magic juice"...
and MMO!