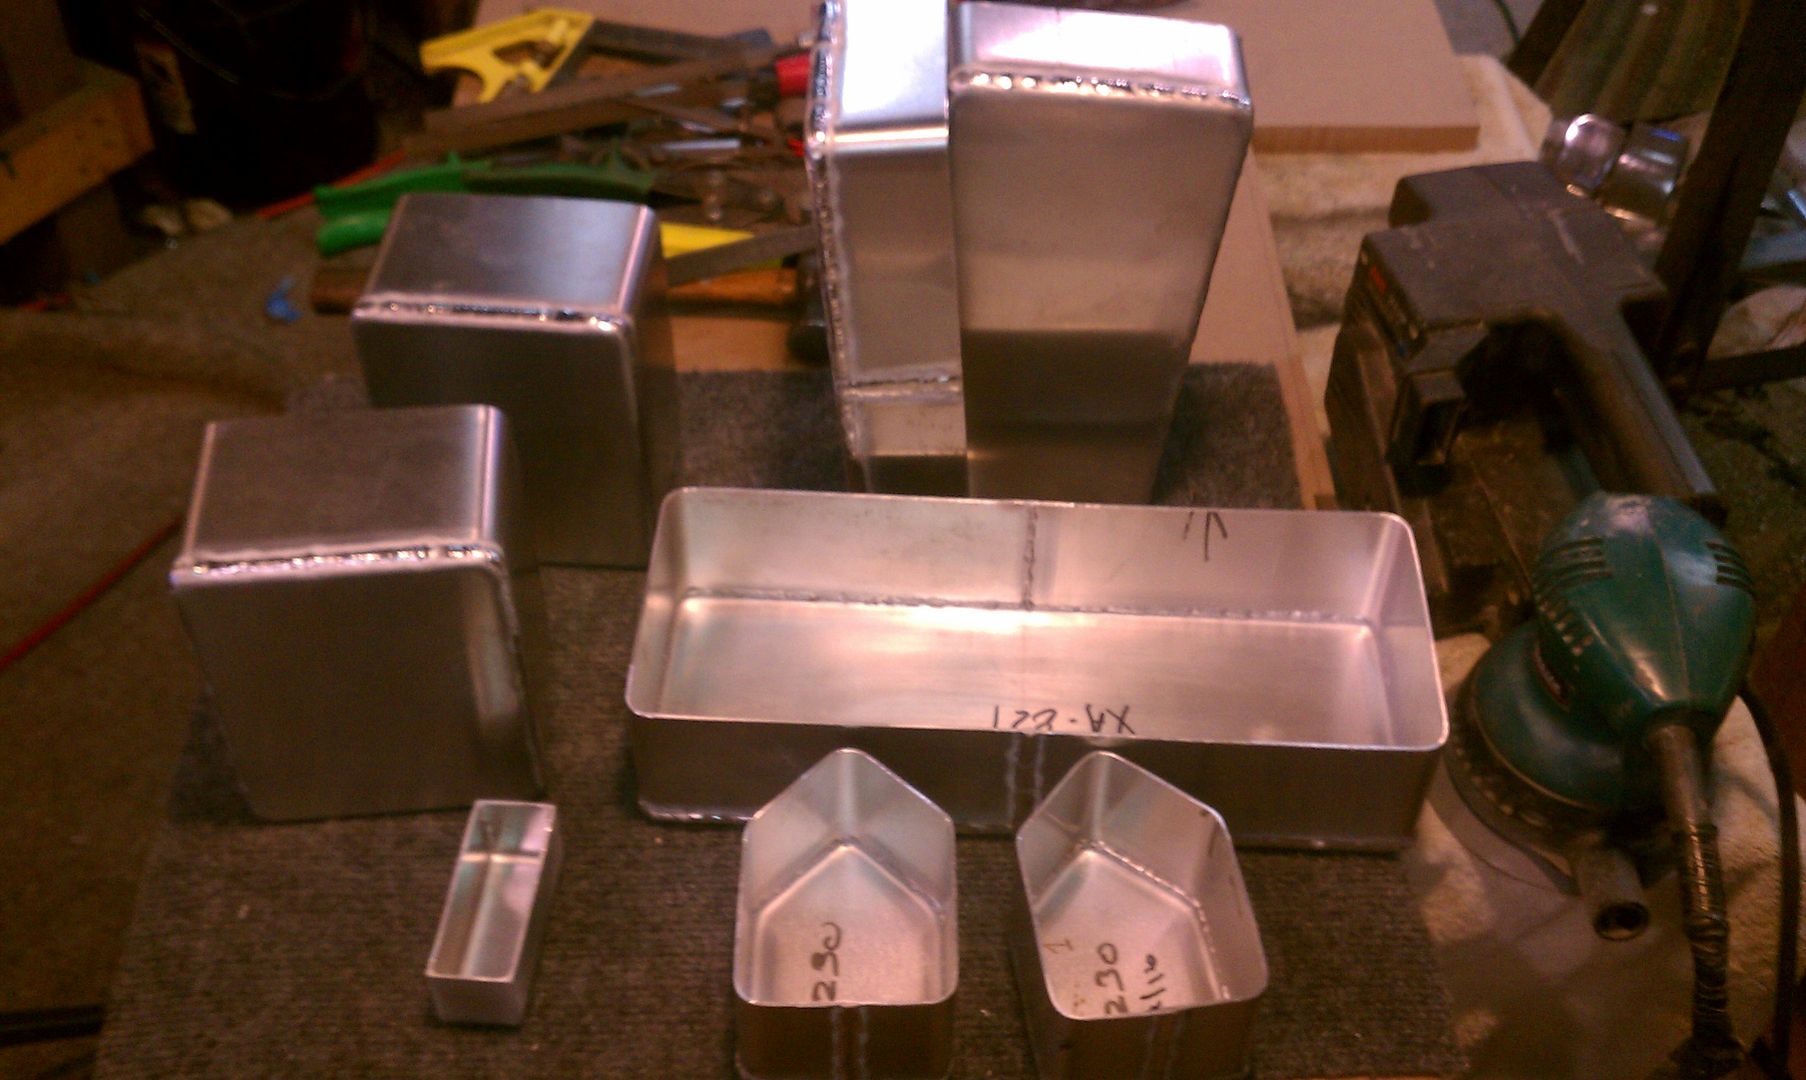
So this is a different project but a relatively easy way to approach making boxes. In this case, electrical junction boxes for another warbird. I find that it is easier to make a bottom, or end cap that has the corner radius formed in order that I can use two dimensional flat forms to complete the box. By the way, I used this same technique to make breather tanks for race cars using tubing with the formed end caps.
So, you can use MDF, PVC, aluminum or a material of your choice to make the form. Remember that a simple Craftsman router or woodworking router of your choice is all you need to put the desired radius on your form block. I use the round over carbide bits that have a guide bearing on them. Once your block is cut to the proper size allowing for the material thickness to give the finished outside dimension needed for the box, use the router to put the radius on the form. Also remember that the clamp block must be sized to the beginning of the radius of the form. If it is too small, you can distort the piece and lose the radius you are after. If you can use locating pins, that will help. If you cannot. it just takes a little more to make sure the blank is in proper position before starting to roll the edges.
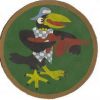
Here are the sides of the box after forming and trimming. I always leave stock, in most cases 1/4" over the size of the form block works well. After forming, I use a pair of dividers (could use a height gauge) to scribe a finish line to give me a square and straight edge to fit the sides to. The radius should wind up at 90 degrees to the face of the piece so that the rest of the sides can be two dimensional bends.
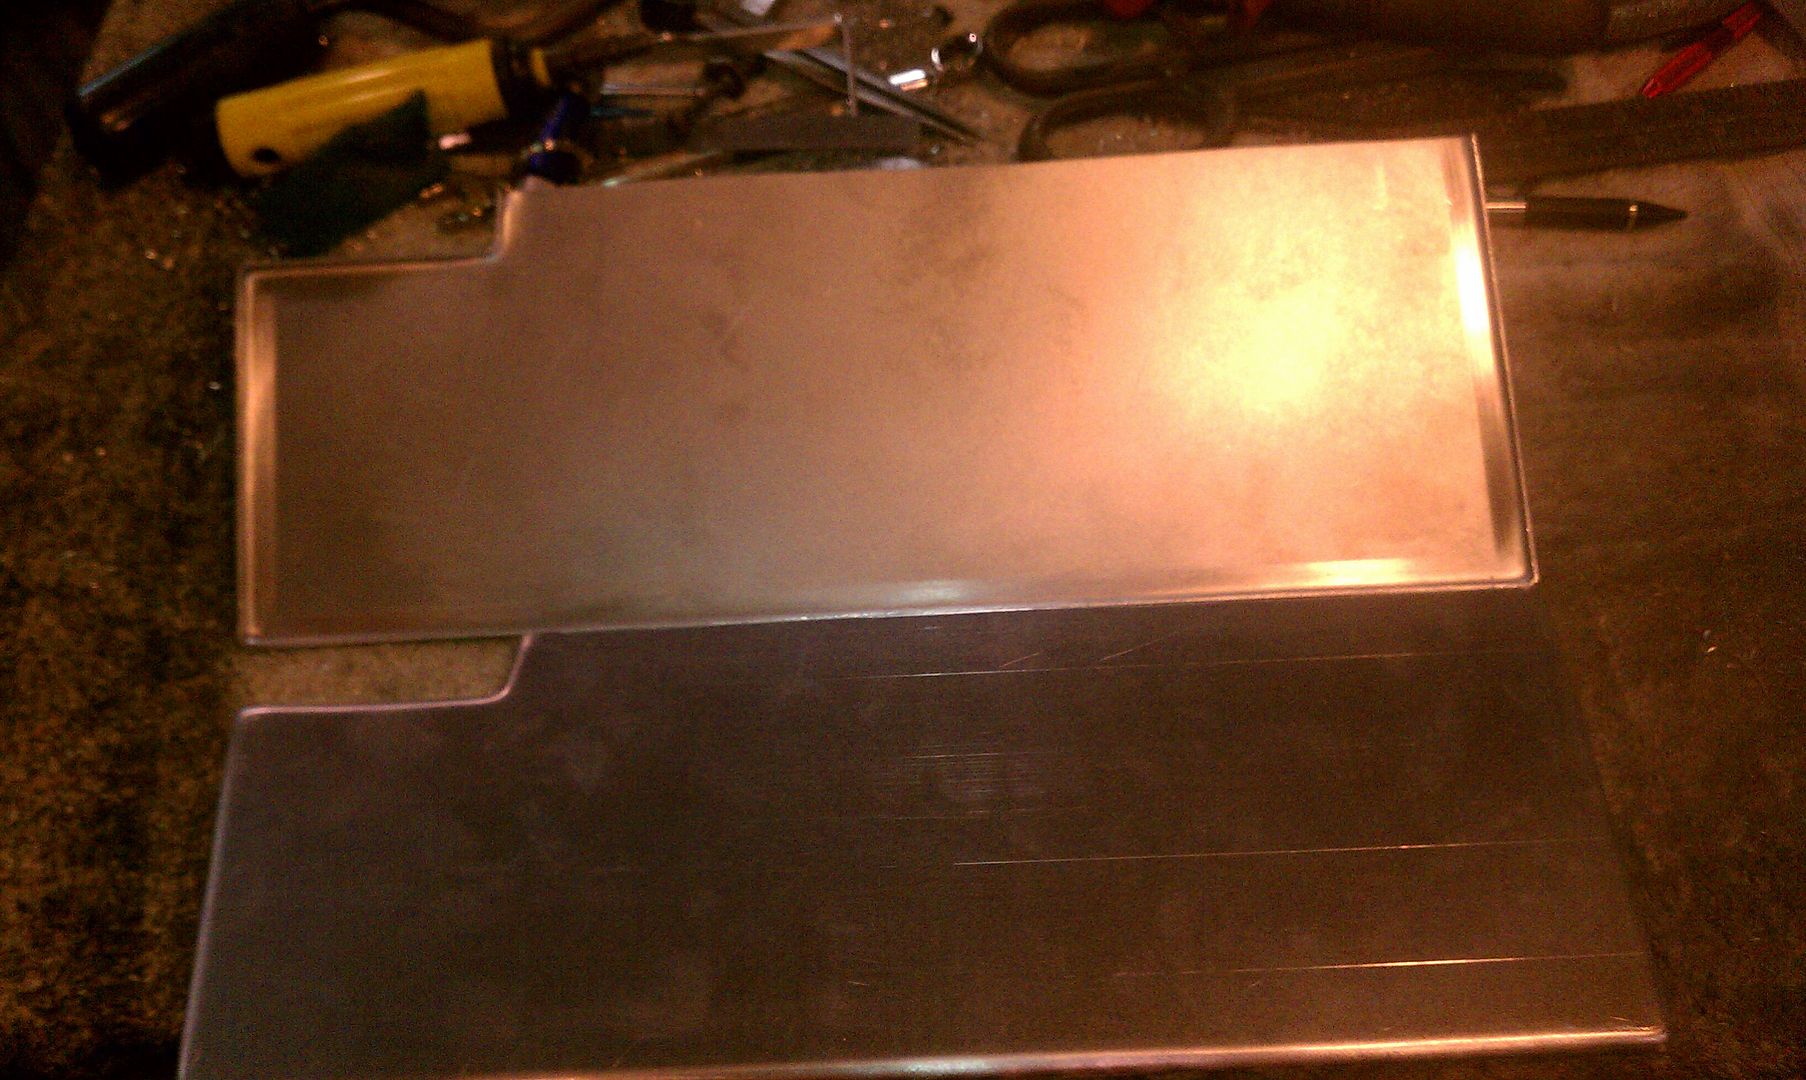
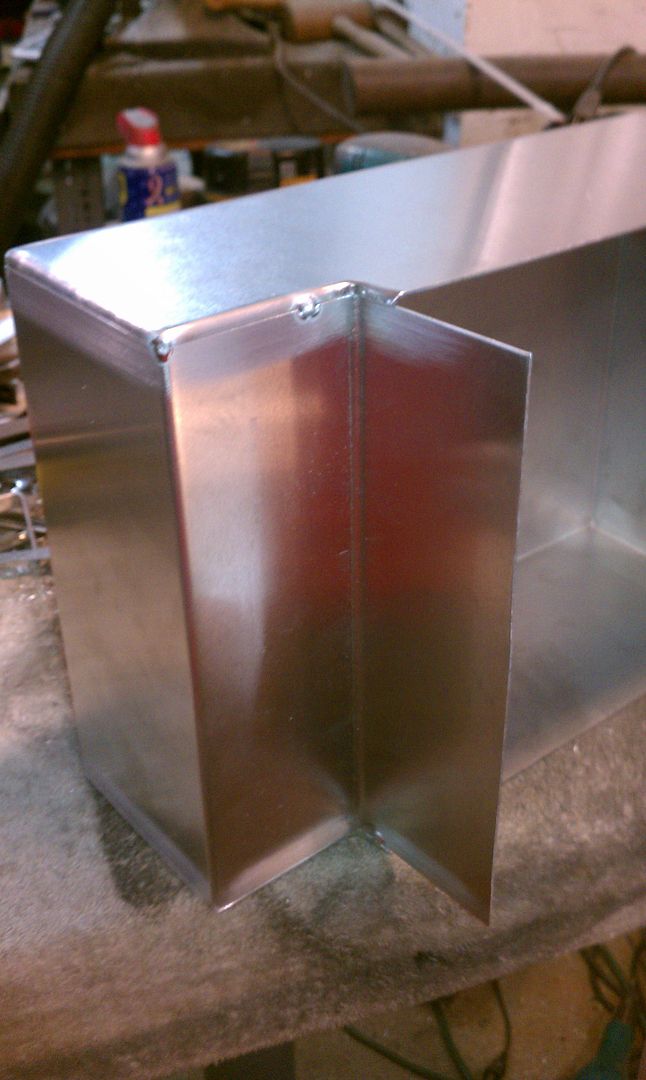
Here is the rest of the box, formed in the brake so that the two sides, when welded, bring the radius to the corners.
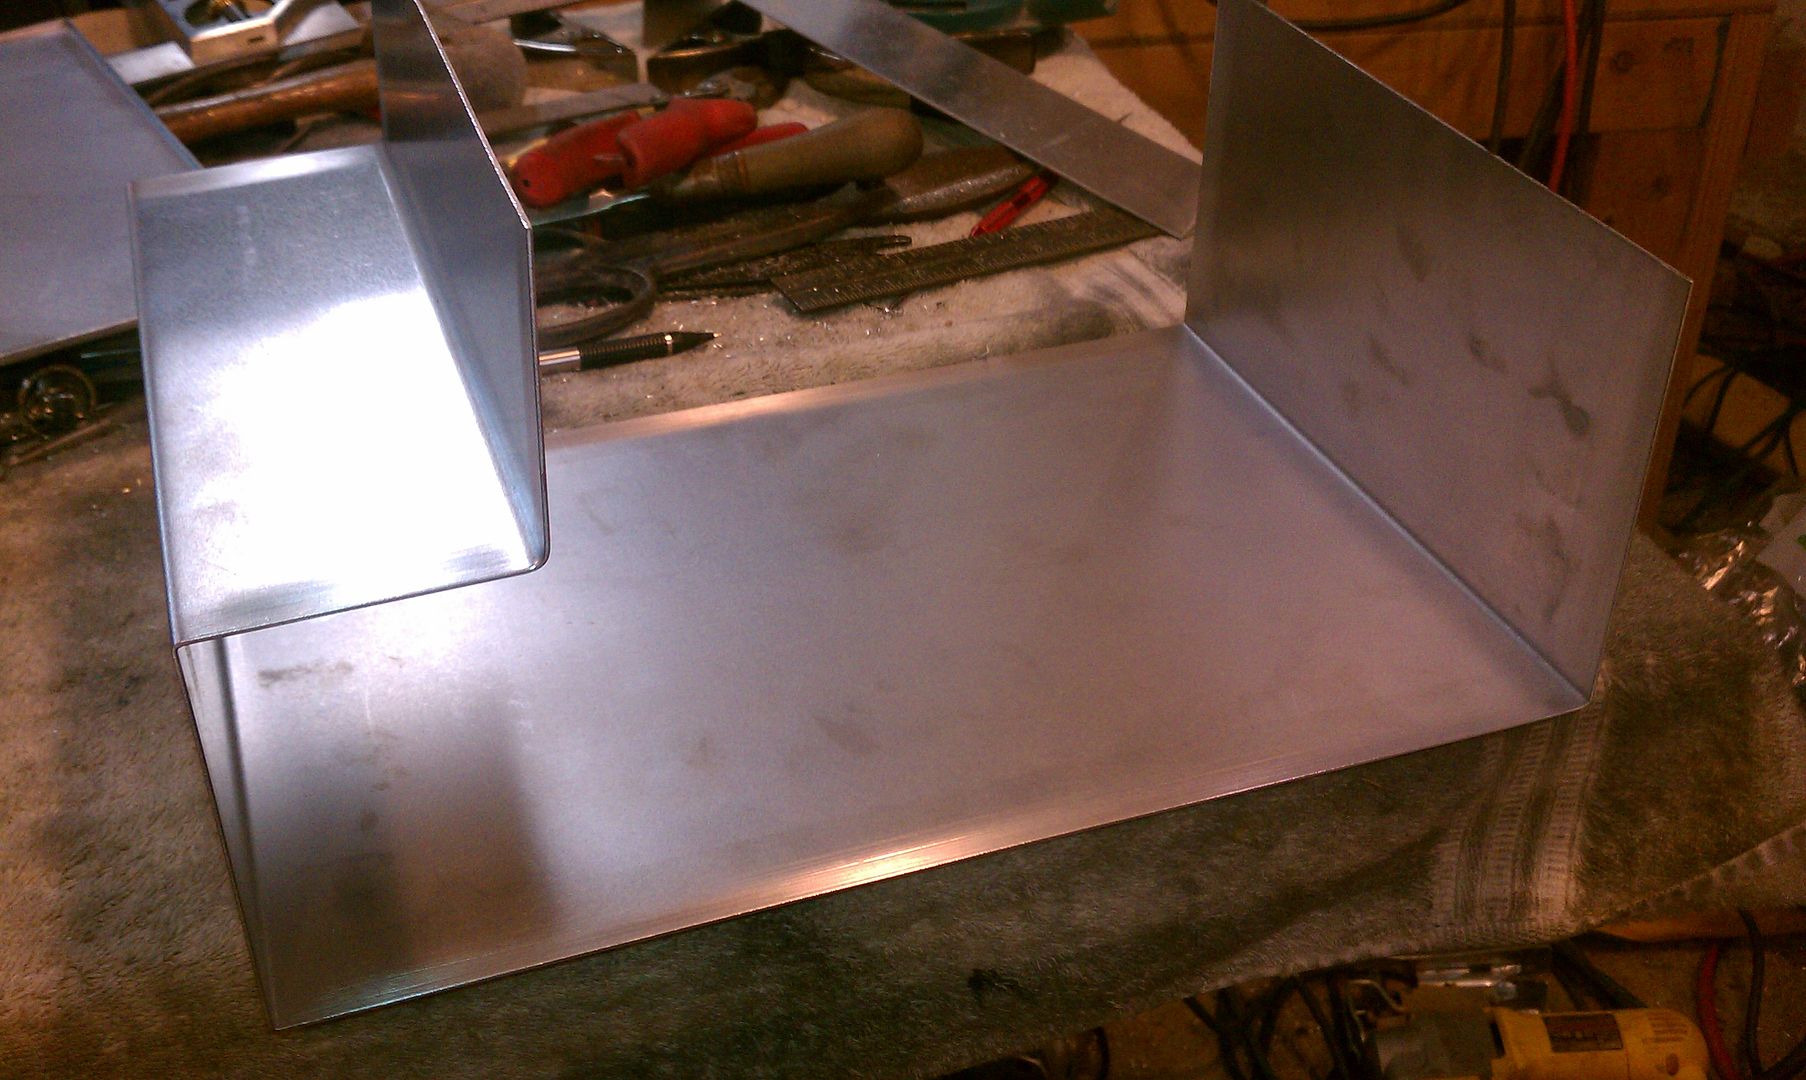
Next, a gross level of tack welding to locate the pieces properly. See how the radius formed in the side now gives the radius for the box.
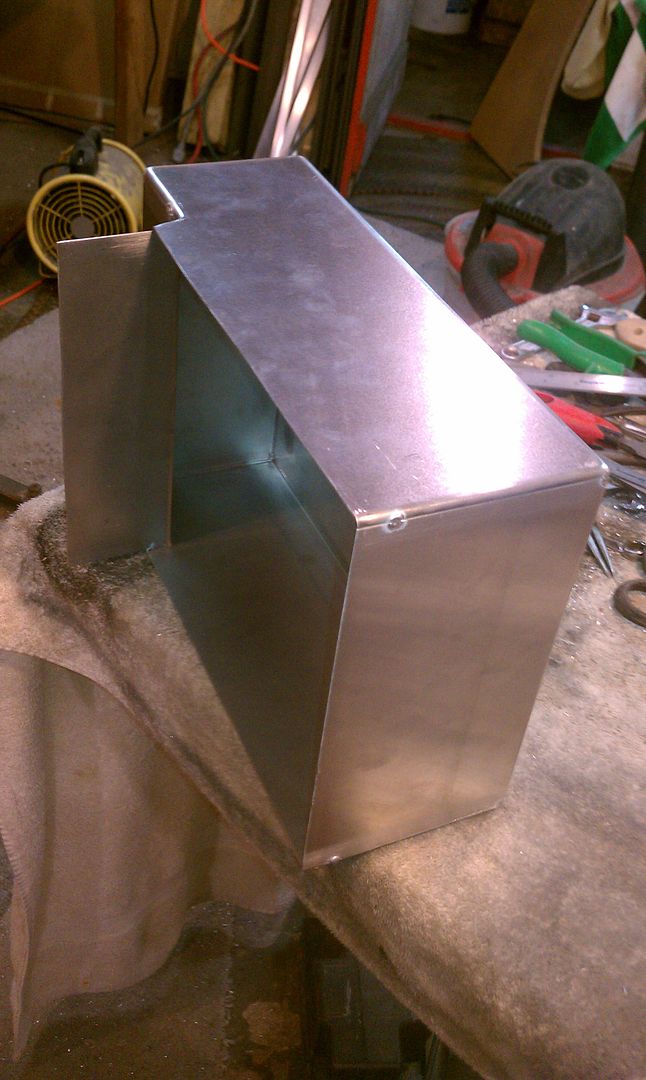
Note that the extra material was an engineering f**k up, better safe that sorry...

After you are happy with the fit of the seams and this IS the most critical part of having a good weld seam, I add tacks on about a 1" center pattern. If you have long seams to weld, the longer the seam the more the tacks needed. Otherwise, the heat distorts the piece and your joint goes to crap. (Nothing worse than when your joint goes to ...awe never mind) A trick to use to get a good looking weld is after tacking, knock down the tack welds with a Vixen or other file so that when you over weld the tack, you don't get a double lump of filler material. Then weld.
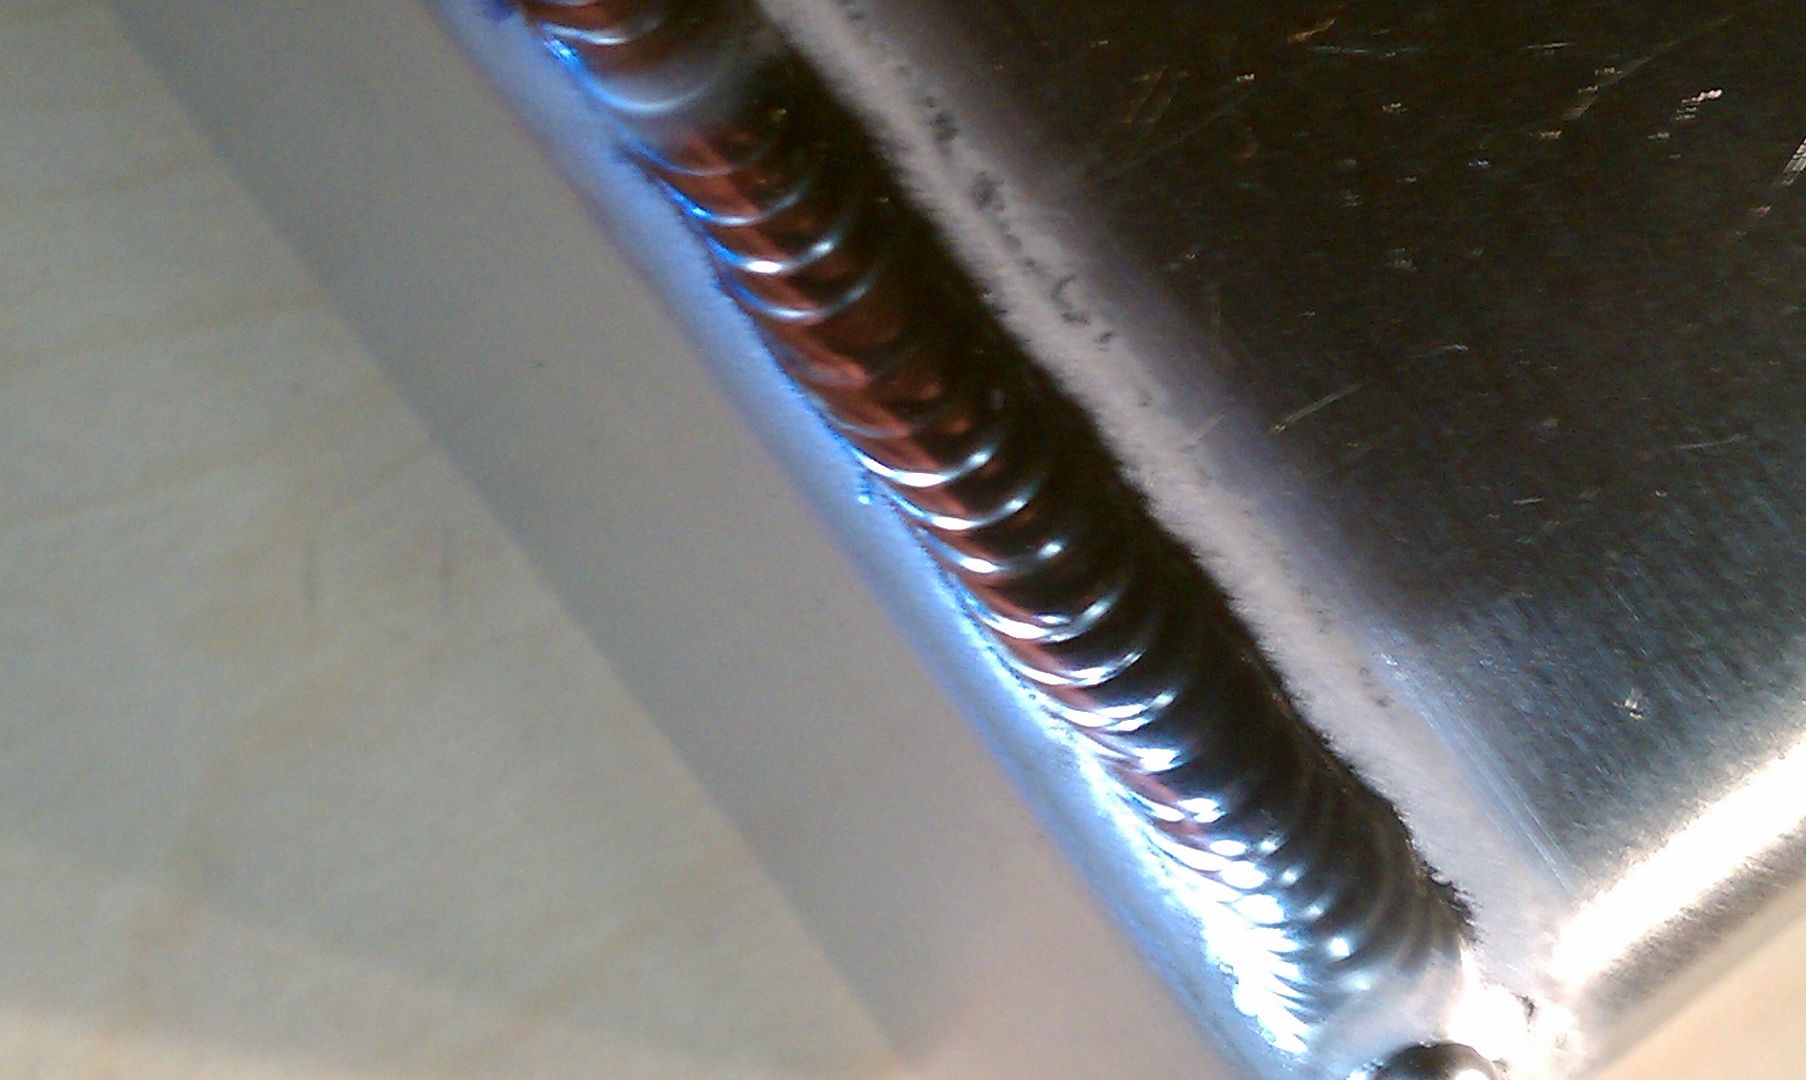
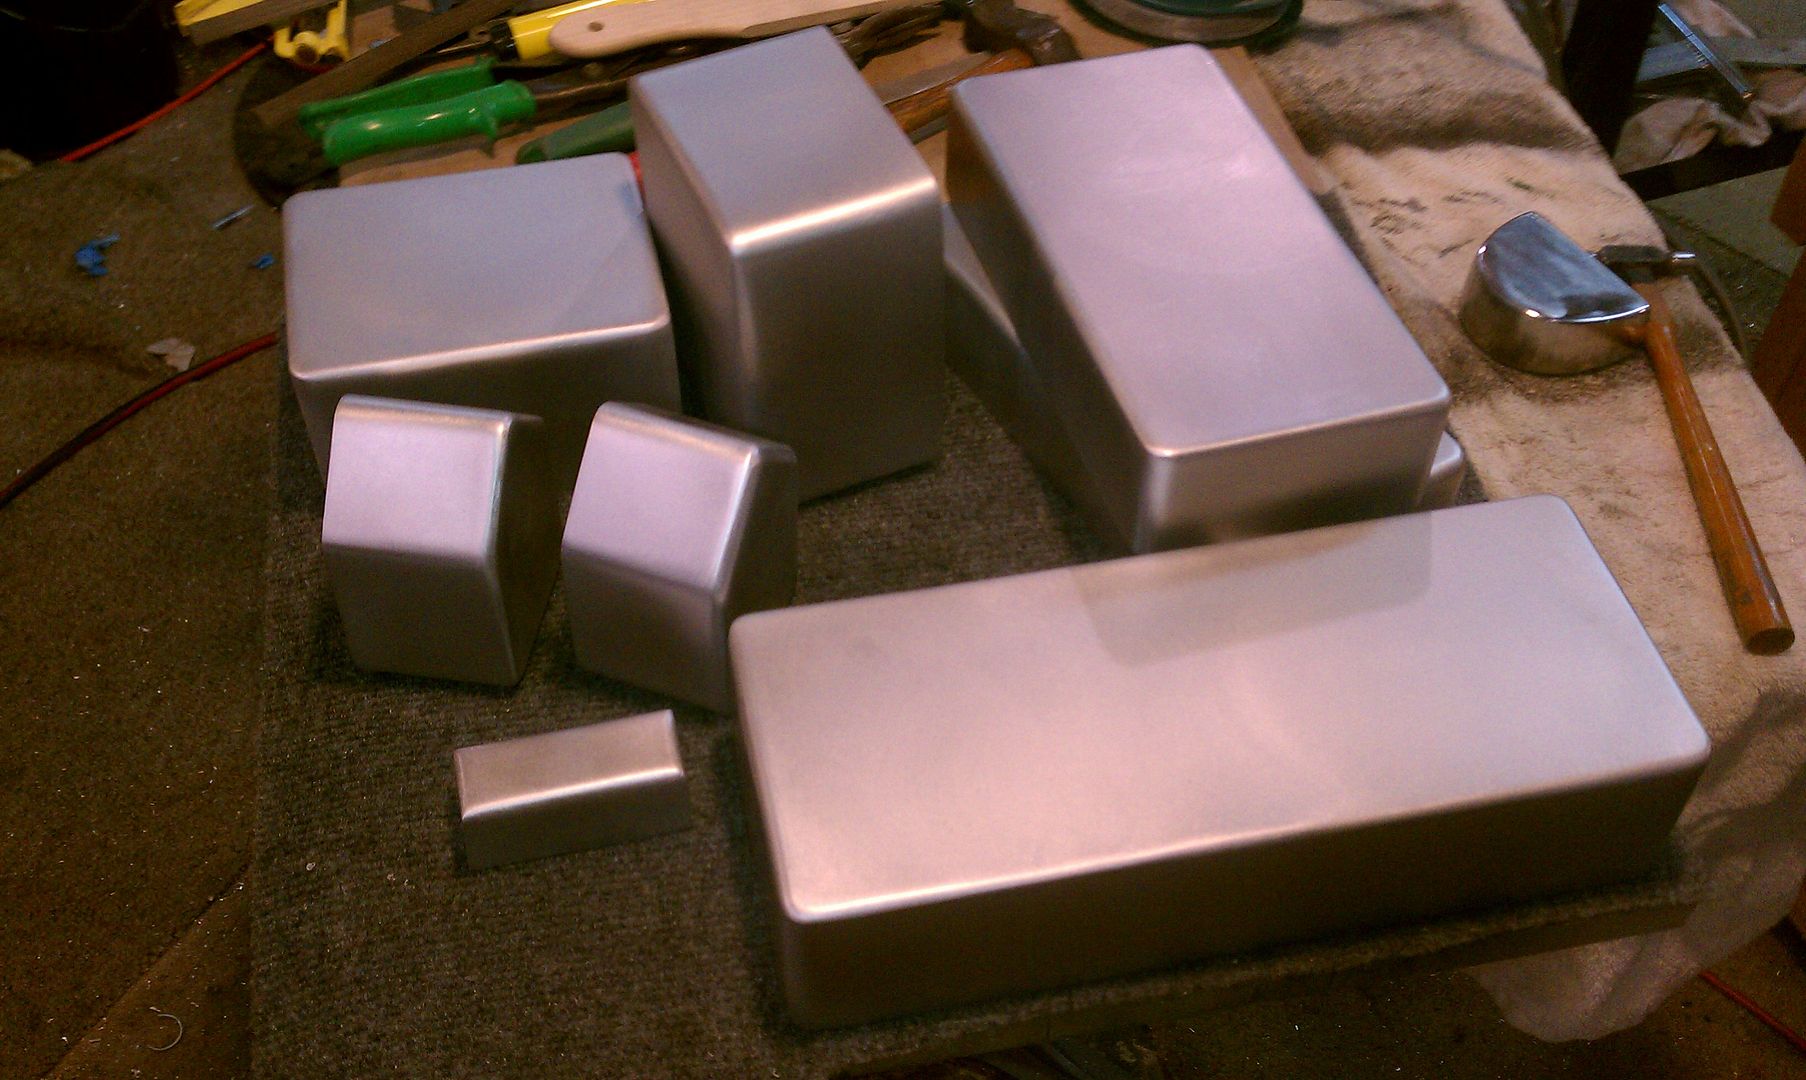
I then finish the welds off with a Vixen, then 220 disc and final with Scotchbrite and WD-40 to give the satin finish. These get painted in the end but other applications could be anodized or polished.

I hope this helps with your projects.