Thanks for the kind words Chappie. We appreciate it.
For me this isn't a restoration. We were lucky to have found a great project in great shape, for the most part. We have been keeping her airworthy by basically doing a continual IRAN (Inspect and Repair As Necessary).
As for the non airworthy items, like the military gear, we are just fabricating and bolting the equipment back in as we come across it. We aren't able to use the exact finish for the bolts, screws and hardware all of the time but we are trying to stay as close to the original as we can within our means. It is a lot of fun as this is just like a giant puzzle with all of the parts spread all over the country and the world. The fun is tracking this stuff down and if we can't find it we make it which is also part of the fun.
Since we are spending the time and effort to make the parts we try to do the research to make the parts as accurately as possible. It takes about the same amount of effort so why not make it like it was originally. Sometimes we have the drawings and sometimes they are unreadable or not available. We then go to the photos and gather as much information as possible if we have to make a guess at least we can back up what we have done. This is what we do with all of our restoration work. Same effort needed so do the research to your best ability and make it like it was. I really like being able to stand back when the project is done and see that it gives off the same impression, image, feel, smell etc just like the original. Recreating the distinctive smell of a WWII aircraft is quite the challenge but it is one thing that always goes away with any modern restoration but I am bringing it back to 062 slow but sure. all part of the fun.
Another long winded reply to your post Chappie.
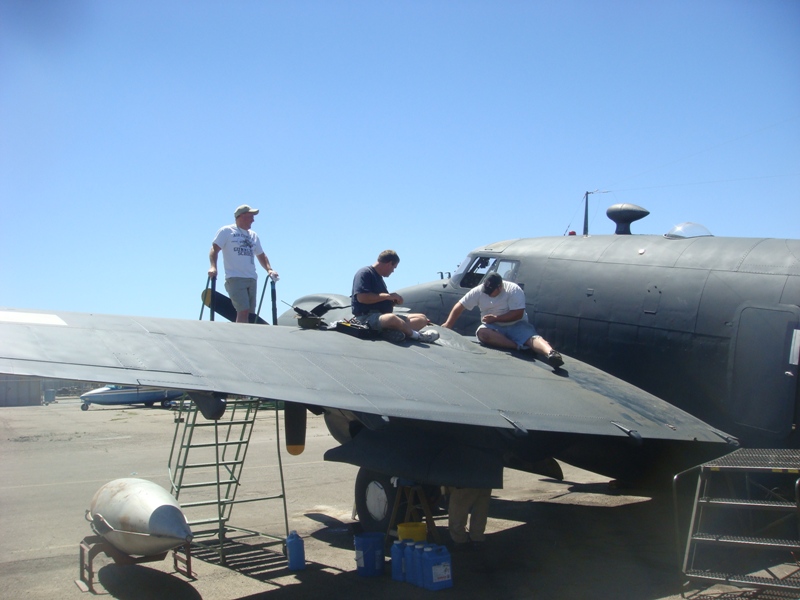
Here are a few recent projects that have been going on with the Harpoon in no particular order. Lots of folks have been working on and making things but I have been forgetting to photo document their efforts. Sorry about that.
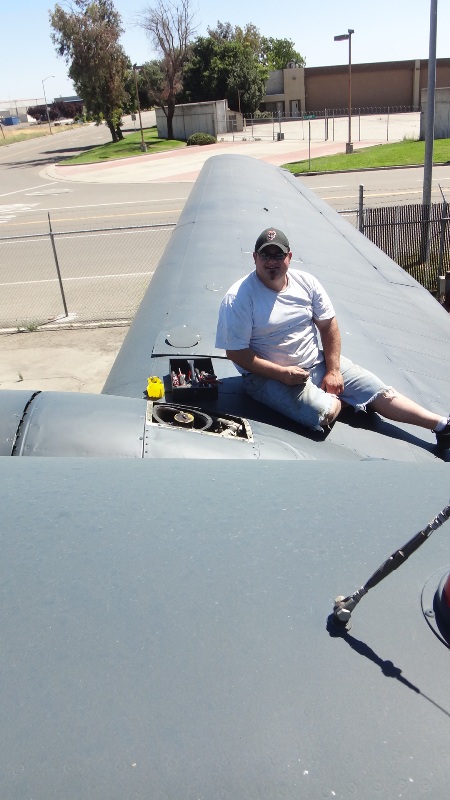
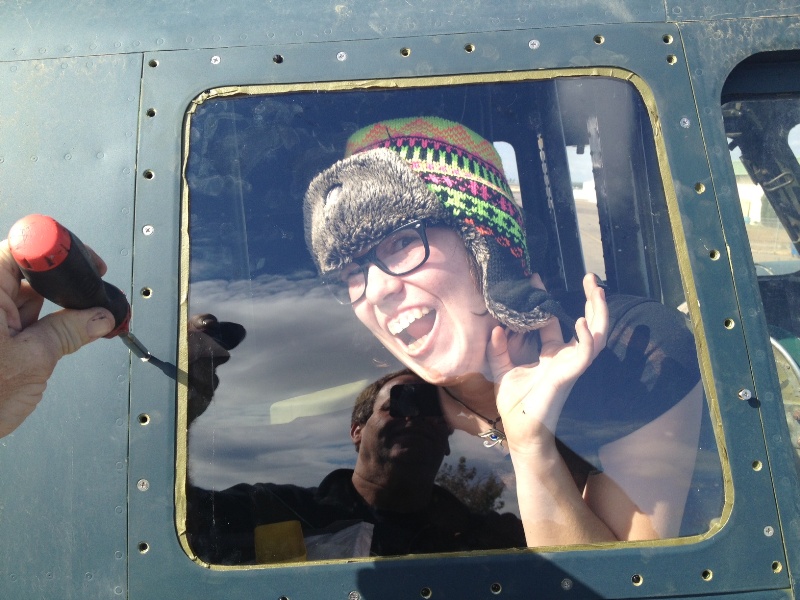
Here is my daughter Sydney helping me to replace the fixed glass in the cockpit. Nice hat! Kids these days...
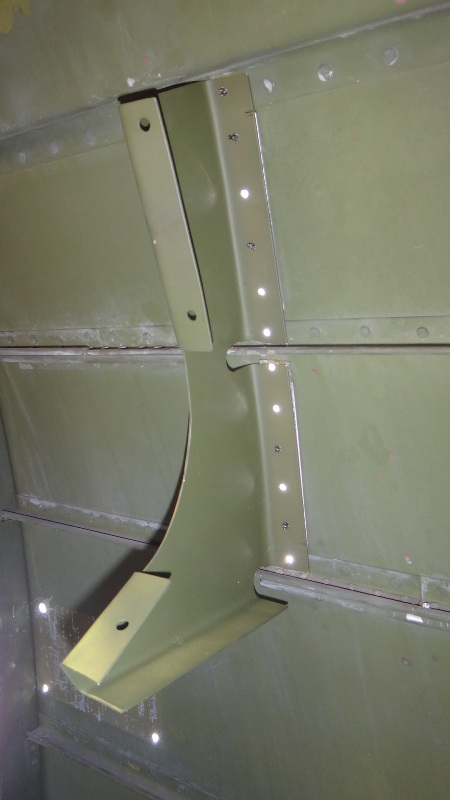
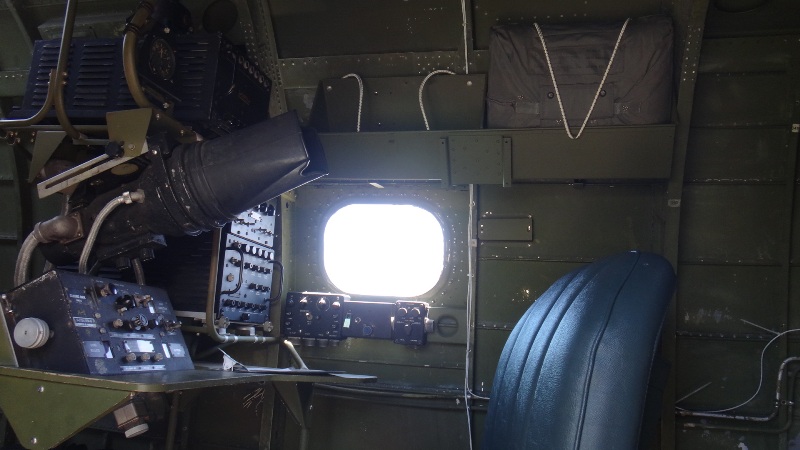
Fabricated the brackets for the parachute stowage bin. Now its time to rivet them in place.
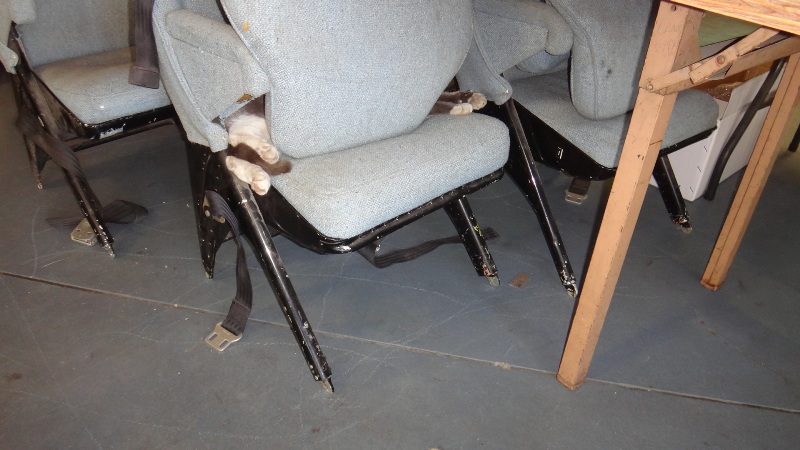
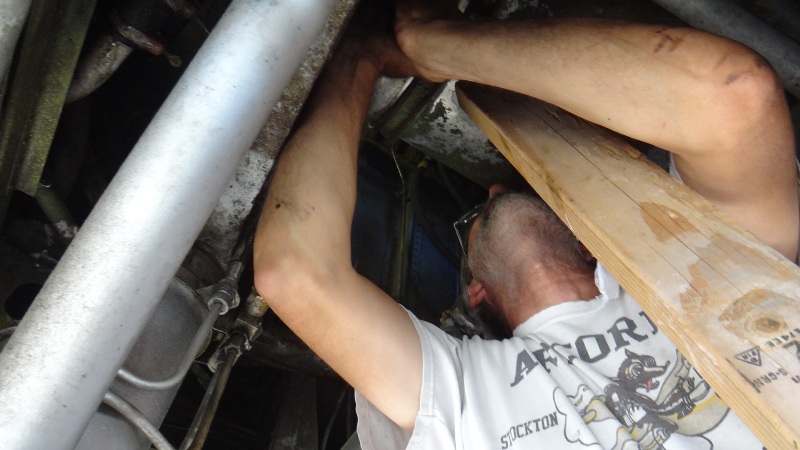
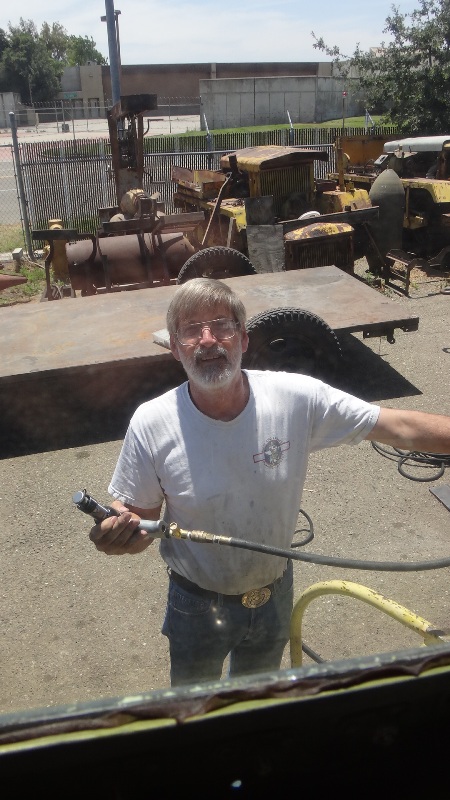
Here is Ricky wondering what the heck is going on inside there. Are we going to shoot some rivets or what?!

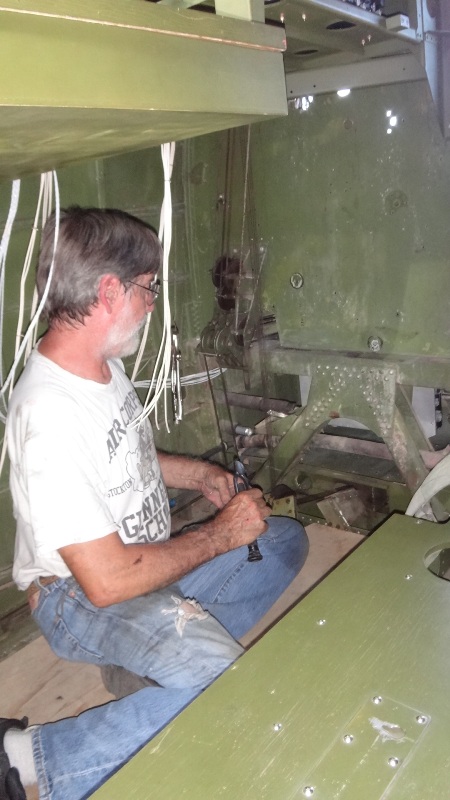
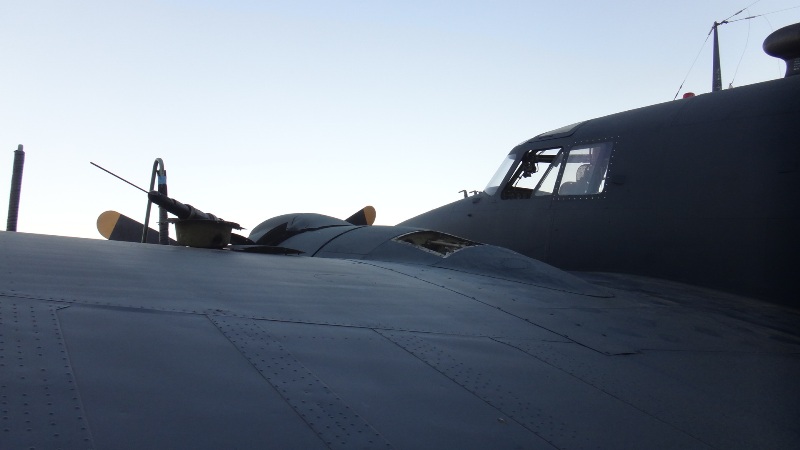
Lockheed was pretty fanatical about flush riveting and smooth joints etc. What I find interesting is the area around the turret was beefed up at the factory for some reason and they shot it with round head rivets and yet they used a flat rivet set so the factory heads are flat on top as can be seen in these photos. Interesting and I wonder what the reasoning was behind this.
Yes, Ricky is having that much fun. Do we have goofy shots of our people or just a bunch of goofy people? Goofy people is the true answer and I am at the top of the list.

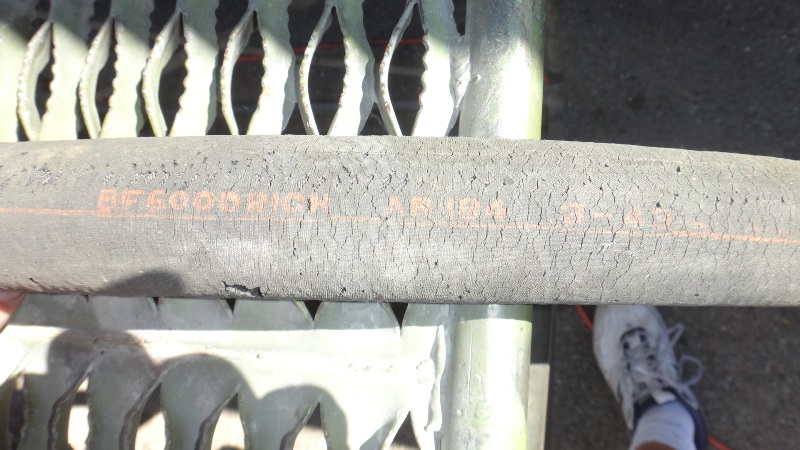
So the parachute bin is in place awaiting two correct parachutes. The one in place is a 1960's nylon container but is the exact size of the original one we need.
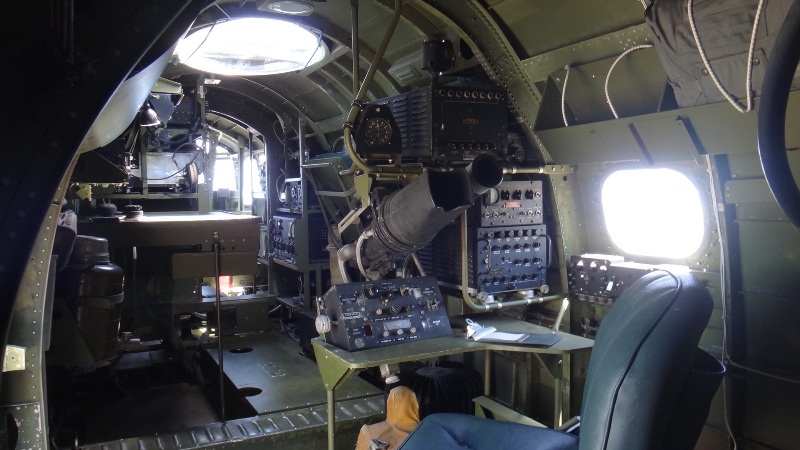
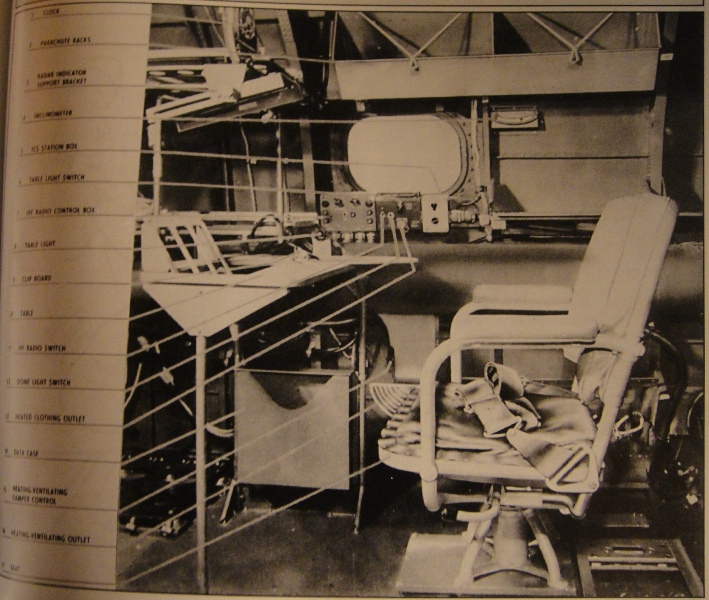
I now see I need to tie off the loops on the end of the bungee cords on the parachute bin to make it just like the photo.
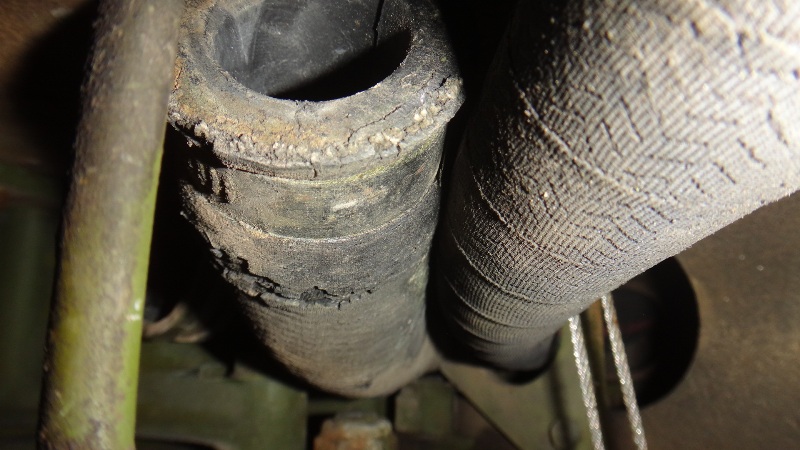
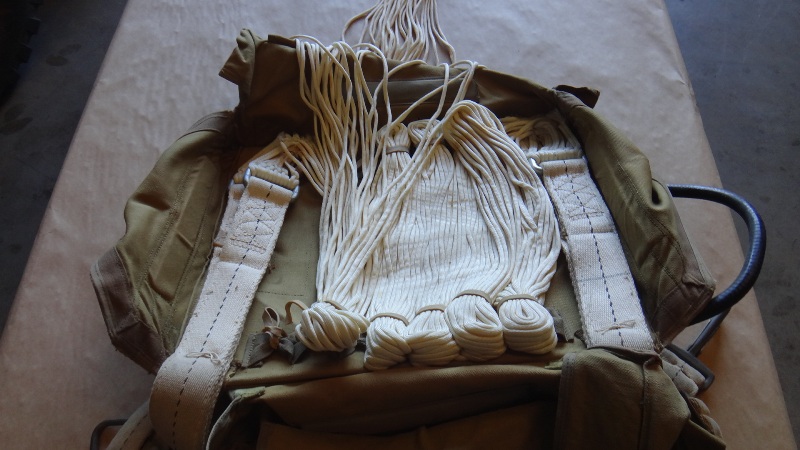
Speaking or parachutes; someone at Bomber Camp pulled a D ring on a WWII seat pack parachute so I had to repack it. I pulled out the more modern pilot chute. Inside it looks pretty nice.


So we need Quick Attach Chest pack parachutes to fill the parachute bin. Do any of you all know where we can find some late war chest pack parachutes? The ones we need are square just like the seat pack pictured above. Full Navy QAC's and harnesses would be ideal but we can do with just the seat pack containers for now. Any leads?

With all of the changes in the interior it gets to be a pain in the back side to keep updating the weight and balance via calculations so at some point it is necessary to just weigh the whole thing and start from scratch. The local CHP was kind enough to bring their nice, recently calibrated, digital scales over so we can see how the Harpoon has been doing on her diet. She has lost a lot of weight since we have been working on her (steel retardant tank etc) but she has certainly picked up a few pounds along the way too. Like a turret, radio/radar gear etc.
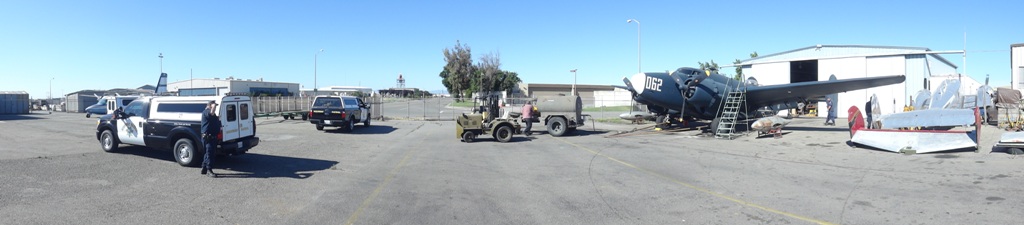
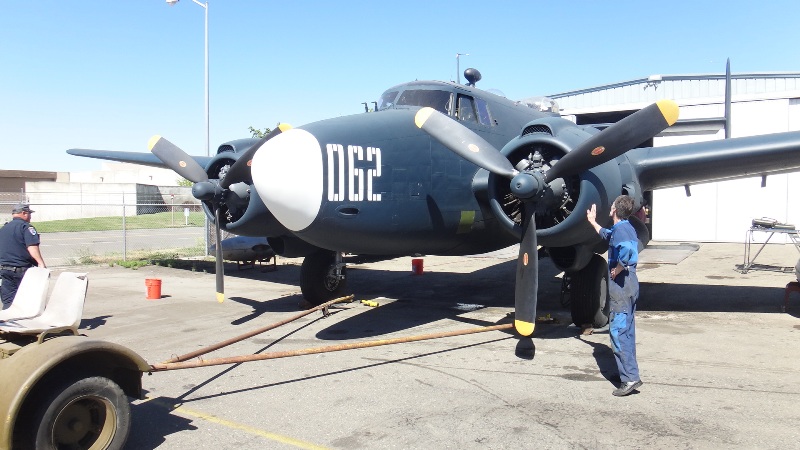
The Harpoon needs to be leveled out to get an accurate weight and balance so after we rolled her on the platform scales we raised the tail to a level attitude using the original levelling lugs so conveniently provided by Lockheed.

She weighed in at a trim 18,751 pounds. I have seen some basic combat empty weights at 23,000 so we are a long ways off of that. More weight coming though as we add more goodies. Now we have a useful load of 14,249 pounds.

This shot reminds me that I forgot to turn the props with a blades up in case she noses over to minimize the damage.
A couple of items I didn't seem to get pictures of were Ricky changing a leaking boost pump and Dick working on our intercom. Thanks Ricky, Dick, Sydney and everyone else for their help. As we prepare for Oshkosh a lot of projects are having to get ramped up as we don't have a lot of time. A work party is going on this Saturday and most days after hours when I can. come on out and lend a hand!
_________________
To donate to the PV-2D project via PayPal click here
http://www.twinbeech.com/84062restoration.htmWe brought her from:

to this in 3 months:
Help us get her all the way back
All donations are tax deductible as the Stockton Field Aviation Museum is a 501c3 nonprofit organization. Tell a friend as the Harpoon needs all the help she can get.
Thank you!
Taigh Ramey
Vintage Aircraft, Stockton, California
http://www.twinbeech.com'KEEP ‘EM FLYING…FOR HISTORY!'