Glenn Wegman wrote:
Hello Rich,
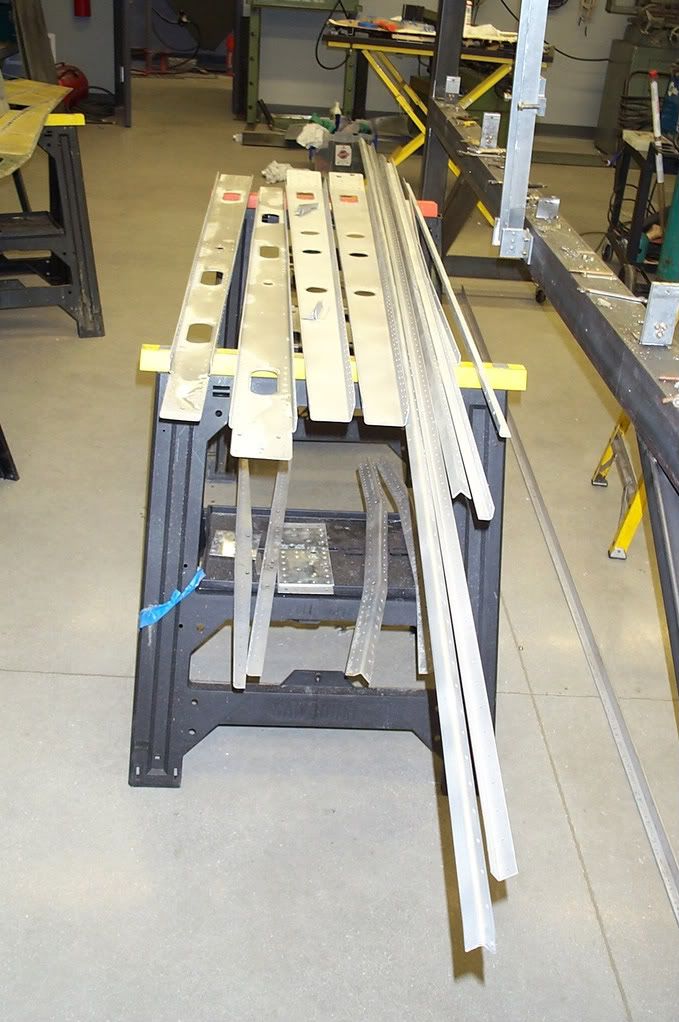
Looks like you're having fun!
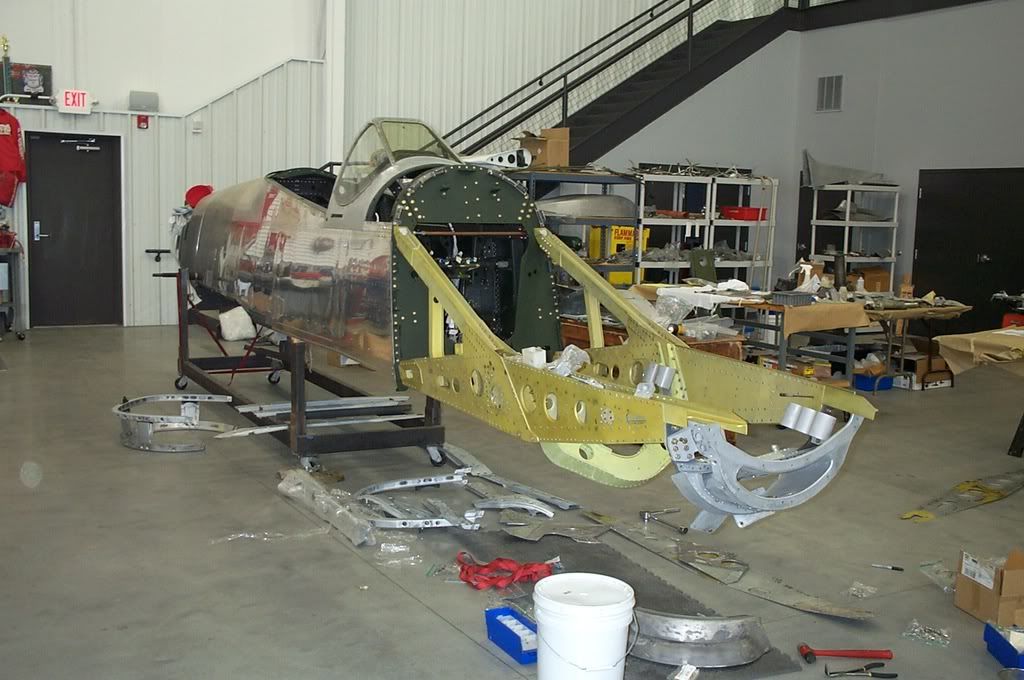
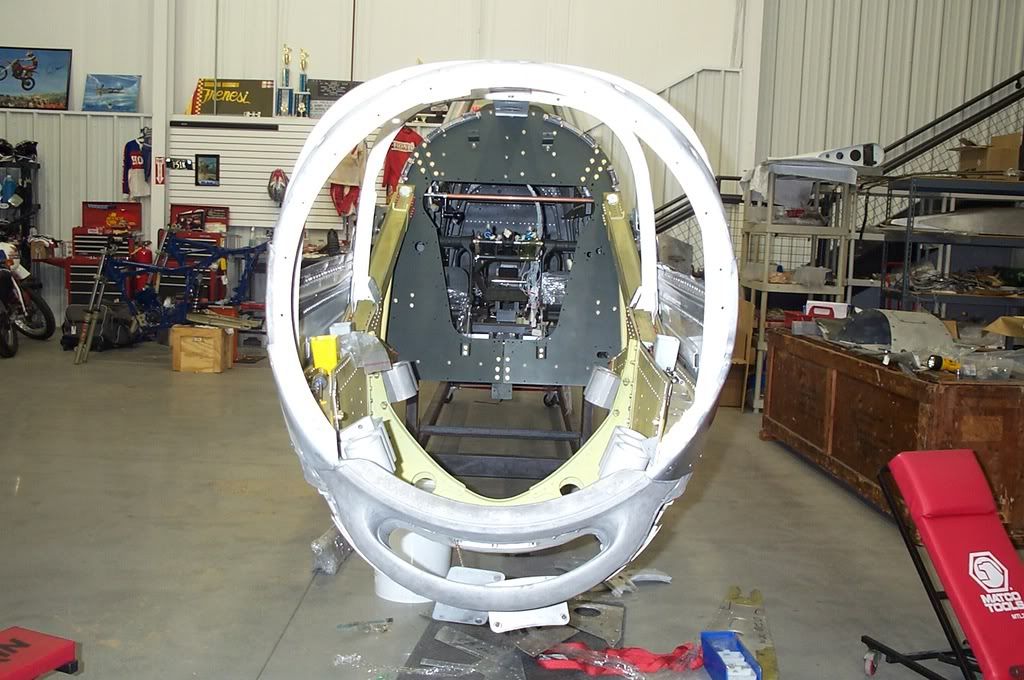
As I mentioned, it is a littgle difficult to see from your pictures so please excuse me if I am incorrect, but it appears to have the later style reinfoeced outer ribs, (spot welded doublers) Hy-Shear rivets in the elevator attach fittings, the short front feet, and the doubler on the front spar. The reason I asked is that I was just in a shop where they were modifying a late stabilizer "backwards" by installing doublers to the ribs and replacing the Hi-Shears with AD rivets per the T.O. for the early stabilizer. Some people also get tricked by the 73- forged in part number on the rear feet when what they did was use the same forgings for the late feet and then very faintly stamped the 122- number in them with number stamps so they appera to be 73- feet ad first inspection. If you really are removing the late stabilizer from the airplane and installing the early one, don't forget to modify the vertical stabilizer "backwards" to match it.
The other way to tell is to fly it! Early stabilizers seem to fly with the elev trim about 0° and late ones need about 4°-5° nose down at cruise due to the incidence change.
Nice Monarch!
Glenn,
This does have the beefier outboard ribs but the mounts are early style.
The fronts are stamped 73-21031.
The horizontal I am rebuilding was installed along with the current vertical prior to the restoration.
Rich