the330thbg wrote:
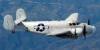
What I imagine your nose display will look like...well HALF OF the 50's anyway!


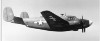
Cool shot. I found the upper nose for Barbie III a long time ago and sent it to them. It was sitting in a surplus store and was being used for trash. I am always happy to see the nose right where it belongs.
Yes our Harpoon nose will look amazing with twice the number of ammo boxes, feed chutes and guns. Sadly no 75mm though.
I have set up a donation button through PayPal for the museum and the Harpoon Project. I have the code for the button but I can't figure out how to post it here and its too large for my signature line so here is a link to the Harpoons page with the PayPal donation button:
http://www.twinbeech.com/84062restoration.htmAnd now for a long over due update:
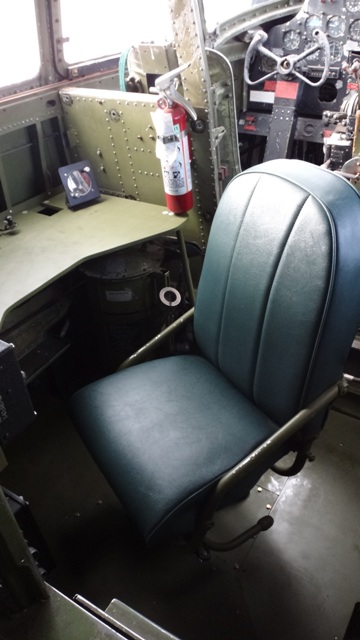
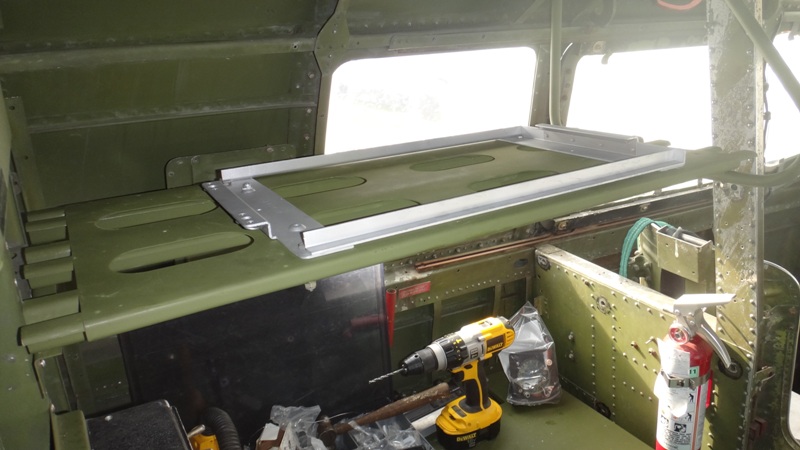
On a recent road trip I found a seat that is close to what we need for the radio operators position. It needed soda blasting, painting and matching upholstery. Sorry I didn't get any before or during shots of the process. Since we now have a seat to install it is time to do the radio floor for the seat to bolt to.
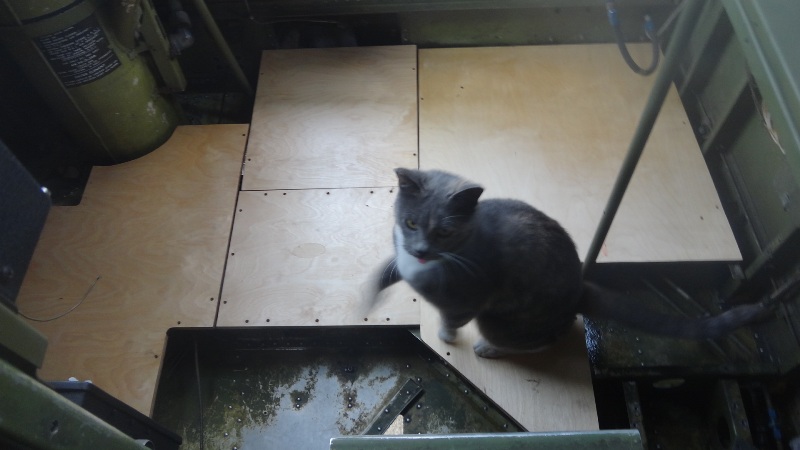
Here is our local wild cat that has adopted us as her own. She is nice...at times...but we think she has tourette's syndrome because out of nowhere she will rip you up for no reason...insert female comparison comments here... Sometimes Momma cat will hop into the Harpoon to check out what we are up to. Here she is testing out the floorboard fit in the radio room.
After the floor was fitted and painted it was secured then the seat went in.
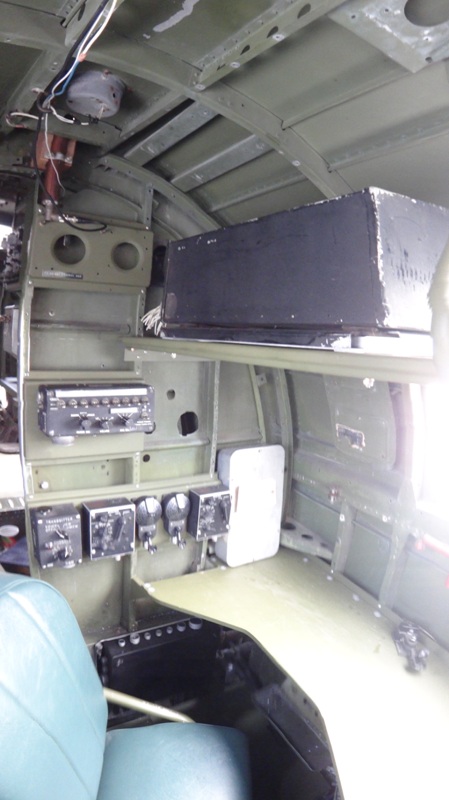
The black junction box in the lower left is the heart of the AIA-2A interphone system. It was revolutionary so to speak as all of the radios tied directly into it and the pilot, copilot and radio operator had special control panels (one visible at the left edge of the photo) to select one or all of the radios. It is just what we use today in the form of an audio panel. I think the AIA-2 was one of the first to accomplish this.

The pan like thing just in front of the seat is to catch any hydraulic fluid that might be leaking from the A3A autopilot servos just above it. On the radio operators table is the explosion proof Morse code key that will be bolted to the table in the near future. I also found a junction box (silver box on the radio table) that will work perfectly for the main radio J box. One other interesting feature of this late war aircraft was it had a single switch for a radio master control. All of the radios use a lot of power when running and if your engines are below 800 or so RPM the generators are not on line then the radios will kill the batteries in short order hence the need for a master radio switch or avionics master today. Most WWII aircraft did not have single point radio switch like this and so each radio had to be turned off separately. One more cool little advanced feature found on this late war aircraft that set the standard used today.
Once I get the main radio J box installed and powered we can make the runs to each of the radios and start getting them to make noise, smell and hopefully radio waves. The AIA-2 interphone is key to our plans as it will enable intercommunication and allow everyone to listen to the radios in flight. I sure wish I had a full time electrical guy to start the wiring job. I also need to make a run of cloth covered wire for us and for a bunch of other folks who have been asking me about some.
Next is the radio compass. This is very interesting to me as this Navy aircraft used an Army radio compass set SCR-269G. I would have expected an ARN-7 which is pretty much the same thing but set up for joint Army/Navy. There must have been some procurement issues as this was the same set used in the PB4Y-2.
I made the rack for the receiver (BC-433) and pulled a mount from stock. Cleaned up the mount and bolted it to the rack. Geeze the receiver is heavy but it looks good up there and we now have one more head banger in place
Here is one of our wonderful volunteers. Mark drives over from Concord to help out with radios. He is putting together an ARC-5 set for a Corsair for his own collection. Since we are getting closer to firing up some of the radios he is opening up the dynamotors to service the bearings. Many of these dynamotors will be used regularly in the Harpoon so making sure the bearings will last is important. Sometimes the 60 year old grease is in good shape and sometimes it isn't so why take a chance. Man they sound good when they spool up. The smell of old electronics is a great thing too and adds immeasurably to the authenticity of a project like this. Having an old timer say "I haven't smelled that in 60 years" is the goal.
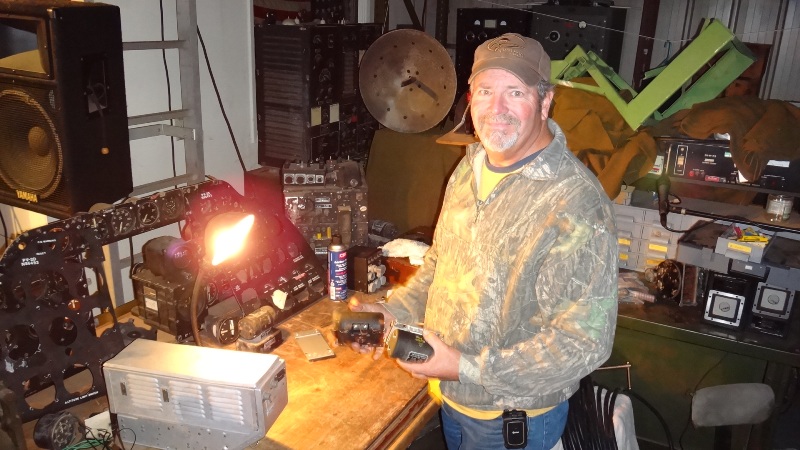
Thanks for your help Mark
The next project was the catwalk or floorboard in the mid body. It is elevated above the bomb bay floor for an alcohol tank. Here is the new board being made from an original as a pattern

Gotta love nice wood
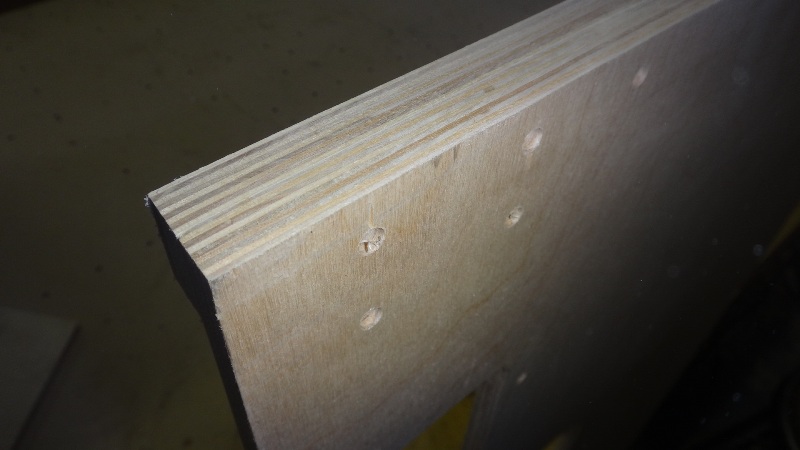
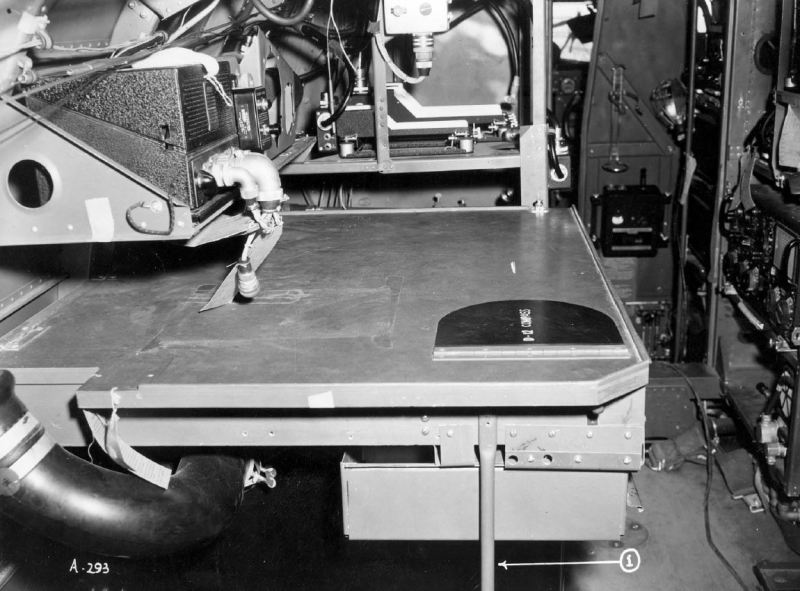
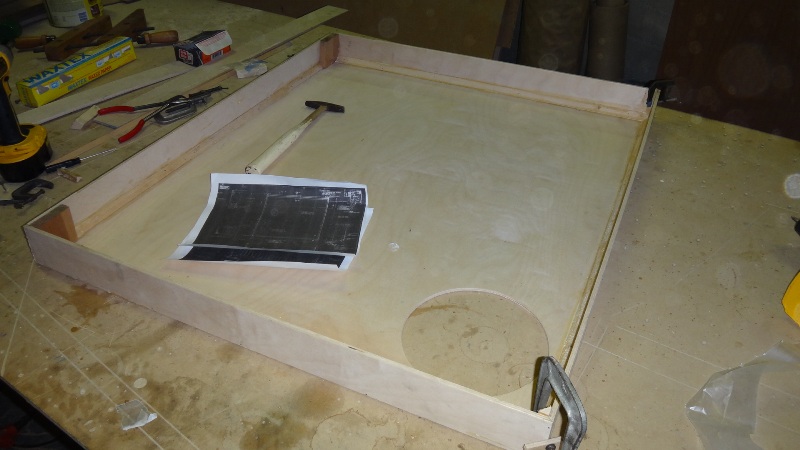
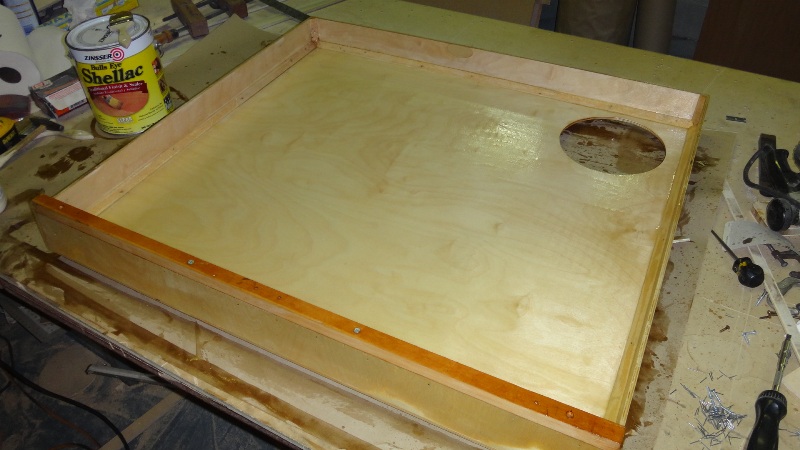
Speaking of wood the Navigator's table is a nice woodworking project
The table is a two part piece with a bottom and an opening desk top so you can put the charts and publications away. The bottom is the first part I tackled
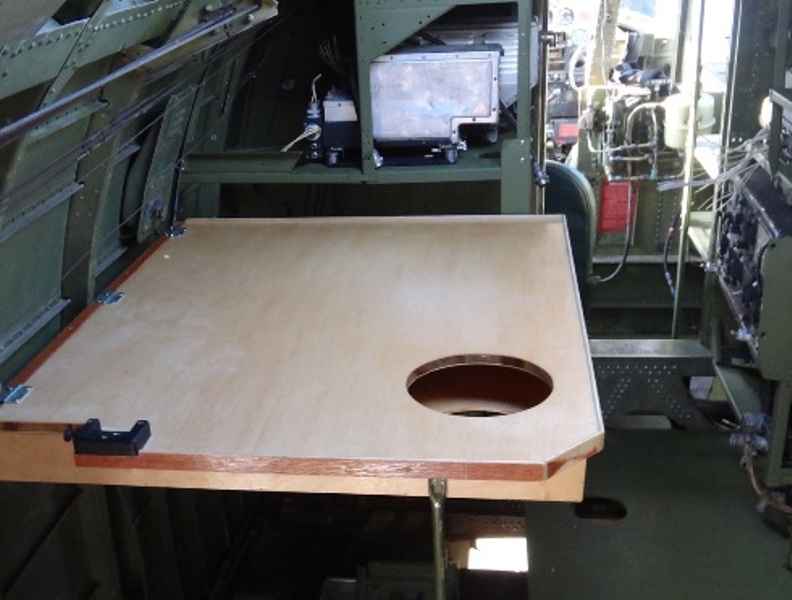
The cut out is for the D-12 master navigators compass . There was a metal hinged cover in the table so the navigator could open it to look at the mag heading without opening up the table. Earlier Harpoons had the compass mounted on the opposite wall which would have been a hassle for the navigator to constantly be referring to.
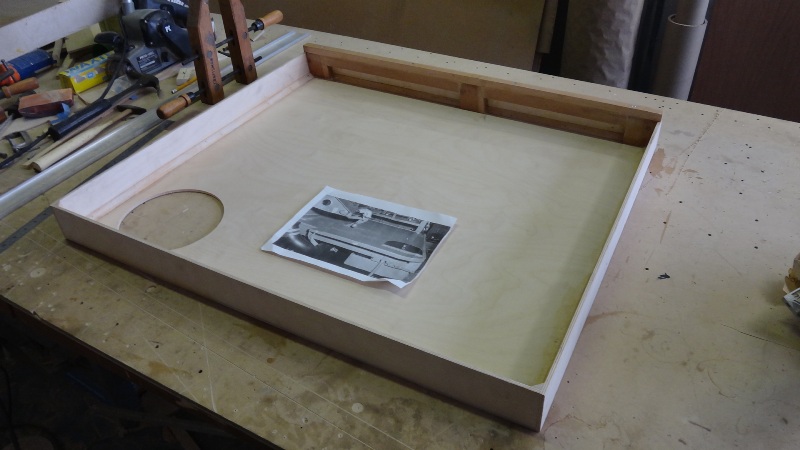
The table top was fabricated and the edging fit and installed. You can see the three hinges in the back
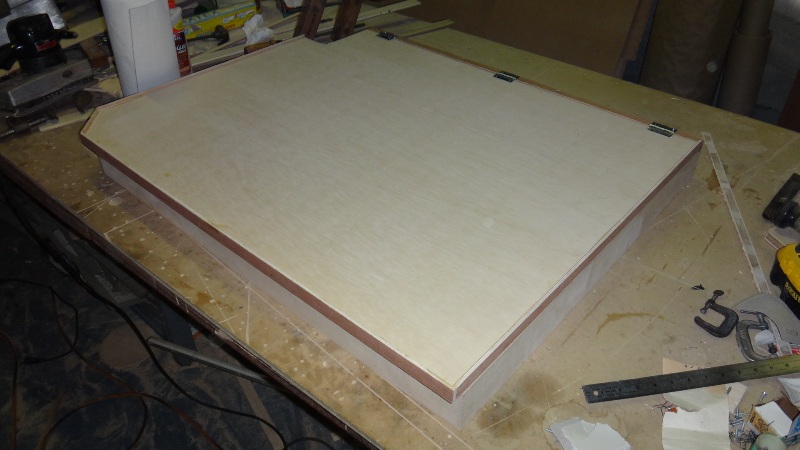
The first of several coats of Shellac goes on with sanding between the coats
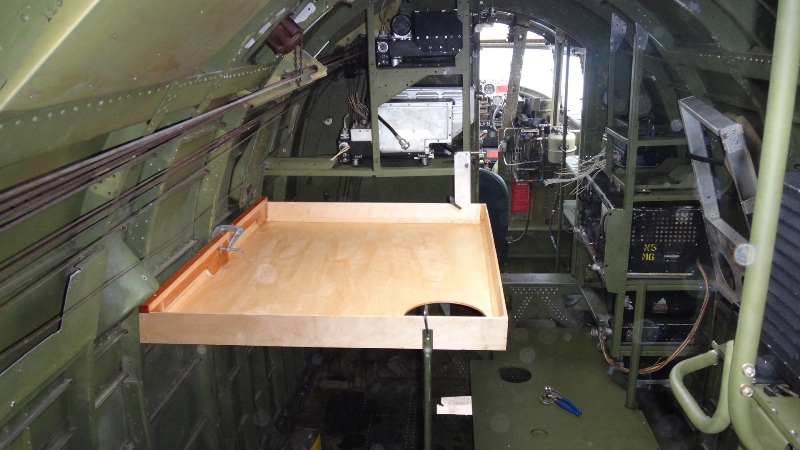
Next is a trial fit and to fabricate the brackets to mount the table
And the inspector shows up to be sure to keep me straight

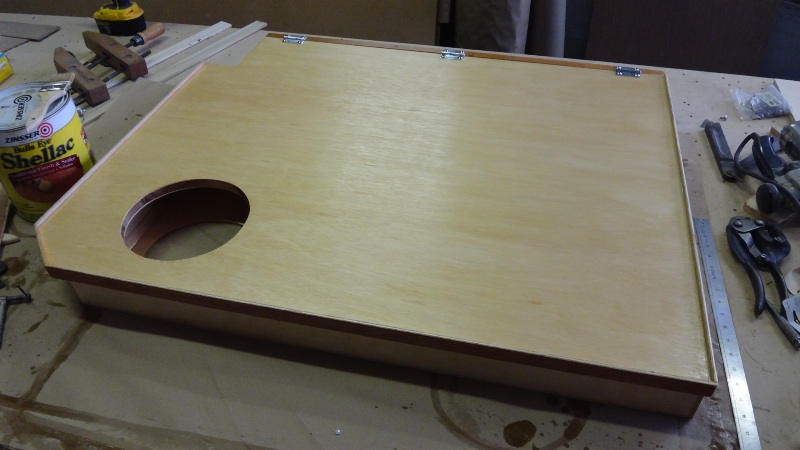
Then the hole is cut in the top for the compass and final fitting. It's going to be a shame to paint over the nice wood!
The cabin is filling up nicely. Here is the table for the final fit before it comes back out for paint. I still need to make the compass cover and drawer frame to support it.

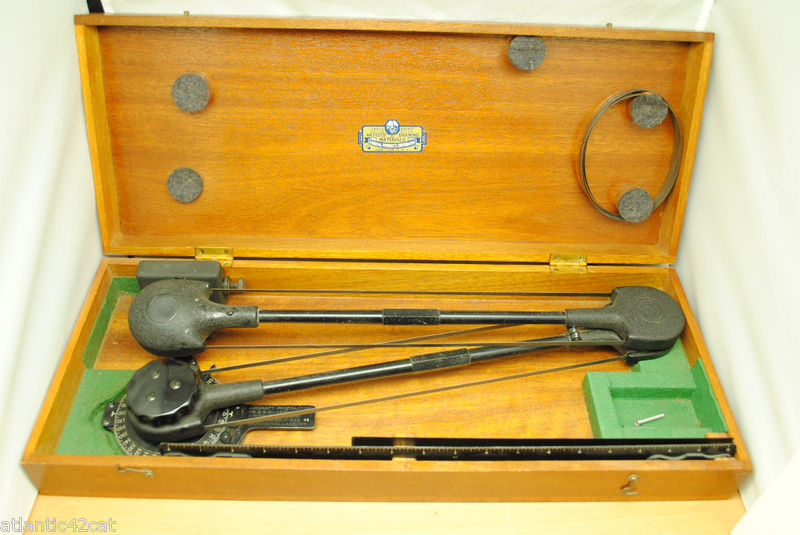
The black bracket mounted on the table top is for the Navigator's 'drafting arm' or more officially the "Aircraft Protractor Mark 3B". I have a busted up parts one but I am looking for a good original. Anyone have one in their collection and want to see it installed at the Navigators position in the Harpoon? They sell pretty cheap on eBay for 20 to $30 complete and in the box so I am waiting for another one to show up. There is a nice on on eBay now for $275
I think he likes it a lot more than I do. There is another on listed now for $99 but its kind of rough and also too high in price. Here is what one looks like:
Anyone have an Aircraft Protractor that you don't need? I have a great new home for it!
Good steady progress on the old gal. I wish there was more time in the day.
_________________
To donate to the PV-2D project via PayPal click here
http://www.twinbeech.com/84062restoration.htmWe brought her from:

to this in 3 months:
Help us get her all the way back
All donations are tax deductible as the Stockton Field Aviation Museum is a 501c3 nonprofit organization. Tell a friend as the Harpoon needs all the help she can get.
Thank you!
Taigh Ramey
Vintage Aircraft, Stockton, California
http://www.twinbeech.com'KEEP ‘EM FLYING…FOR HISTORY!'