Re: Not sure, anybody interested?
Wed Apr 30, 2014 10:14 pm
Re: Not sure, anybody interested?
Sat May 03, 2014 10:24 pm
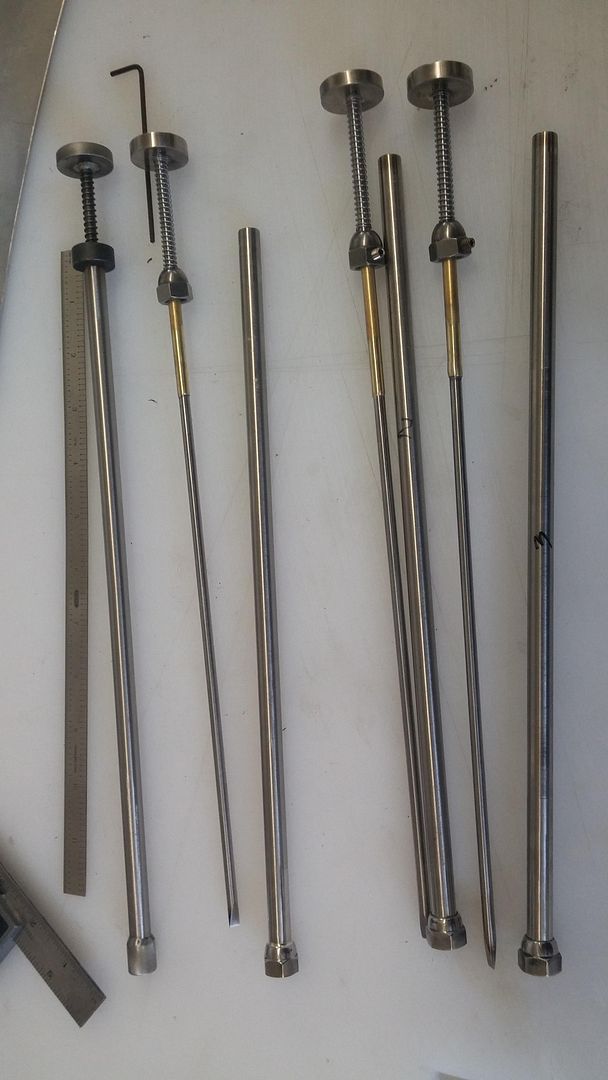
Little after hours job thrown in. These are stall computer adjuster screwdrivers for the T-37 Tweet as well as the A-37. They screw onto the computer box and while flying, the pilot can adjust the positioning of the stall "brakes", air flow upsetters that give the pilot some stick input that the stall is imminent.
Stainless housing with drill rod screw drivers. The spring mechanism allows the tool to be installed without effect. The plunger is pushed so that the blade engages the adjuster. Then the knob is turned to fine tune the stall brake. The brass tubing is just there as a stop to keep the driver from coming out of the tool in flight.
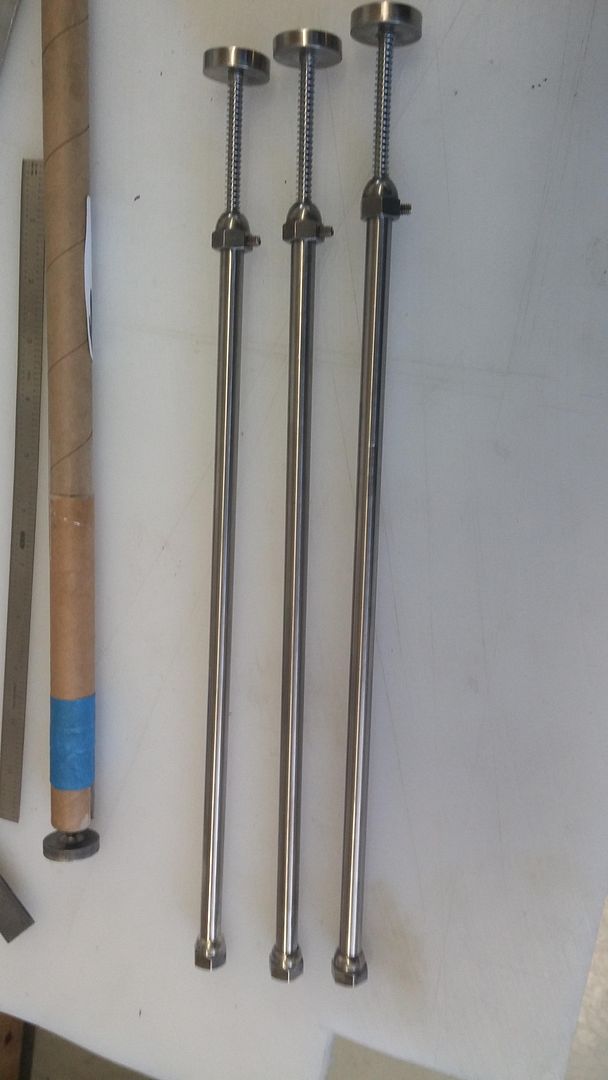
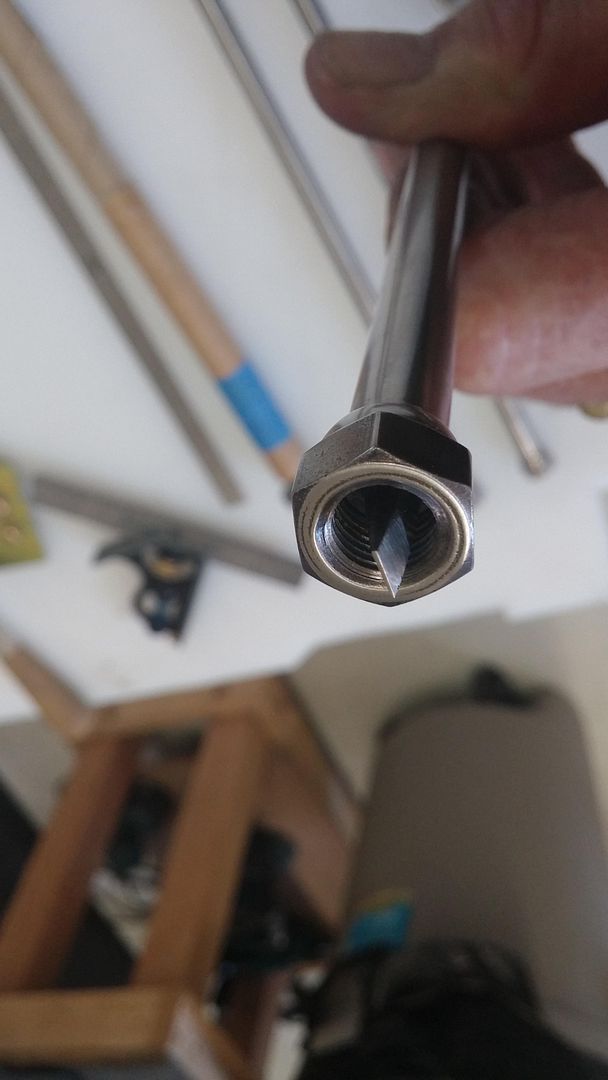
When the plunger is pushed, this driver blade engages the adjuster screw head. Otherwise, the driver is heald out of engagement by the spring.
Stainless housing with drill rod screw drivers. The spring mechanism allows the tool to be installed without effect. The plunger is pushed so that the blade engages the adjuster. Then the knob is turned to fine tune the stall brake. The brass tubing is just there as a stop to keep the driver from coming out of the tool in flight.


When the plunger is pushed, this driver blade engages the adjuster screw head. Otherwise, the driver is heald out of engagement by the spring.

Re: Not sure, anybody interested?
Thu May 08, 2014 10:27 pm
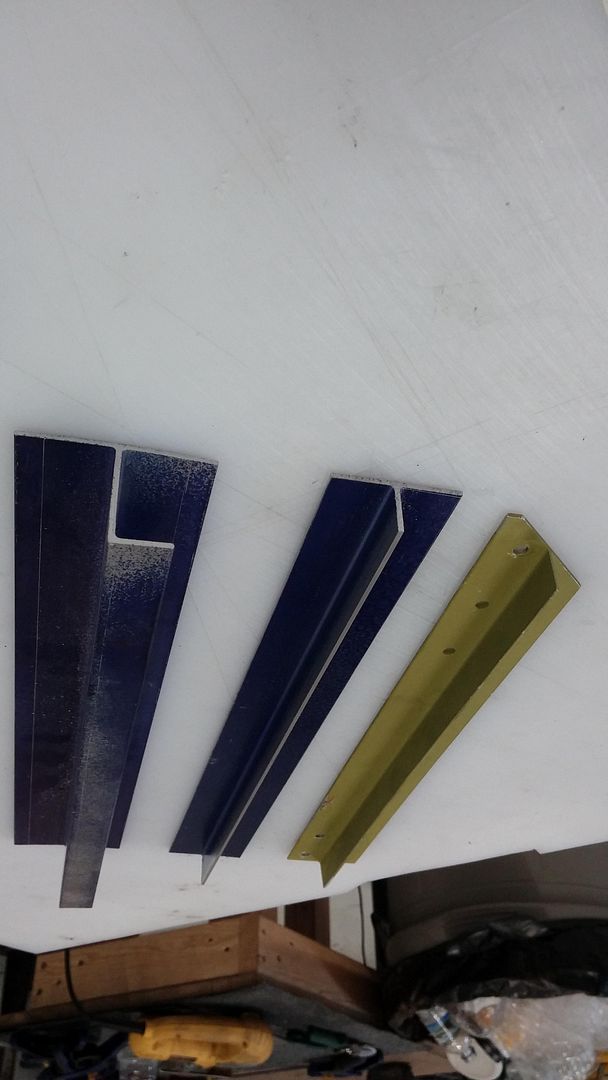
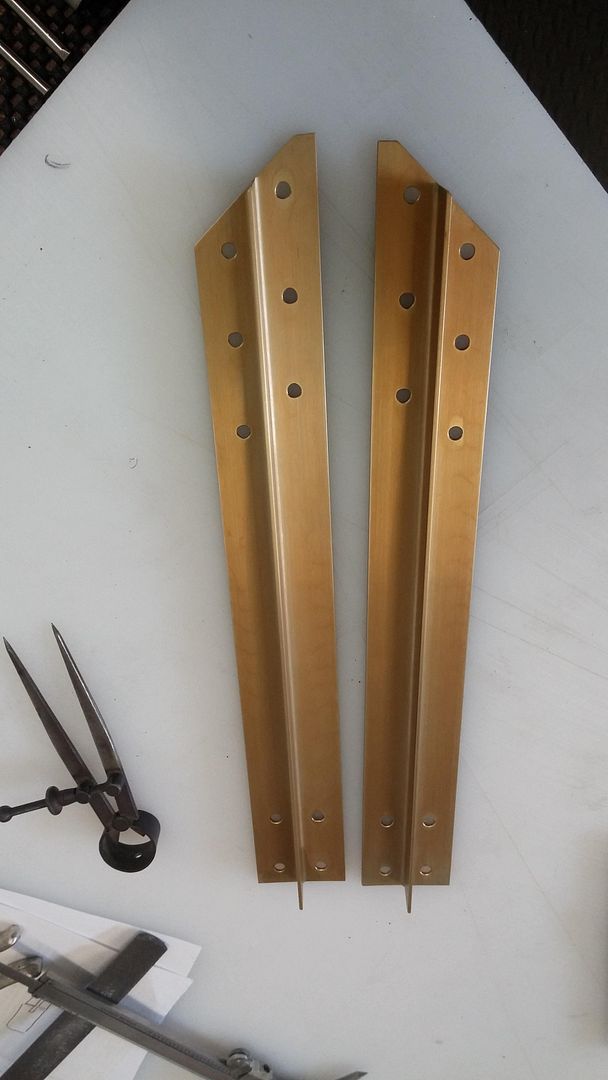
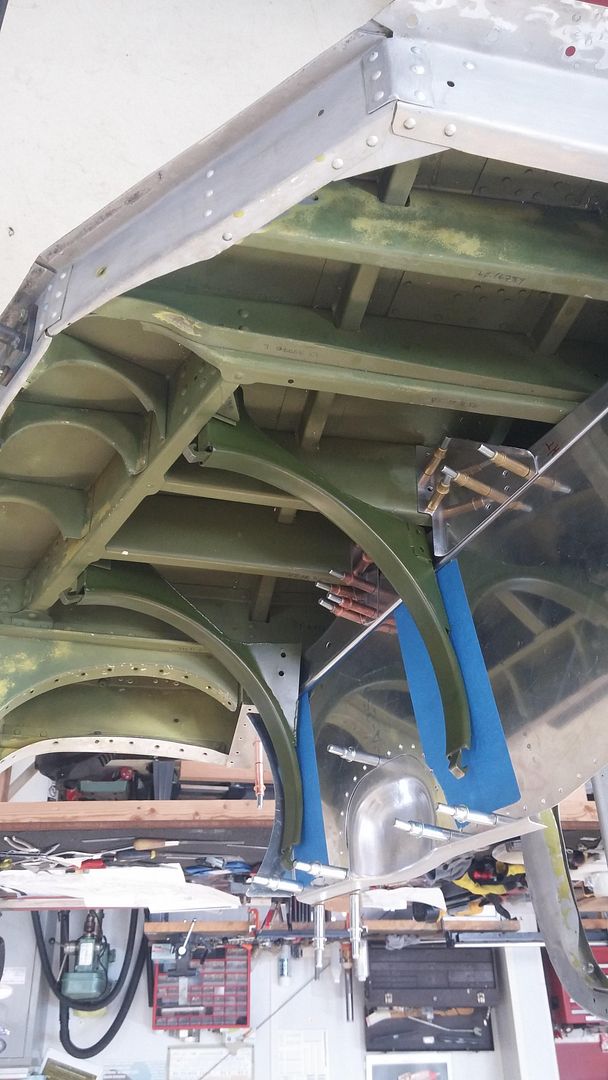
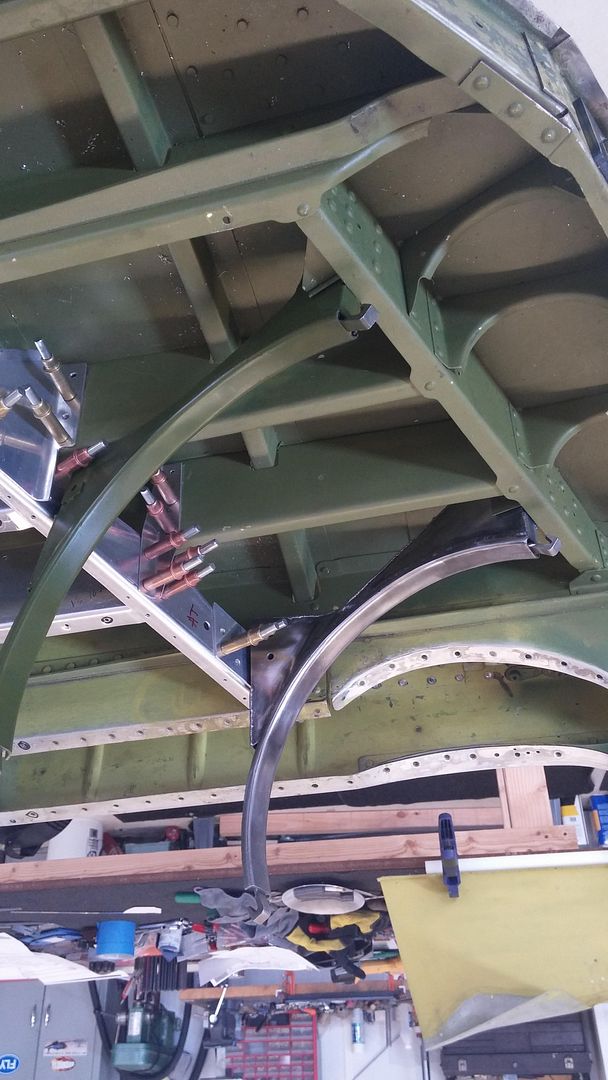
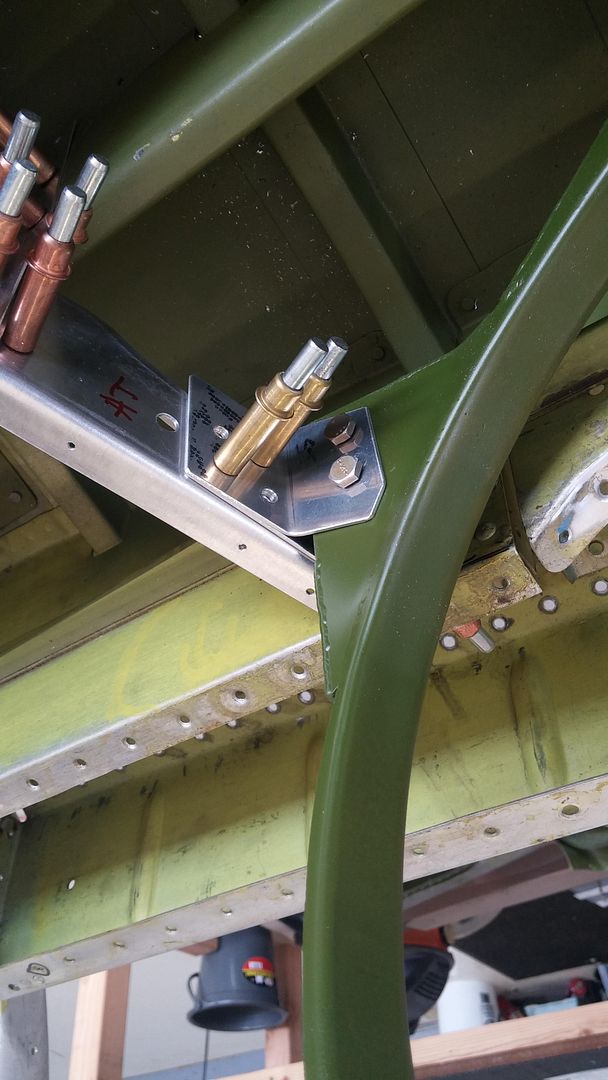
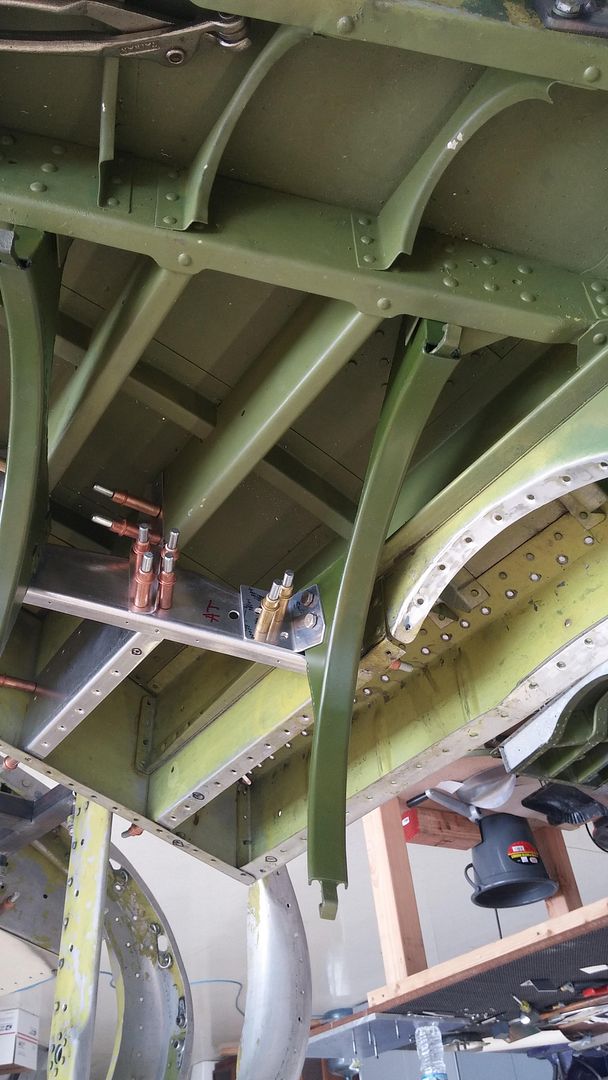
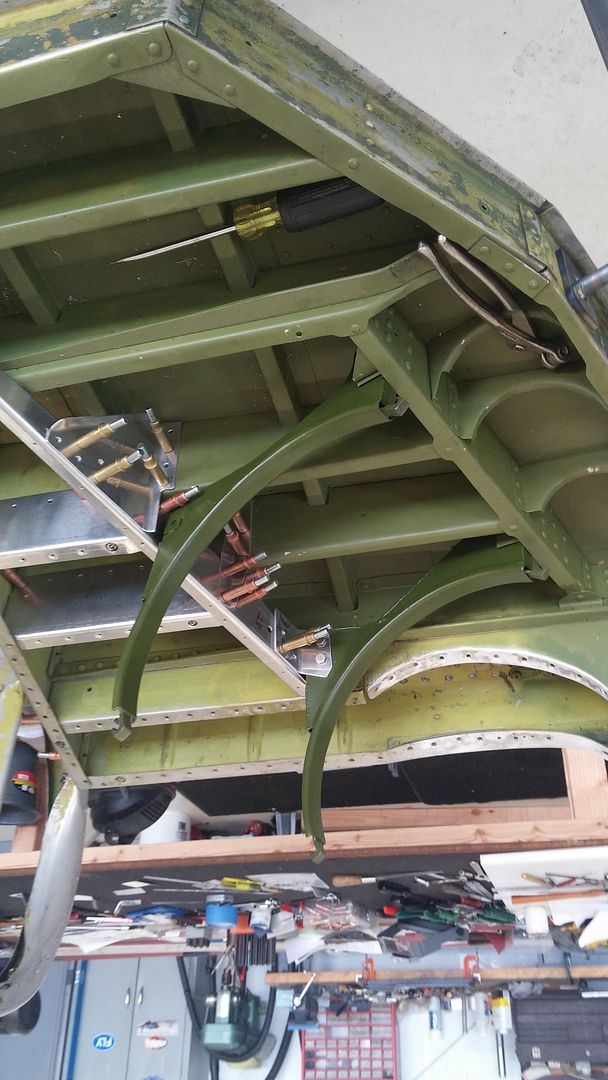
Left Hand shown, right hand opposite...easy for them to say. The two aft oil cooler saddles are symmetrical and were pretty straight forward to make. The left hand forward saddle was a little more complicated but I had the sample to look at and tool from. I have the print "LH s, RH o" but no angles were called out for this part on my drawings. So after some middle of the night analysis, I thought that since I had the mounts for the saddles made and had the original outer mounts in the wing section, just build to fit the actual location and dimensions.
These sections are symmetrical left and right,
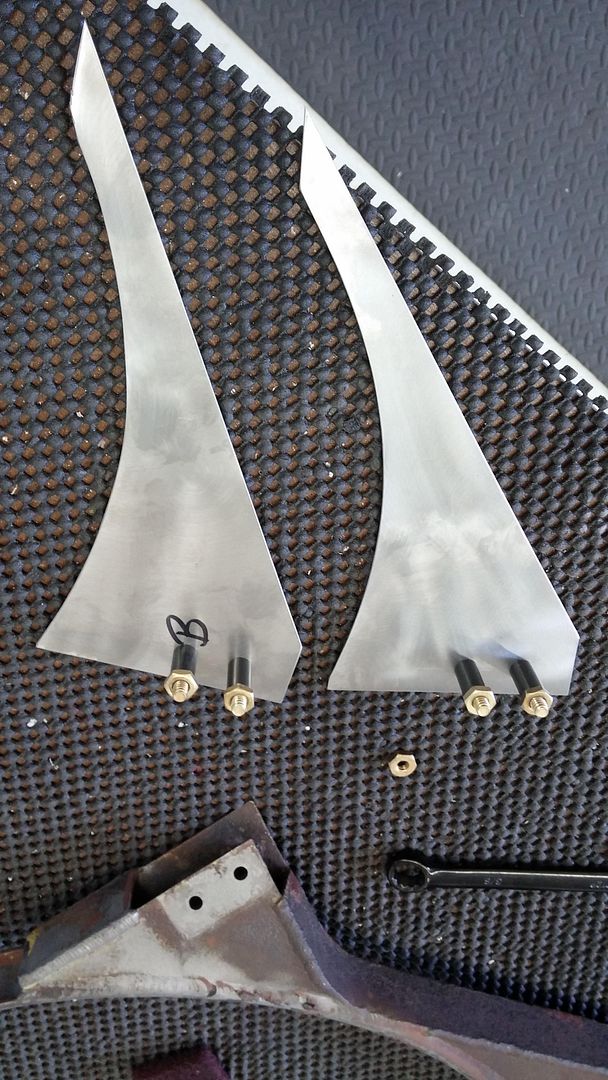
These upper sections for the right hand side were modeled in aluminum first, then in .050" chrome moly sheet.
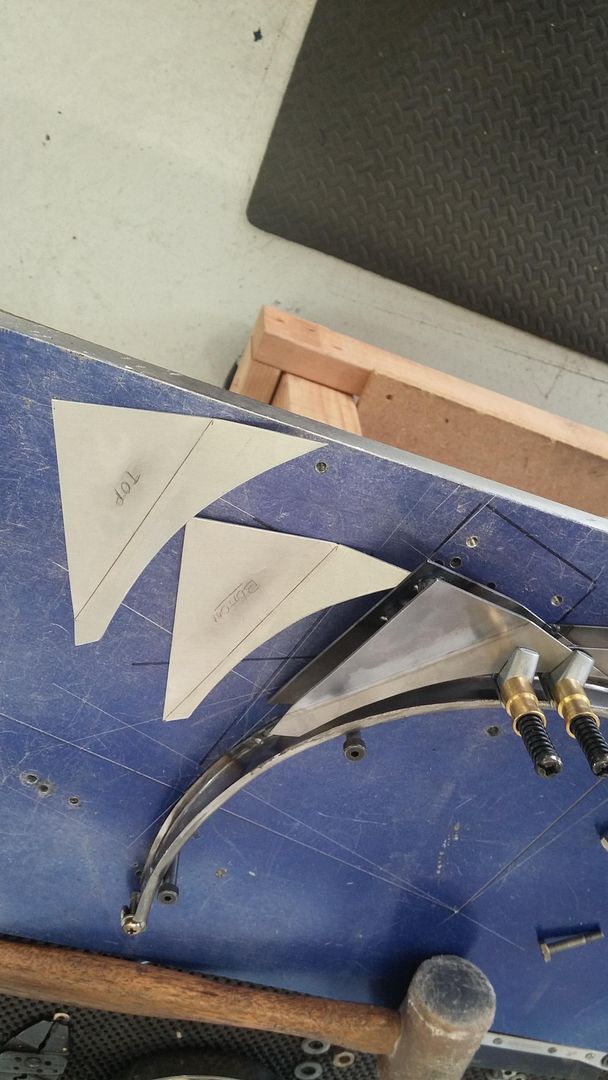
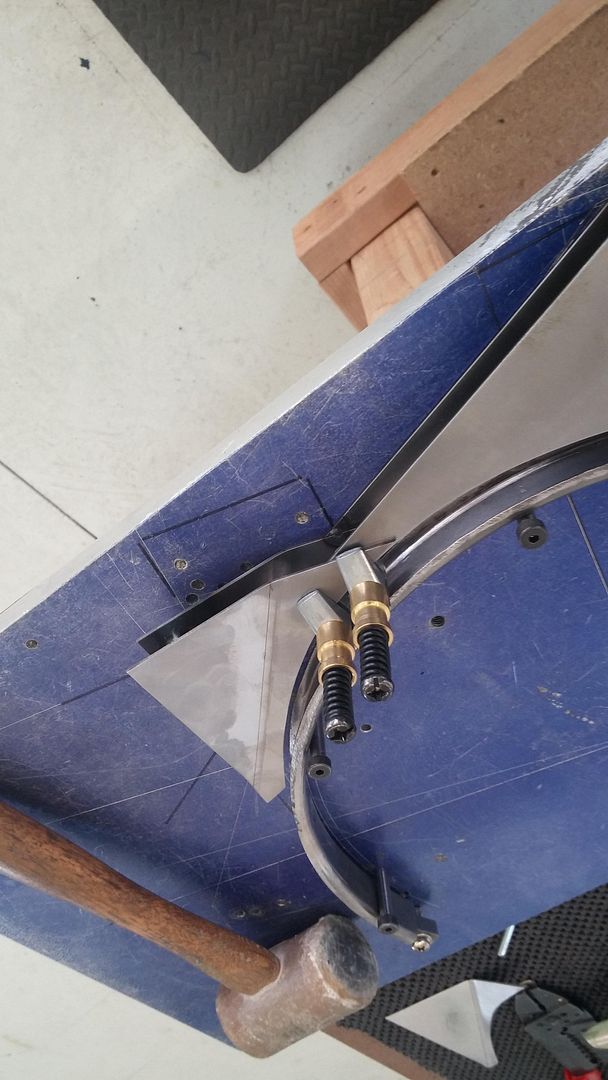
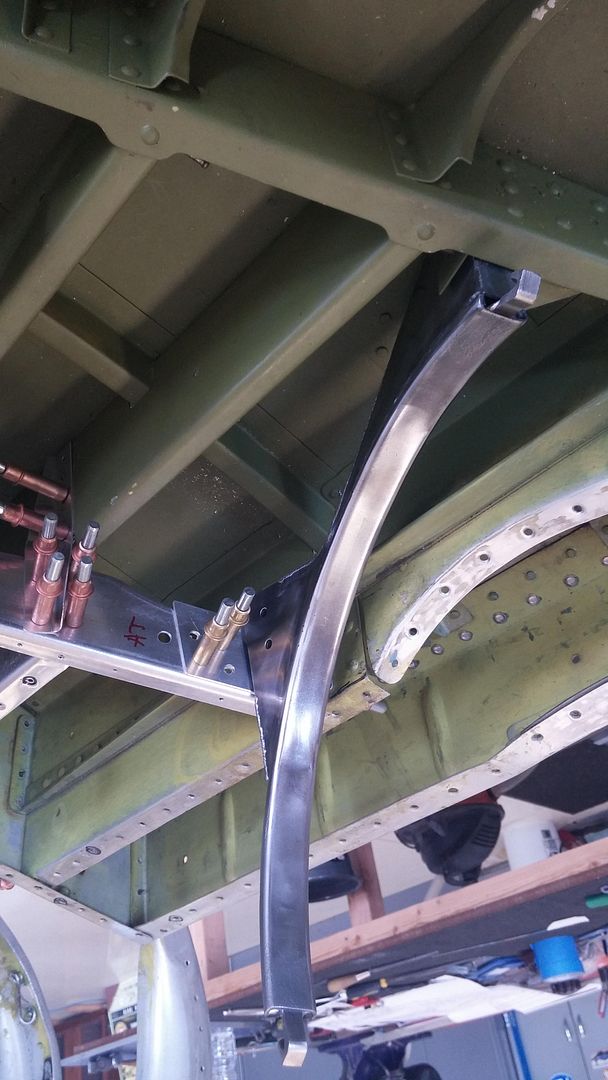
So fit in the wing section, the inboard end will be sandwiched in between two aluminum mounts, one side is shown left center of this picture.
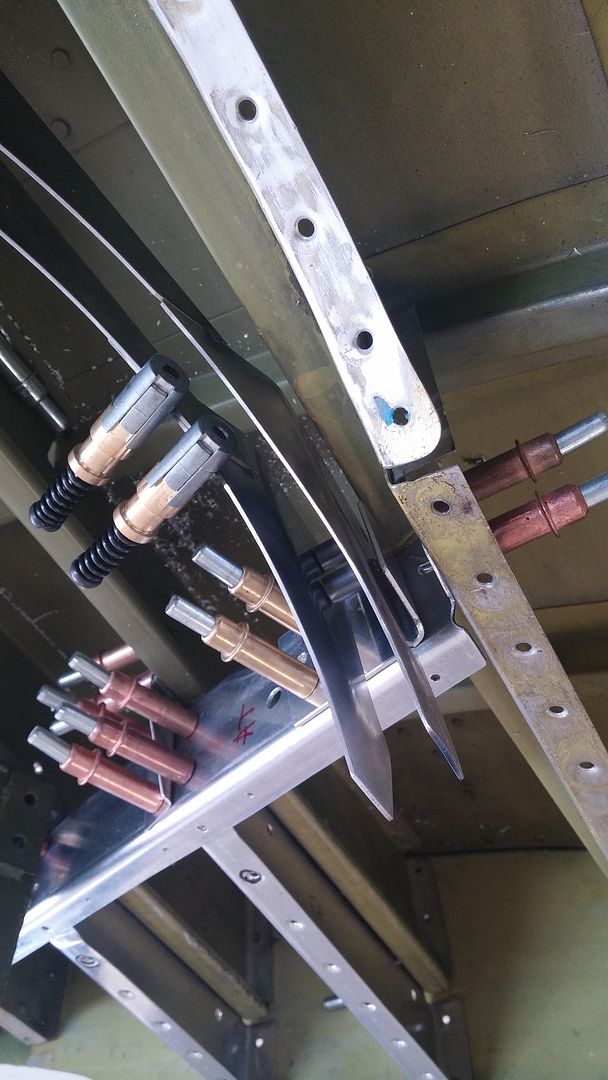
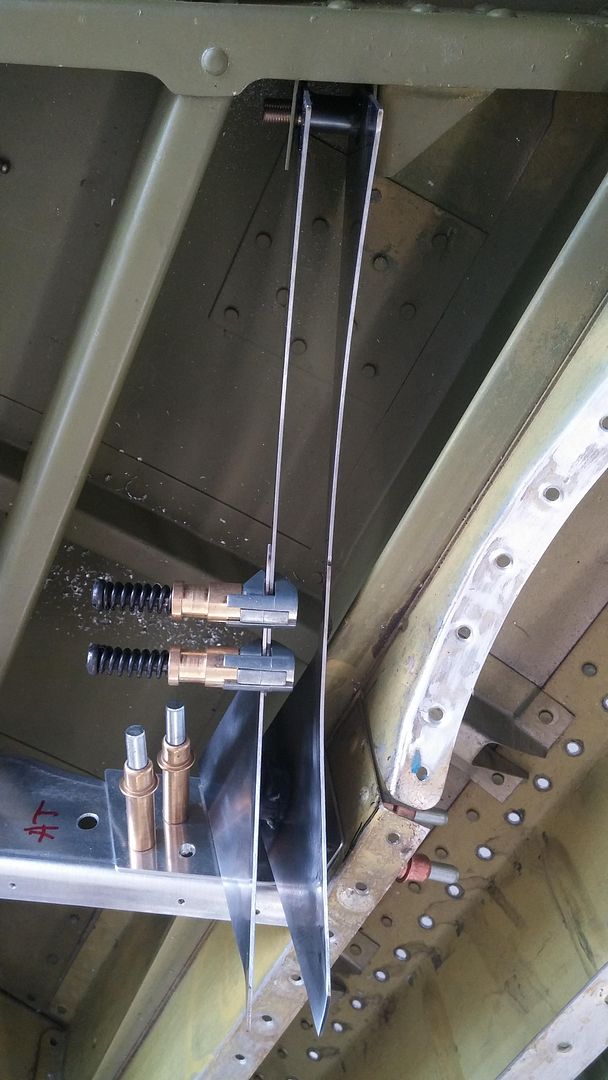
Ready to tack the rear plate
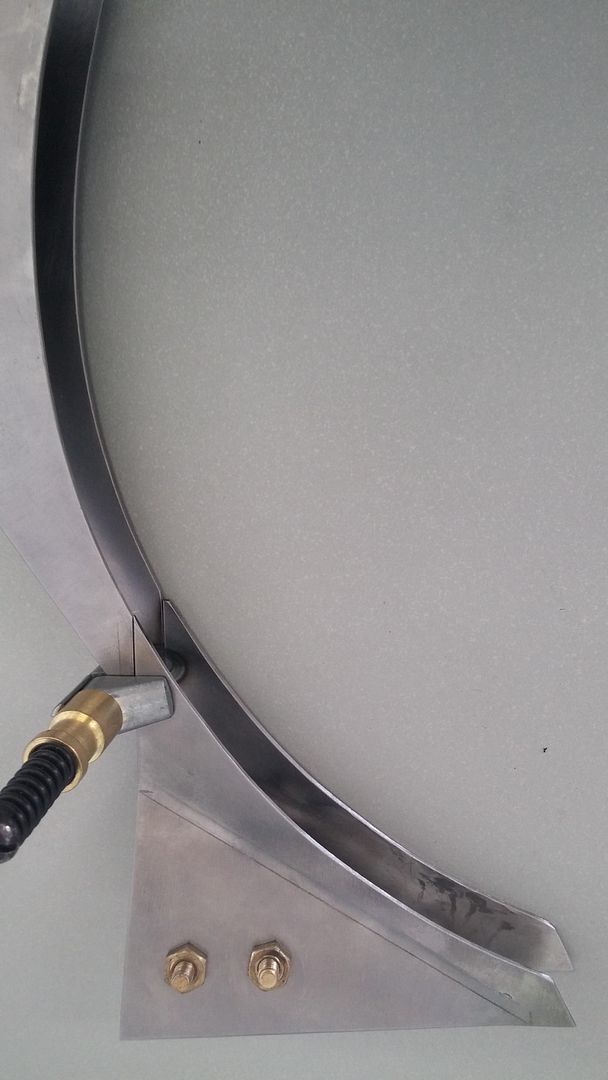
Modifying the fixture to hold the reverse side for welding and reduced distortion.
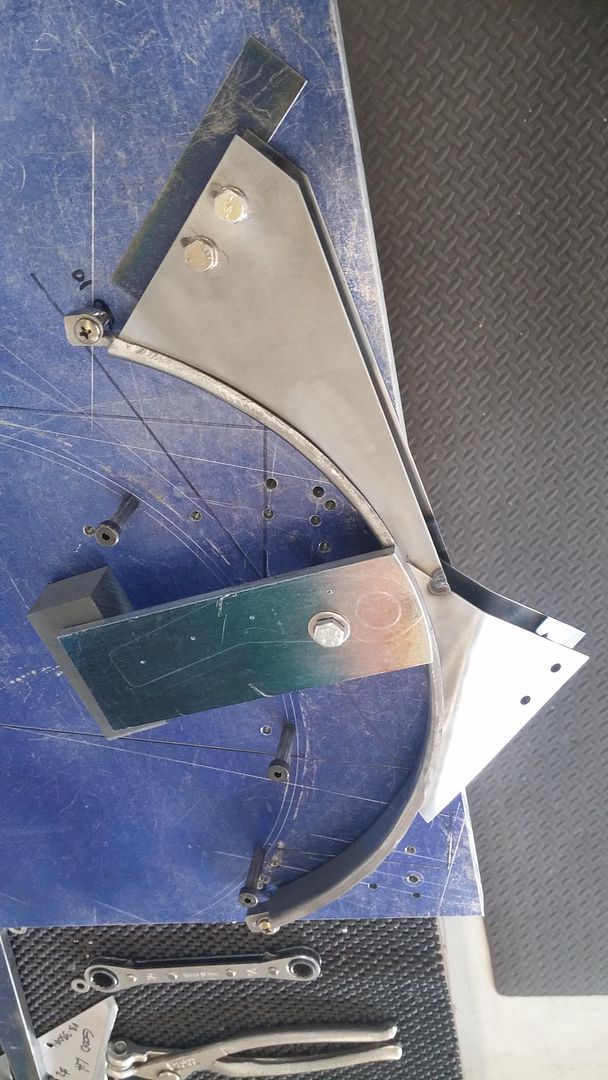
These sections are symmetrical left and right,

These upper sections for the right hand side were modeled in aluminum first, then in .050" chrome moly sheet.


So fit in the wing section, the inboard end will be sandwiched in between two aluminum mounts, one side is shown left center of this picture.


Ready to tack the rear plate

Modifying the fixture to hold the reverse side for welding and reduced distortion.

Re: Not sure, anybody interested?
Fri May 09, 2014 7:09 pm
Re: Not sure, anybody interested?
Fri May 09, 2014 11:40 pm
Thanks for taking the time to share your work with us, Scott.
Mac
Mac
Re: Not sure, anybody interested?
Sat May 10, 2014 6:49 pm
Re: Not sure, anybody interested?
Sun May 11, 2014 1:10 pm
Outstanding thread and outstanding work Scott. Please keep the updates coming.
Re: Not sure, anybody interested?
Sun May 11, 2014 1:23 pm

Like!
Seriously, great stuff. Really enjoying this Scott
Andy
Re: Not sure, anybody interested?
Tue May 13, 2014 10:09 pm
Independently from the amazing work you are doing..........
And BTW a huge tks for taking the time for posting these for the WIX crowd.
I am flabergasted that these small pieces where mass produced ( and engineered and put together ) in a large scale not so long ago..........
Hats off to the old guard......with a lot of respect.......
Makes you humble in regards to the tools they had back then......a pen and a ruler...
Tks again for sharing with all of us...sincerely!
Michel
Re: Not sure, anybody interested?
Tue May 13, 2014 11:13 pm
FSP, flexible surface pattern. I used strapping tape and alternated with straight runs and angled runs, all edge to edge with no overlap. There are five layers, trimmed after each layer. This is the missing leading edge for the upper inlet section, LH side. When I flip the pattern over, I should be close to the RH side.
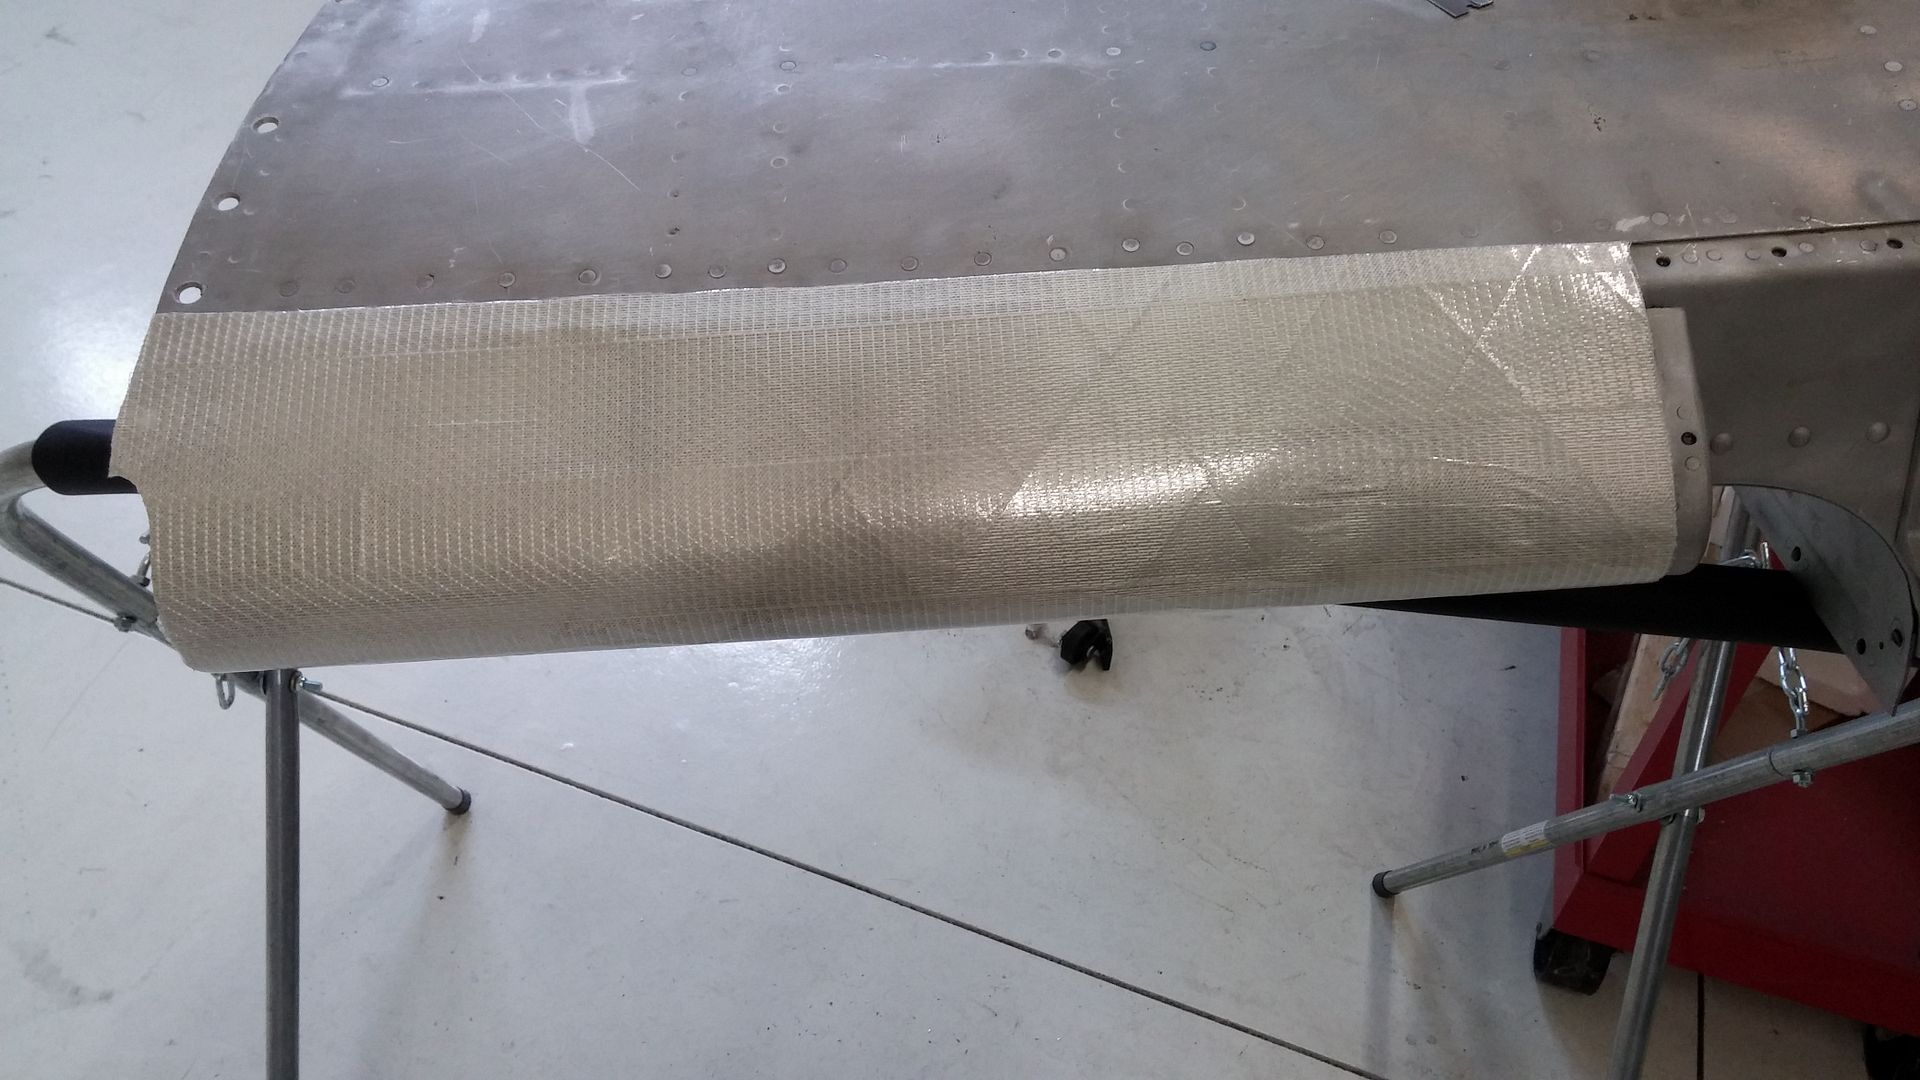
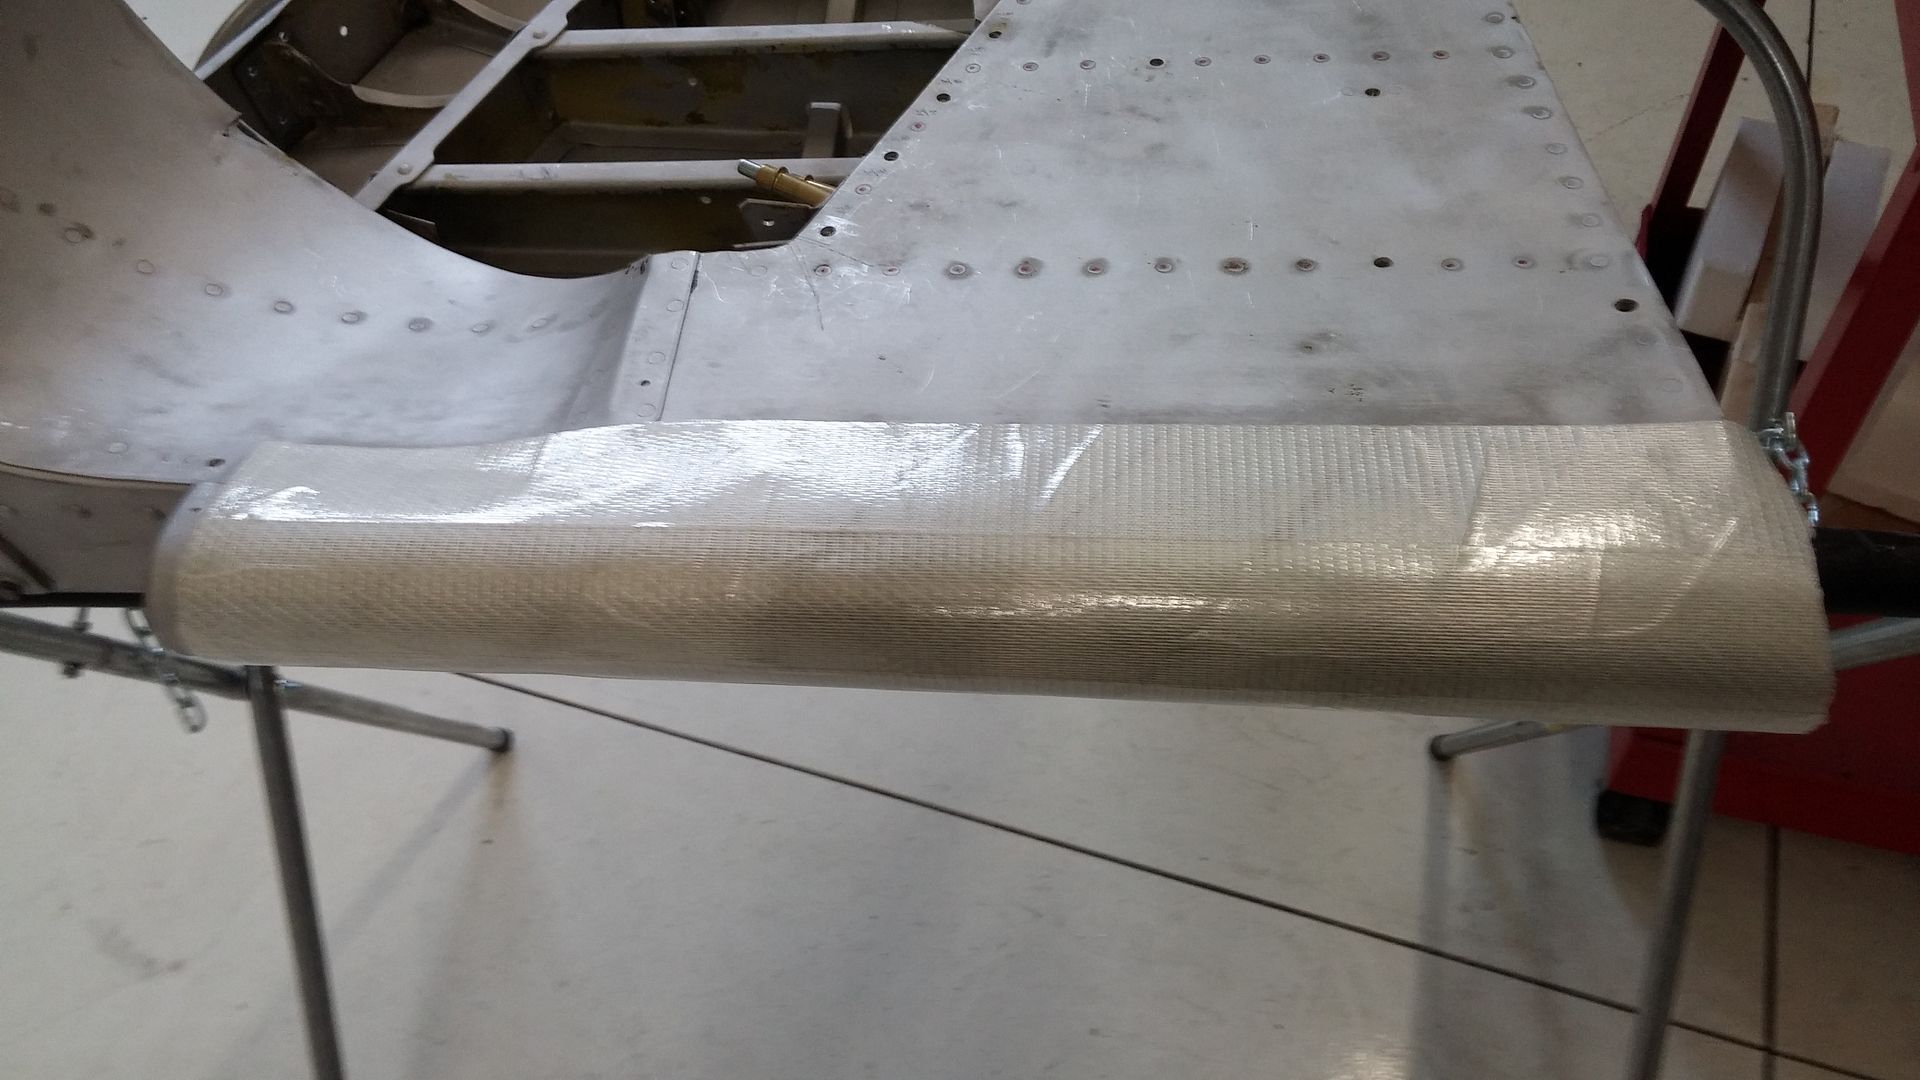
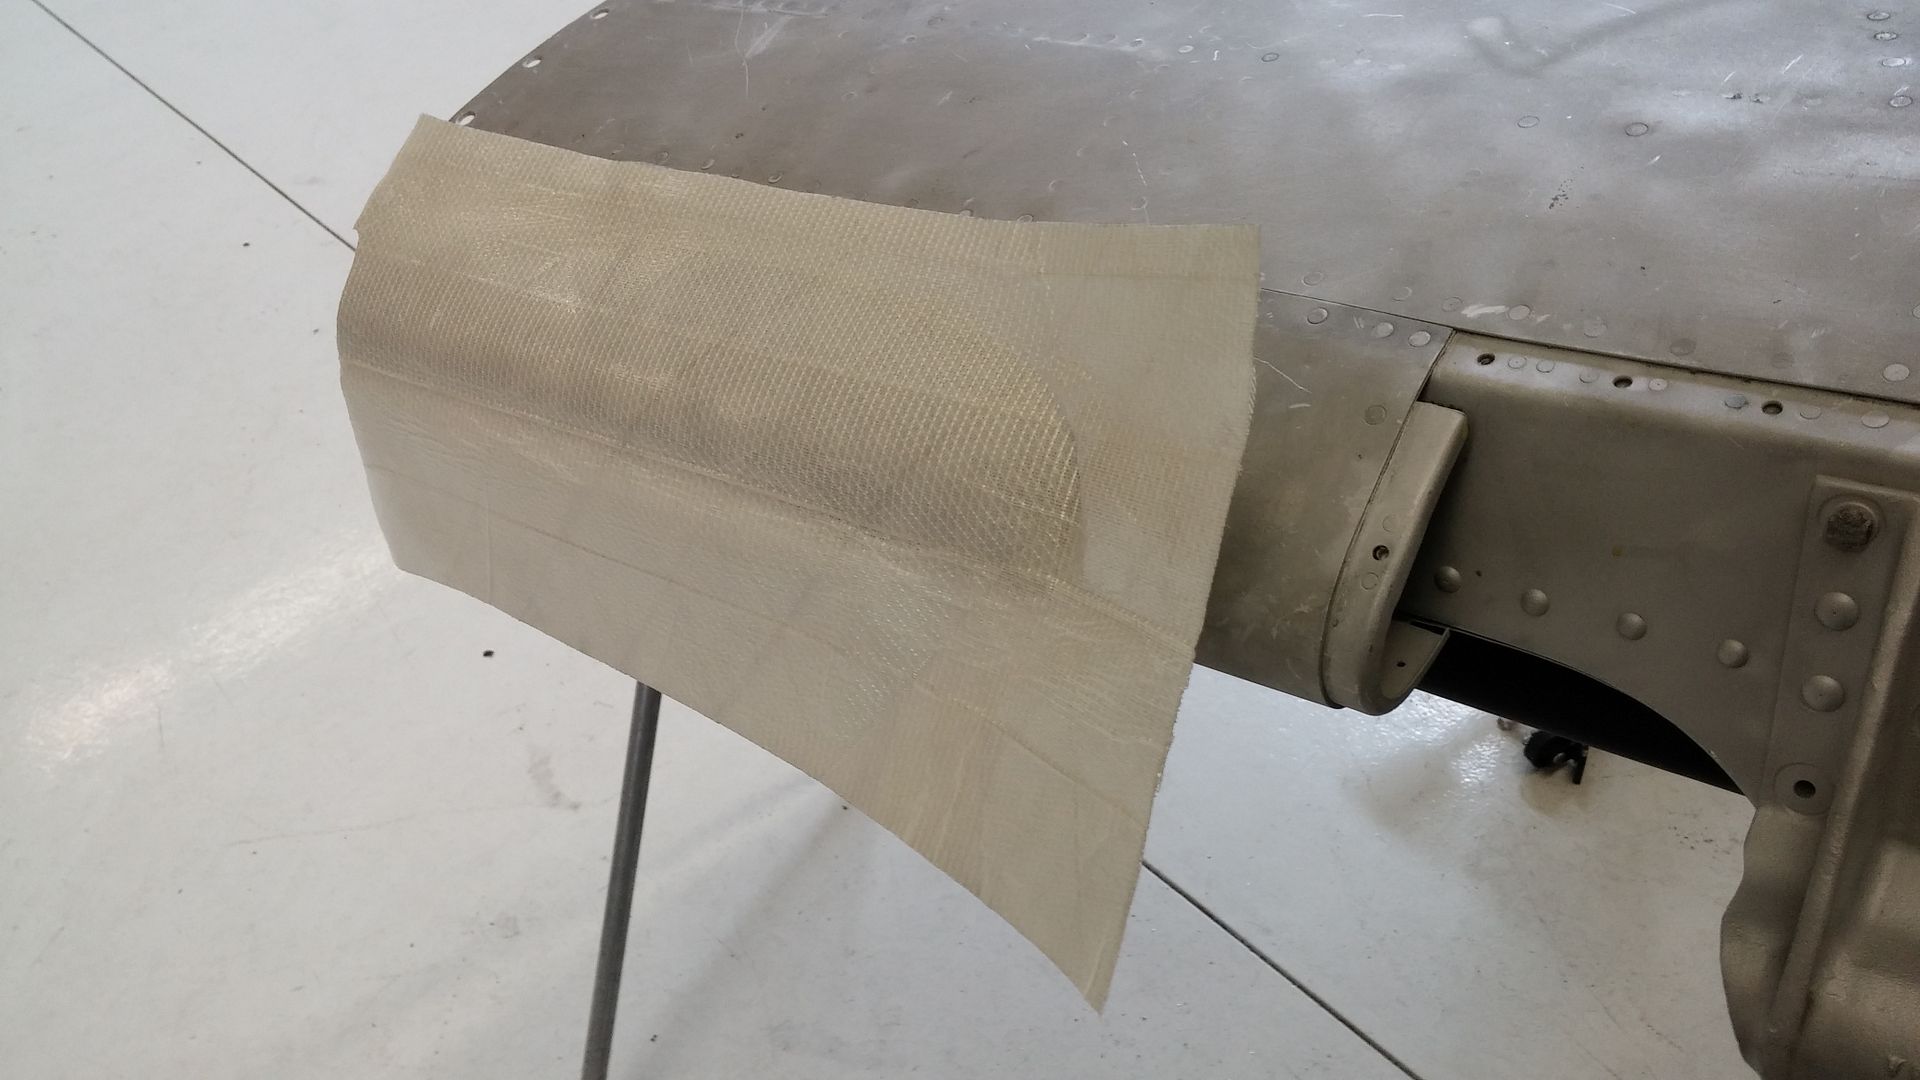
I used some (really old) talc powder to clean up the adhesive side so no sticky left.

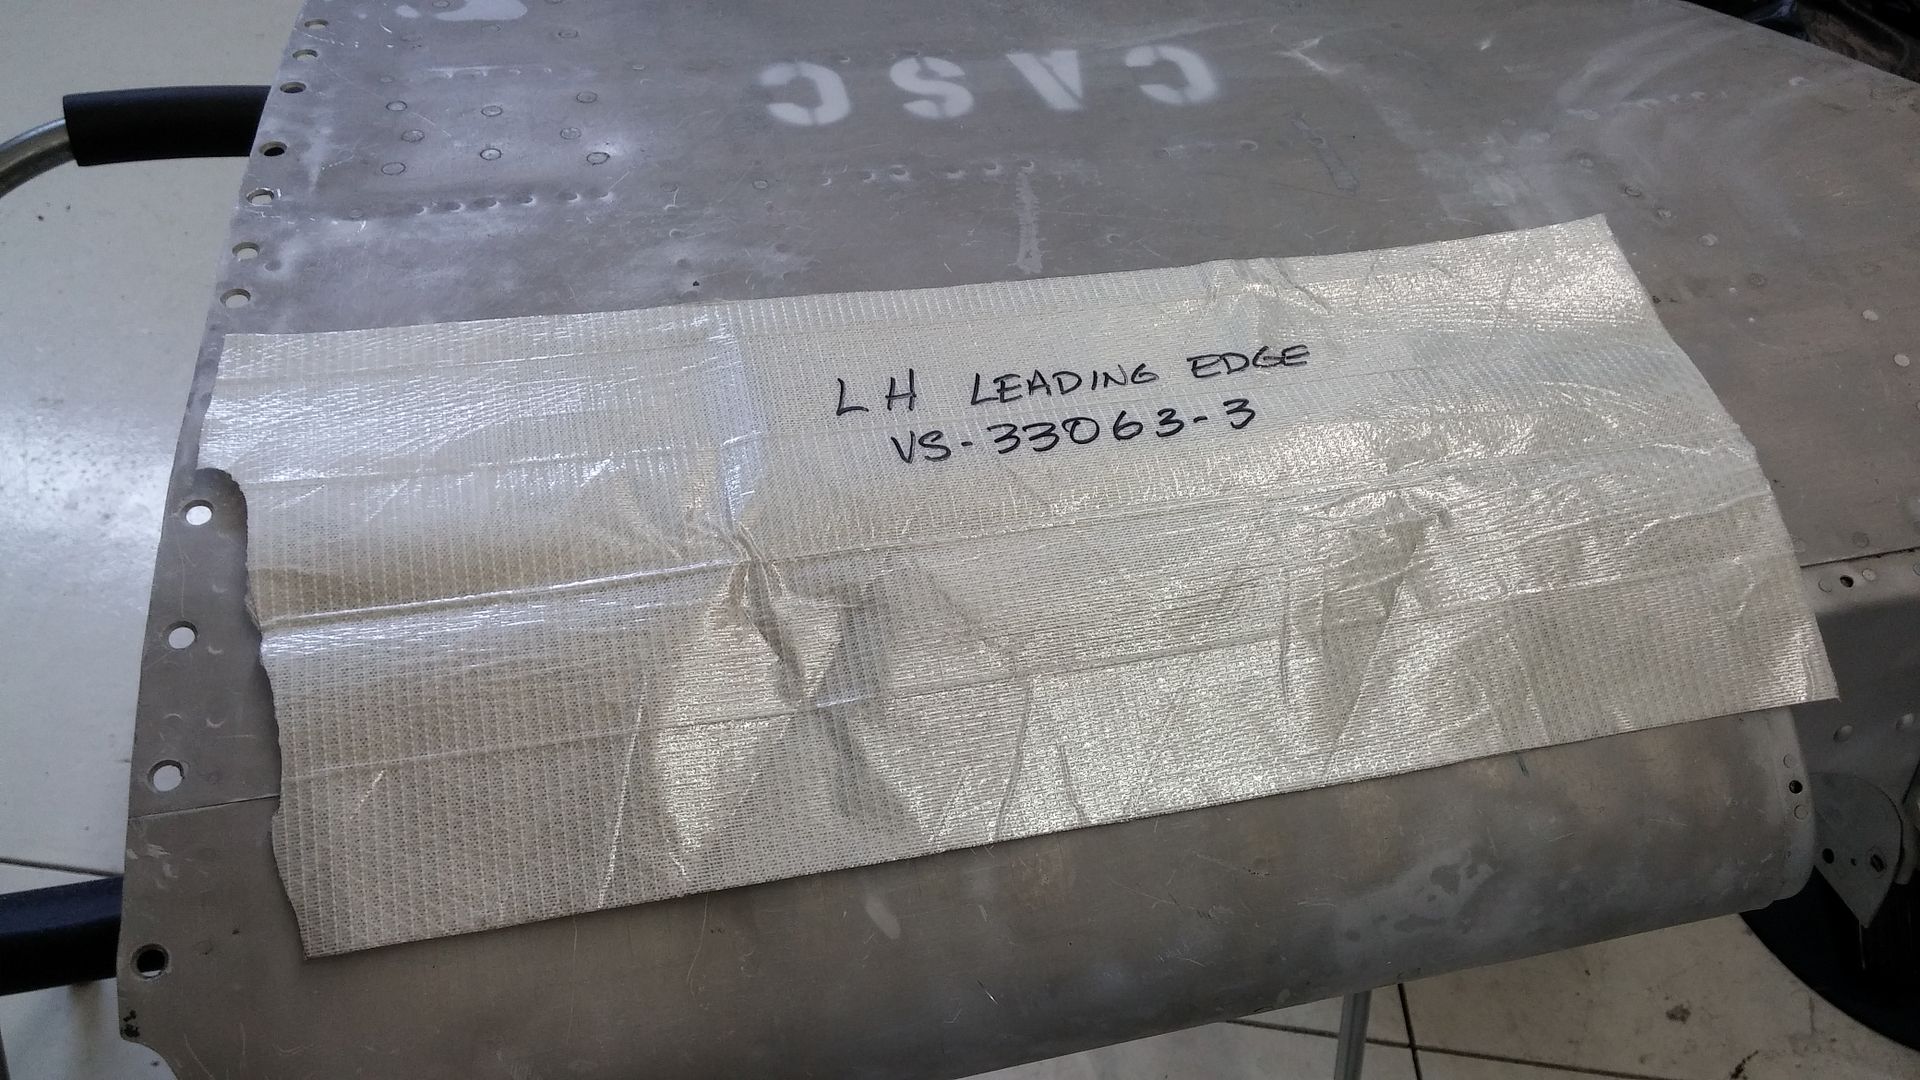


I used some (really old) talc powder to clean up the adhesive side so no sticky left.


Re: Not sure, anybody interested?
Tue May 13, 2014 11:27 pm
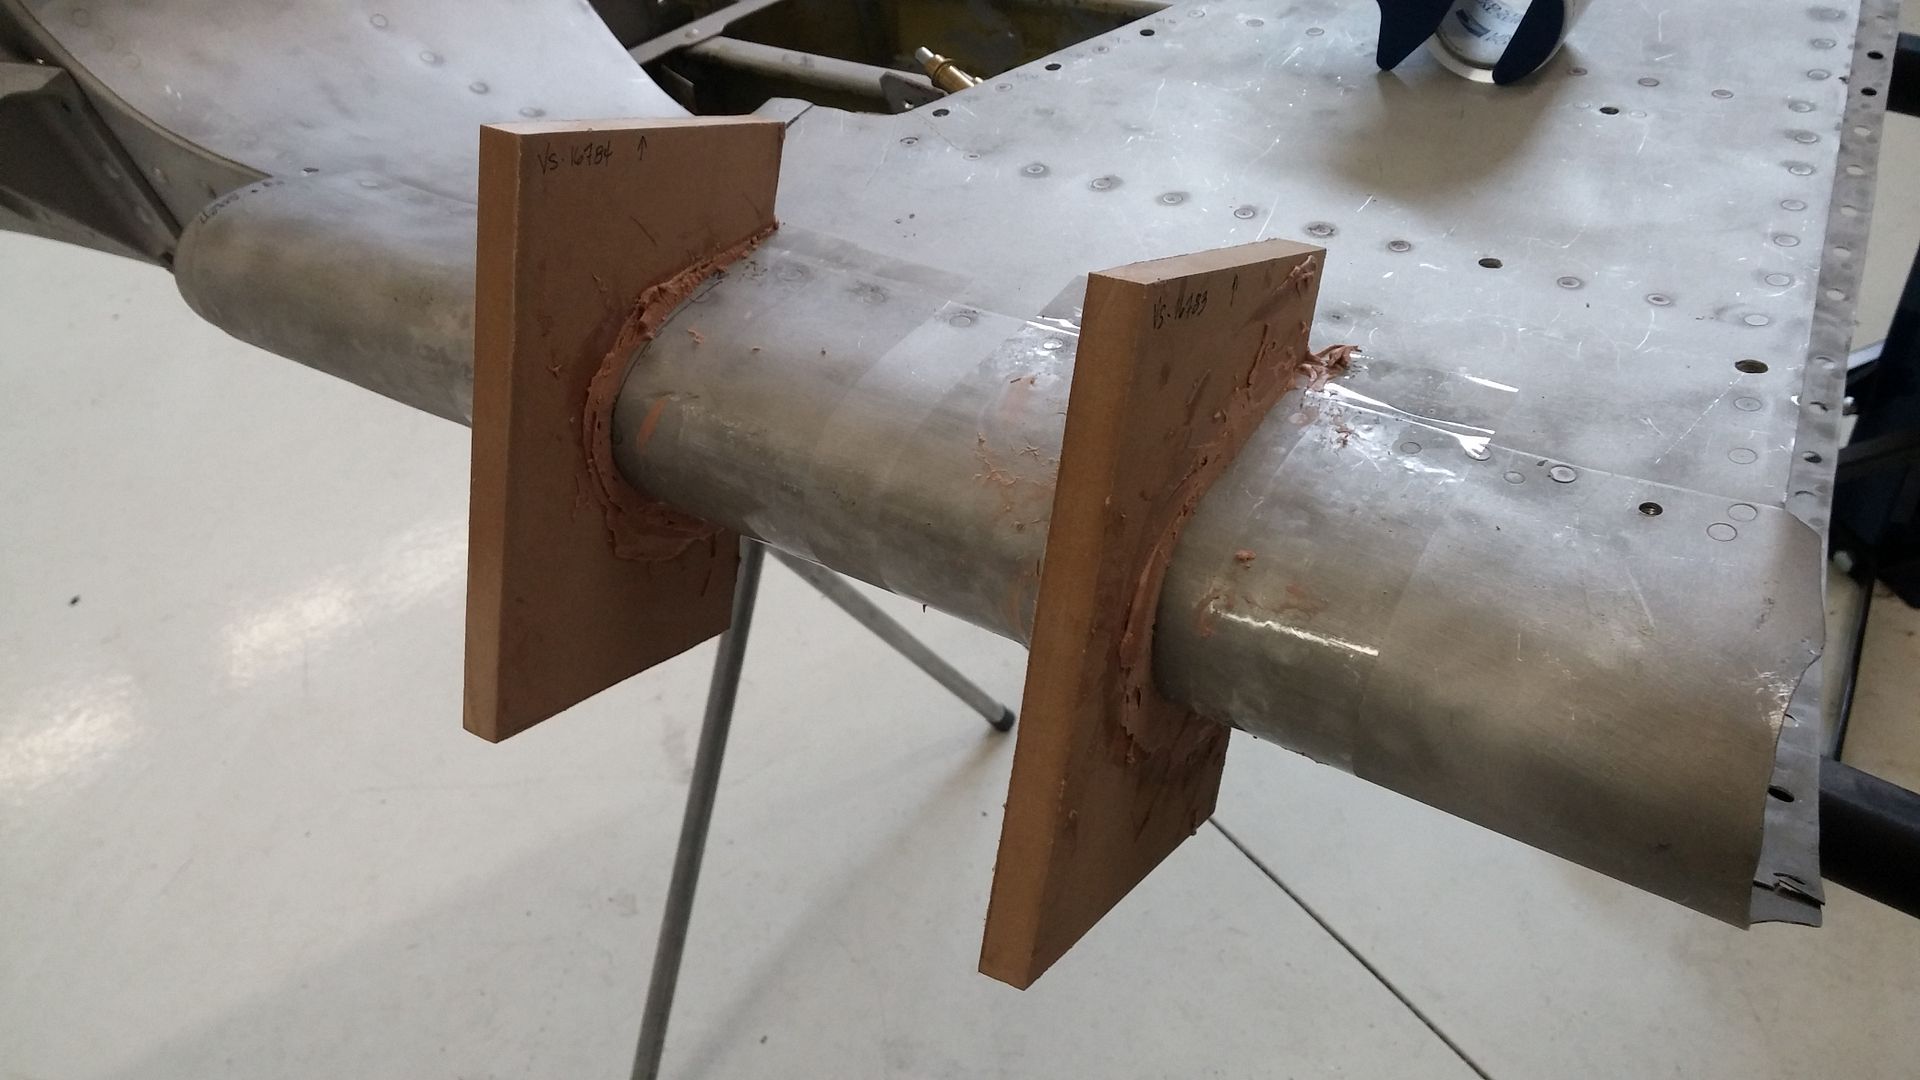
There are two leading edge reinforcing ribs inside this leading edge. They only attach to the leading edge, not the main leading rib and are both riveted and spot welded. I decided to make some squash forms in order to reproduce the actual contour of the leading edge at that location.
Clear packaging tape protects the wing and acts as a mold release agent. MDF is cut close to the contour shape. Mix the bondo and play the waiting game until it nearly sets up. Schlurp it into the mdf and press and hold on the wing while it does set.
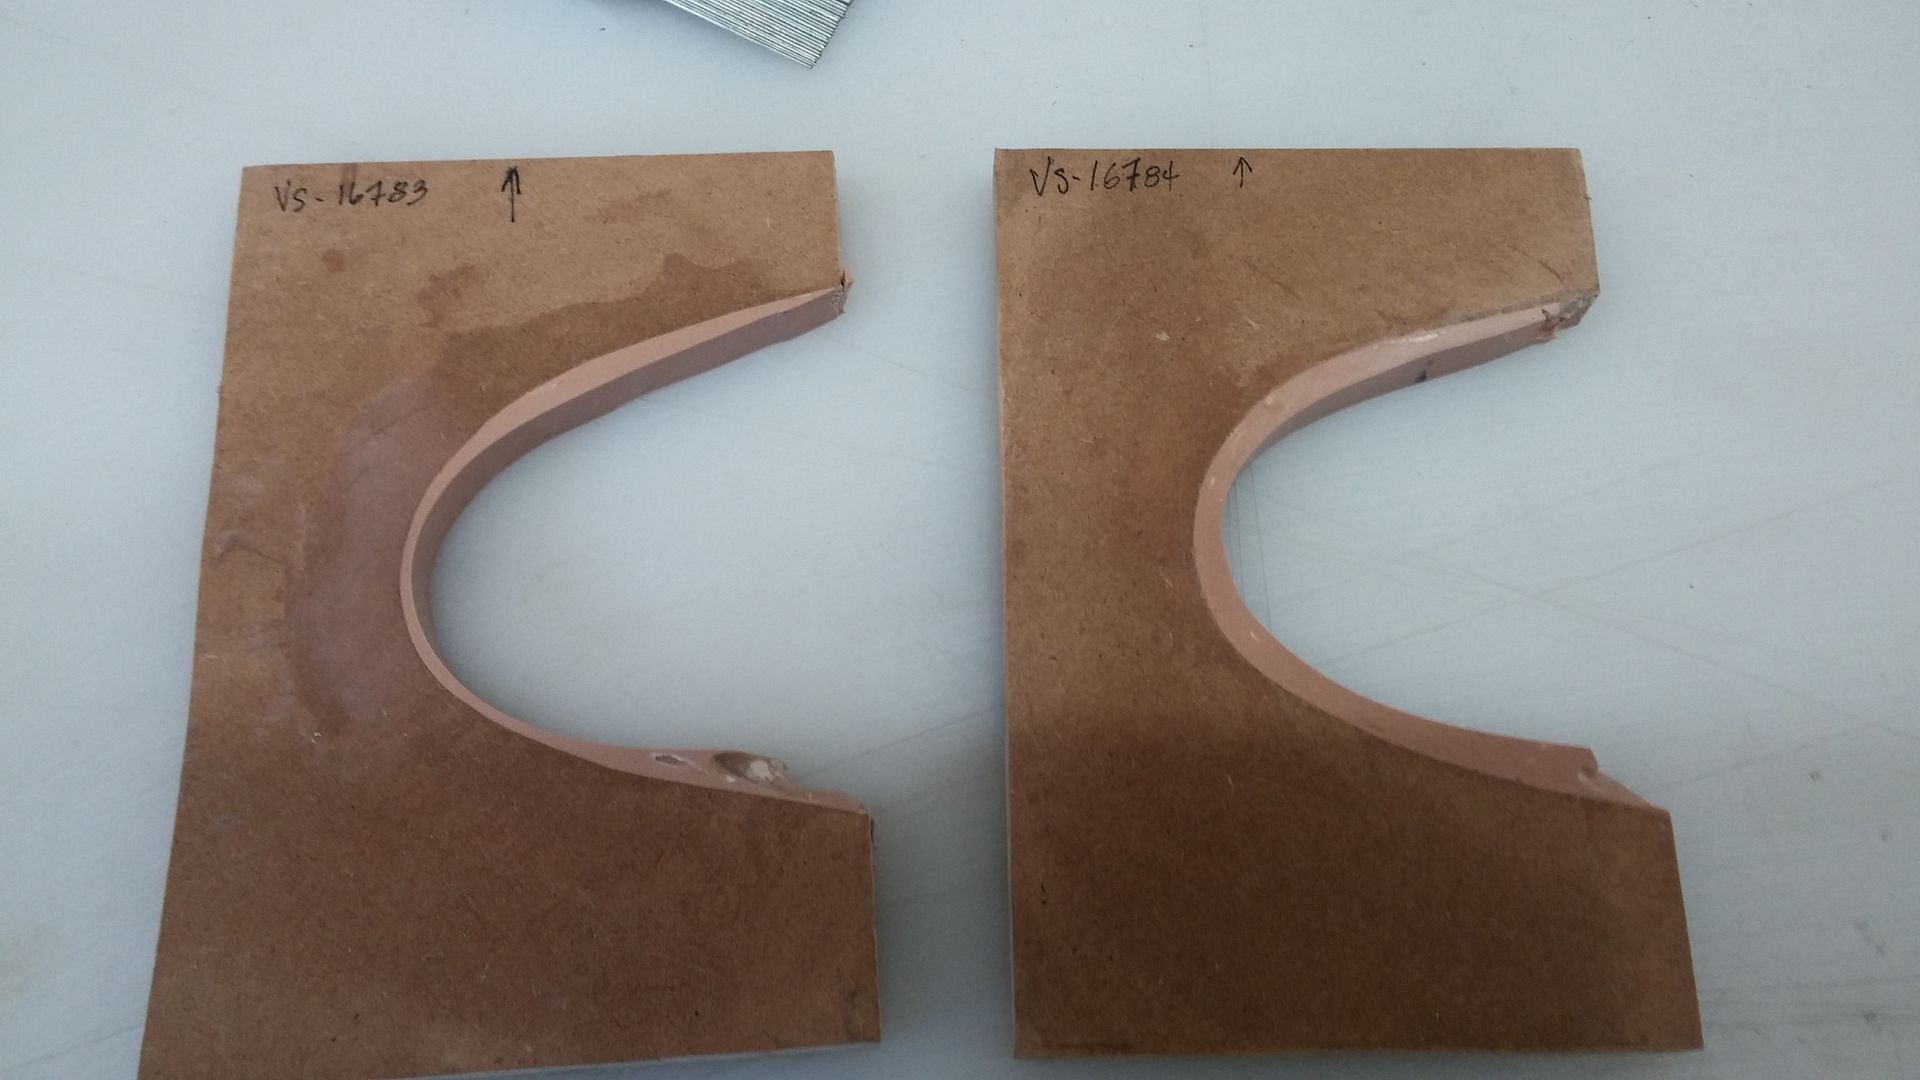
Pulled off and trimmed.
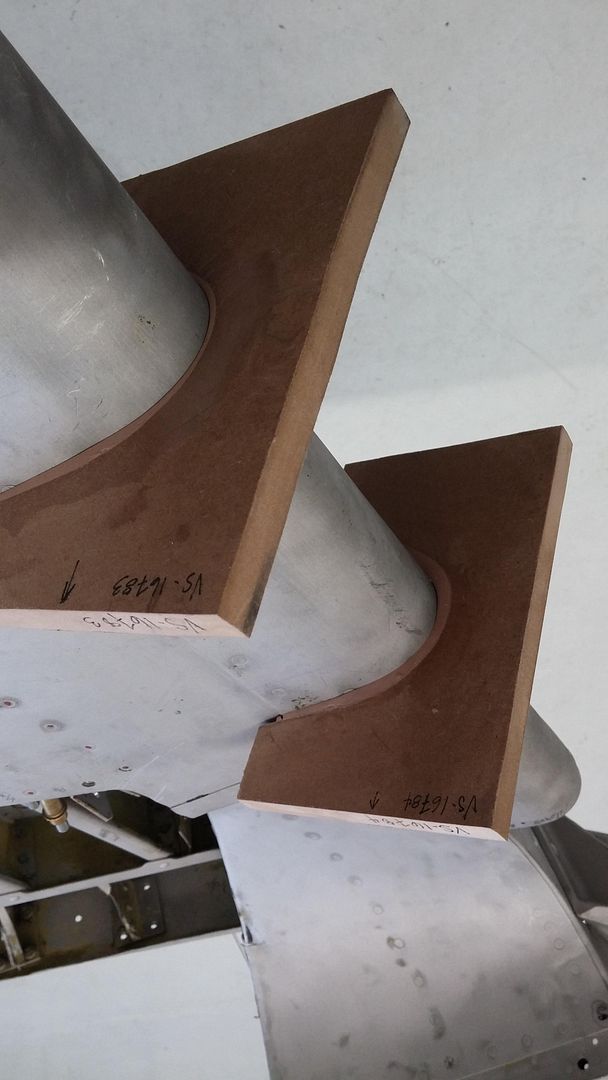
Fit checked.
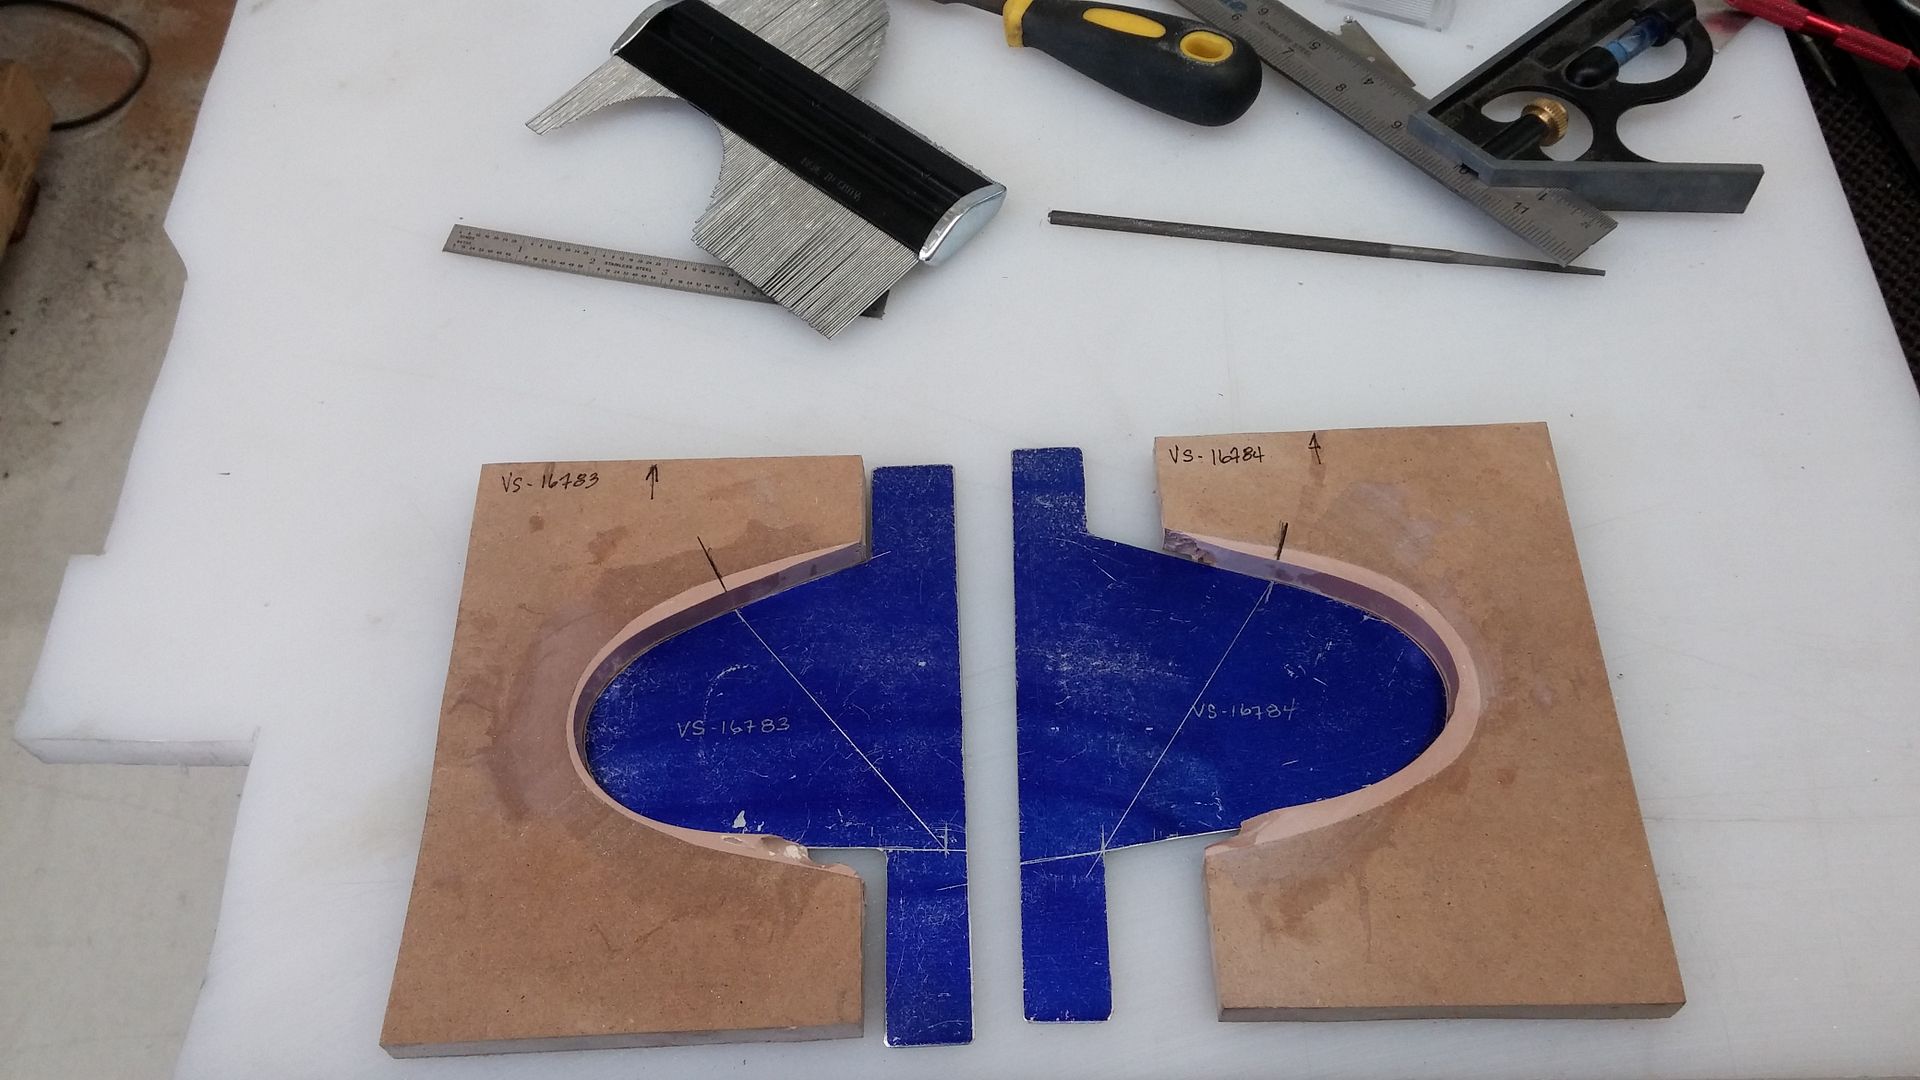
The aluminum patterns now give a very accurate replication of the skin outer profile. Tomorrow, I will trim them down by .064" (.032" for the leading edge skin and .032" for the section of the rib) This will then give me the shape of the PVC form block required. More to come
Clear packaging tape protects the wing and acts as a mold release agent. MDF is cut close to the contour shape. Mix the bondo and play the waiting game until it nearly sets up. Schlurp it into the mdf and press and hold on the wing while it does set.

Pulled off and trimmed.

Fit checked.

The aluminum patterns now give a very accurate replication of the skin outer profile. Tomorrow, I will trim them down by .064" (.032" for the leading edge skin and .032" for the section of the rib) This will then give me the shape of the PVC form block required. More to come

Re: Not sure, anybody interested?
Wed May 14, 2014 1:31 am
Can't wait to see the next installment.
Very interesting tricks of the trade that now won't be lost, but can be used by a newer generation of mechanics coming up.
Thanks again for sharing.
Mac
Very interesting tricks of the trade that now won't be lost, but can be used by a newer generation of mechanics coming up.
Thanks again for sharing.
Mac
Re: Not sure, anybody interested?
Wed May 14, 2014 11:21 pm
Next installment... 
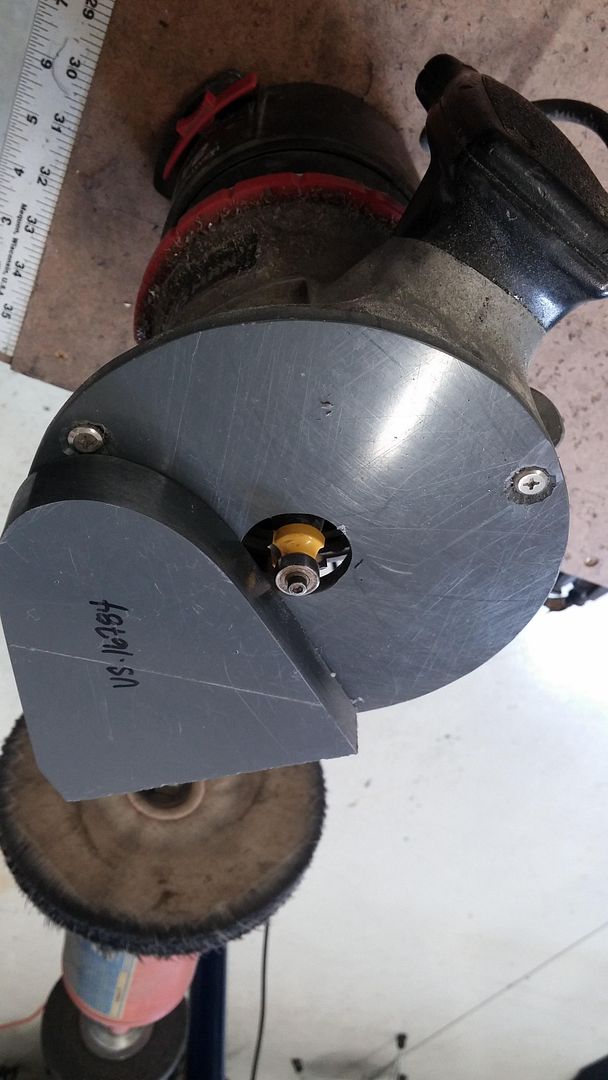
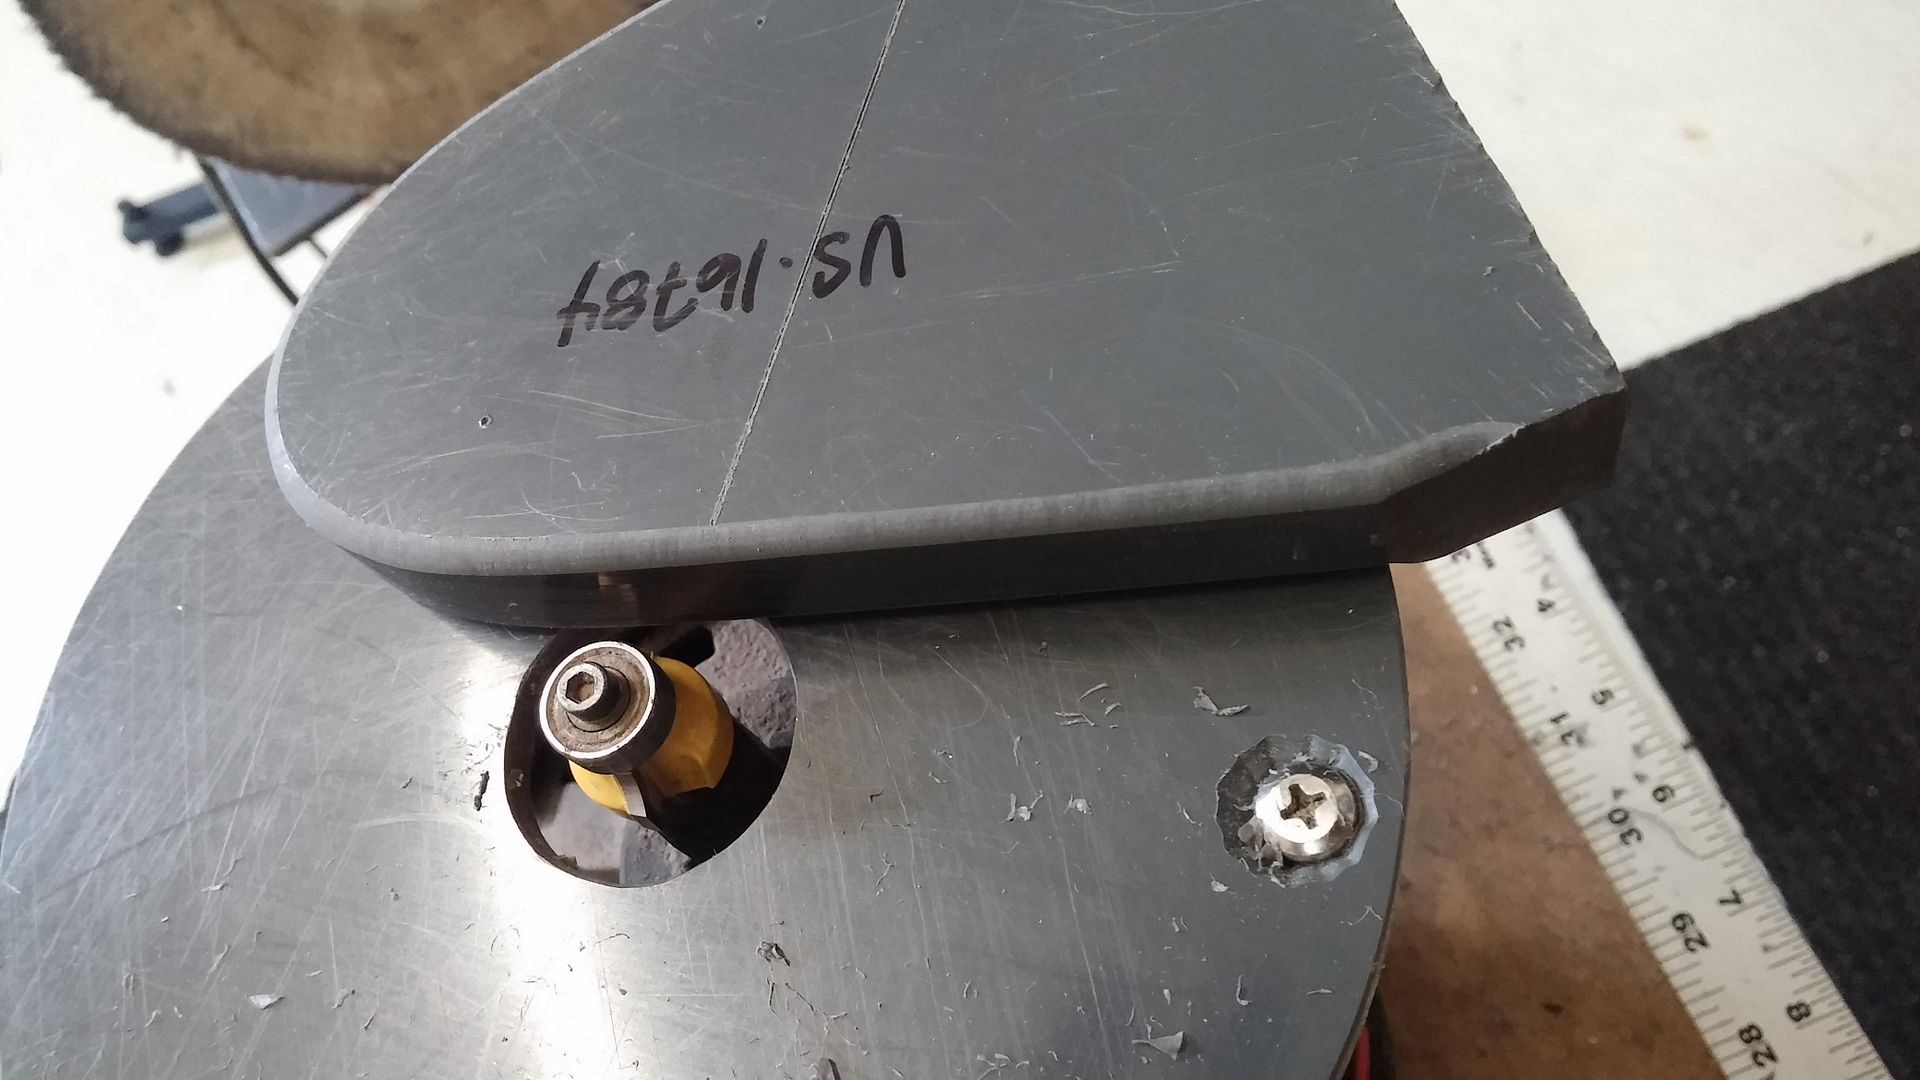
The PVC form block based on the aluminum template that compensated for the skin and rib thickness from the last post. High tech Craftsman router and carbide bit. Works magic on aluminum as well.
Also discovered that with this PVC material, a light touch on the polishing wheel removes all sanding marks easily transfered to "0" dead soft material.
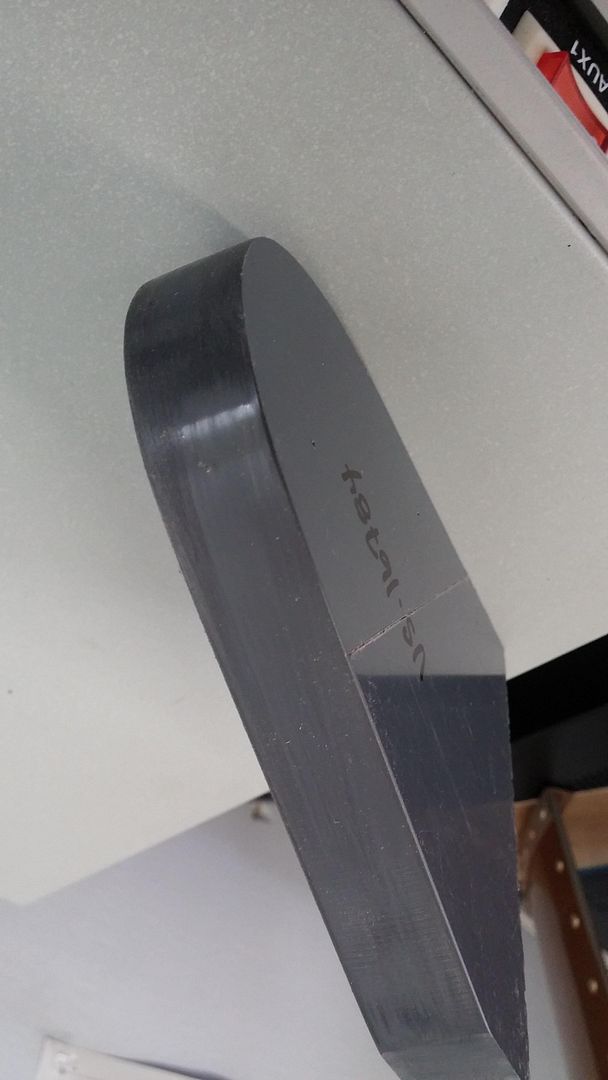
Post rout
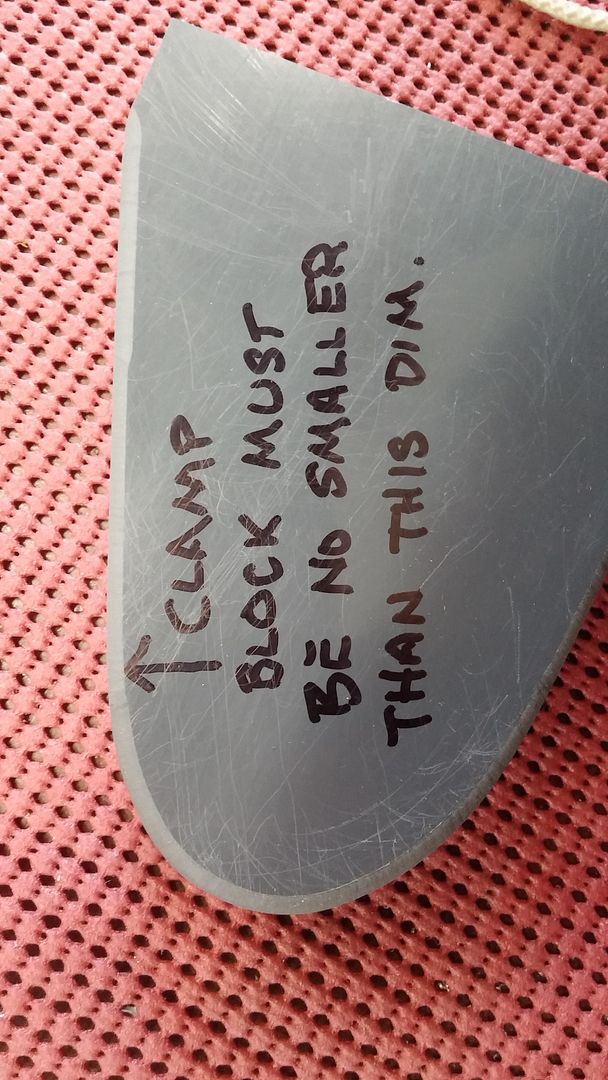
This is an important note. If the clamp block is smaller than the root of the radius, the material can deform back during the process
So, pattern developed, template made, blank made and tool made
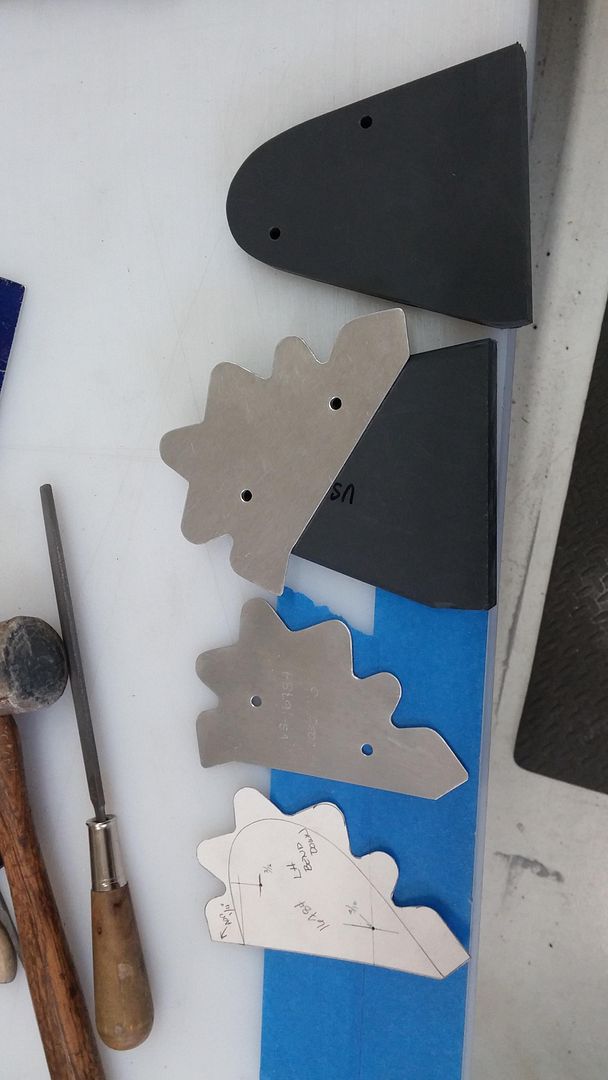
rib formed
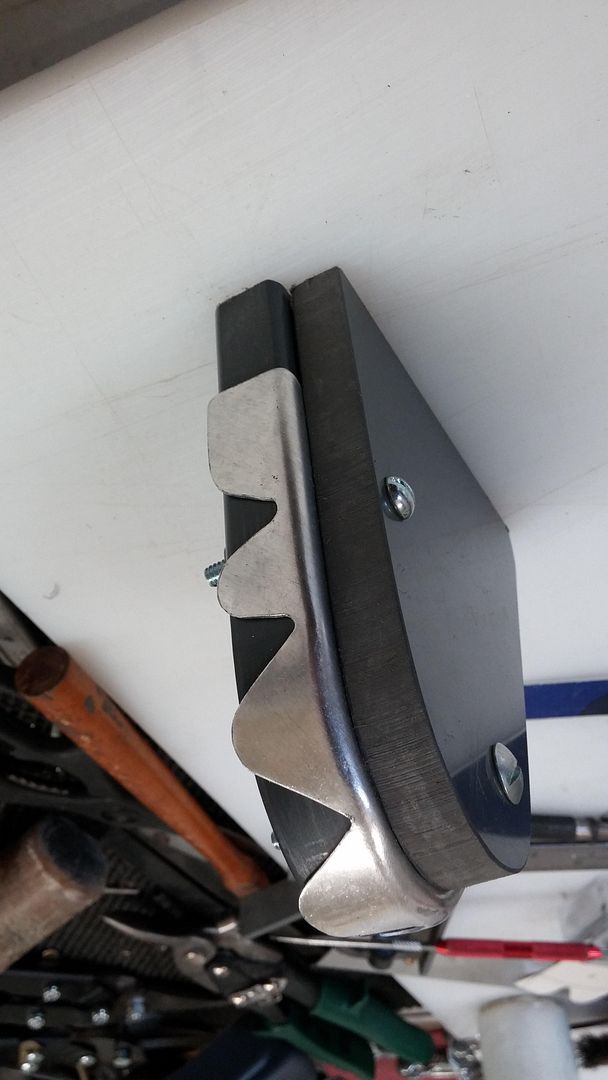
another view
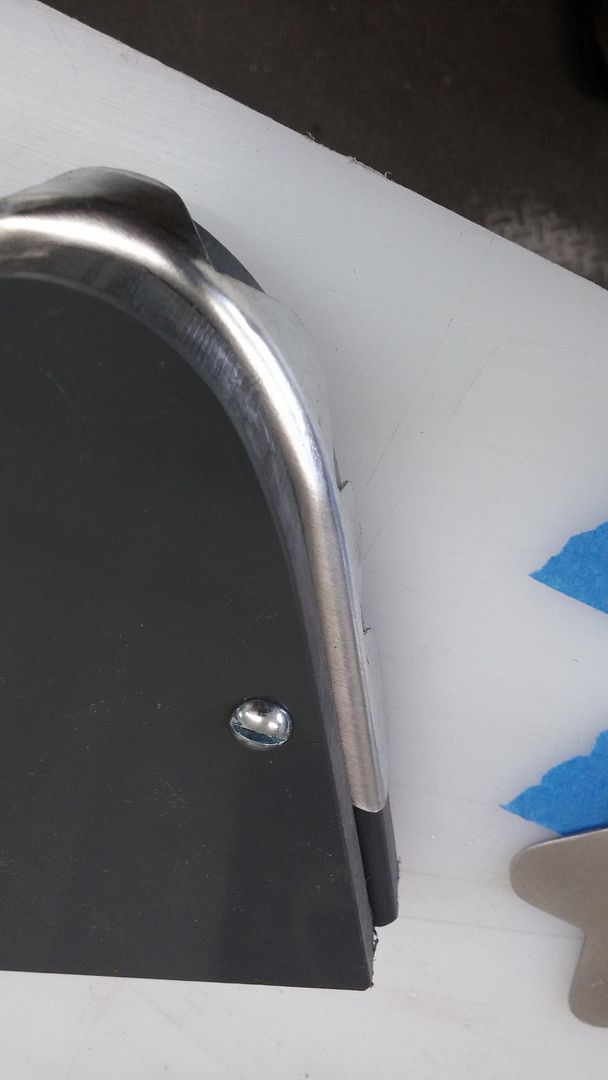
Please excuse the beat up old hand but this is a check in the squash mold with a .032" shim that mimics the skin. Looks good. The fit, not the old fart thumb...

The PVC form block based on the aluminum template that compensated for the skin and rib thickness from the last post. High tech Craftsman router and carbide bit. Works magic on aluminum as well.

Also discovered that with this PVC material, a light touch on the polishing wheel removes all sanding marks easily transfered to "0" dead soft material.

Post rout

This is an important note. If the clamp block is smaller than the root of the radius, the material can deform back during the process

So, pattern developed, template made, blank made and tool made

rib formed

another view

Please excuse the beat up old hand but this is a check in the squash mold with a .032" shim that mimics the skin. Looks good. The fit, not the old fart thumb...


Re: Not sure, anybody interested?
Thu May 15, 2014 7:58 am
Such a fantastic thread. Every morning's routine starts with this thread. (Along with the three 'S's of course) 
Scott I also have to thank you for that really nice last photo as I collect photos of 'thumbs'. Perfect shot! Lol, Seriously, thanks kindly for your efforts here. It's fun to learn
M
Scott I also have to thank you for that really nice last photo as I collect photos of 'thumbs'. Perfect shot! Lol, Seriously, thanks kindly for your efforts here. It's fun to learn
M
