Resin Casting And Moldmaking
Posted: Thu Feb 24, 2011 12:10 pm
A while back on Warbird Kid's 144th thread viewtopic.php?f=15&t=39576 The Inspector and I encouraged Chris to "learn the ropes" of moldmaking and resin casting. I talked to Chris and we decided I'd do this thread to give basics of making parts at home. Bear in mind the method I'm going to show works best for short runs of parts for personal use.
First you'll need a source for RTV and resin. Many hobby shops and craft stores now carry RTV and resin kits that will work just fine. I prefer Alumilite resin (we used this by the gallon in our now-defunct model parts business) as it pours nicely and makes a nice finished product. For small mold projects I recommend Bare-Metal RTV, available at Hobby Lobby and many hobby shops. For this tutorial I decided to just pick up a small "starter kit" of Alumilite with their own RTV included. I'm not certain of the durability of this particular rubber but it does cure rapidly, something that can come in handy if you're impatient.
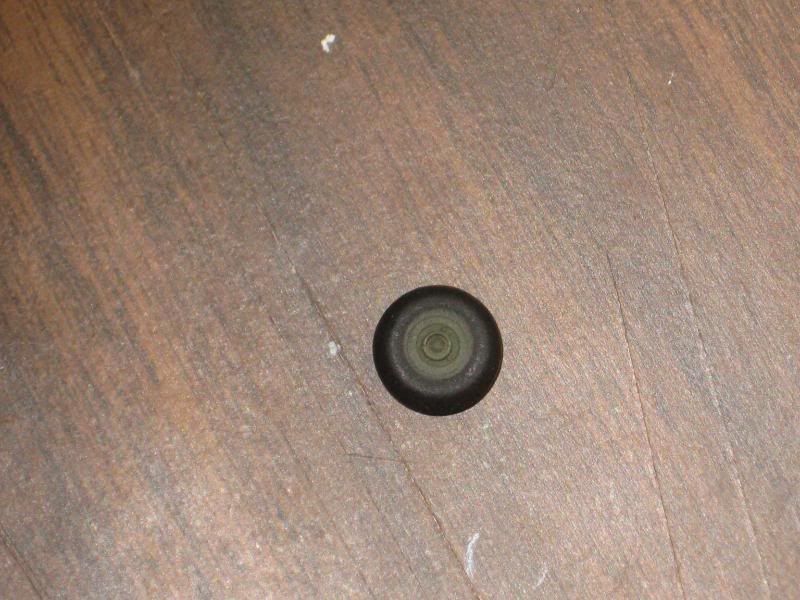
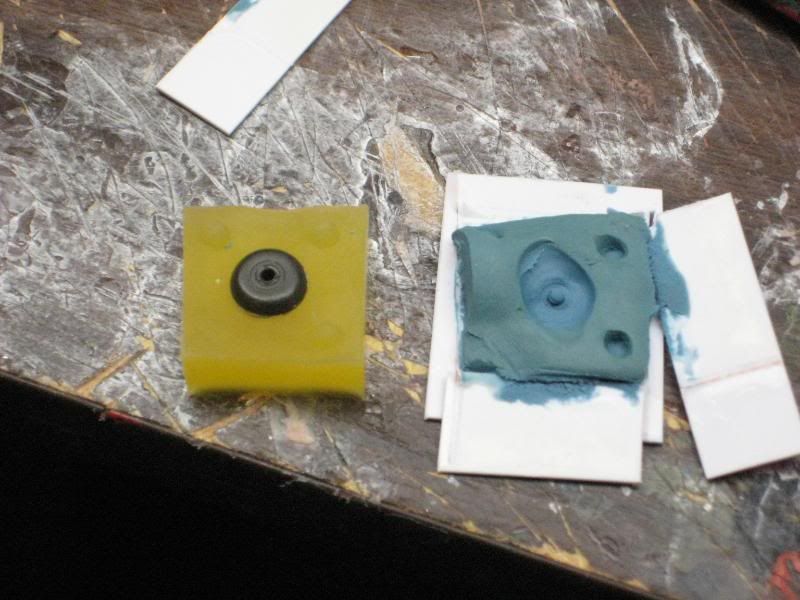
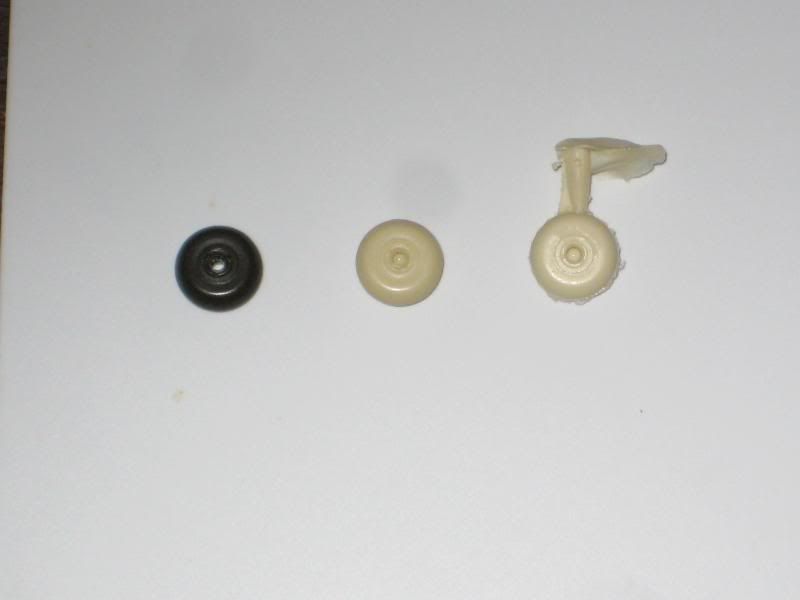
To make a mold, first you need to decide if your master part will require you to do a two-piece or one-piece mold. I'm using a tire/wheel assembly for this example so I'll need a two sided mold. Here are all the parts of the mold, including the blue modeling clay that serves as a base.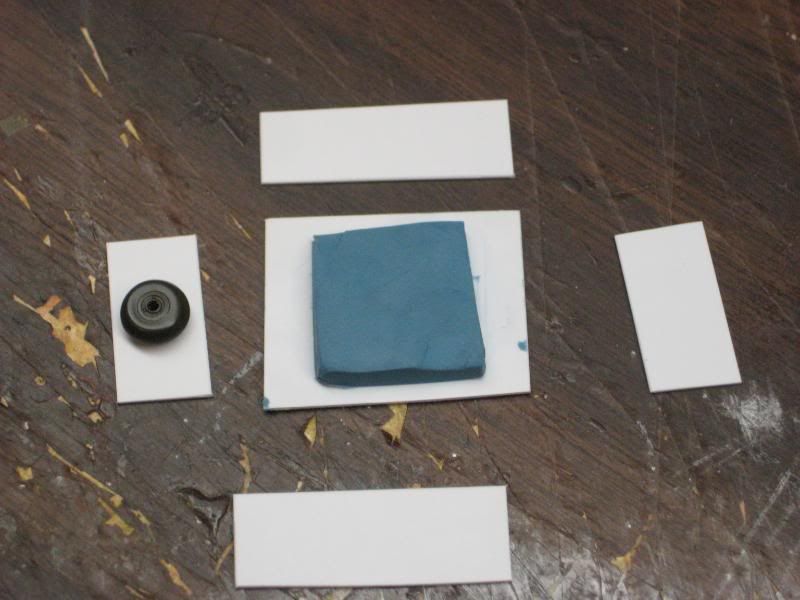
I use plain styrene for the box, and the cheapest way to do this is to buy a "for sale" sign at the local hardware store. For a buck or so you can make a lot of mold boxes and just throw away the scrap when you're done.
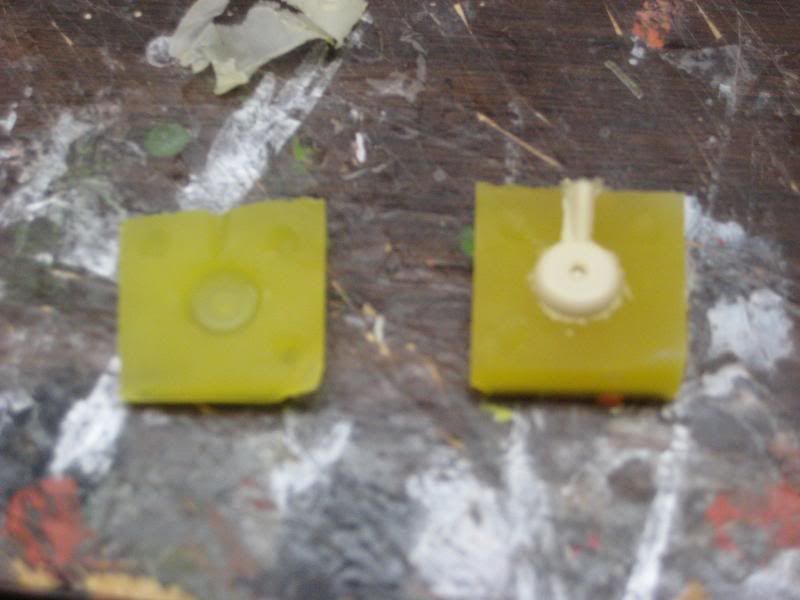
Next, embed the master halfway into the clay thusly:
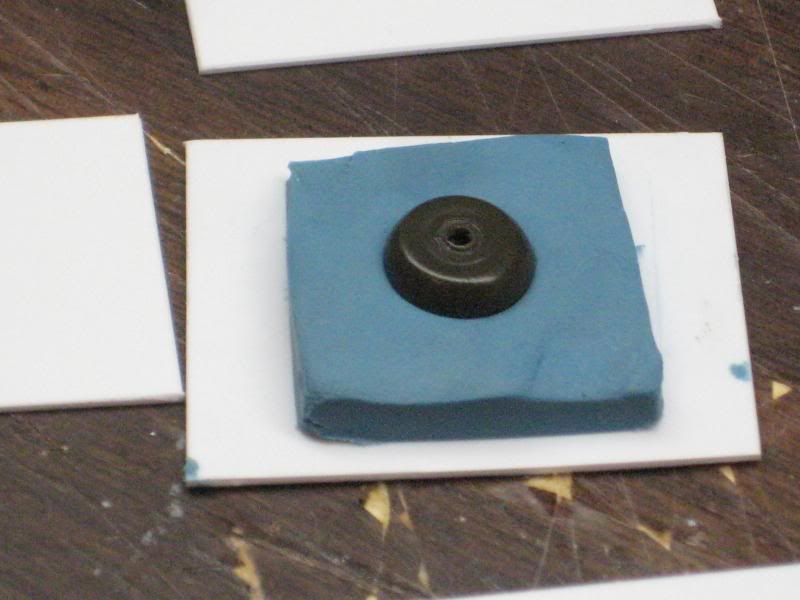
In most cases there will be a seam on the master part where it was originally cast and you can use that as a guide for how deep to insert the part into the clay.
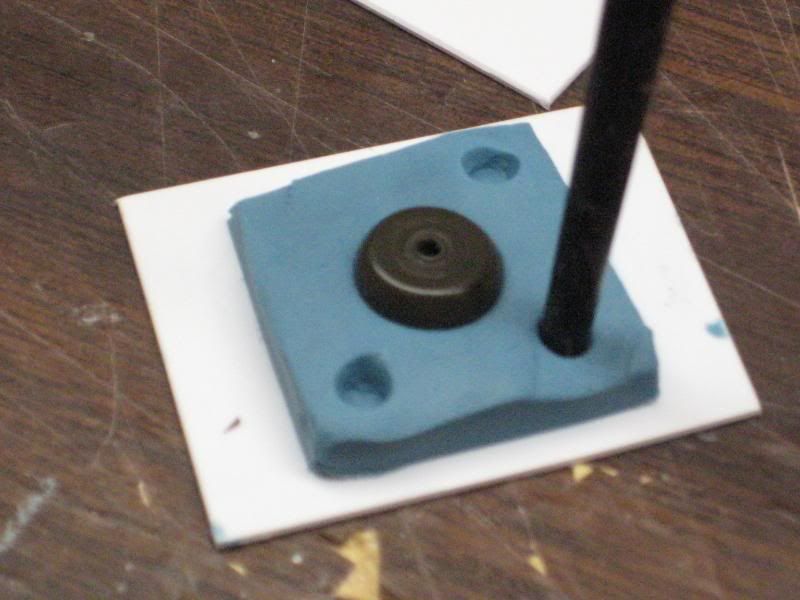
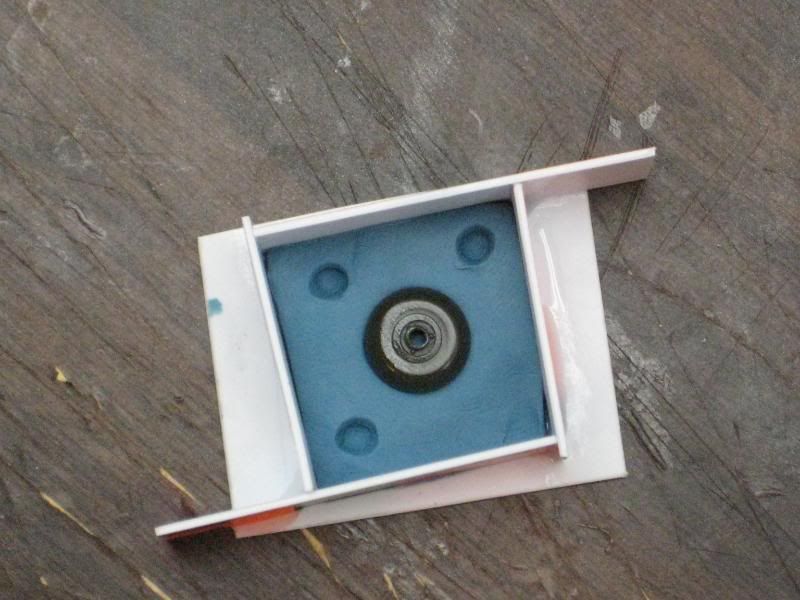
Now glue the sides of the box around the clay with superglue. In this instance I'm showing the process of making key holes into the clay before the sides are installed for clarity. I usually key the mold after the box is made. The three key holes will align the two mold halves during use:
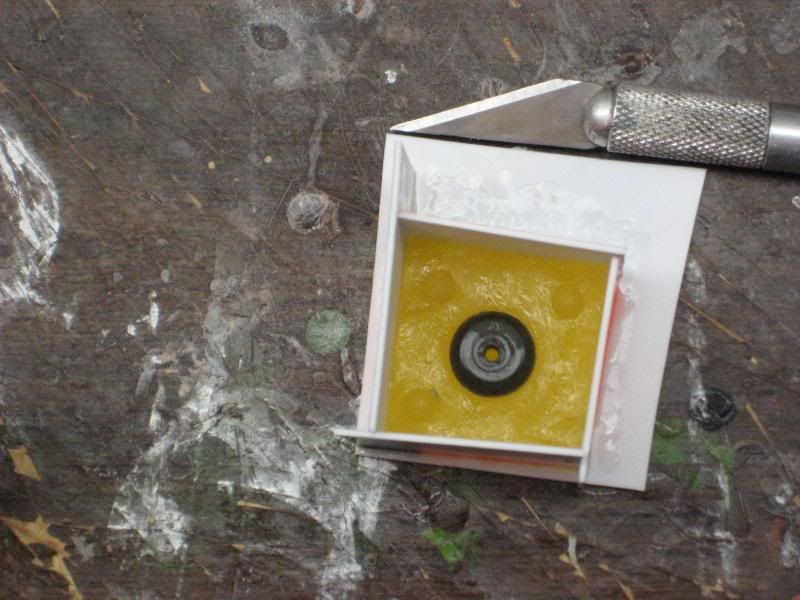
Once the box is glued together securely it's time to pour the first half of the mold. Mix the RTV and hardener per the instructions (it will take a bit of time to learn how much to mix for a given part). Once satisfied with the mixing, pour a small amount of rubber over the entire face of the mold:
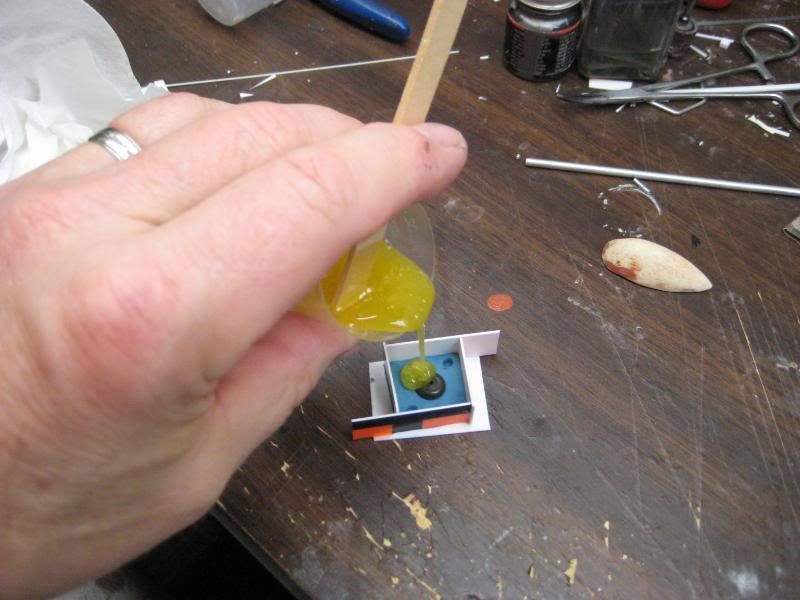
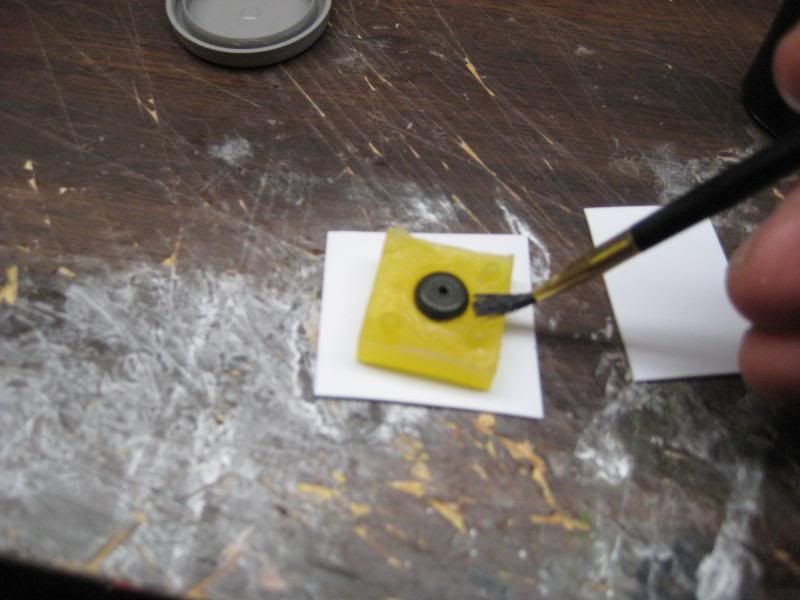
I have an old hard-bristled brush that I then use to carefully stipple the RTV into any holes and depressions in the master so as to remove any air bubbles:
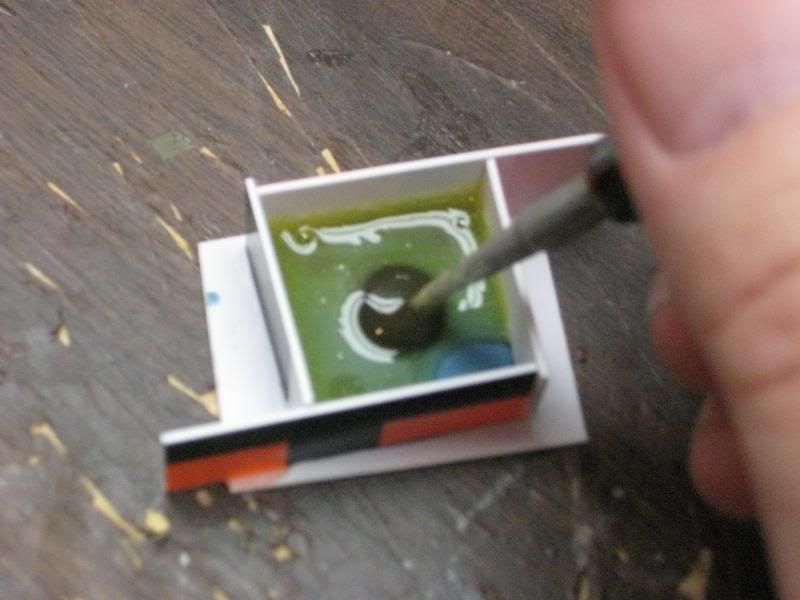
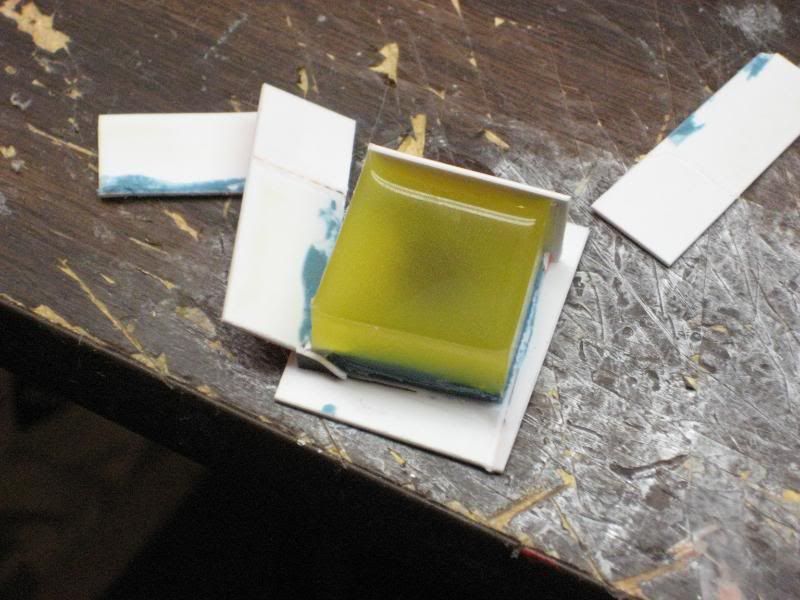
Finally, finish pouring the RTV. Depending on the part, I usually pour enough that there is 3/8" of rubber above the top of the master part. This makes the mold more rigid and less prone to flexing during use.
More later,
Scott
First you'll need a source for RTV and resin. Many hobby shops and craft stores now carry RTV and resin kits that will work just fine. I prefer Alumilite resin (we used this by the gallon in our now-defunct model parts business) as it pours nicely and makes a nice finished product. For small mold projects I recommend Bare-Metal RTV, available at Hobby Lobby and many hobby shops. For this tutorial I decided to just pick up a small "starter kit" of Alumilite with their own RTV included. I'm not certain of the durability of this particular rubber but it does cure rapidly, something that can come in handy if you're impatient.
To make a mold, first you need to decide if your master part will require you to do a two-piece or one-piece mold. I'm using a tire/wheel assembly for this example so I'll need a two sided mold. Here are all the parts of the mold, including the blue modeling clay that serves as a base.
I use plain styrene for the box, and the cheapest way to do this is to buy a "for sale" sign at the local hardware store. For a buck or so you can make a lot of mold boxes and just throw away the scrap when you're done.
Next, embed the master halfway into the clay thusly:
In most cases there will be a seam on the master part where it was originally cast and you can use that as a guide for how deep to insert the part into the clay.
Now glue the sides of the box around the clay with superglue. In this instance I'm showing the process of making key holes into the clay before the sides are installed for clarity. I usually key the mold after the box is made. The three key holes will align the two mold halves during use:
Once the box is glued together securely it's time to pour the first half of the mold. Mix the RTV and hardener per the instructions (it will take a bit of time to learn how much to mix for a given part). Once satisfied with the mixing, pour a small amount of rubber over the entire face of the mold:
I have an old hard-bristled brush that I then use to carefully stipple the RTV into any holes and depressions in the master so as to remove any air bubbles:
Finally, finish pouring the RTV. Depending on the part, I usually pour enough that there is 3/8" of rubber above the top of the master part. This makes the mold more rigid and less prone to flexing during use.
More later,
Scott
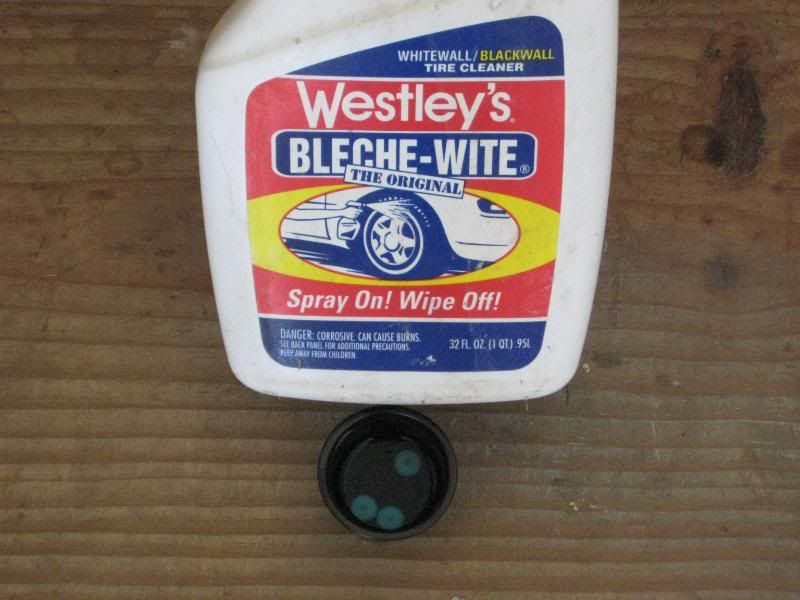 Just drop the parts in a container of Bleche Wite (don't use a styrofoam cup--it eats them) and let the pieces soak for a few minutes. I usually use an old brush to stir the pieces around in the solvent and the whole process takes ten minutes or so. After the soak simply wash the parts in fresh water and dry. The Bleche Wite can be saved and re-used for quite some time.