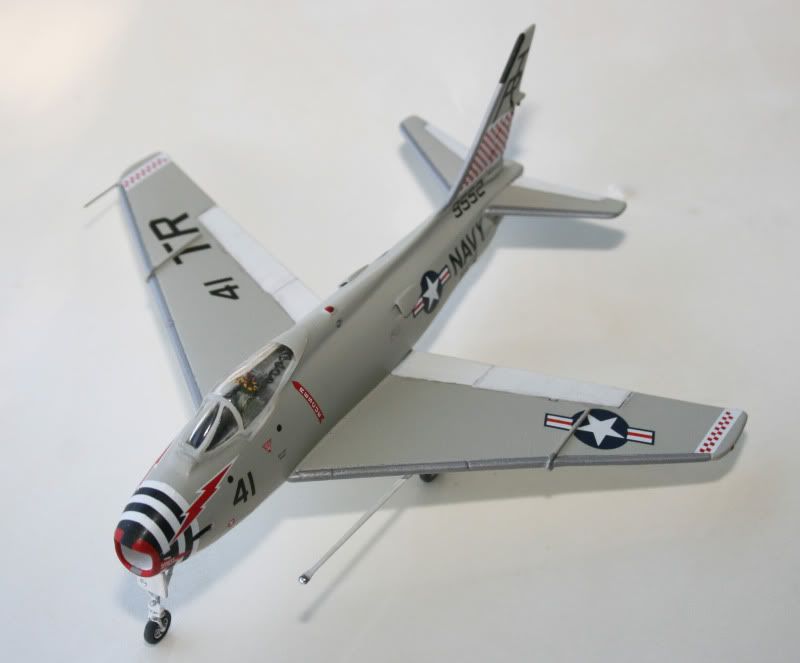
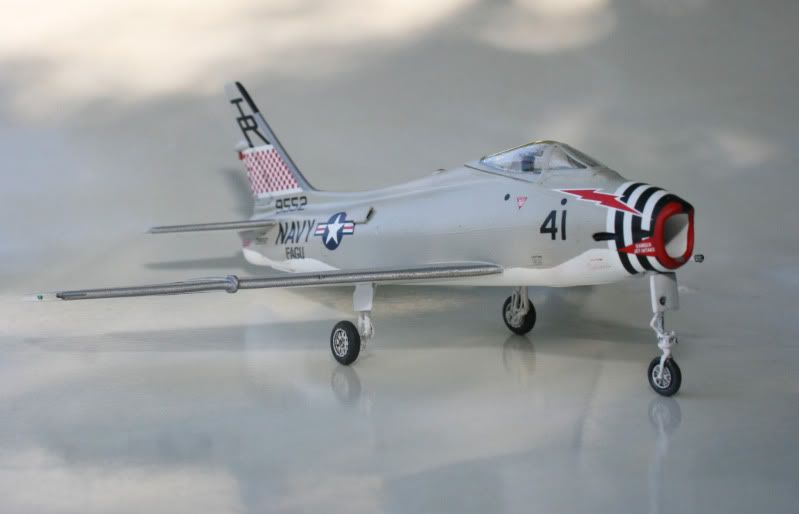
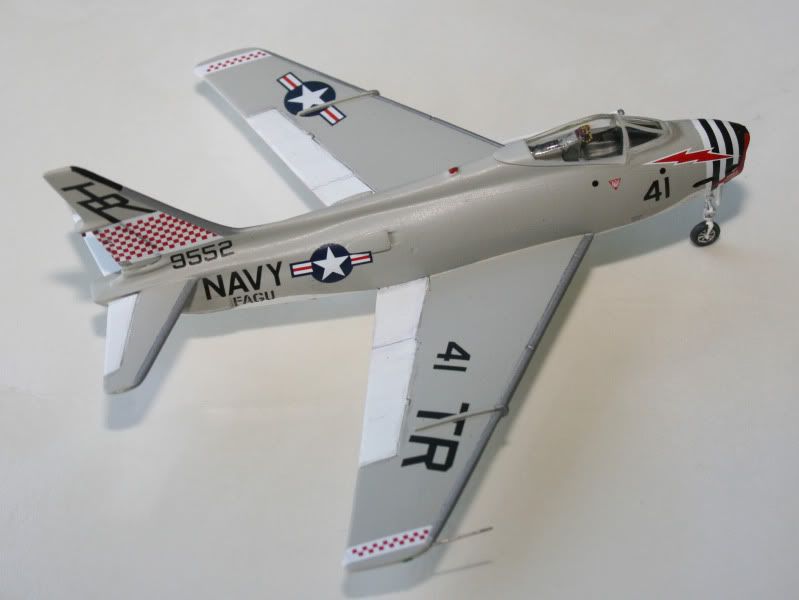
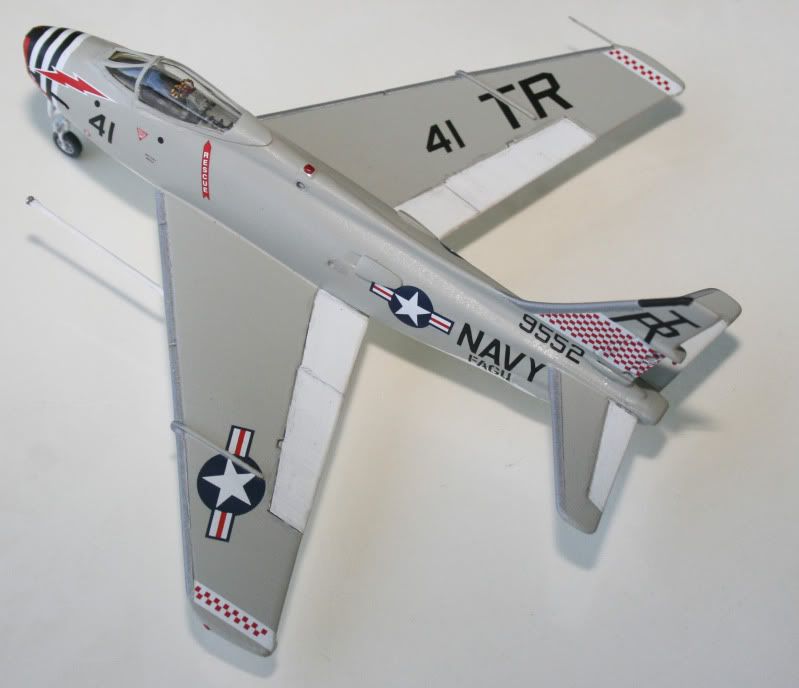
Hi,
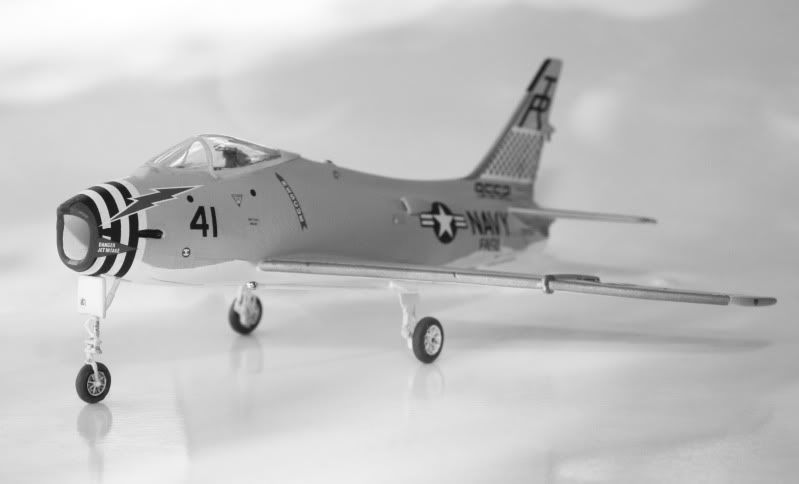
Here are some shots of my finally completed 1/72 Emhar FJ-4B Fury. This kit was a bear to tackle – tons of filling and sanding and many corrections to make (aided by the great Ginter “Naval Fighters” book on the FJ-4 Fury and also the “Detail & Scale” Fury volume). A list of the corrections I made follows, in no particular order.
The cockpit was a total mess – it was fixed with the Airwaves photo etch set for the instrument panel and sidewalls. The floor and rear deck are sheet styrene. The ejection seat is a metal replacement from Aeroclub (good thing too as I didn’t have enough weigh up front until the seat was fitted!) and the stick is from the parts box. I added a short stretch of the air intake in front with a piece from a pen cap sawed in half length-wise to fit as close as possible. I super glued it to the opened up air intake and then puttied and sanded it until it looked smooth. I cut off the rudder and made a new one since the kit rudder only has the ribs on one side. The scoops on the fuselage sides were reshaped at the ends and also sanded down to thin them out. I added a fuel dump (painted red) at the bottom of the tail fairing. I replaced the weak kit supplied landing gear with a metal set also from Aeroclub - brake lines were added to the main mounts from brass wire. I cut off the ends of the horizontal stabs and then sanded them to the correct length.
Decals are from the nifty Xtradecal sheet with a few minor corrections. The “41” modex on the nose was too small on the Xtradecal sheet according to my references so I replaced them with another “41” from a Skyraider sheet in the spares pile. I also added the “41” to the wing number to replace the supplied one. The FAGU scheme really is eye popping and once I saw yours Al I had to go for it on my Fury!
Here are some photos…
Time to get back to my new 1/72 Sword T-33
-Derek