So, I just spent an hour posting here on my Ipad but don't see it. Now I'll do it on the computer and probably have a duplicate, oh well.
So Tips & Tricks.
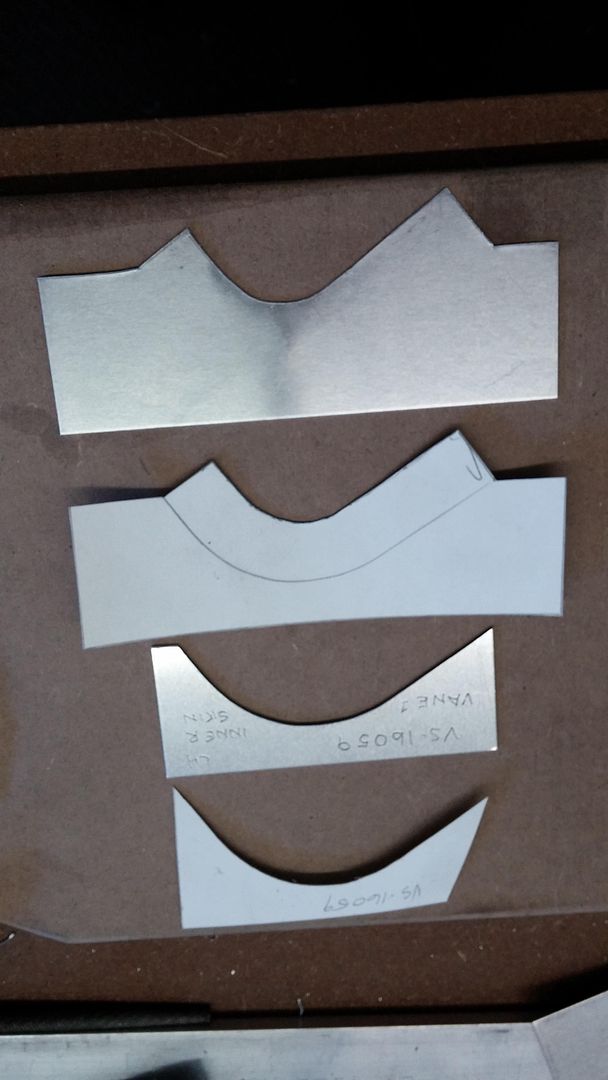
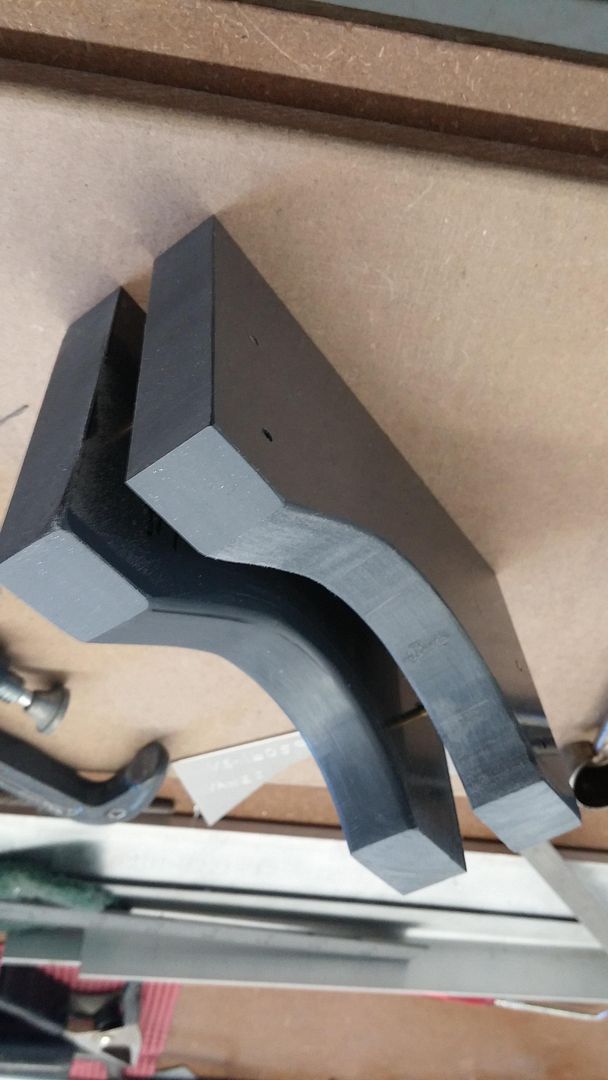
I start with a poster board pattern of the contour I want to make. Then I make an aluminum template. I use the template to make the contour on the form block. I then make a poster board template for the blank and an aluminum blank. I have discovered that PVC sheet makes the best form material I have found. I use aluminum for the most durable tooling but this PVC is easily worked, shaped, and can be drilled and tapped where necessary. So I cut the form and use a simple radius gage to scrape the radius needed for the part.

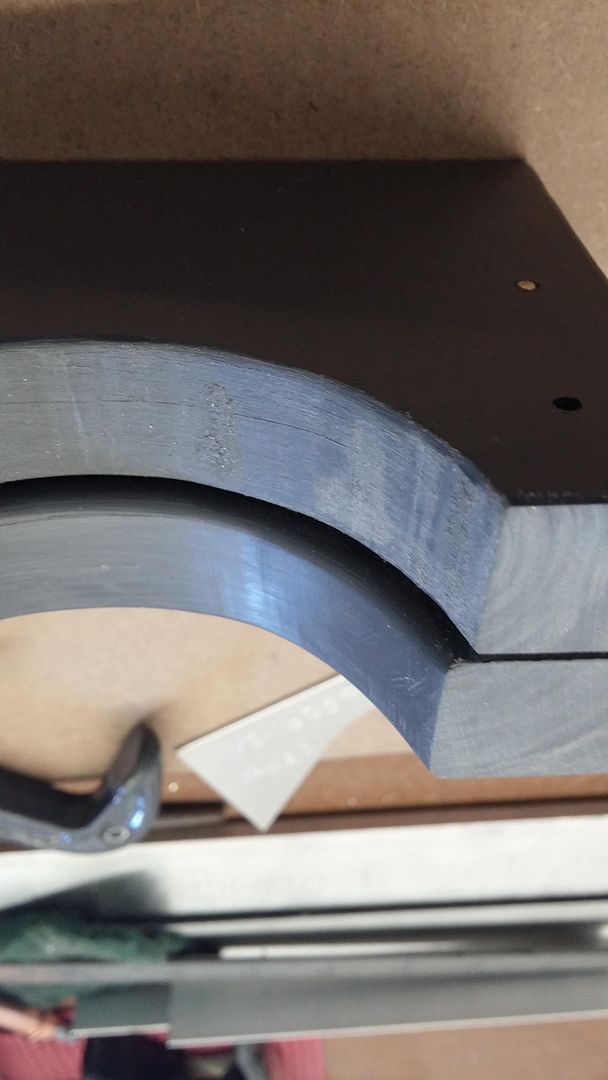
Then I pin the form block and clamp blocks together so I can make both the RH and LH parts simply by reversing the clamp block to the opposite side of the form block. Bear in mind that the clamp block shape is critical. It needs to be the same contour but the shape needs to be at the start of the radius for the part. If the clamp block does not match, the soft aluminum can distort as you try to shape over the form.
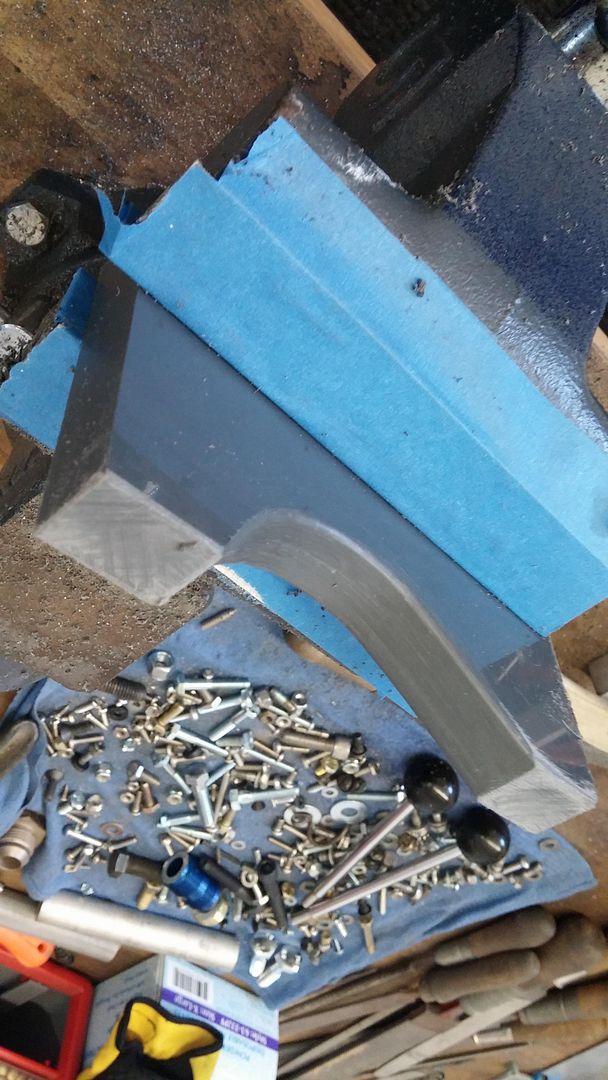
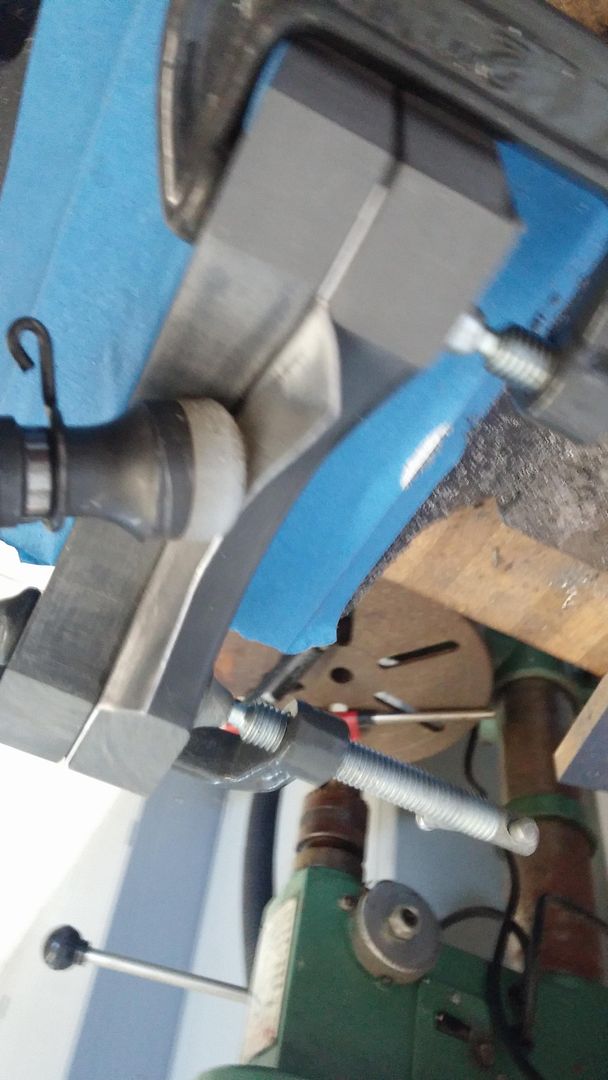
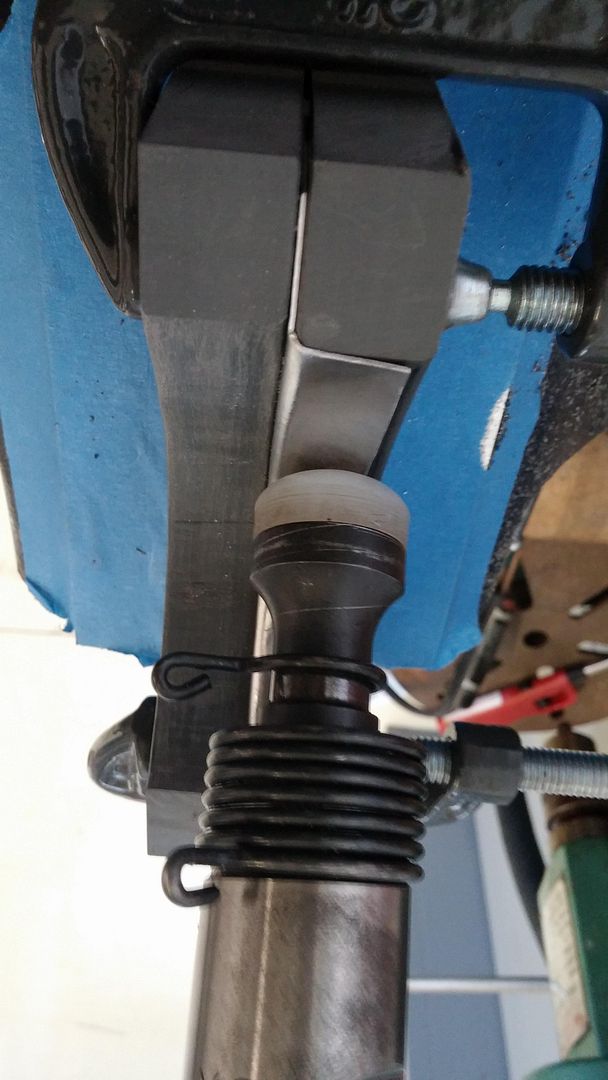
Next, clamp the blank in between the blocks and I flow form the part using a standard 3X rivet gun fitted with a nylon head. For thin materials such as this (.032" 2024-0) it is necessary to turn the air way down and gently flow form the shape. Coax it and convince it to go where you want it go. I liken this to driving a sprint car a hard slick track, pretend you have an egg between your foot and the throttle. If you horse it, you will lose the part.
Voila! The part can be removed and trimmed.

The issue here is that we are doing an outside curved piece. On all the other clips in this assembly, it was easy to take an angle and use the shrinker to form the inside curve. These are outside curves and if you chose the stretcher, the material would split and tear. With these tight radius (1 11/16") the form block was my choice. Also, the height/length of the flange makes a difference. This is only about 1/2" and about the limit for this shape. The material thins by about .004" but is ok here. The larger the radius of the curve, the taller the flange can be. Remember that you can do only four things with metal. You can cut it, bend it, shrink it or stretch it. When you understand that, you can make metal do whatever you want it to.
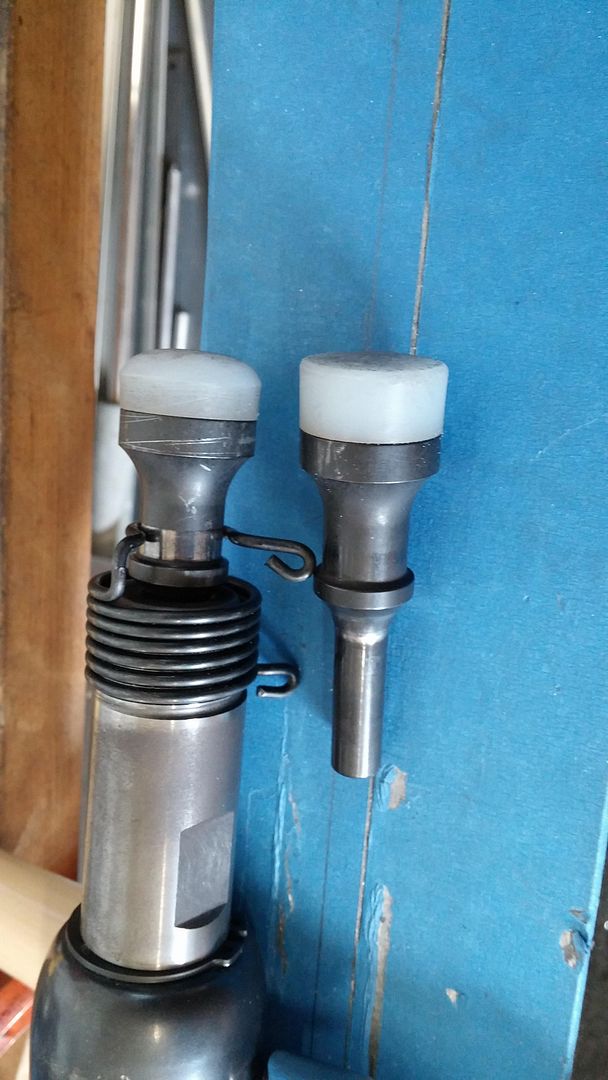
So the form tool for the gun is readily available on EBay and can be radiused as required for your application.
Questions?