Warbird Information Exchange

DISCLAIMER: The views expressed on this site are the responsibility of the poster and do not reflect the views of the management.
It is currently Sat Apr 27, 2024 3:56 pm

All times are UTC - 5 hours


Classic Wings Magazine WWII Naval Aviation Research Pacific Luftwaffe Resource Center
When Hollywood Ruled The Skies - Volumes 1 through 4 by Bruce Oriss


Post new topic Reply to topic  [ 9 posts ] 
Author Message
PostPosted: Mon Aug 21, 2023 12:56 pm 
Offline
Long Time Member
Long Time Member
User avatar

Joined: Wed Jan 24, 2007 1:54 am
Posts: 5120
Location: Stratford, CT.
After seeing some detail shots, I ended up buying two of Yao's Studio's 1/144th B-25J 3D printed model kits. I was curious to see what the overall shape of the kit looked like so one thing led to another and the model practically built itself!

All I can say is WOW! What an improvement! It blows the Crown / Minicraft kit out of the water. It is a beautiful looking model. The kit can be bought here: 
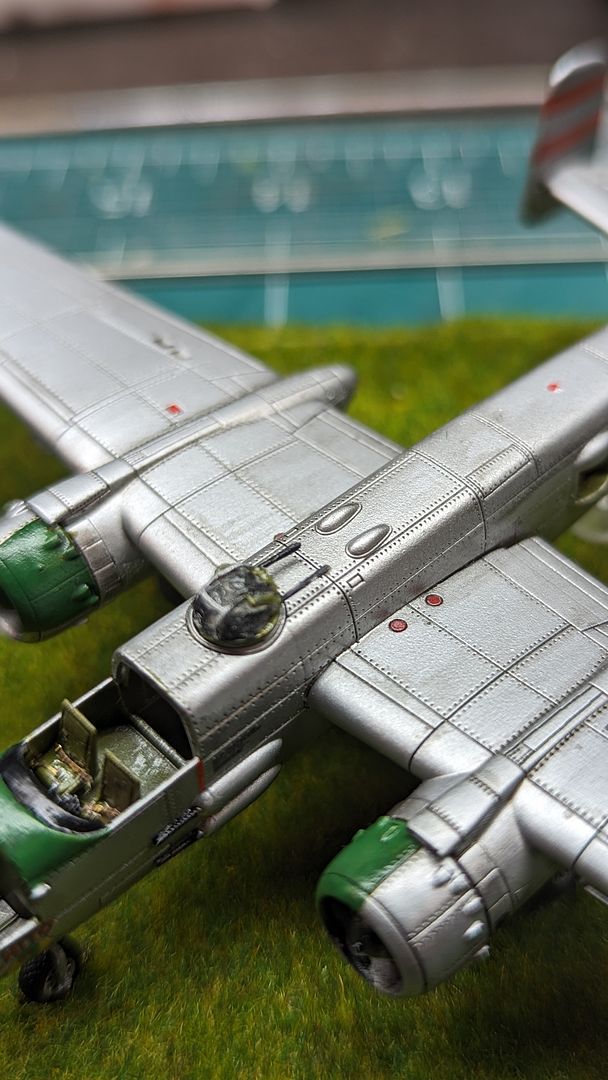
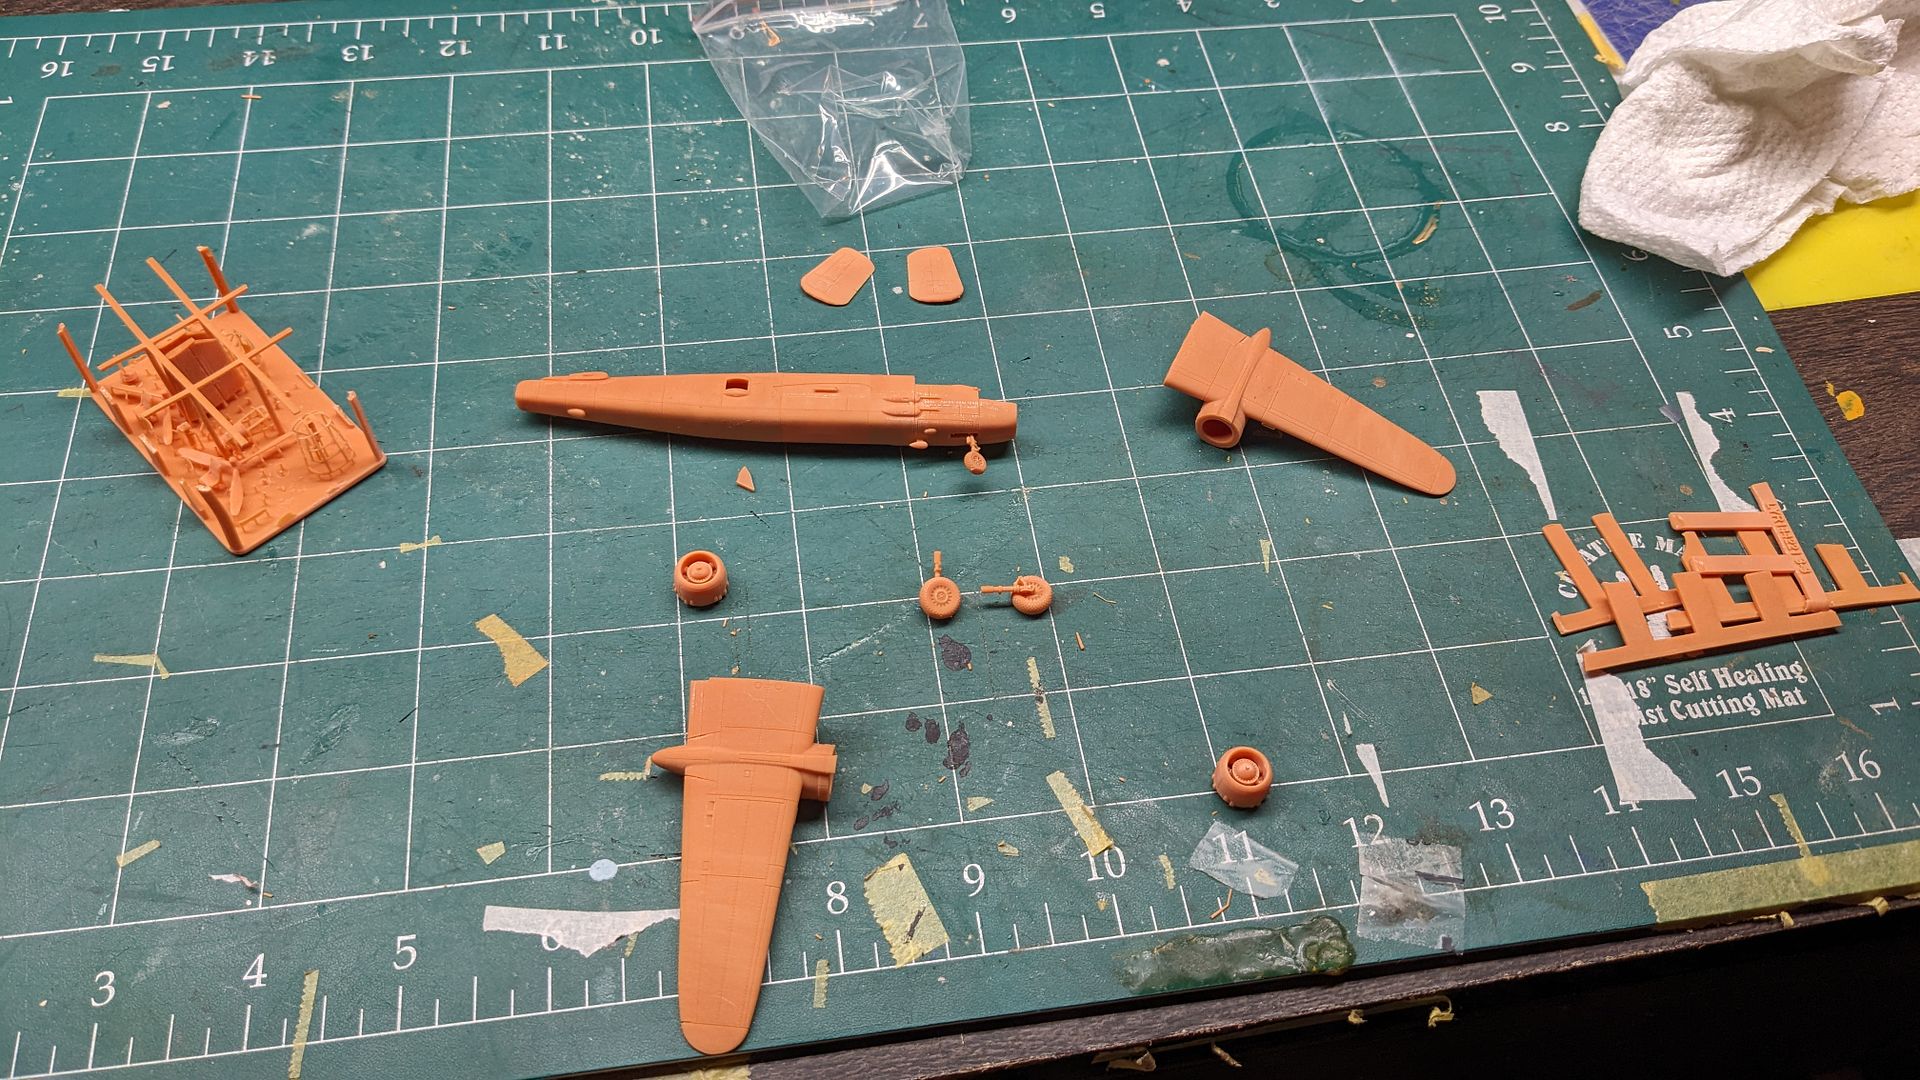
https://www.ebay.com/itm/166157020562?hash=item26afbaed92:g:gbsAAOSw3wlkgU5m

Here is the major pieces once freed from there thin pain in the ass plastic cage! The fidelity is unreal. In my excited haste, I accidently cut off the thin wire antennas near the nose and one side blister gun. Doh! I replaced the gun and will do the same for the antenna (along with all the other modern antennas) at the end of the build. I did end up breaking one of the props as I tried to cut it loose. Overall I'm not a fan of the props as I dont think they have the right shape. I'm going to try and work on one to see if I can fix the angles, or I might just replace it with a Cobra B-25 prop.

Image

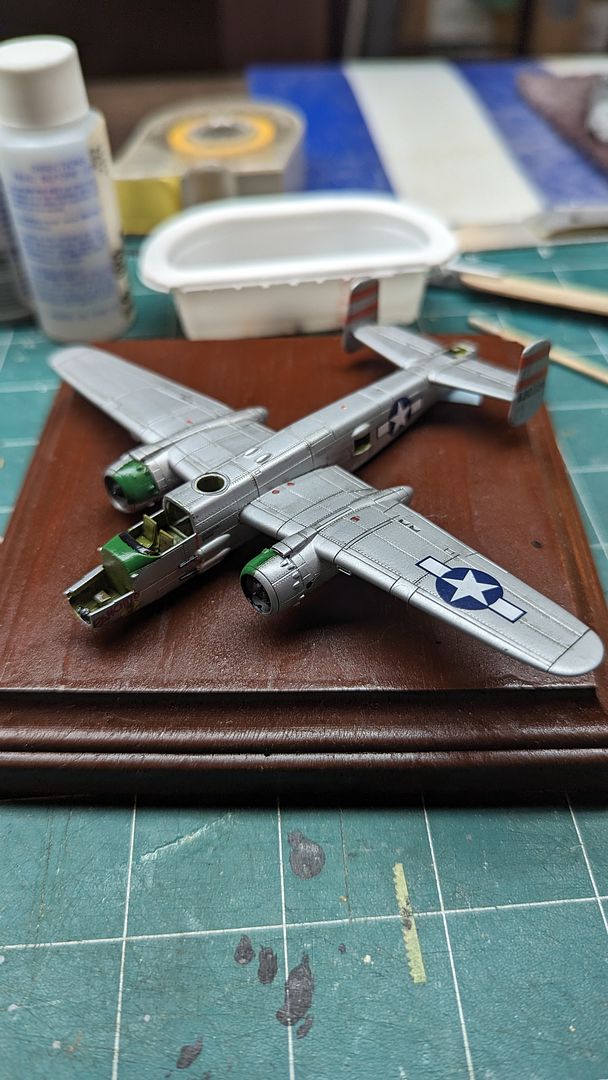
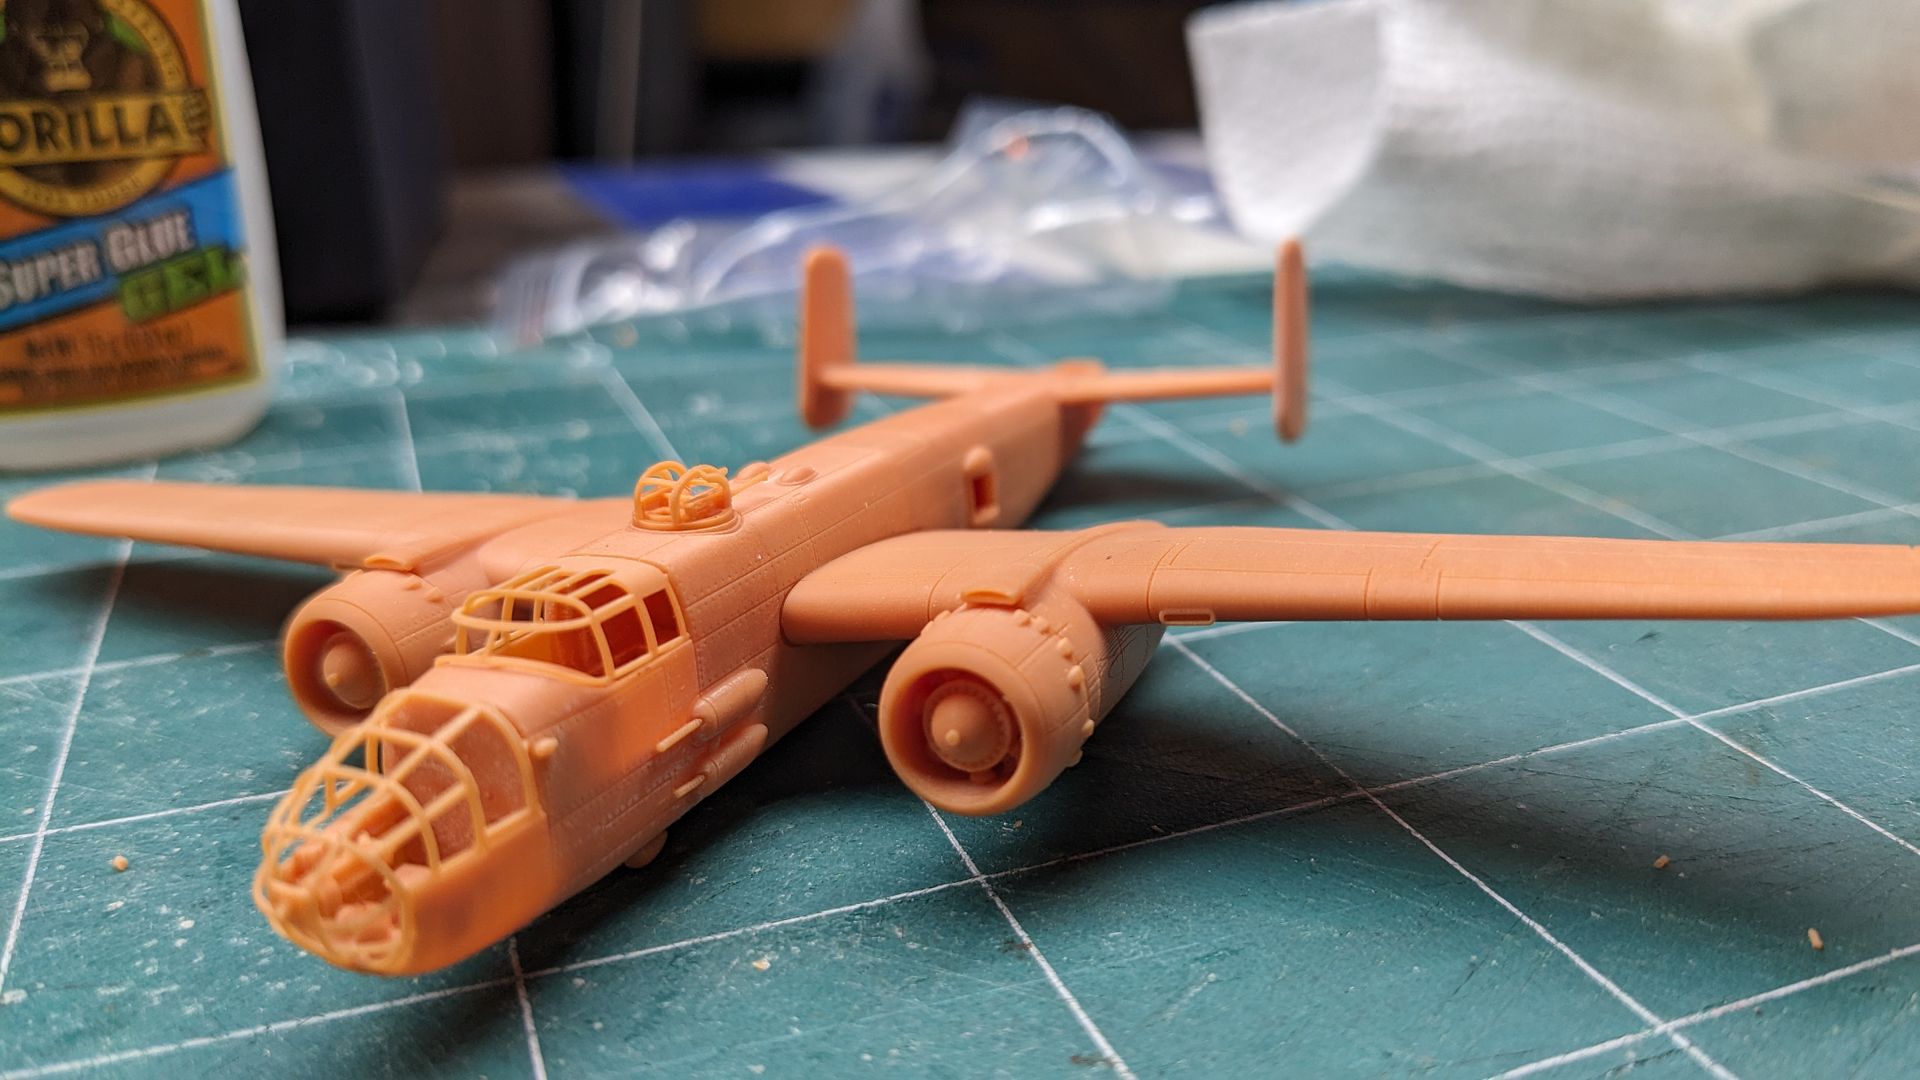
I started gluing the engines on the nacelles / wings, and then the wings to the fuselage./ The rear stabs to the fuselage, and then the tails. I gotta' admit, it feels almost like you're cheating, with little to no gluing, filling, sanding, swearing, and no two halves of anything to put together!

Image

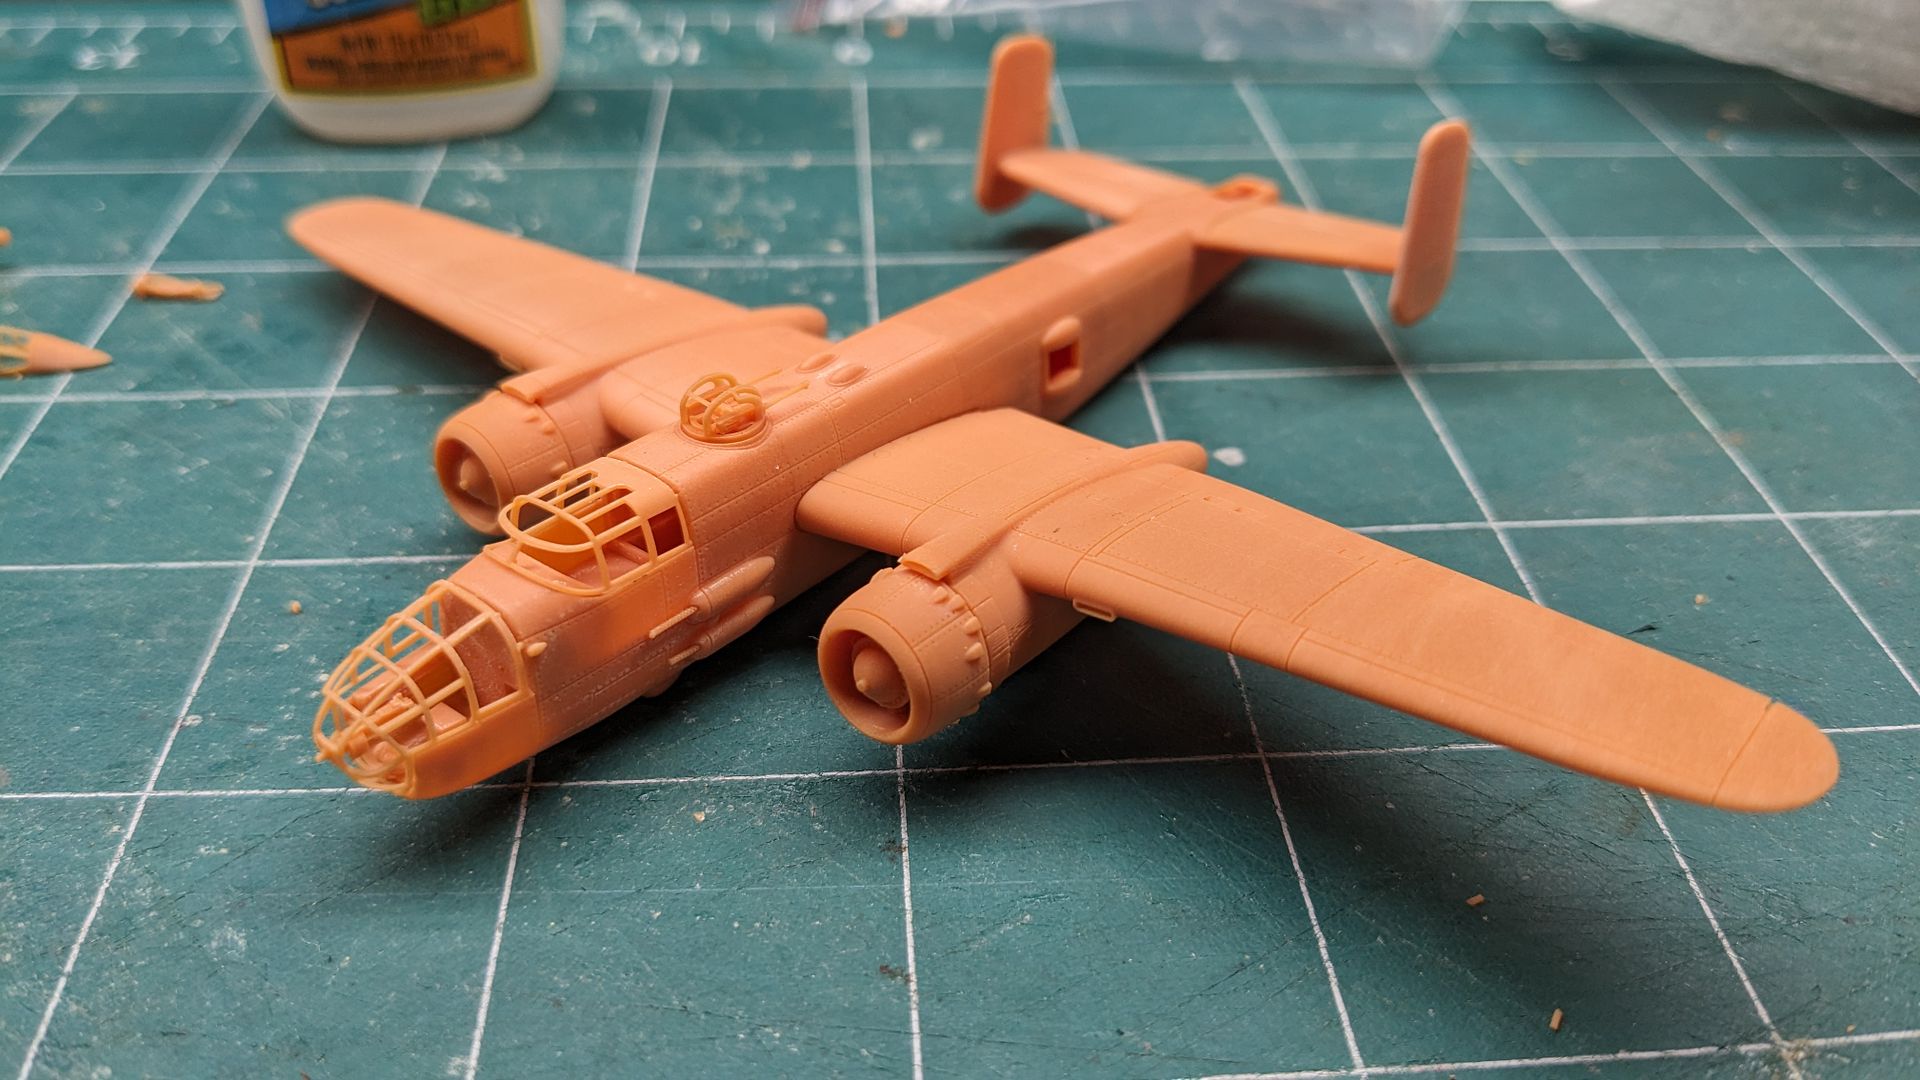
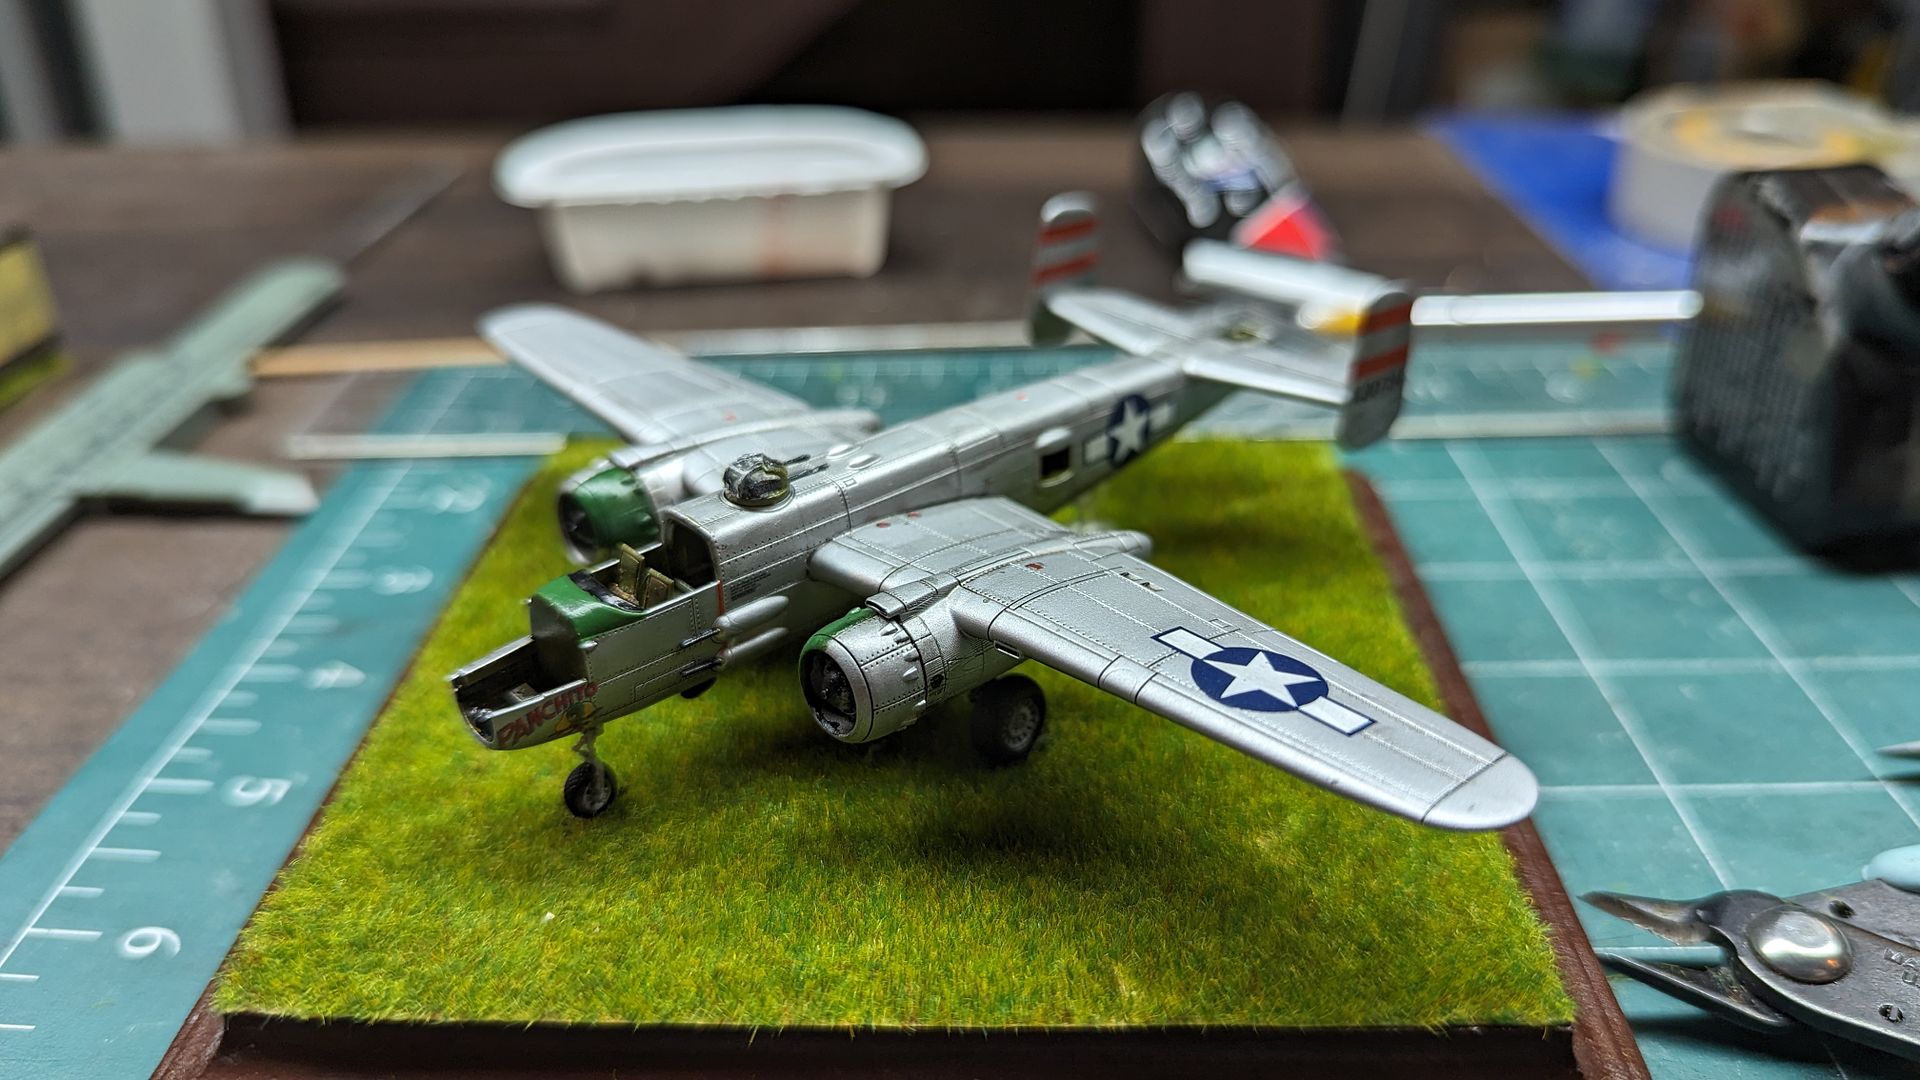
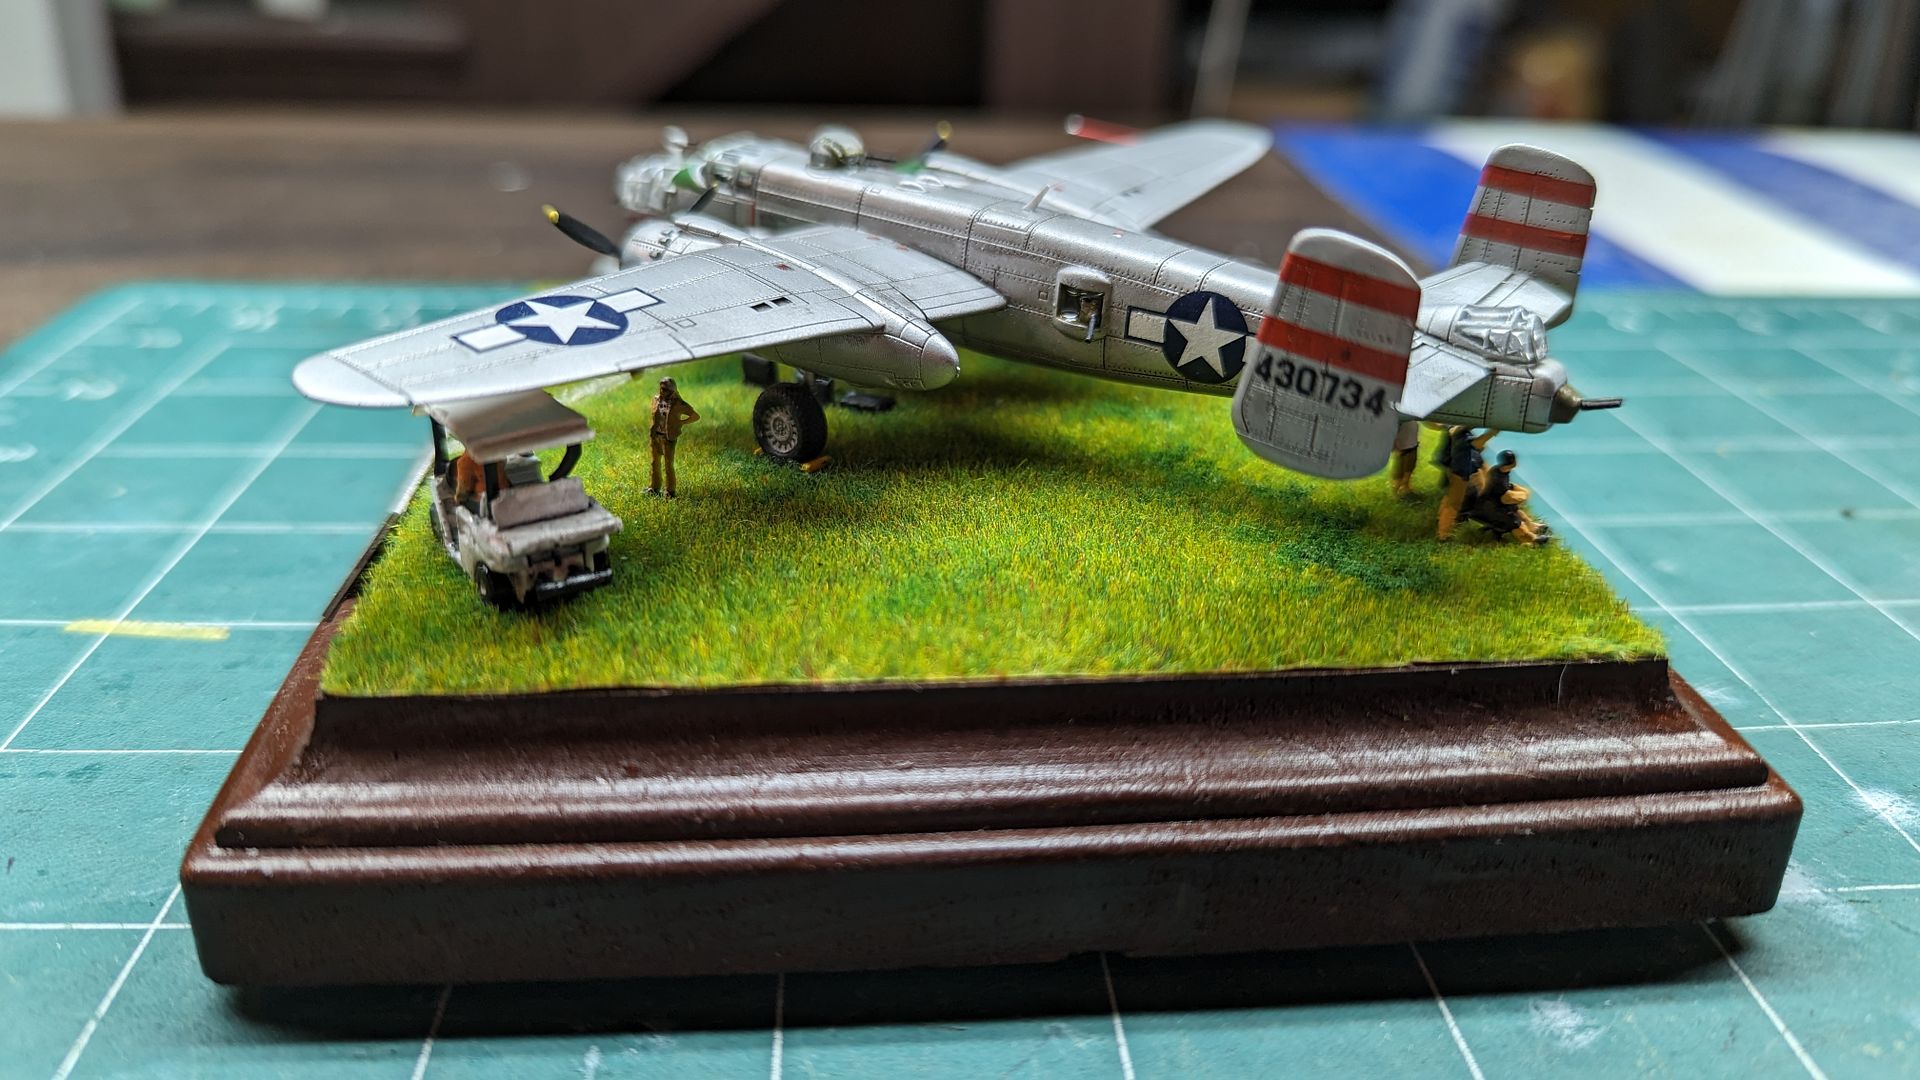
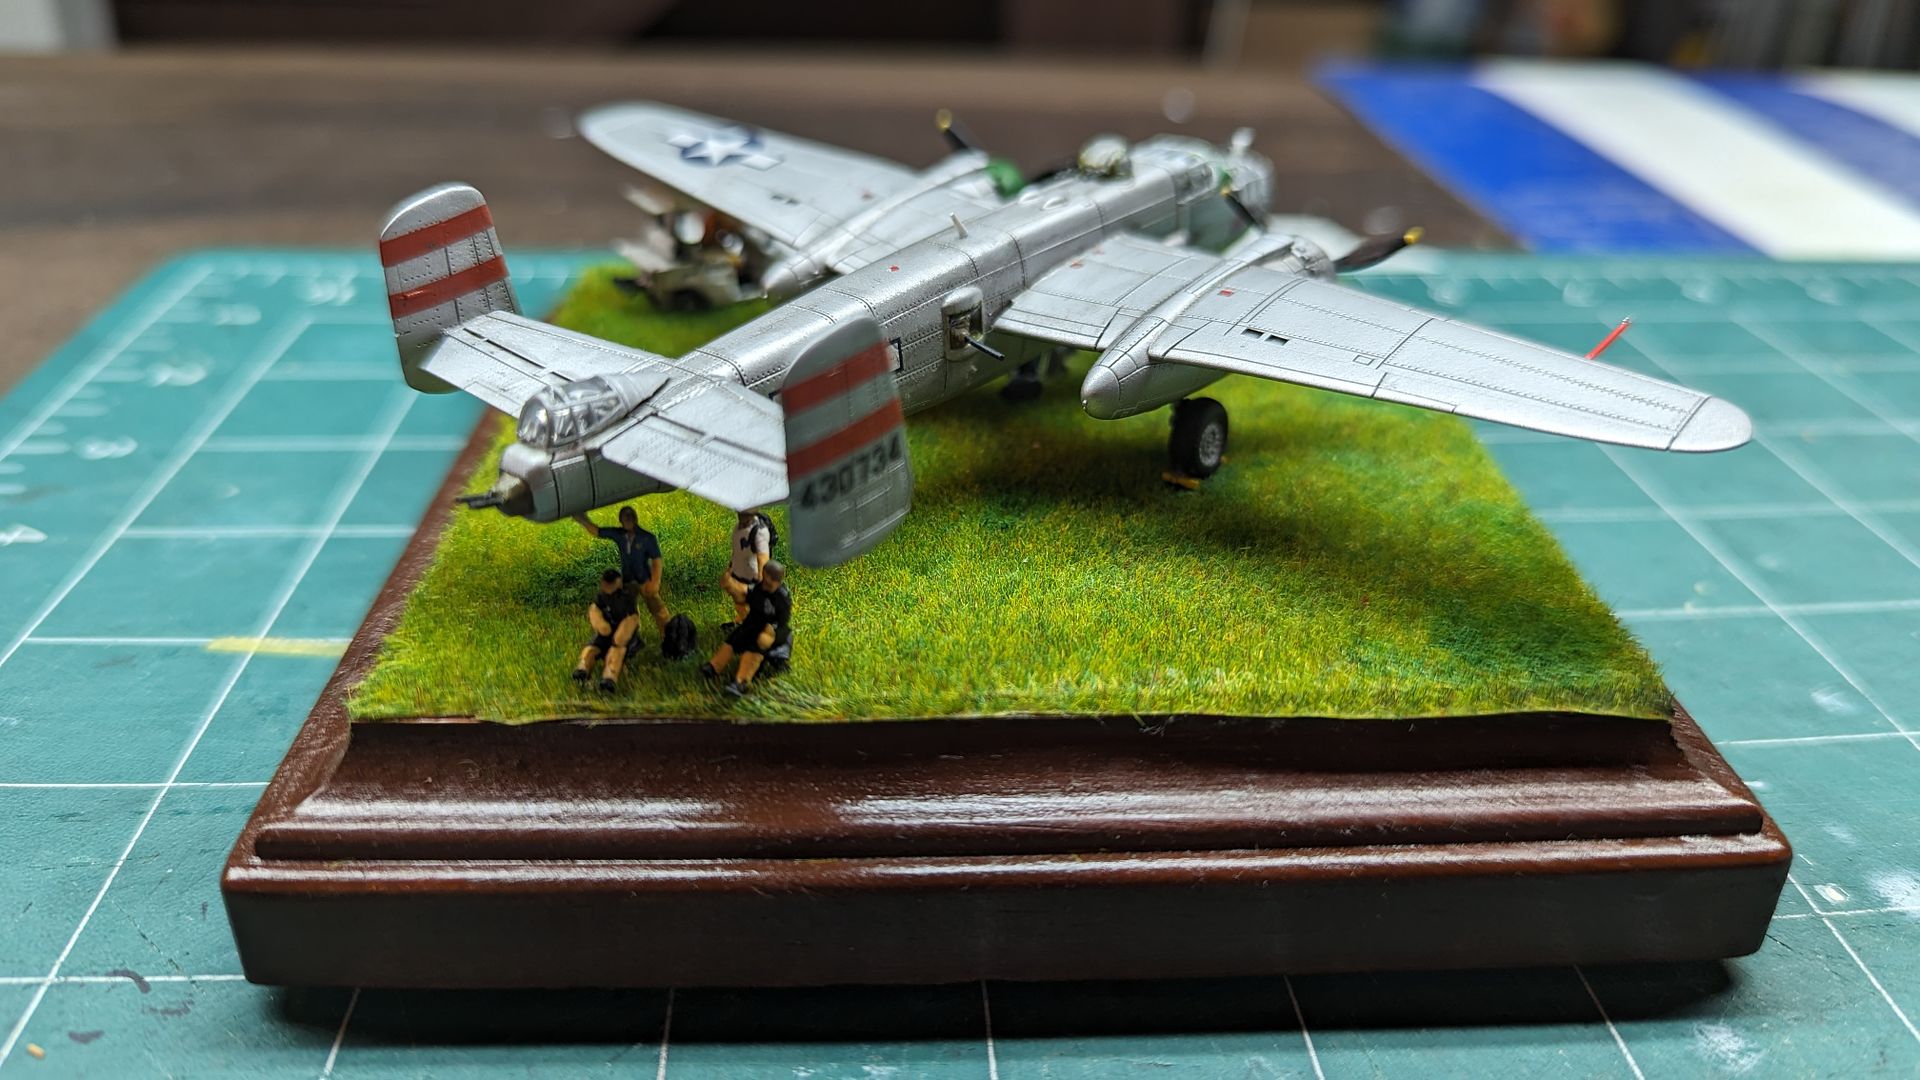
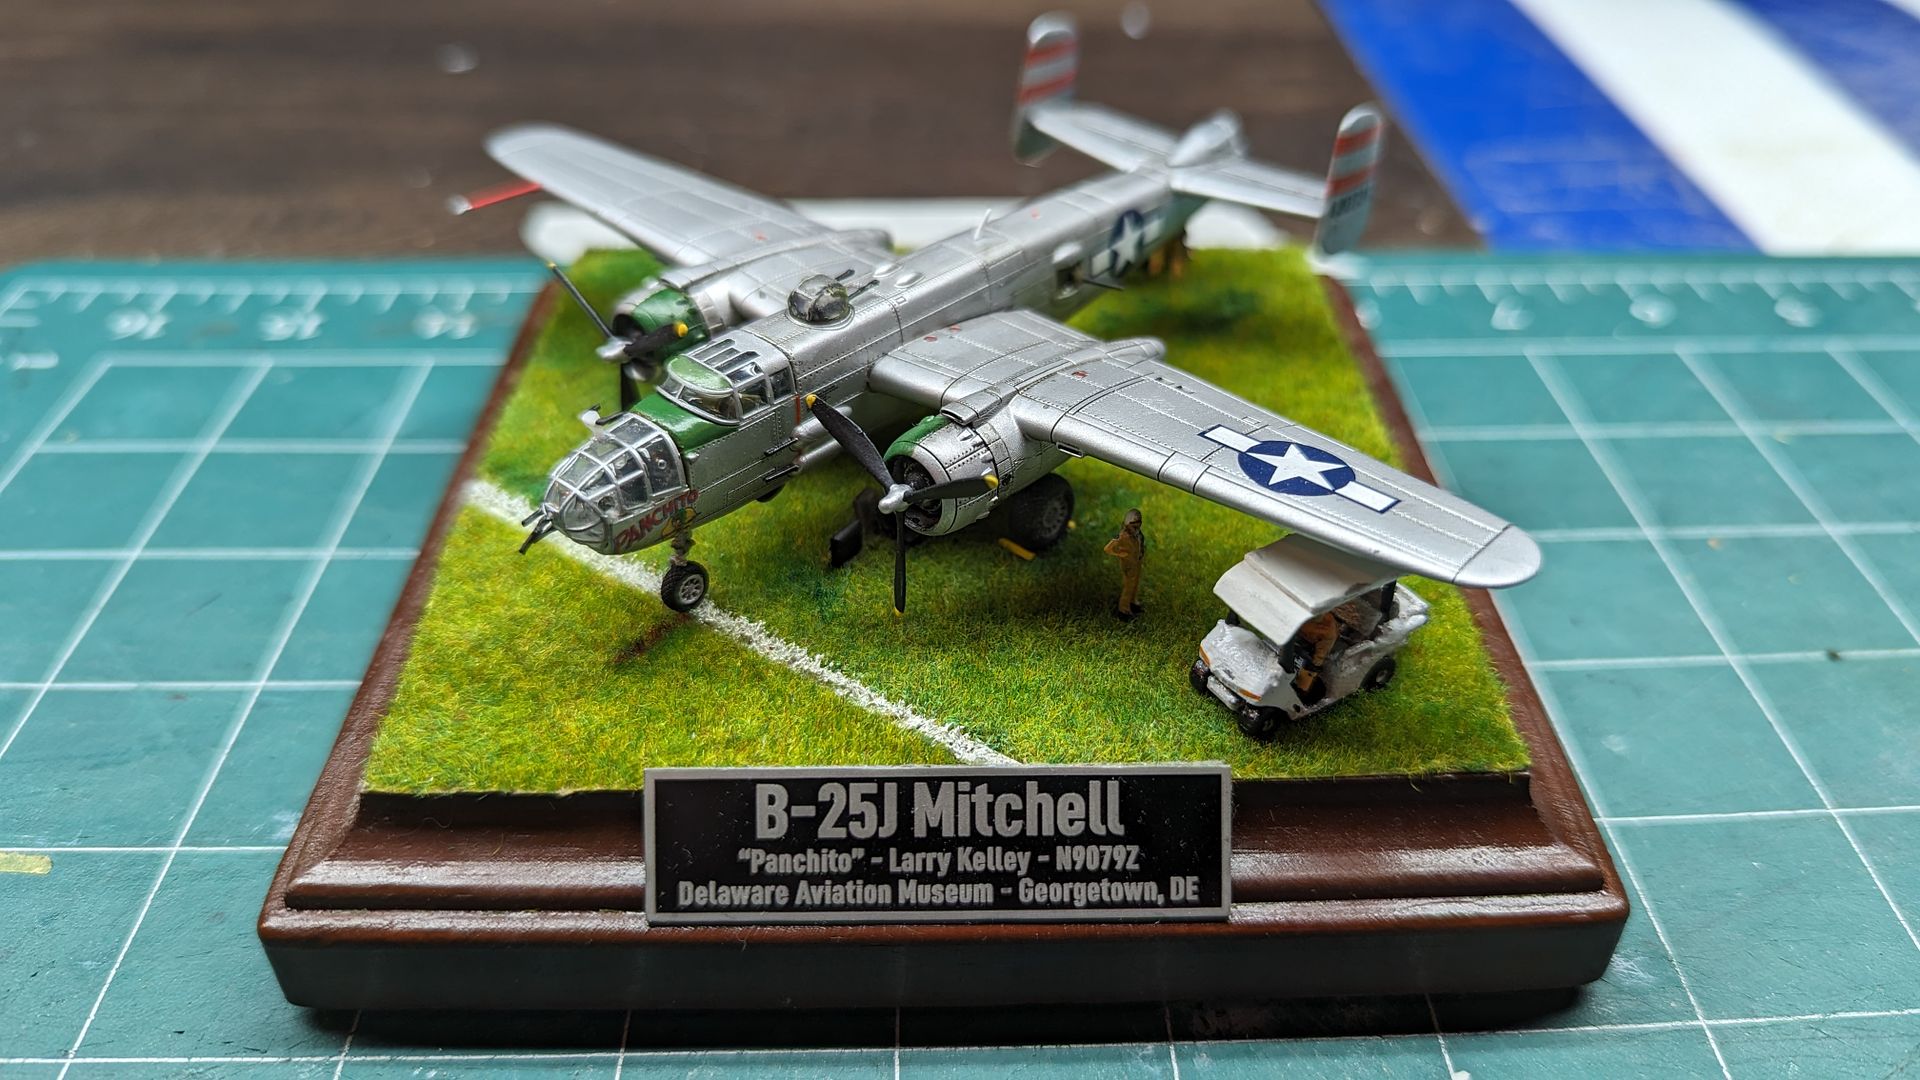
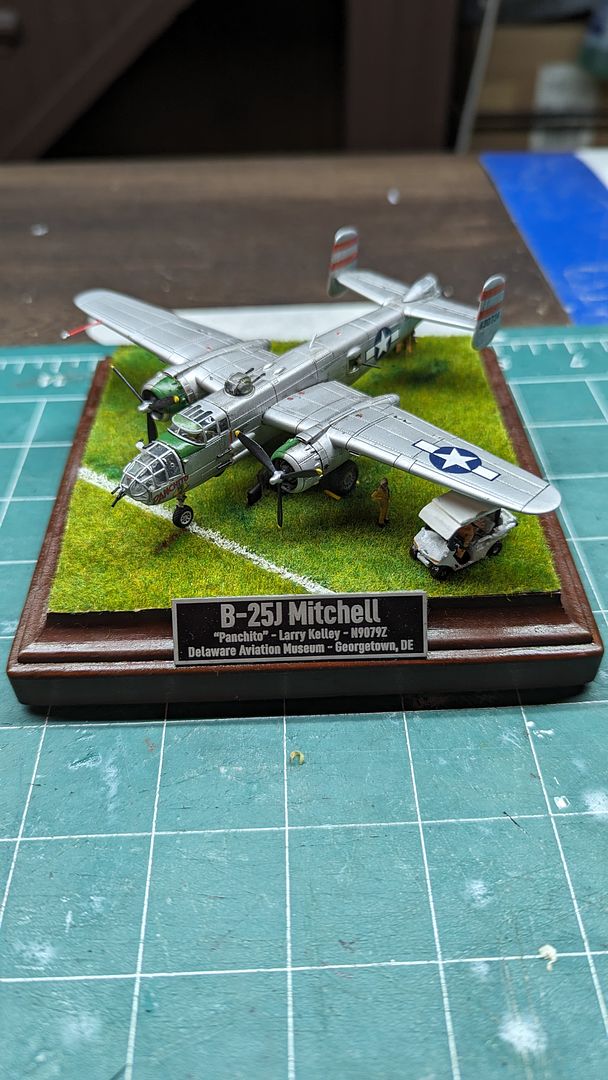
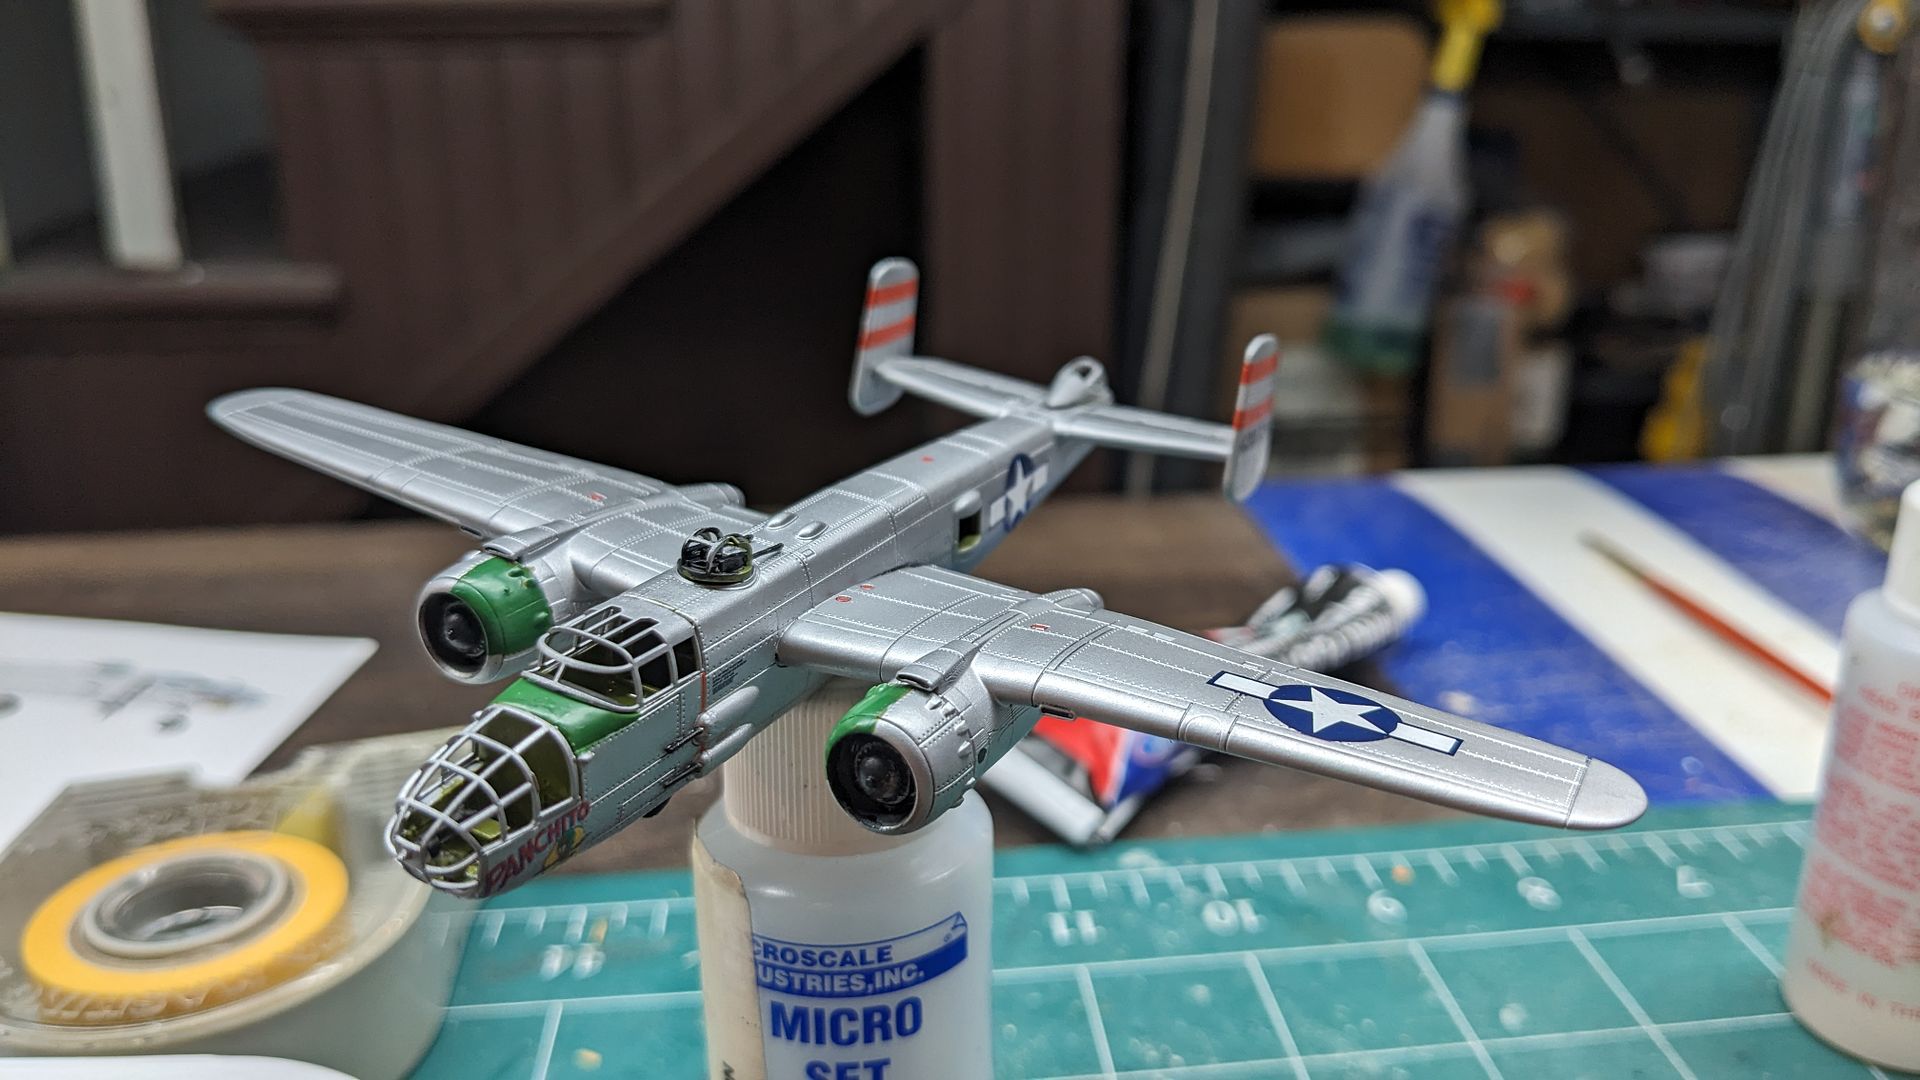
As you can see, the shape of this thing is just gorgeous. Finally, a really nice B-25 model in 1/144th scale. Enough to make me weep! The canopies have just been placed.

Image

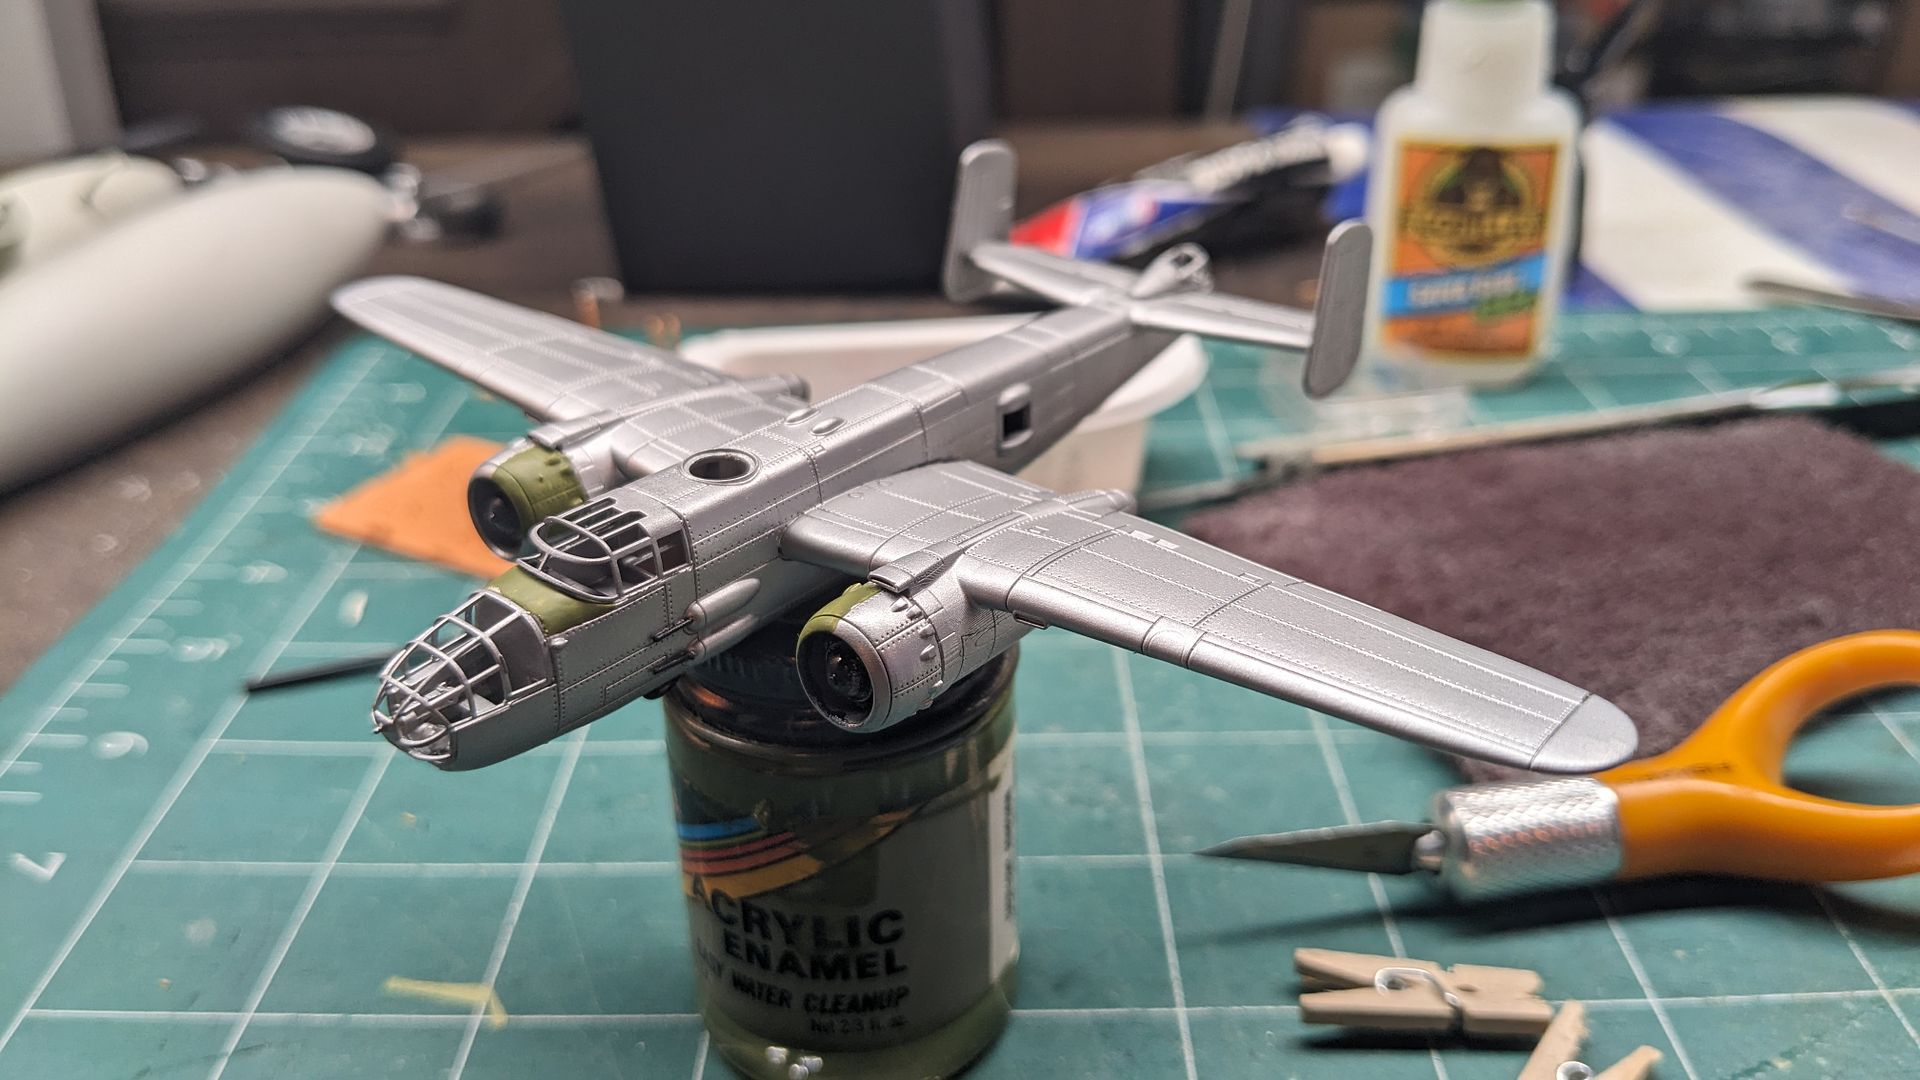
Once again due to my excitement, I didn't put down a primer or anything and just shot it aluminum silver! I already knew what B-25 to finish her as.

Image

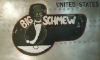
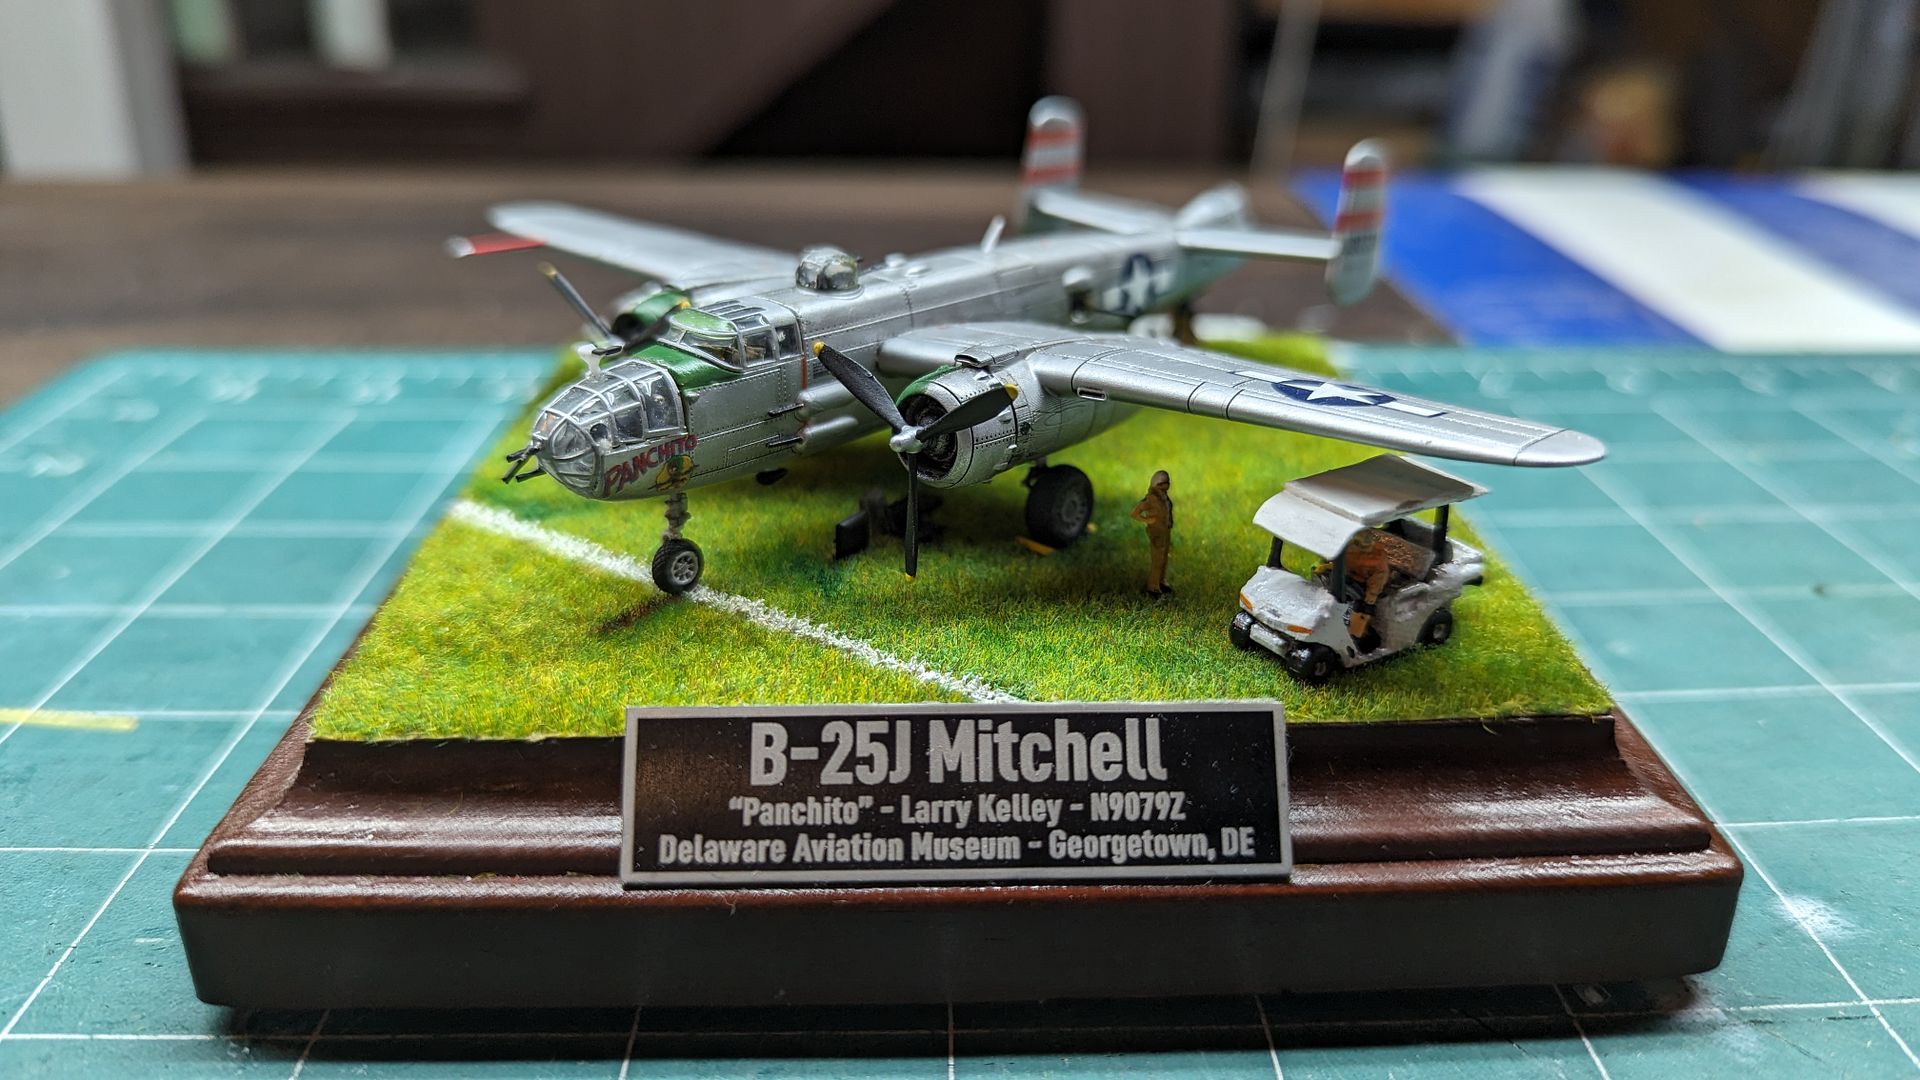
I bought a set of Panchito decals from Draw Decals awhile ago and finally had a decent model to put them on! Decals here: 
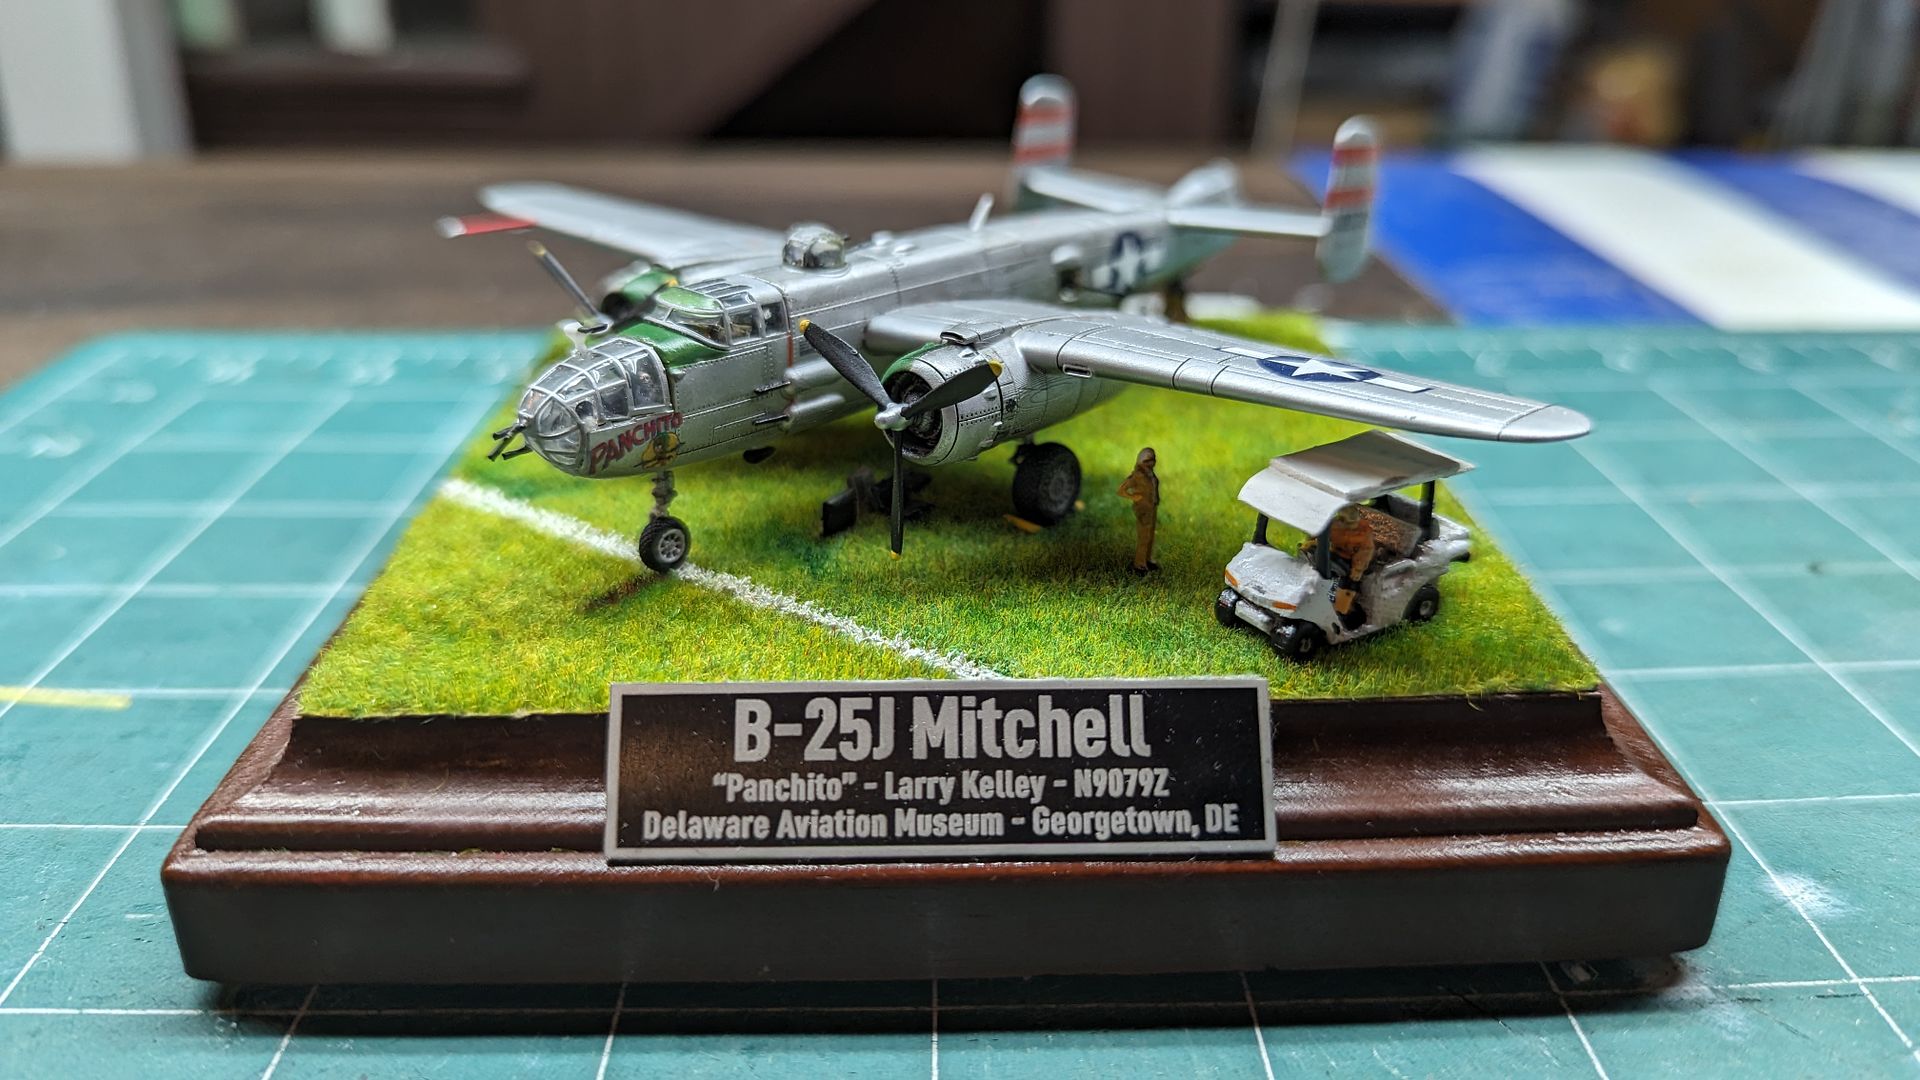
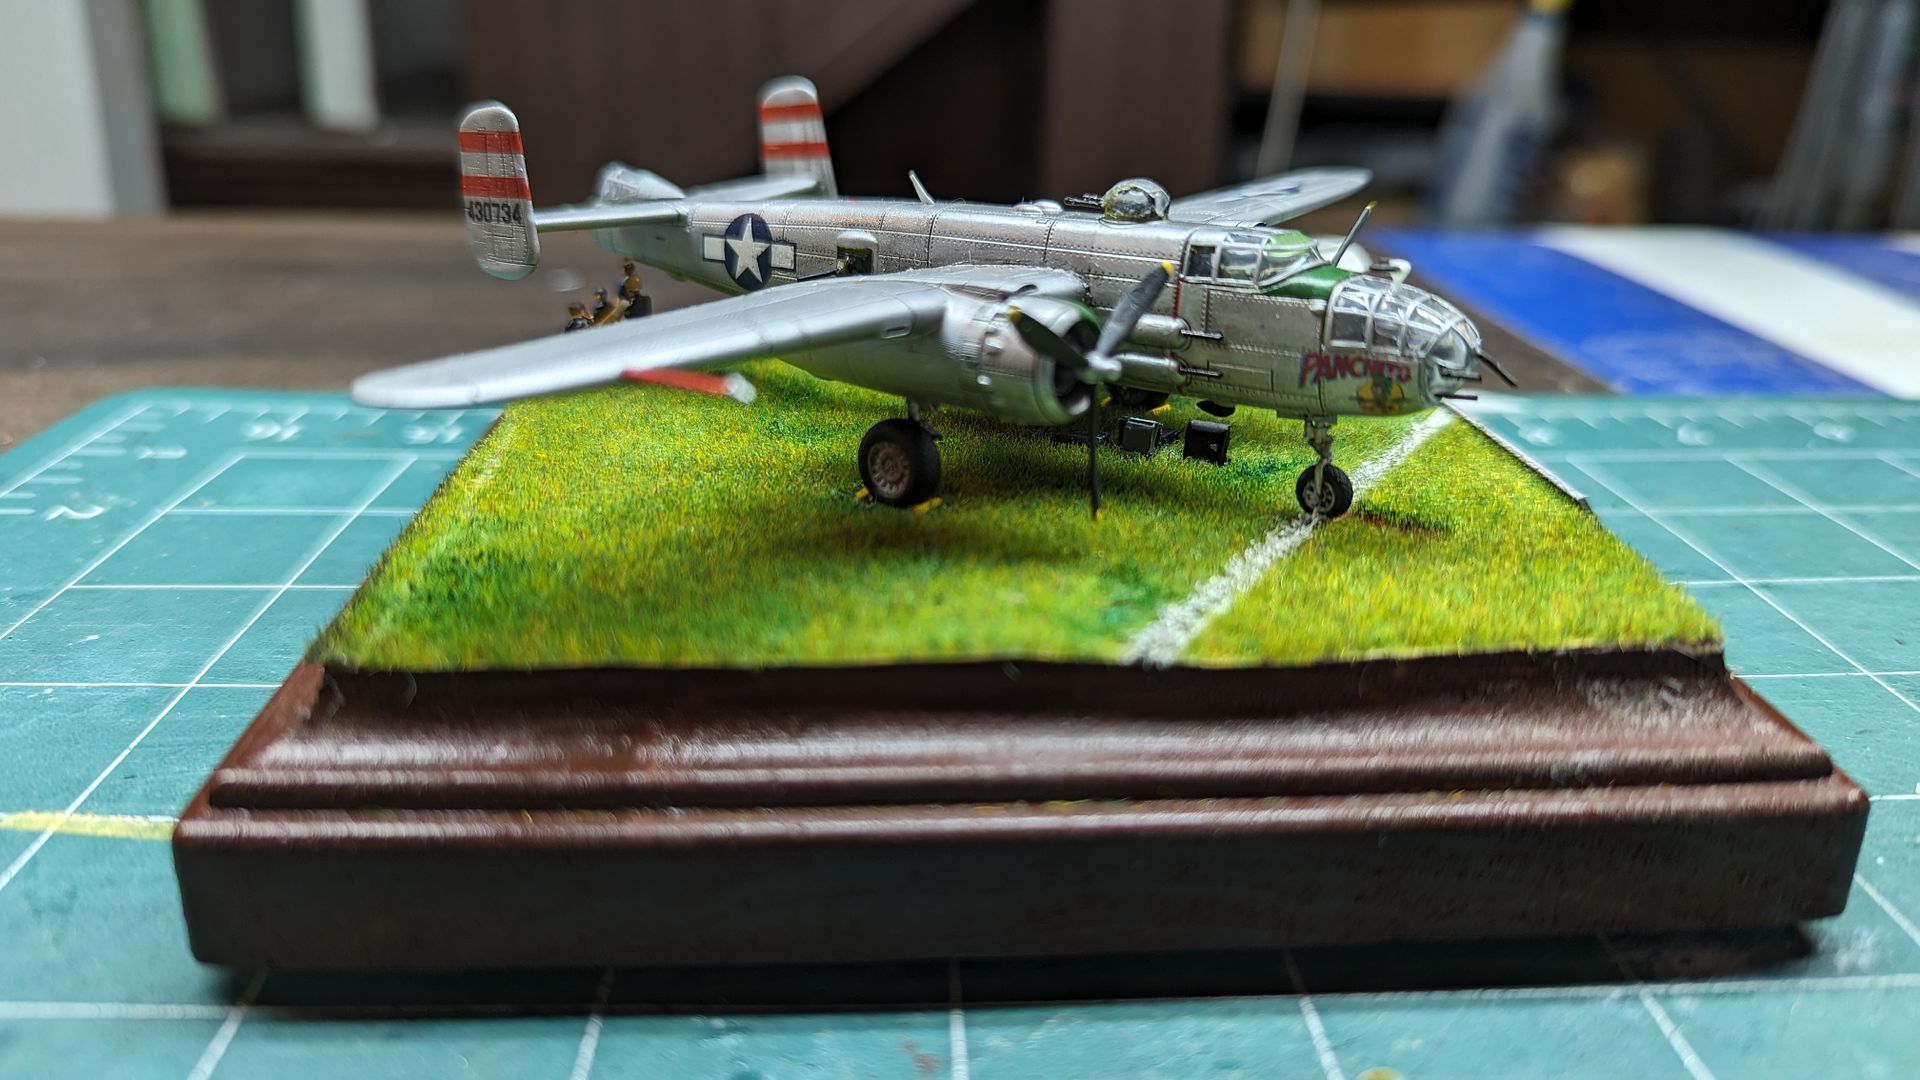
https://www.drawdecal.com/product/132-aoepanchitoa-b-25j/

I decided to swap out the stars with nicer ones from a microscale sheet. I also used some really old red stripe decals for the tail and wouldn't you know it, they came pretty nice! The nose art, tail number, etc are from the set. Have a few more little ones to add.

Image

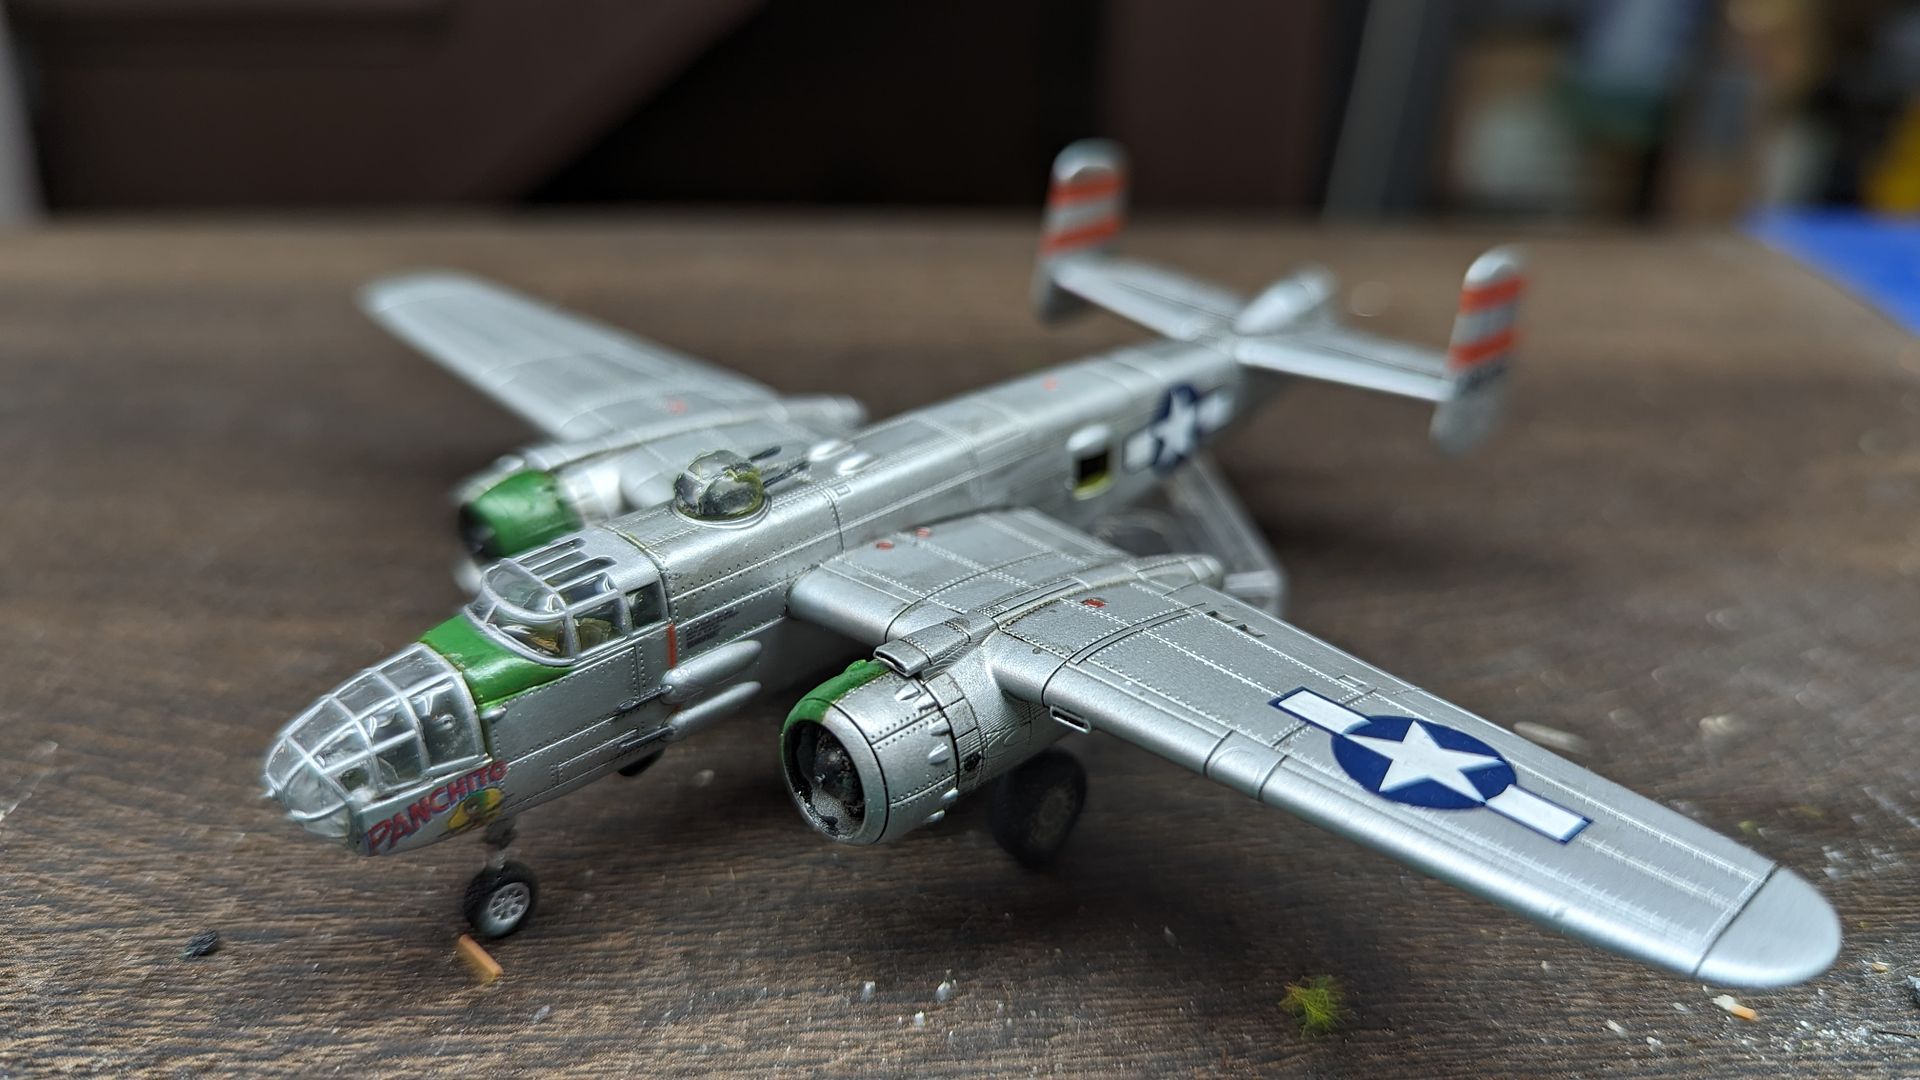
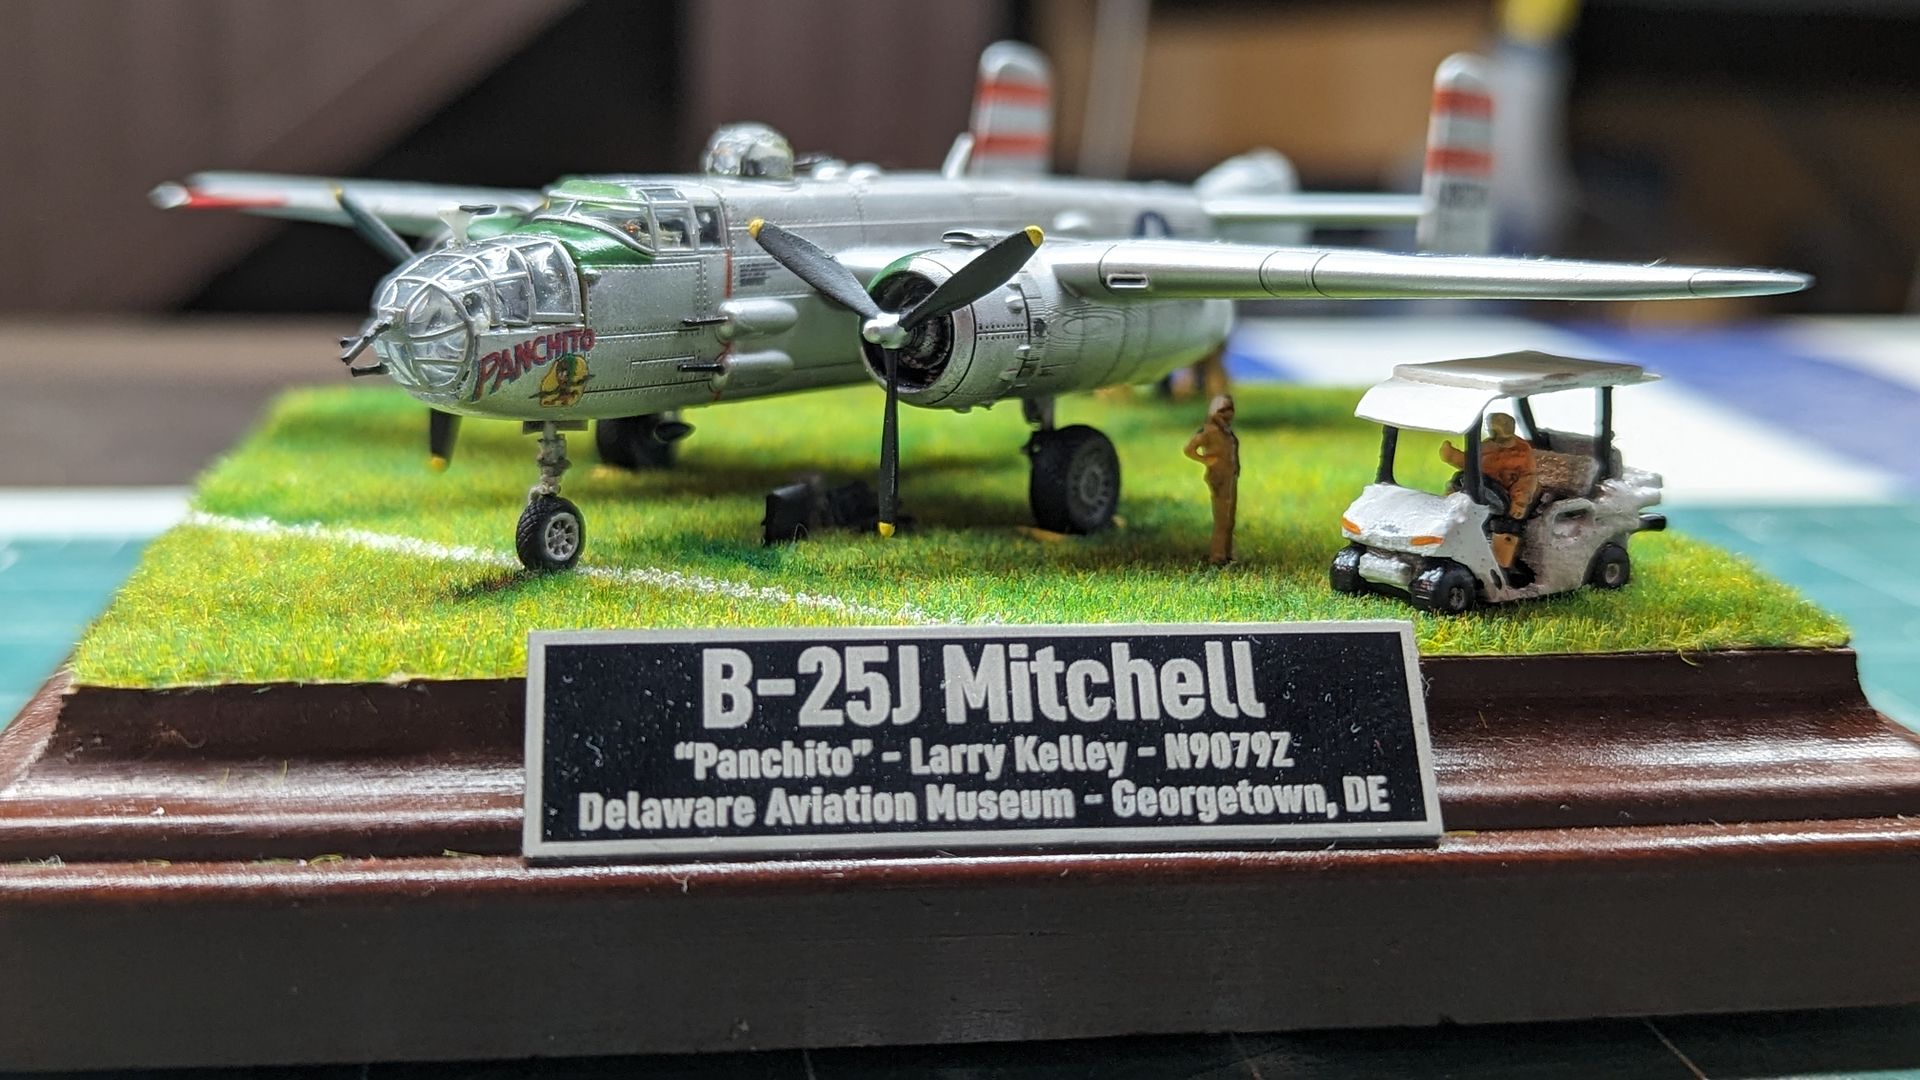
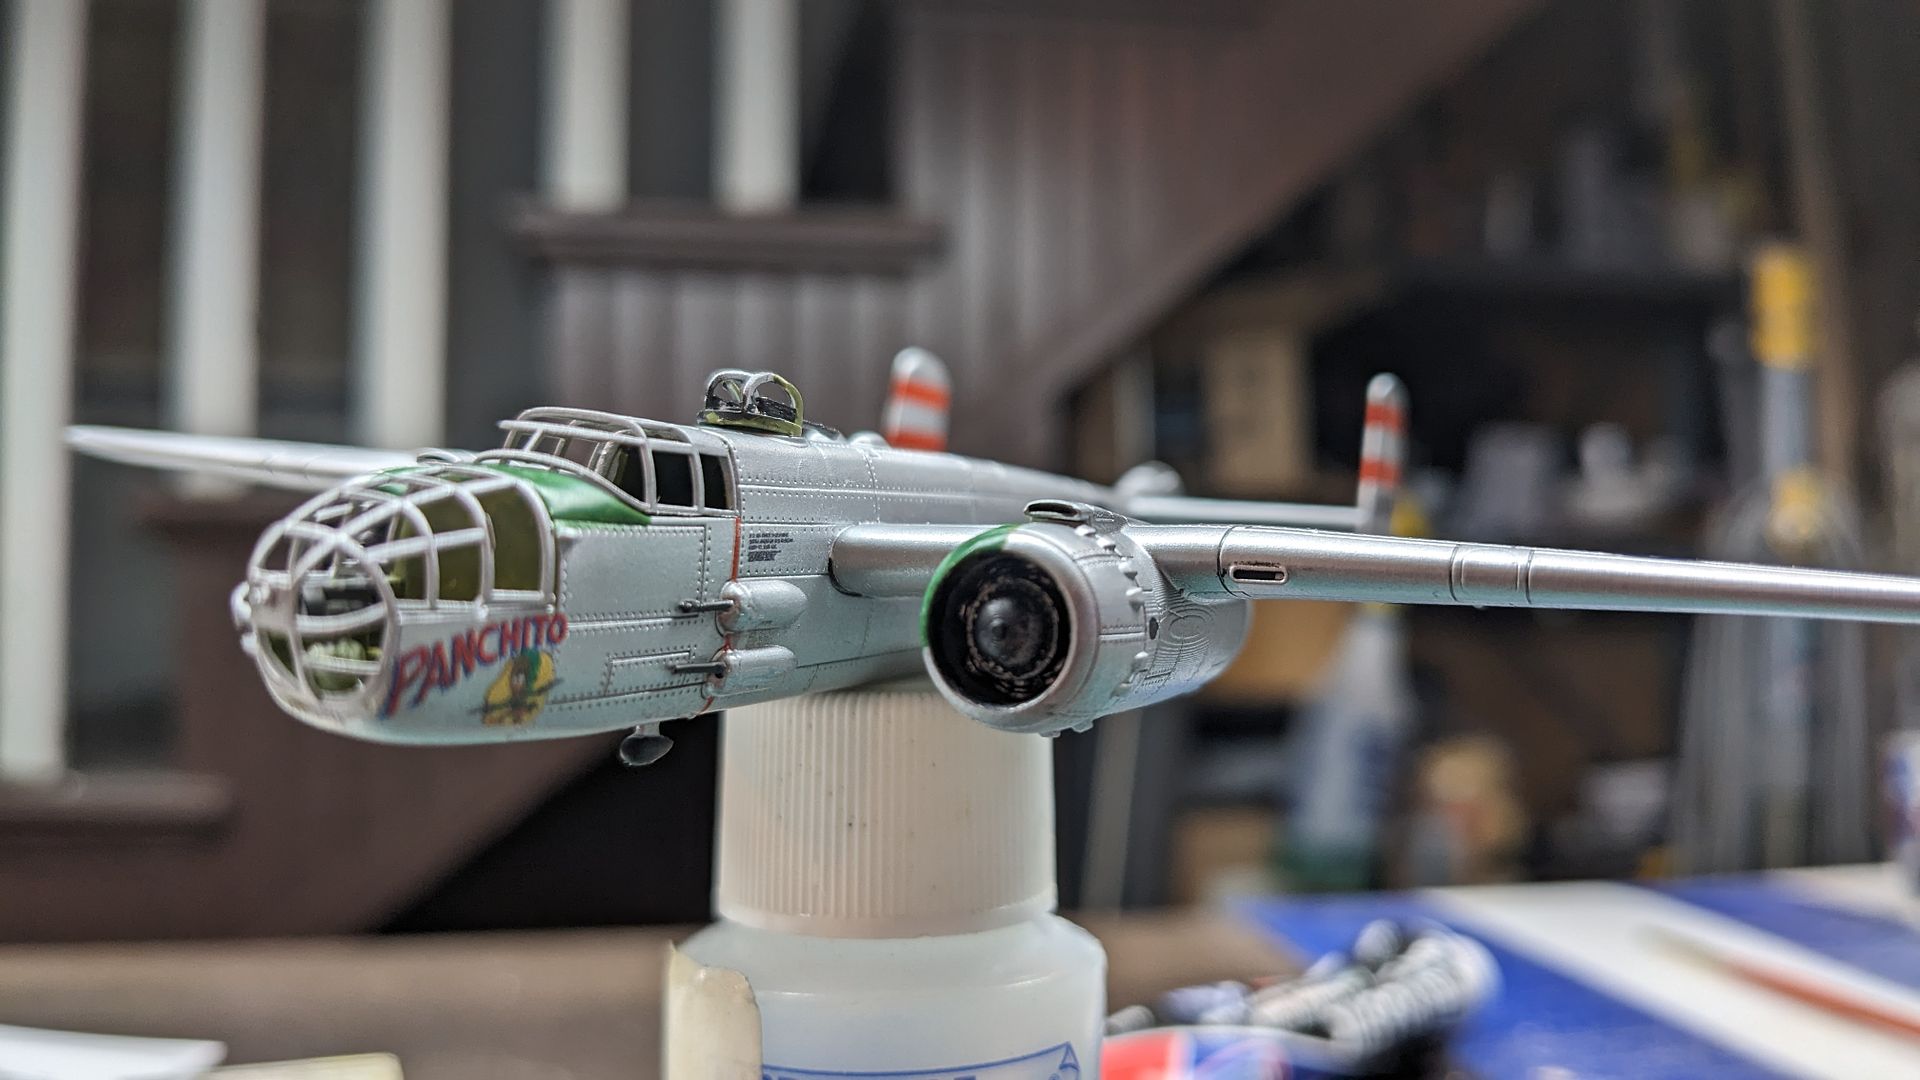
And a detail shot of the nose and nose art. I changed the color of the anti glare panels to that more colorful non regulation green as per the real one flying around today.

Image

And of course the $64,0000.00 question... What to do about the glass? Well I think I'm going to give this one a shot and use the old tried and true Krystal Clear. My father swears by it, and has used it on numerous projects with decent success. So I might give him the top turret to start out with and see what he can do. It's nice to be able to have access to alot of the interior to try and detail it or at least paint it. If the motivation stays there and keeps feeding my desire to see this thing in one piece, I hope to get it done this week. Thanks for looking!

_________________
Keep Em' Flying,
Christopher Soltis

Dedicated to the preservation and education of The Sikorsky Memorial Airport

CASC Blog Page: http://ctair-space.blogspot.com/
Warbird Wear: https://www.redbubble.com/people/warbirdwear/shop

Chicks Dig Warbirds.......right?


Top
 Profile  
 
PostPosted: Mon Aug 21, 2023 2:37 pm 
Offline
1000+ Posts!
1000+ Posts!
User avatar

Joined: Sat Jan 14, 2006 7:18 pm
Posts: 1937
Location: Meriden,Ct.
Looking good, Chris... pop2

Phil

_________________
A man's got to know his limitations.


Top
 Profile  
 
PostPosted: Mon Aug 21, 2023 6:57 pm 
Offline
2000+ Post Club
2000+ Post Club
User avatar

Joined: Mon Feb 13, 2006 9:42 pm
Posts: 2697
Location: NP, NJ, USA
Really nice build. First time I have seen a 3d printed kit like that before. Looks like they did a nice job with the details and fit. I look forward to trying one in the future.

_________________
Share your story: Rutgers Oral History Archive http://oralhistory.rutgers.edu/


Top
 Profile  
 
PostPosted: Tue Aug 29, 2023 6:14 pm 
Offline
Long Time Member
Long Time Member
User avatar

Joined: Wed Jan 19, 2011 12:27 am
Posts: 5258
Location: Eastern Washington
Anyone know a price-friendly 3D printing guy who takes requests? :roll:

I need a 1/144 model shrunk to 1/240.
Also, A 1/240 duplicated.

_________________
Remember the vets, the wonderful planes they flew and their sacrifices for a future many of them did not live to see.


Top
 Profile  
 
PostPosted: Thu Aug 31, 2023 11:14 am 
Offline
Long Time Member
Long Time Member
User avatar

Joined: Wed Jan 24, 2007 1:54 am
Posts: 5120
Location: Stratford, CT.
Hey guys. Thanks for the interest in this build. Figured I'd give you a little bit of an update.

I clear coated the plane with satin semi-gloss, added black line filler into the recessed panel lines (minimally) and clear coated the landing gear. I glued the gear on and the small doors (I have to glue one back on and add rods).

Here she is being weathered slightly.
Image

I added the seats, seatbelts, and just tried to detail the interior with more painting.

She will appear as I saw her this July at Oshkosh.
Image

I tested the first piece with Krystal Klear, being the top turret. It isn't the best picture but you can get the idea. I bought a brand new bottle and will see how it will work on the rear tail gunner position. That's not to say I won't cut some window panels out of acetate and use them for larger flat sections.

Image

More to come! Thanks for looking.

_________________
Keep Em' Flying,
Christopher Soltis

Dedicated to the preservation and education of The Sikorsky Memorial Airport

CASC Blog Page: http://ctair-space.blogspot.com/
Warbird Wear: https://www.redbubble.com/people/warbirdwear/shop

Chicks Dig Warbirds.......right?


Top
 Profile  
 
PostPosted: Thu Aug 31, 2023 11:49 am 
Offline
3000+ Post Club
3000+ Post Club
User avatar

Joined: Fri Apr 30, 2004 2:29 pm
Posts: 4480
Location: Dallas, TX
I thought about buying one, but I honestly don't like the clear canopy frames. I wish they'd include a blank with the kit that could be used to vacuform or stretch form from some coke bottle plastic for the windscreens. It wouldn't be that hard to model and include...

_________________
Aerial Photographer with Red Wing Aerial Photography currently based at KRBD and tailwheel CFI.
Websites: Texas Tailwheel Flight Training, DoolittleRaid.com and Lbirds.com.

The horse is prepared against the day of battle: but safety is of the LORD. - Prov. 21:31 - Train, Practice, Trust.


Top
 Profile  
 
PostPosted: Thu Sep 07, 2023 1:08 pm 
Offline
Long Time Member
Long Time Member
User avatar

Joined: Wed Jan 24, 2007 1:54 am
Posts: 5120
Location: Stratford, CT.
I know some of you have been curious. Well, here are the results...

Image
I only had a chance to take one picture before heading out the door. (I'll take more detail shots at the completion of the whole build.)

I started with the Krystal Klear on the turret. I ended up using an old dried up bottle and found it to be quite laborious. So I ordered a new bottle and in the meantime I tried to use what I had on the turret alone as a sort of experiment. Boy did I wish I waited. It came out somewhat opaque and required a second coat to fill the space out. It fogged, but being the smallest of the glass pieces, I wasn't too worried. (Ya gotta' just push ahead sometimes!)

With the new bottle in hand, I started on the rear tail gunner piece. Starting with the smallest windows, I worked my way up. Trying to figure out the right portion of KK to the window. I used a clamp to try and position the piece facing downwards to promote convex. It required a second amount on the main overhead window to fill out. The result is a little less opaque and alot more transparent! Especially in the side windows!

Next was the nose. Working from inside, I tried to go along and fill in every window, one by one. This kind of boxed me in and I found it difficult to try and fill every one. I had to wait to fill in some windows until the first pass had dried. I also had to add a small piece of plastic to fill out a broken window. In my haste I accidently touched the super glue to the inside of the actively drying Krystal Klear. Oh F$#@! I was glad to see that it really didn't have much affect and there was minimal crazing. WHEPH!

The final piece was the cockpit glass. Putting everything I had learned together, I applied a decent amount of KK to the underside of the cockpit, making sure every window was sufficiently filled. It dried upside down and I think the results are pretty good! I did have to apply a second coat to the forward top "bubble", but that will be painted translucent green as most B-25s flying, tint this window to cool the pilots and shade them from the sun.

In my haste to show off what I finished to my father and fellow builders, one of which (with the best of intentions of course) closed the box I brought the model in and accidently broke the landing gear off. :( I had to carefully try and glue the broken 3D printed resin back together. Two went on no problem. The third... :evil:

I still have to reposition the gear doors and either fix or replace the small wires going to the doors. Then onto those darn props! Thanks for looking!

_________________
Keep Em' Flying,
Christopher Soltis

Dedicated to the preservation and education of The Sikorsky Memorial Airport

CASC Blog Page: http://ctair-space.blogspot.com/
Warbird Wear: https://www.redbubble.com/people/warbirdwear/shop

Chicks Dig Warbirds.......right?


Top
 Profile  
 
PostPosted: Mon Oct 23, 2023 10:59 am 
Offline
Long Time Member
Long Time Member
User avatar

Joined: Wed Jan 24, 2007 1:54 am
Posts: 5120
Location: Stratford, CT.
Well I'm calling it good. I was waiting for the 3d printed golf cart to show up. Then I broke it about half a dozen ways trying to work on it, so it needed to be modified / repaired, until it FINALLY wasn't looking too bad to me. I then painted the figure in the cart and flat coated it, and added it in.

The scene depicts the B-25J Panchito not long after arriving at Oshkosh 2023 this year. It includes myself, my father, and two of our friends resting underneath the tail after exploring the grounds, watching the C-47 "Placid Lassie" taxi in. I'm overall happy with the results and am now torn with which B-25 to do next. Devil Dog? Or the Psychedelic Monster?

Image

Image

Image

Image

Image

Image

Image

Image

Image

_________________
Keep Em' Flying,
Christopher Soltis

Dedicated to the preservation and education of The Sikorsky Memorial Airport

CASC Blog Page: http://ctair-space.blogspot.com/
Warbird Wear: https://www.redbubble.com/people/warbirdwear/shop

Chicks Dig Warbirds.......right?


Top
 Profile  
 
PostPosted: Tue Oct 24, 2023 5:42 pm 
Offline
User avatar

Joined: Tue Jul 31, 2007 12:12 am
Posts: 901
Location: Just outside of Grosse Ile N.A.S.
I absolutely adore that you made a diorama with yourselves at Oshkosh. The build looks great, the concept is even better.


Top
 Profile  
 
Display posts from previous:  Sort by  
Post new topic Reply to topic  [ 9 posts ] 

All times are UTC - 5 hours


Who is online

Users browsing this forum: No registered users and 27 guests


You cannot post new topics in this forum
You cannot reply to topics in this forum
You cannot edit your posts in this forum
You cannot delete your posts in this forum
You cannot post attachments in this forum

Search for:
Jump to:  
Powered by phpBB® Forum Software © phpBB Group