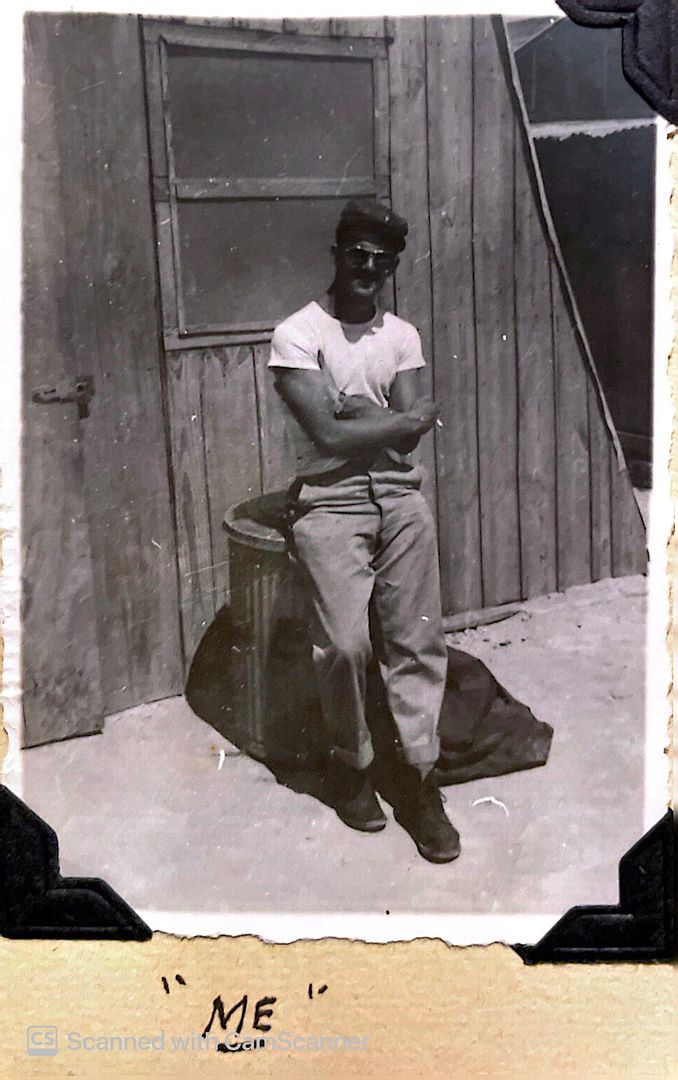
I was contracted by a gentlemen to make a custom B-24 model for his fiancé, in honor of her grandfather:
Claude J. Bouchard Sr - Ball Turret Gunner
761 BS - 460 BG - 15 AF - U.S.A.A.C.
Based in Spinazzola, Italy - 1944 - 1945Claude was a lifelong resident of West Haven, CT, so eventually I will need to build this 24 in 1/72nd for the Hometown Heroes display I curate at the local air museum.
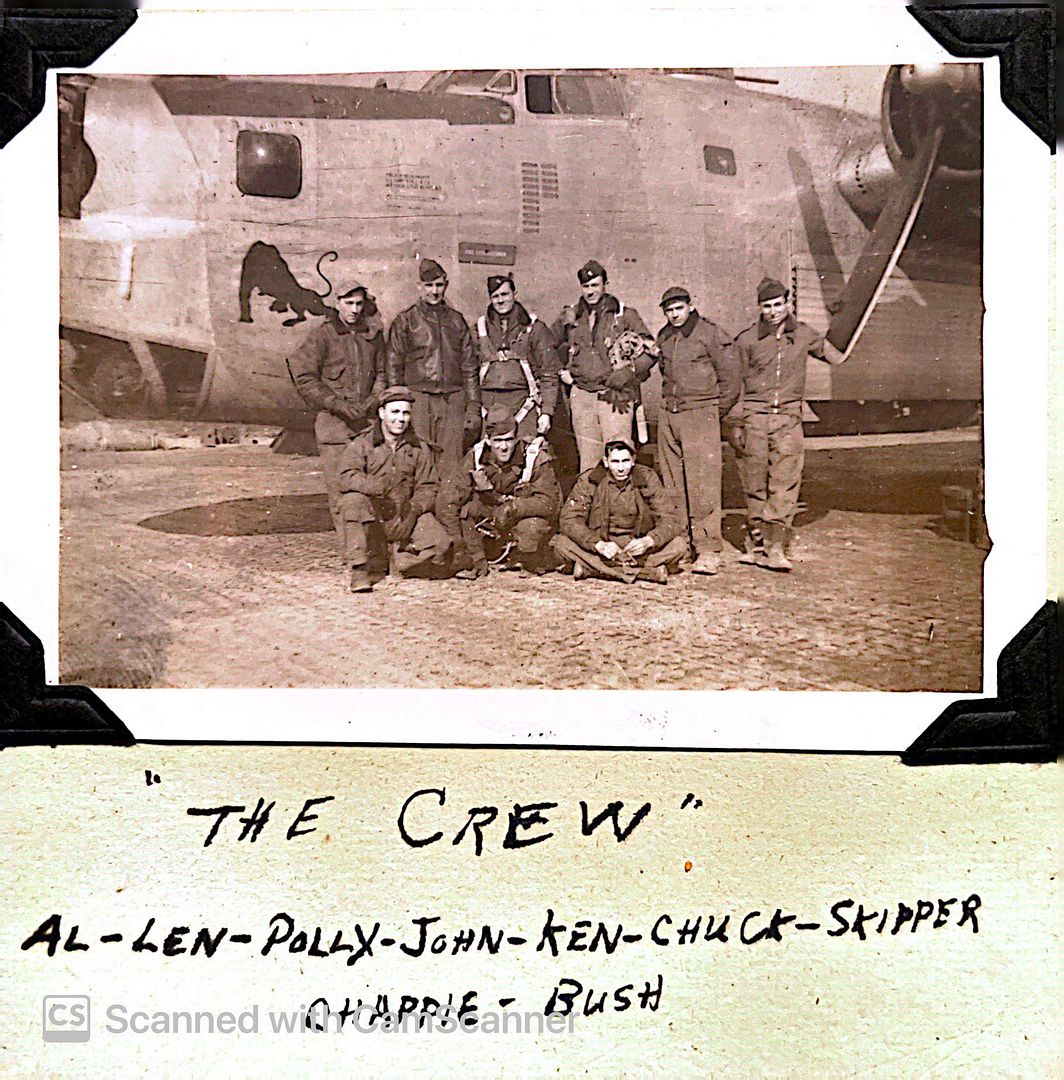
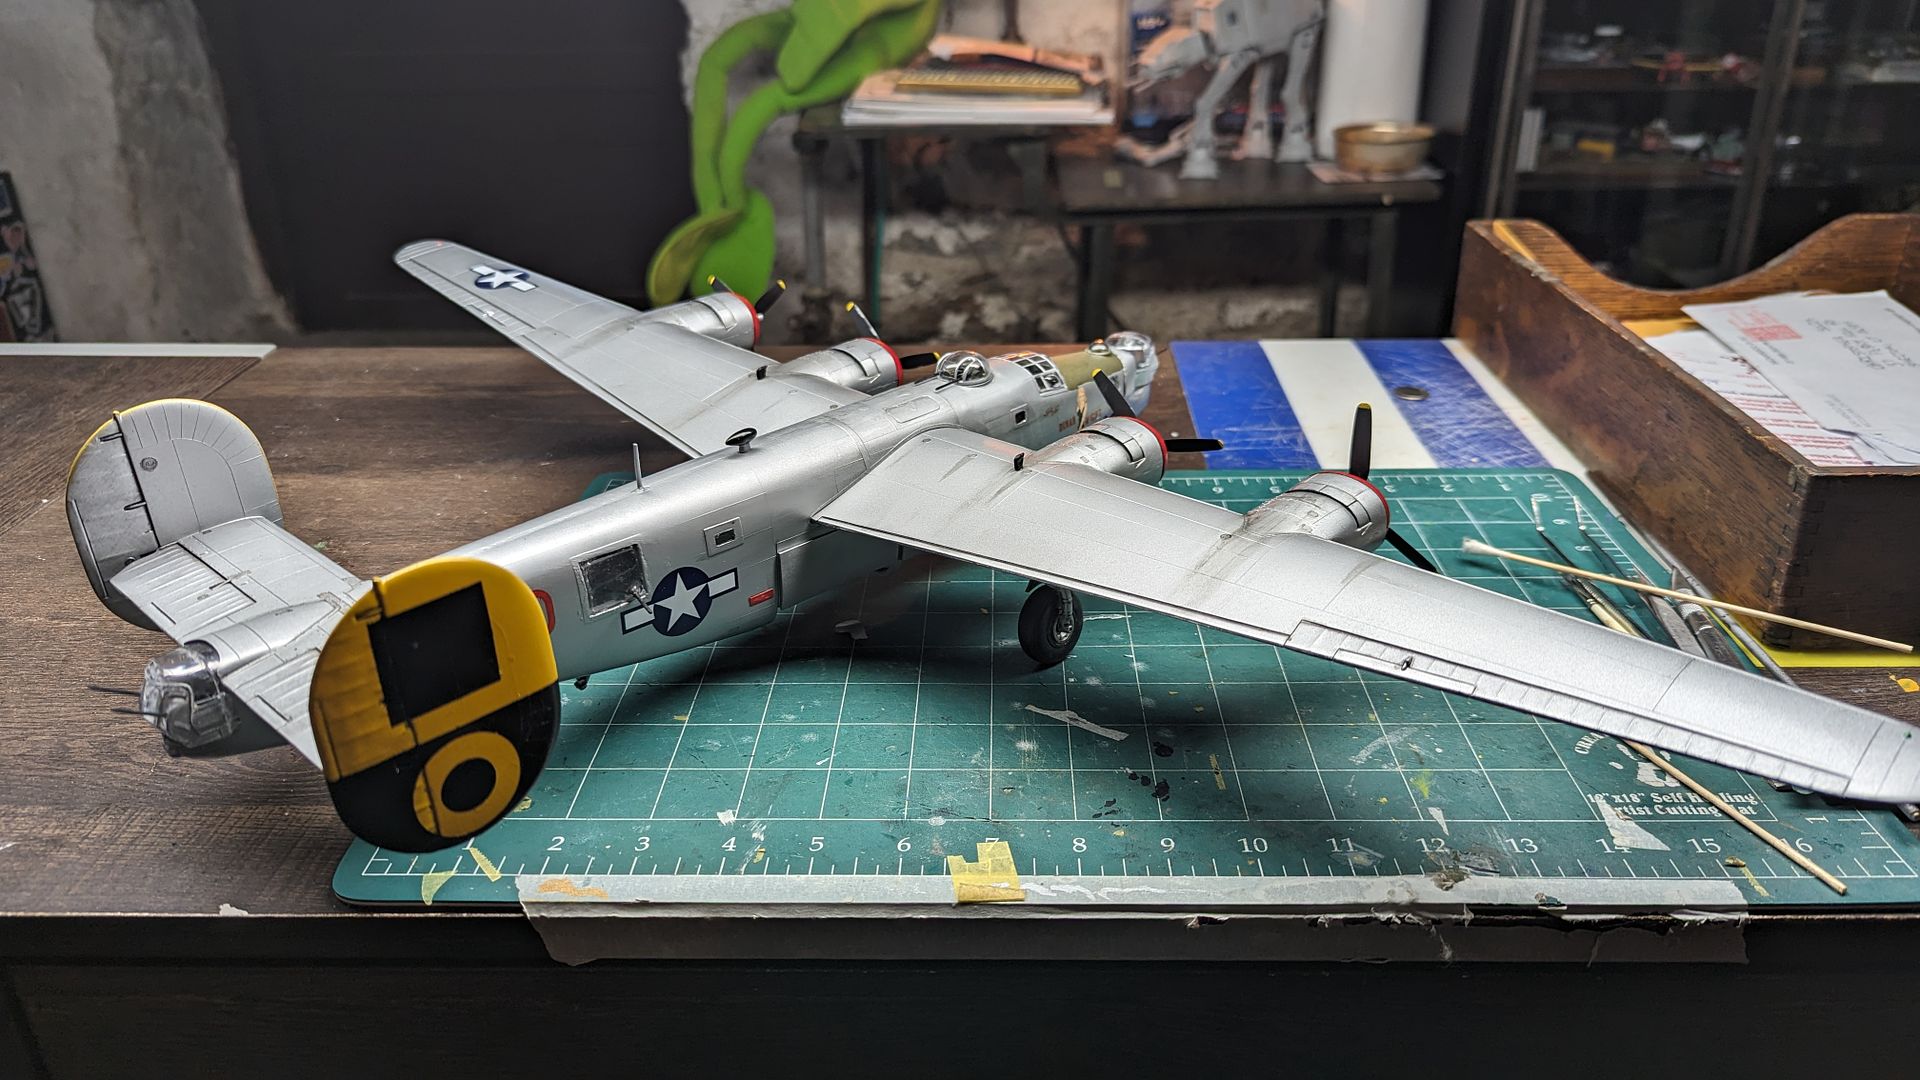
Thankfully the client had photos to go along with the project. Which made it alot easier to remake his plane, B-24J - 44-48998 known as: “Dinah Might“.
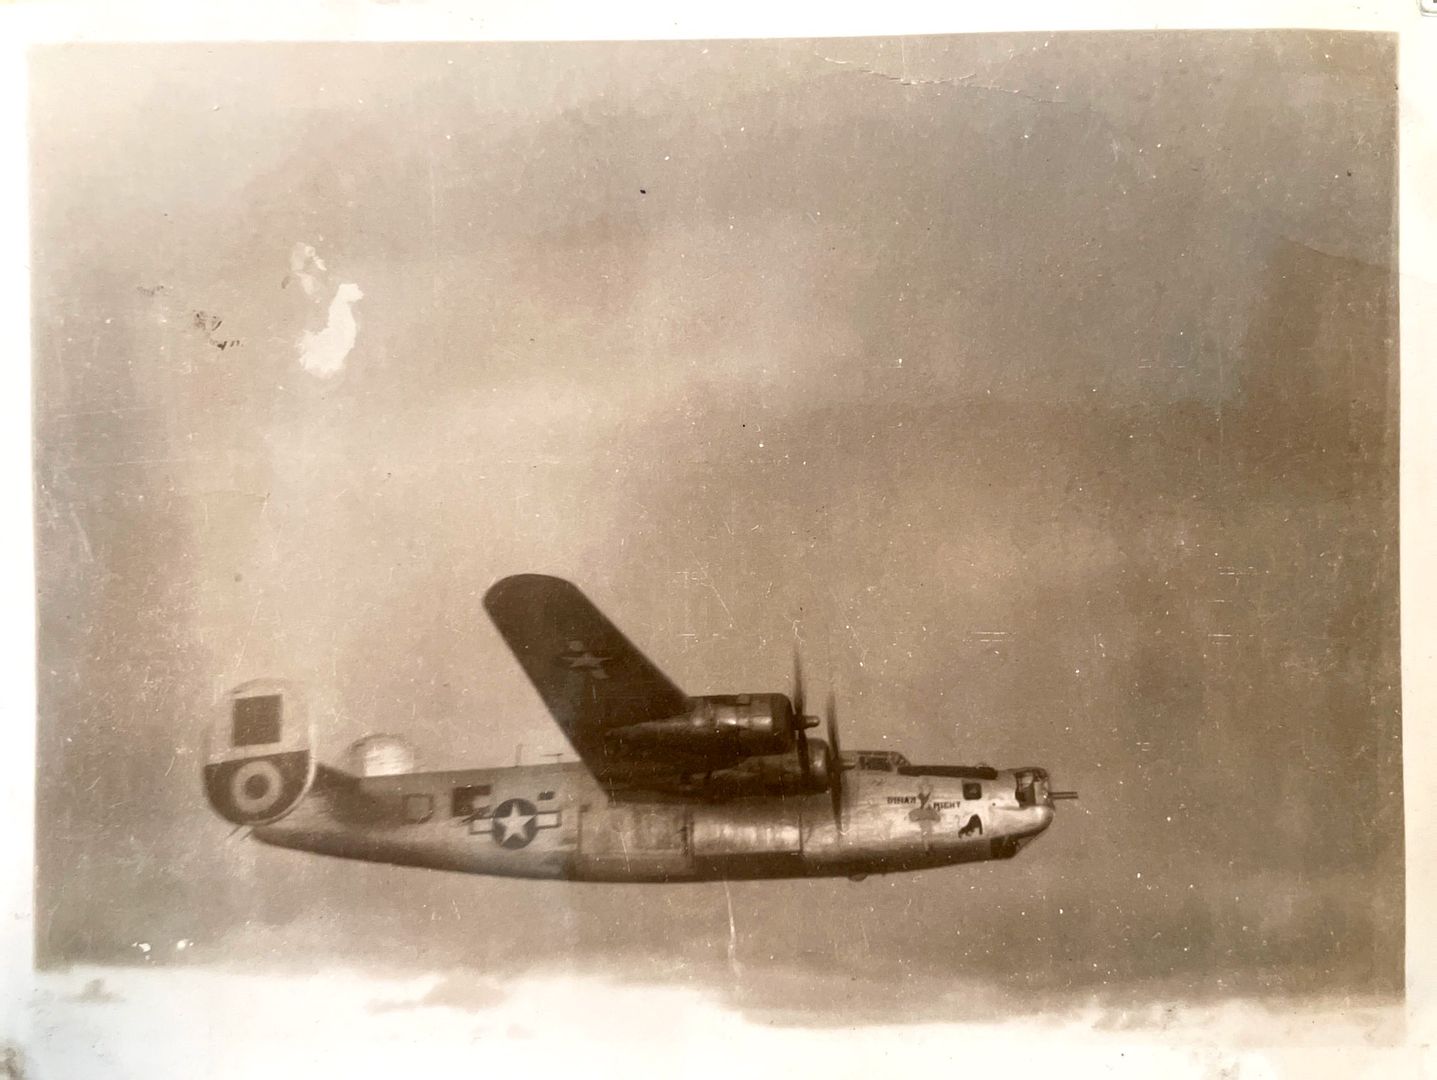
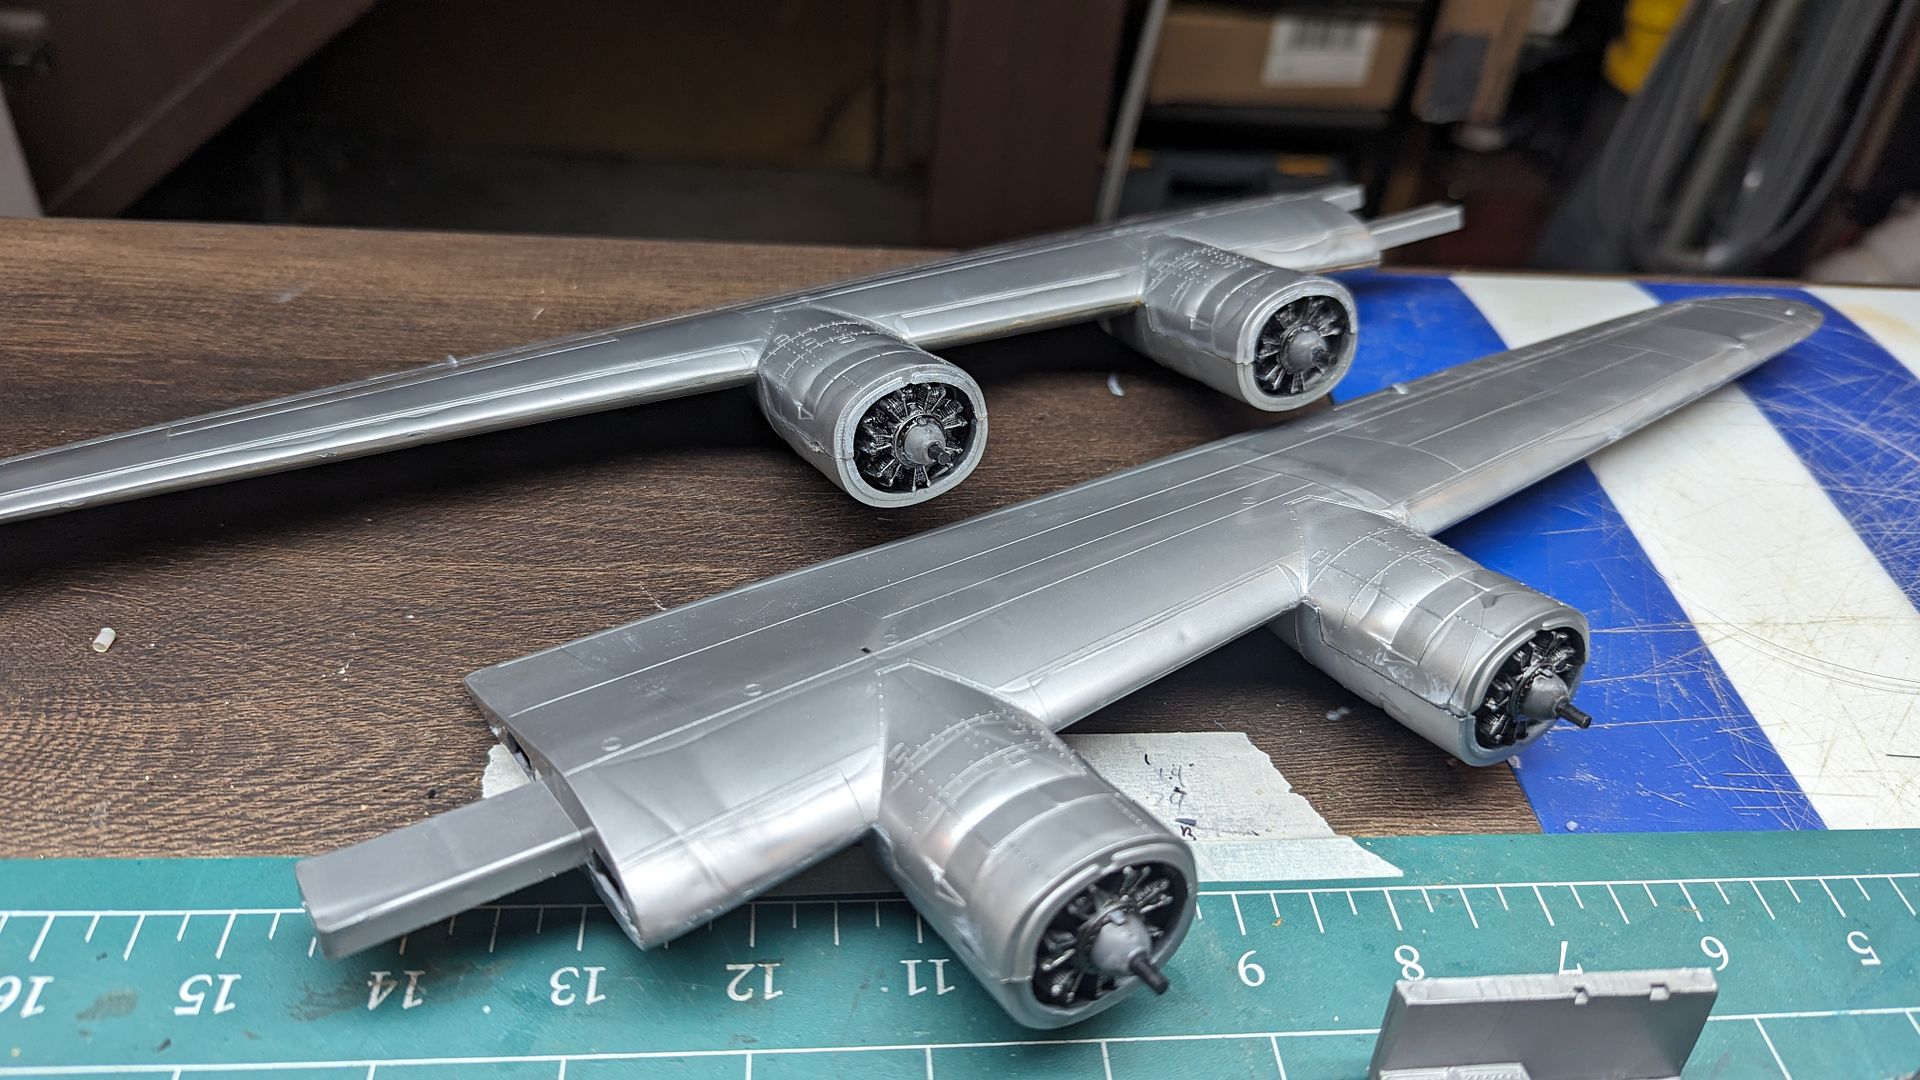
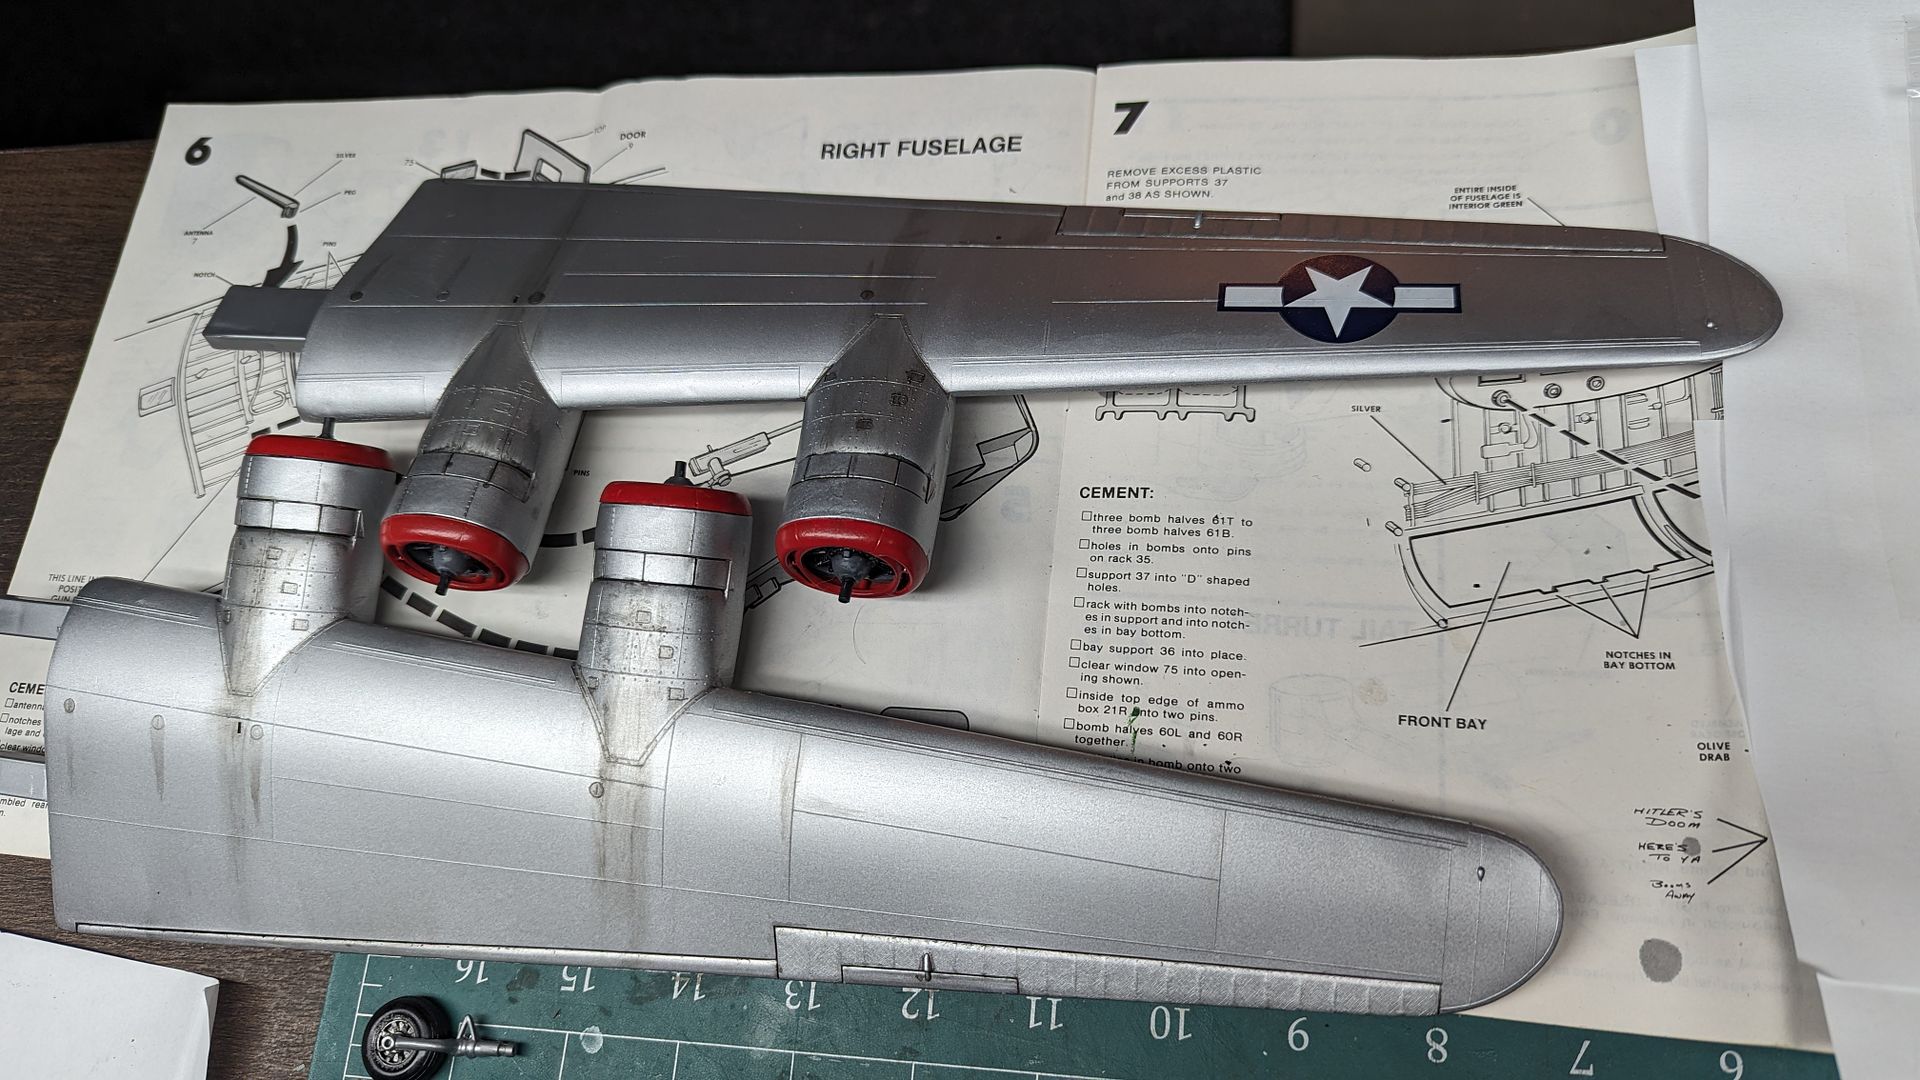
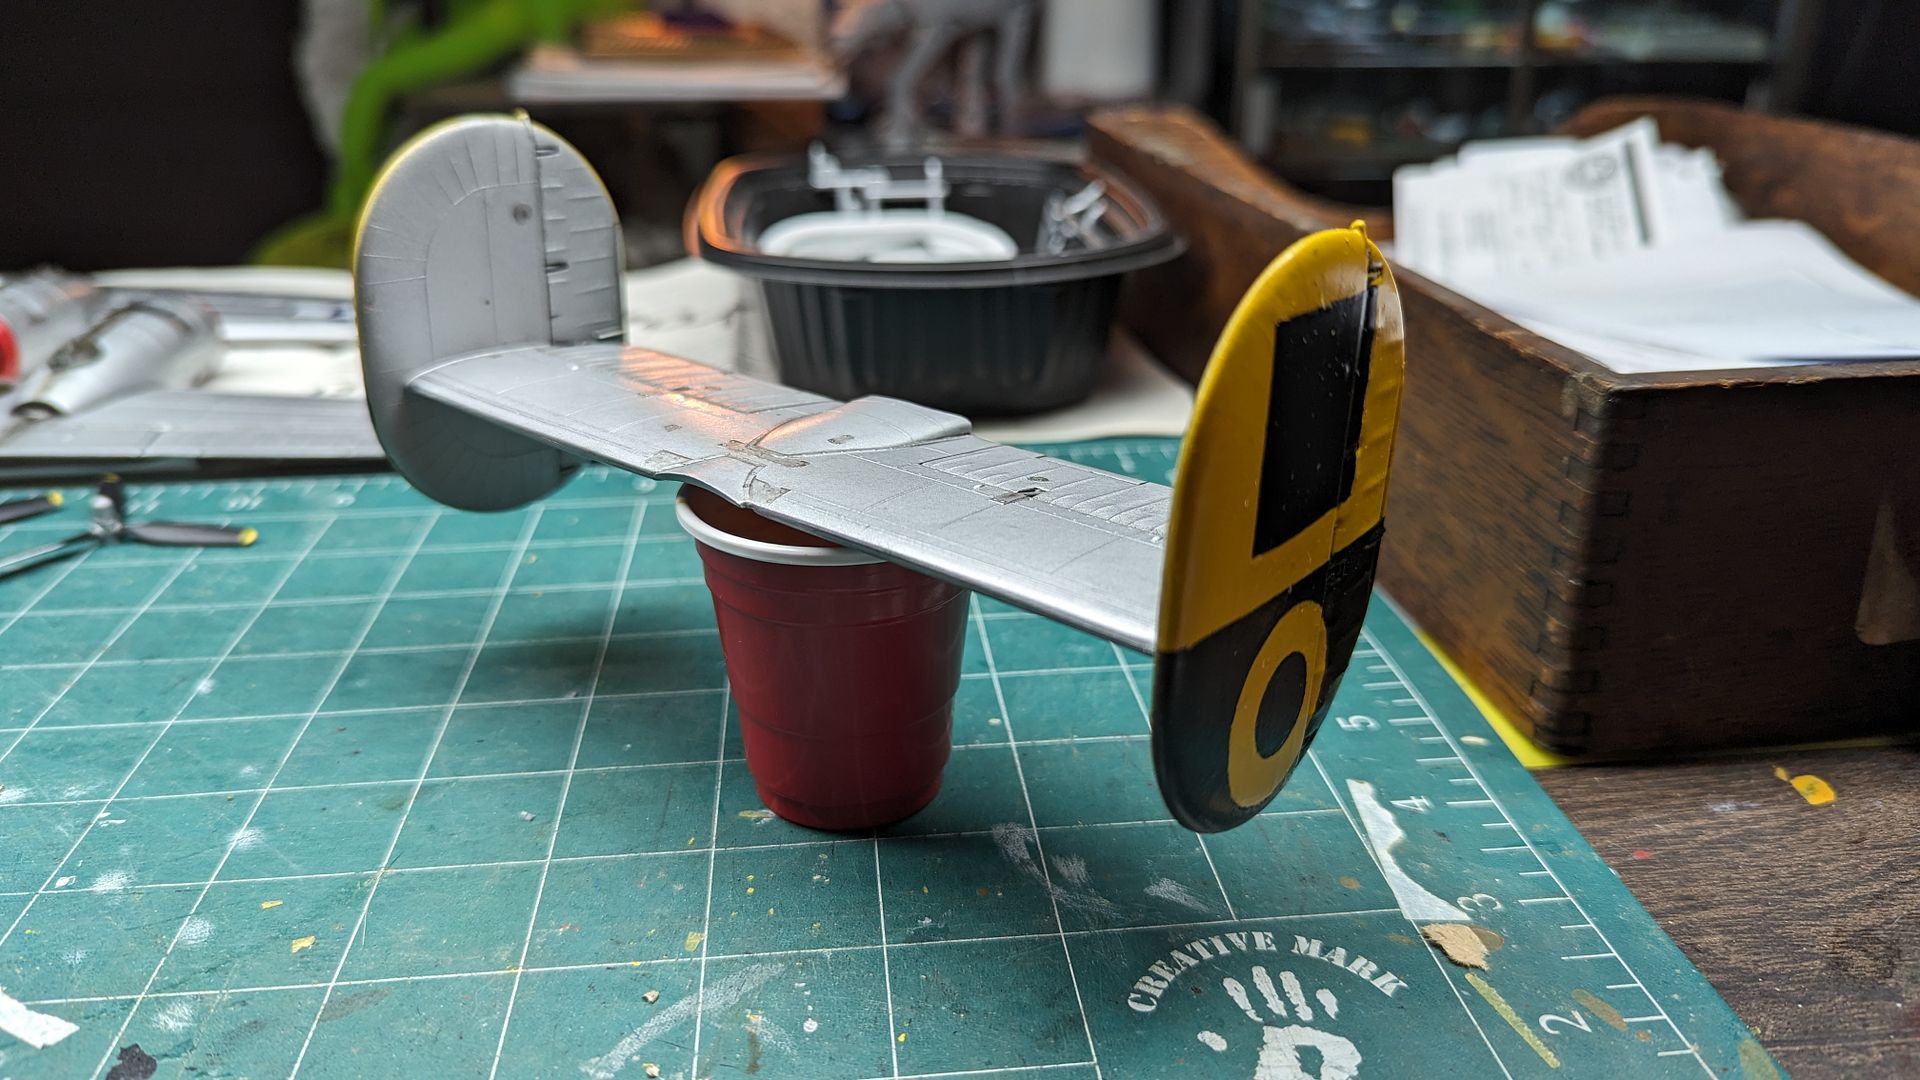
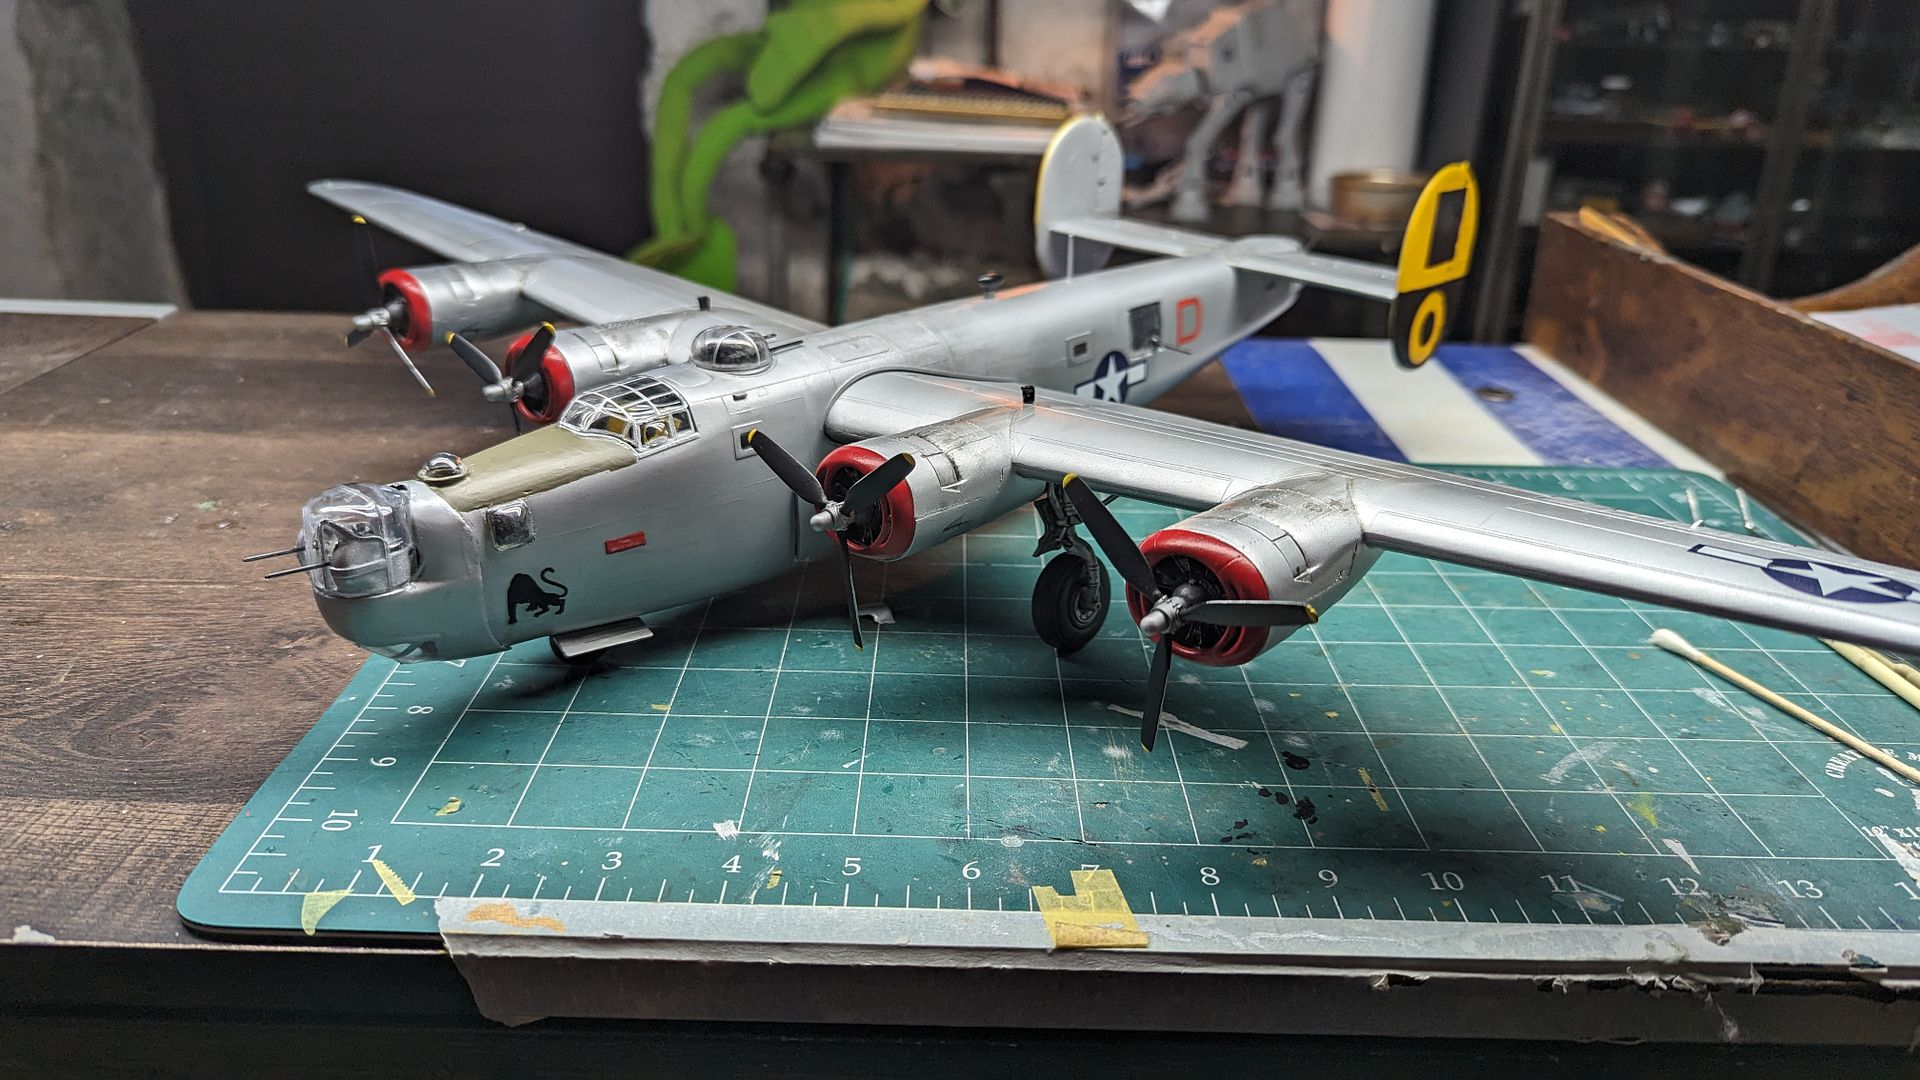
Eagle eyed viewers will notice the inboard cowling was not painted, which is something I wanted to replicate but the client wanted it to look newer / less hodge podge. They decided on the reliable 1/48th scale Monogram kit. Since its a late war Ford built 24, I purchased an aftermarket kit to convert the airframe. I also decided to commit to the process of subassembly, and try and finish as many simple "fun" things to do while I languished and suffered with the more tedious / difficult parts of the build. So I started with the wings...
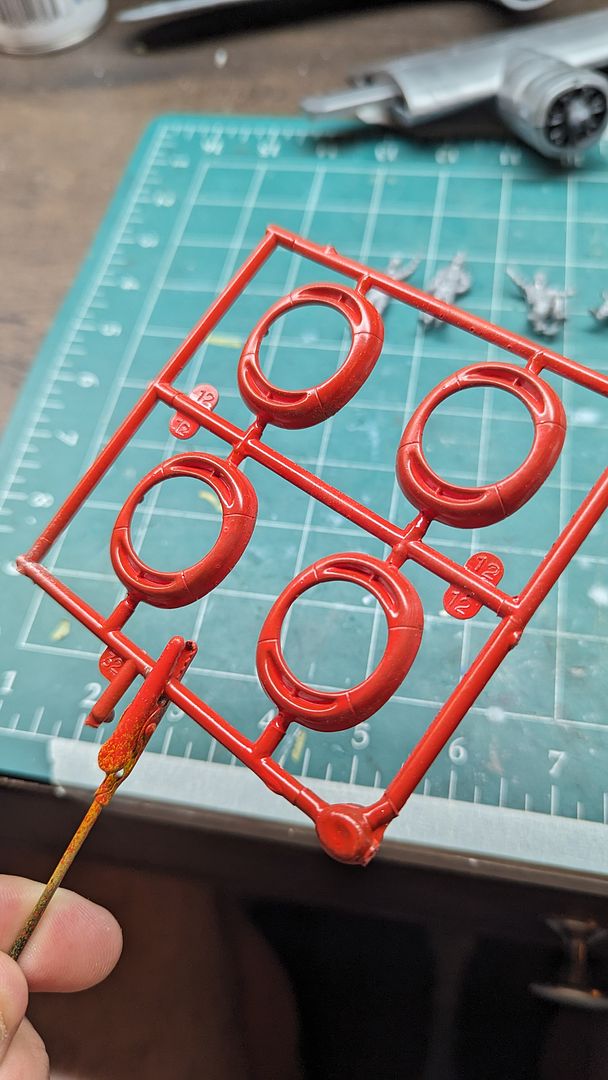
And then the cowlings. Which I had to repaint with a more accurate insignia red color.
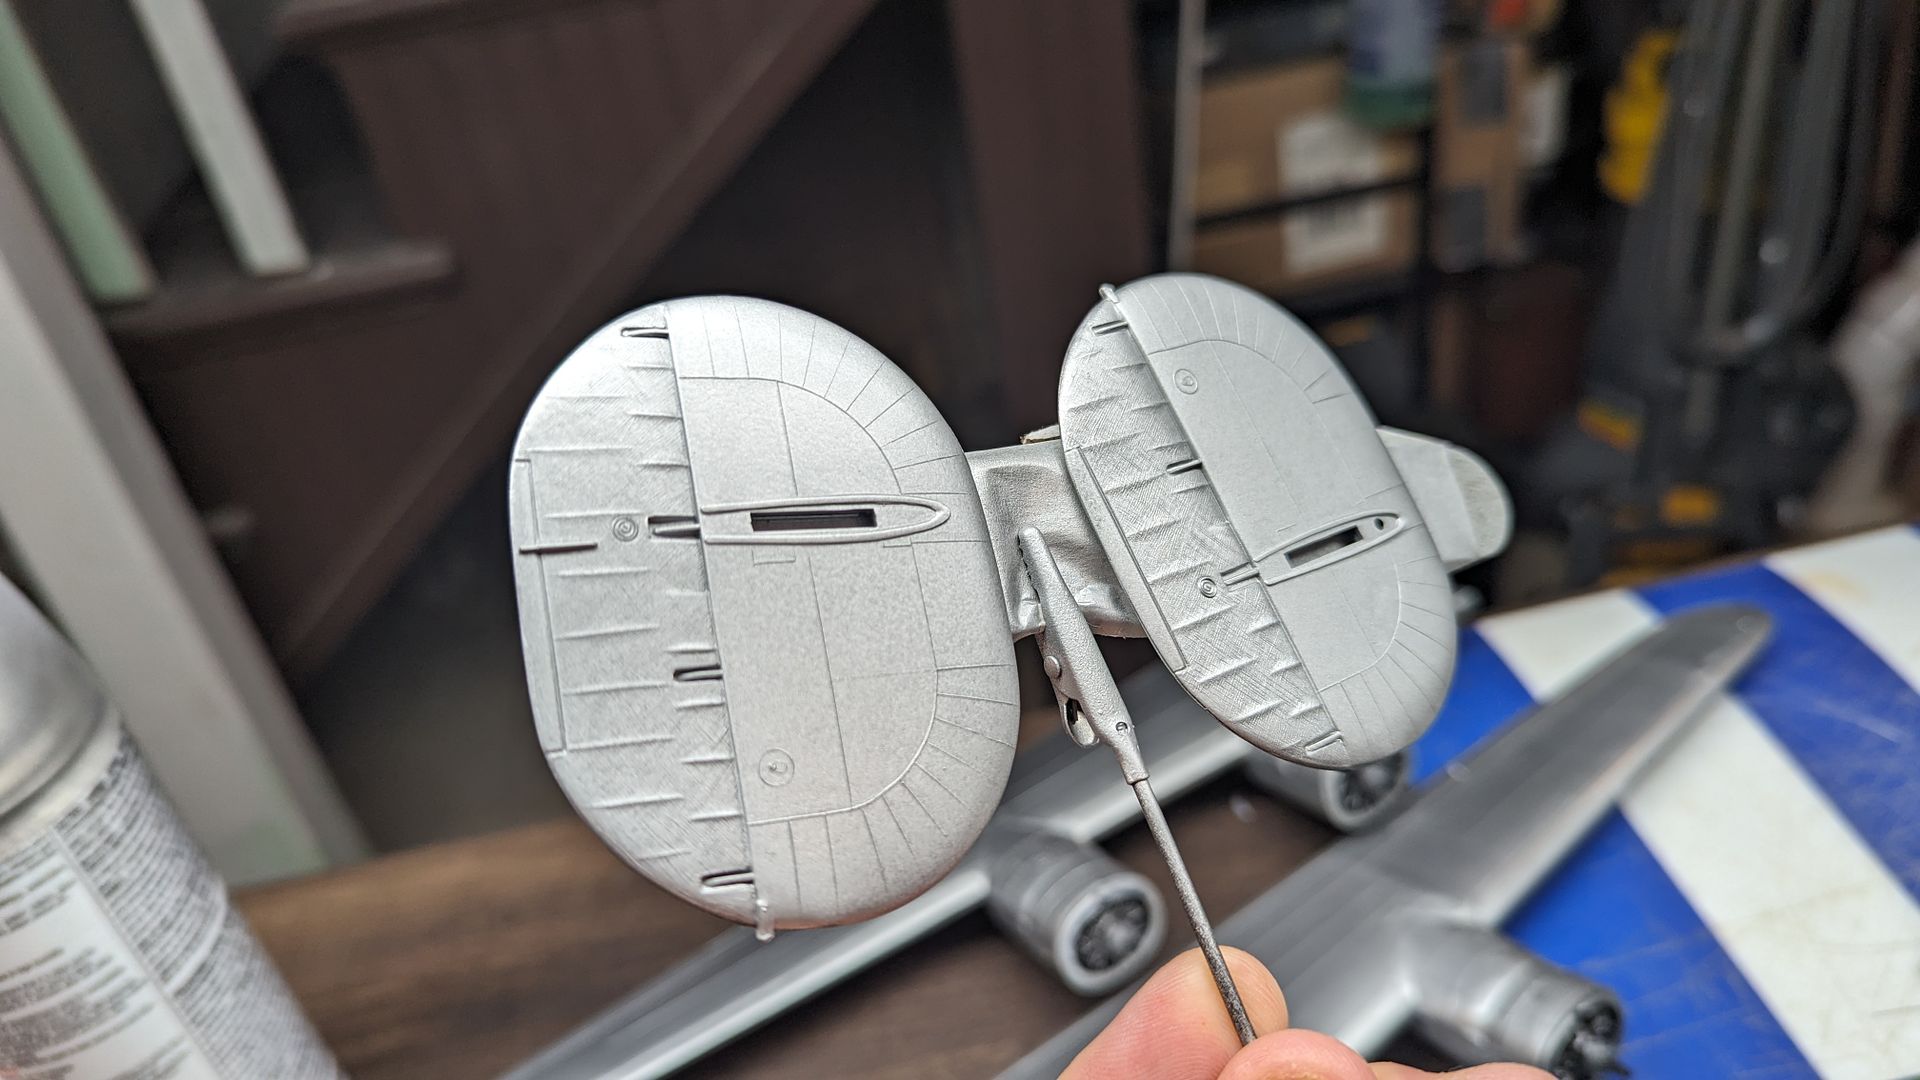
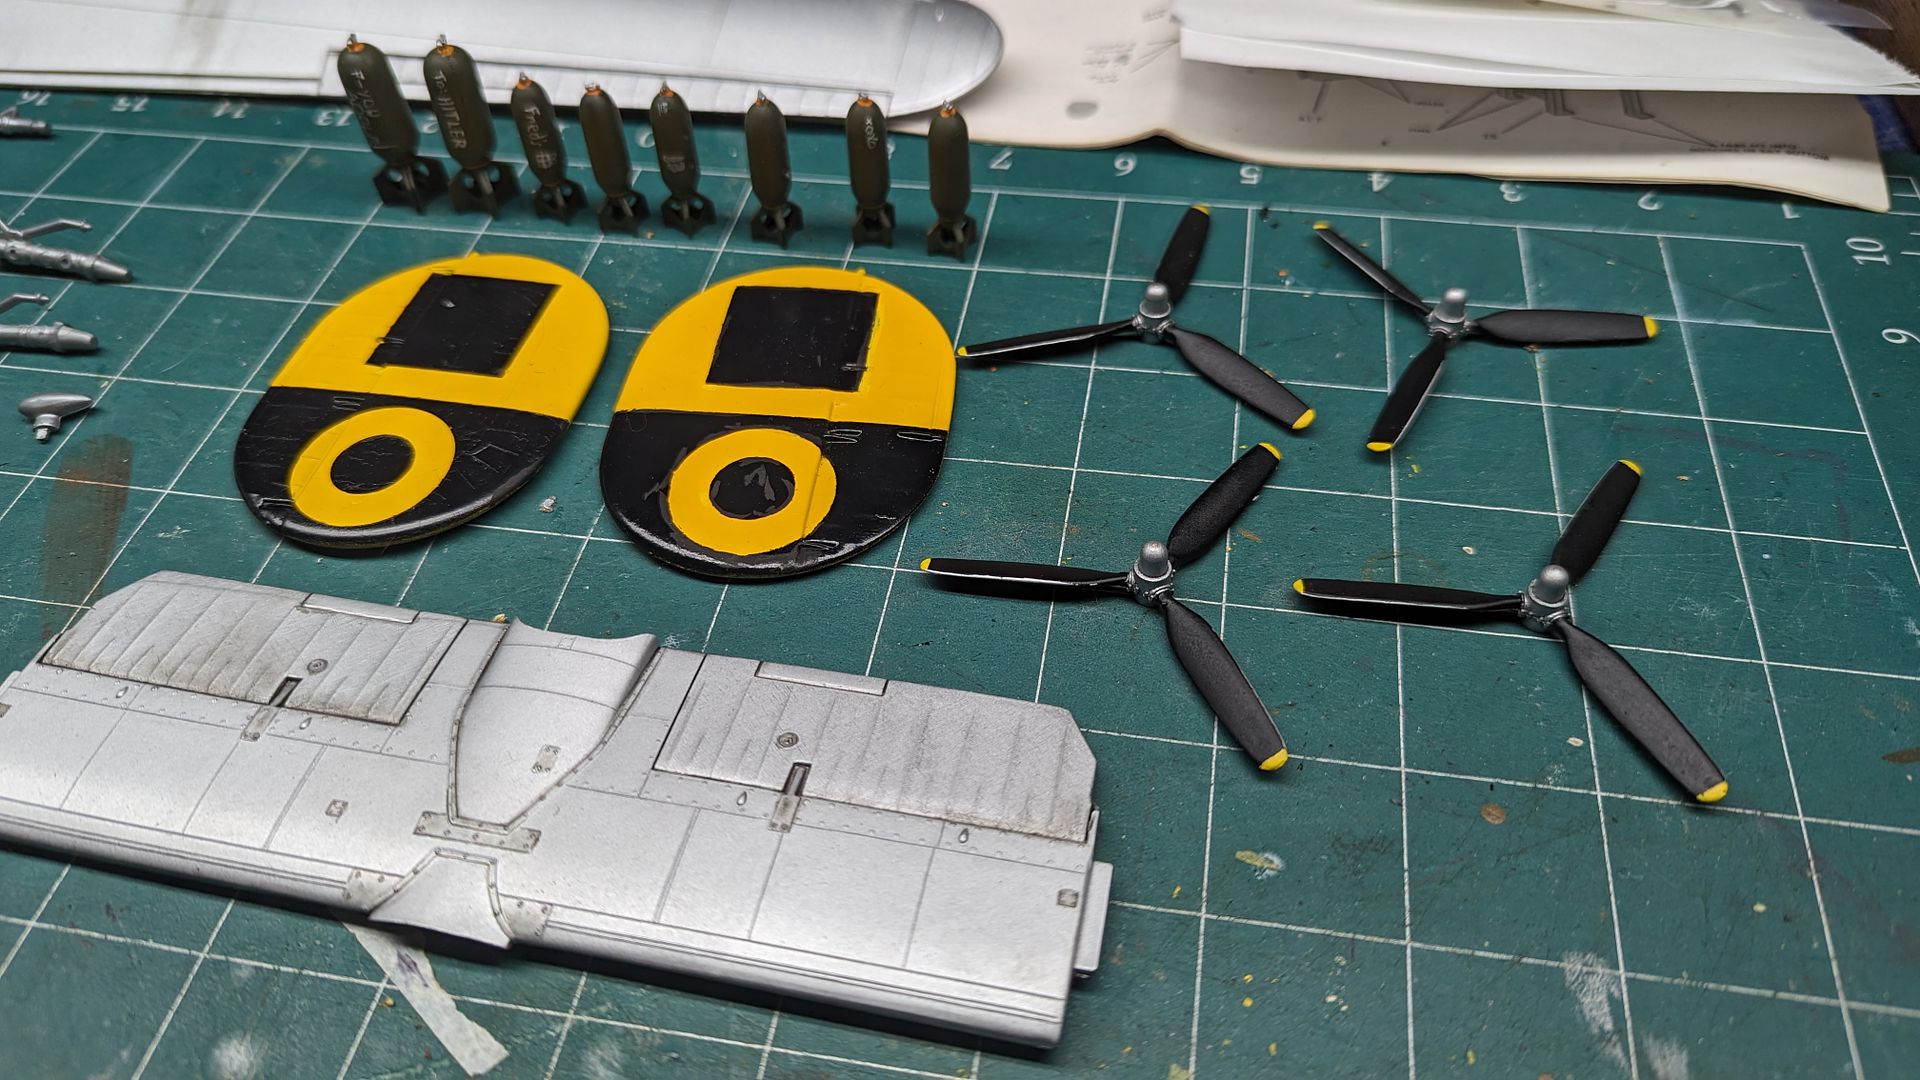
Ands then the tails...
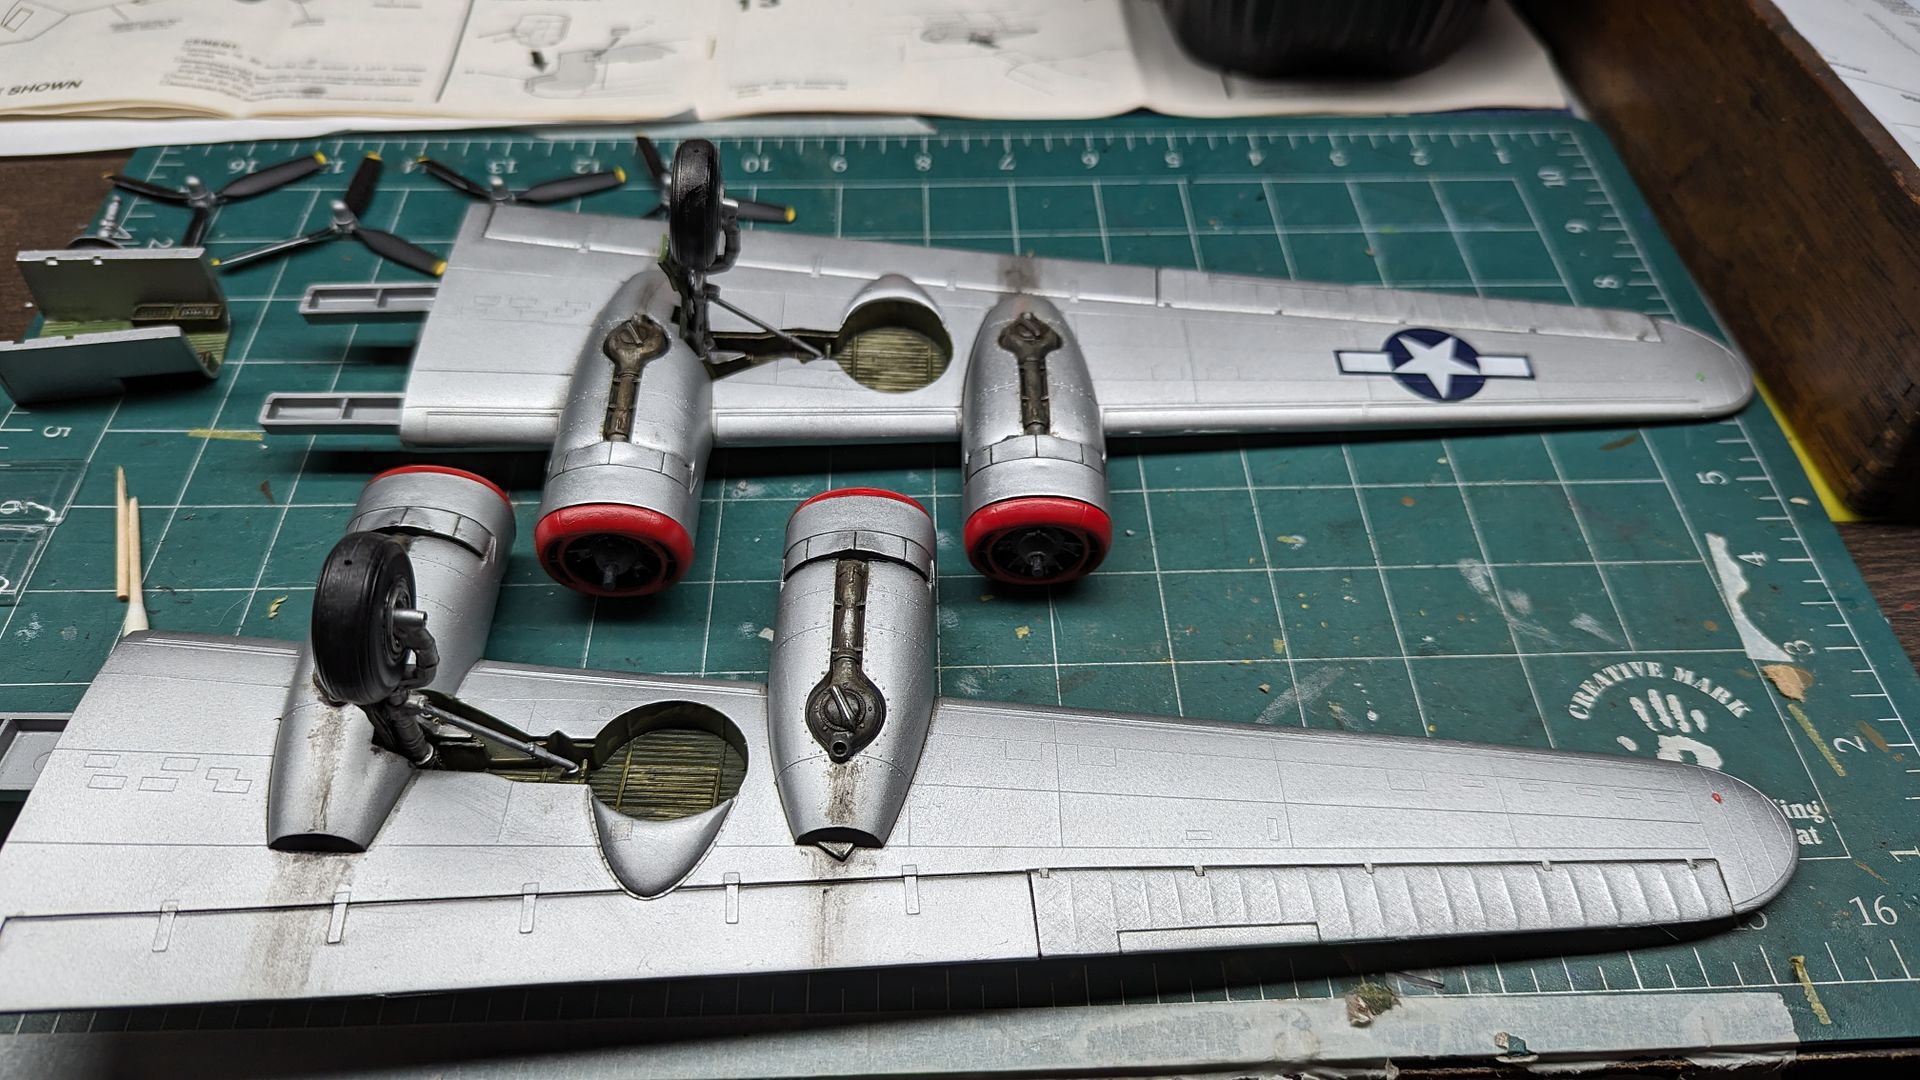
Before I knew it, the wings were basically done.
While I slowly started to tackle the most difficult part of the build, the fuselage, I kept up with the subassemblies...
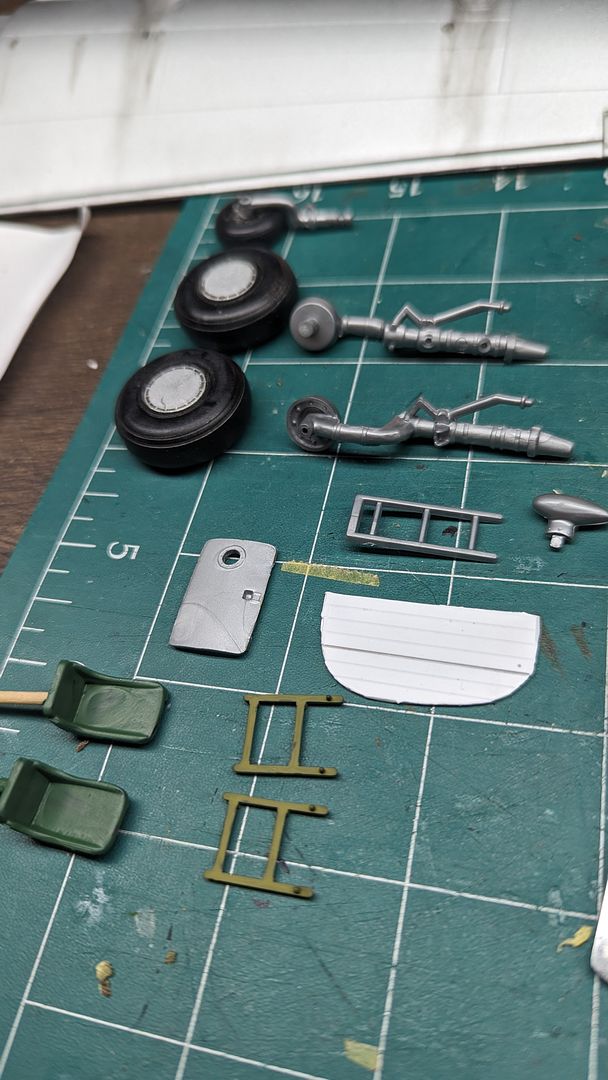
Before long the landing gear was finished and installed...
Along with the tail...
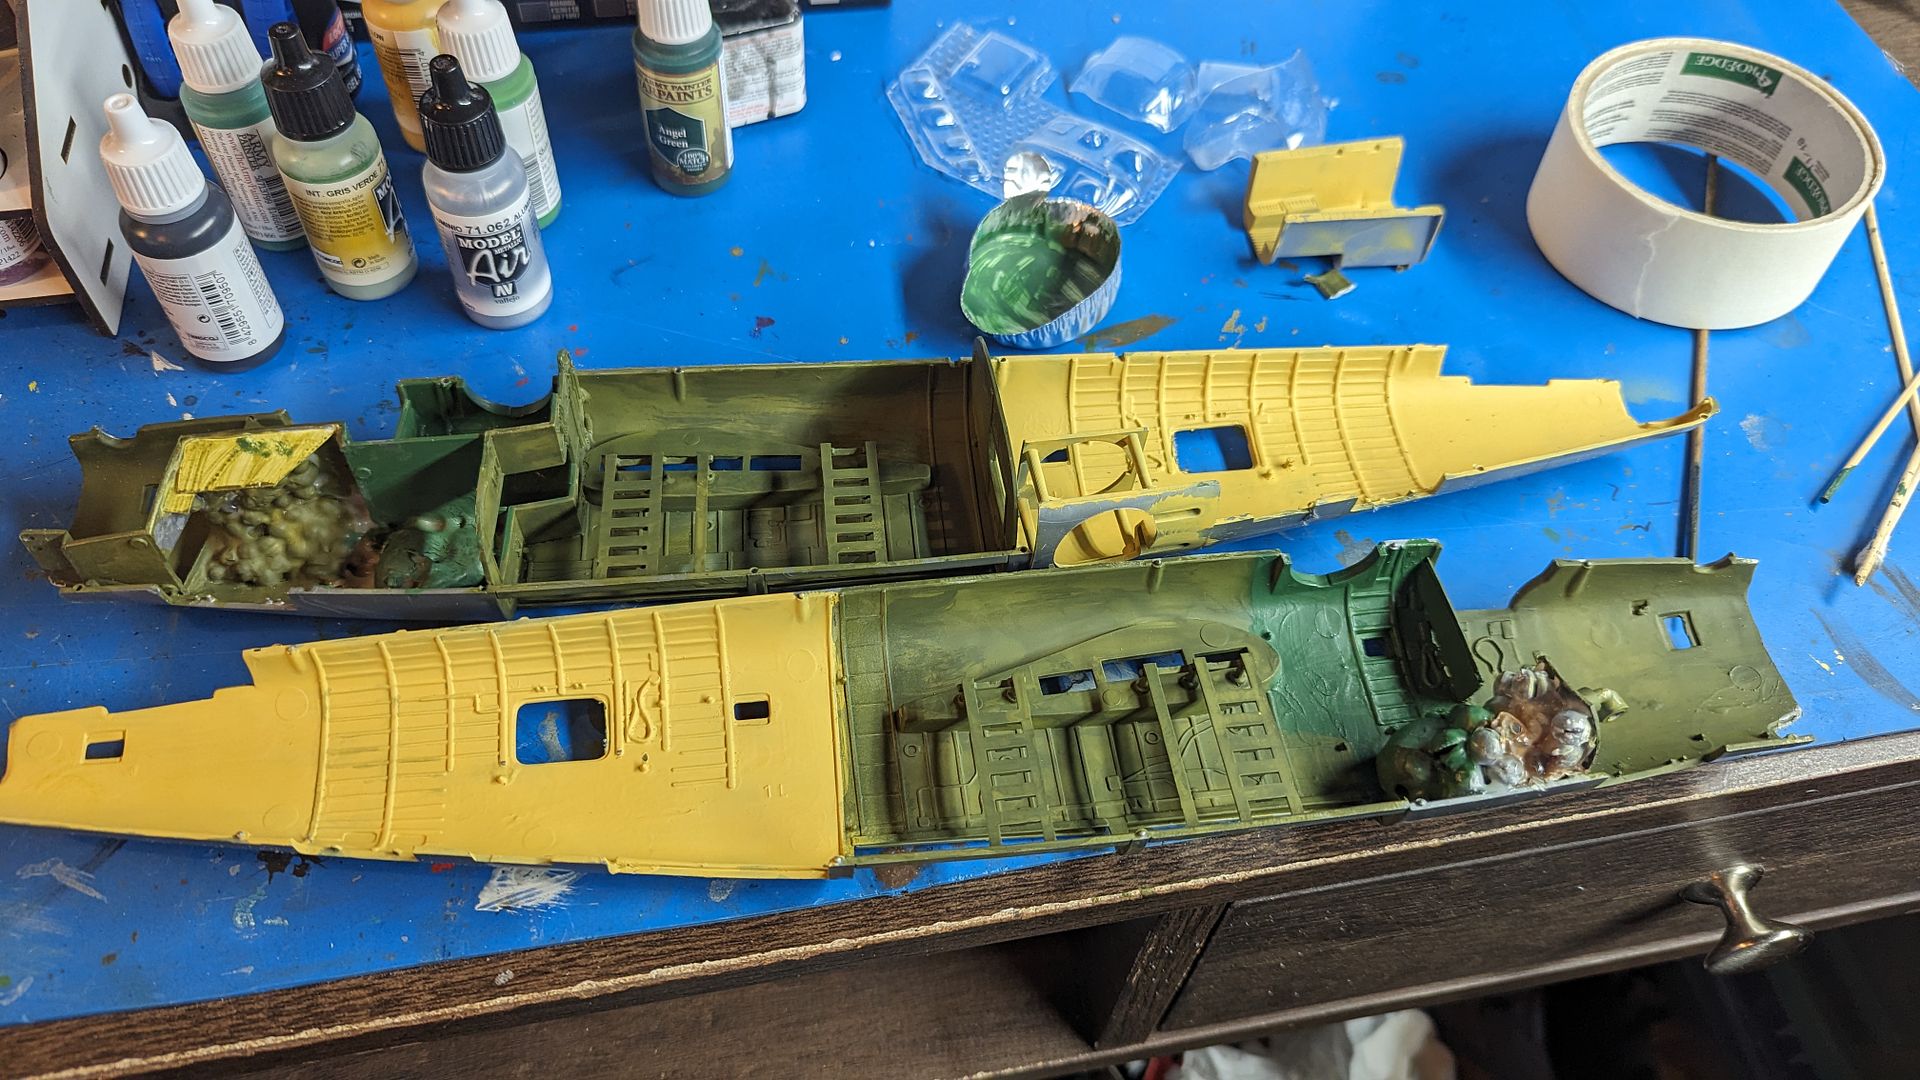
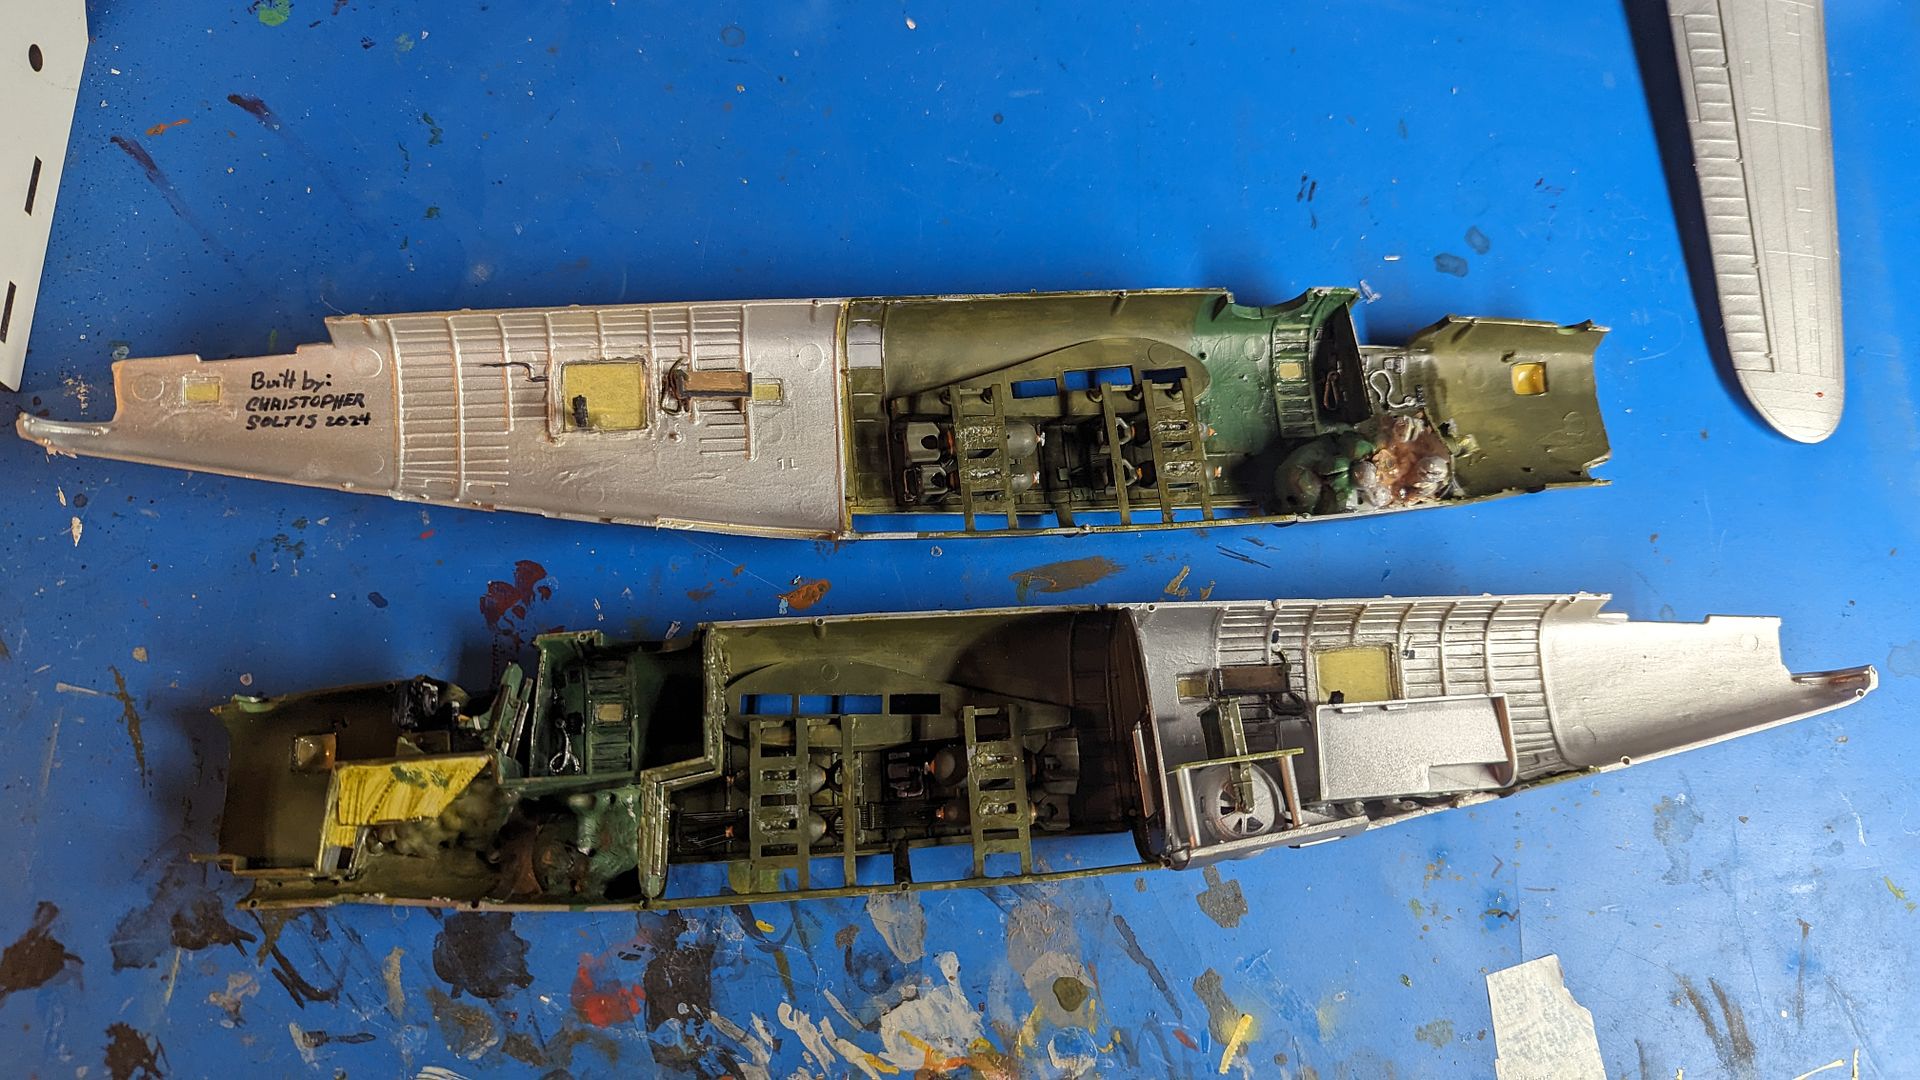
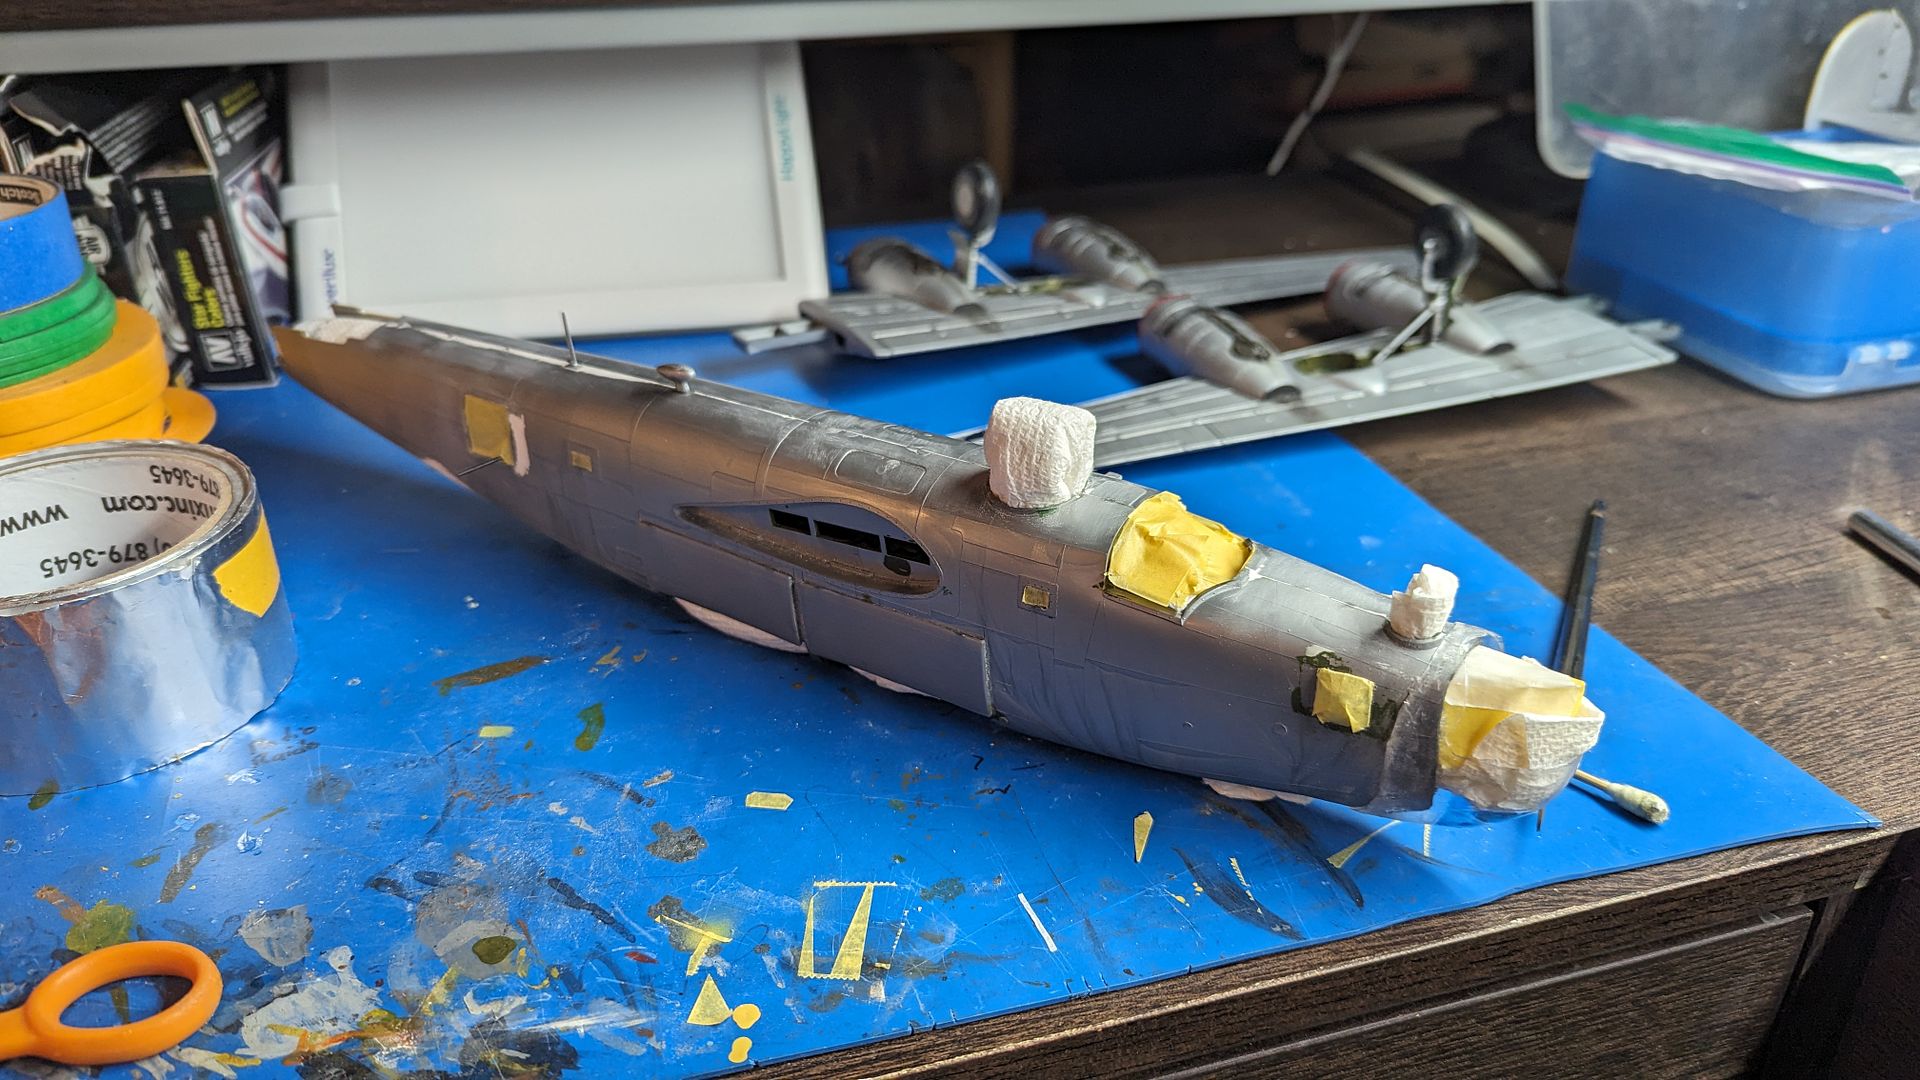
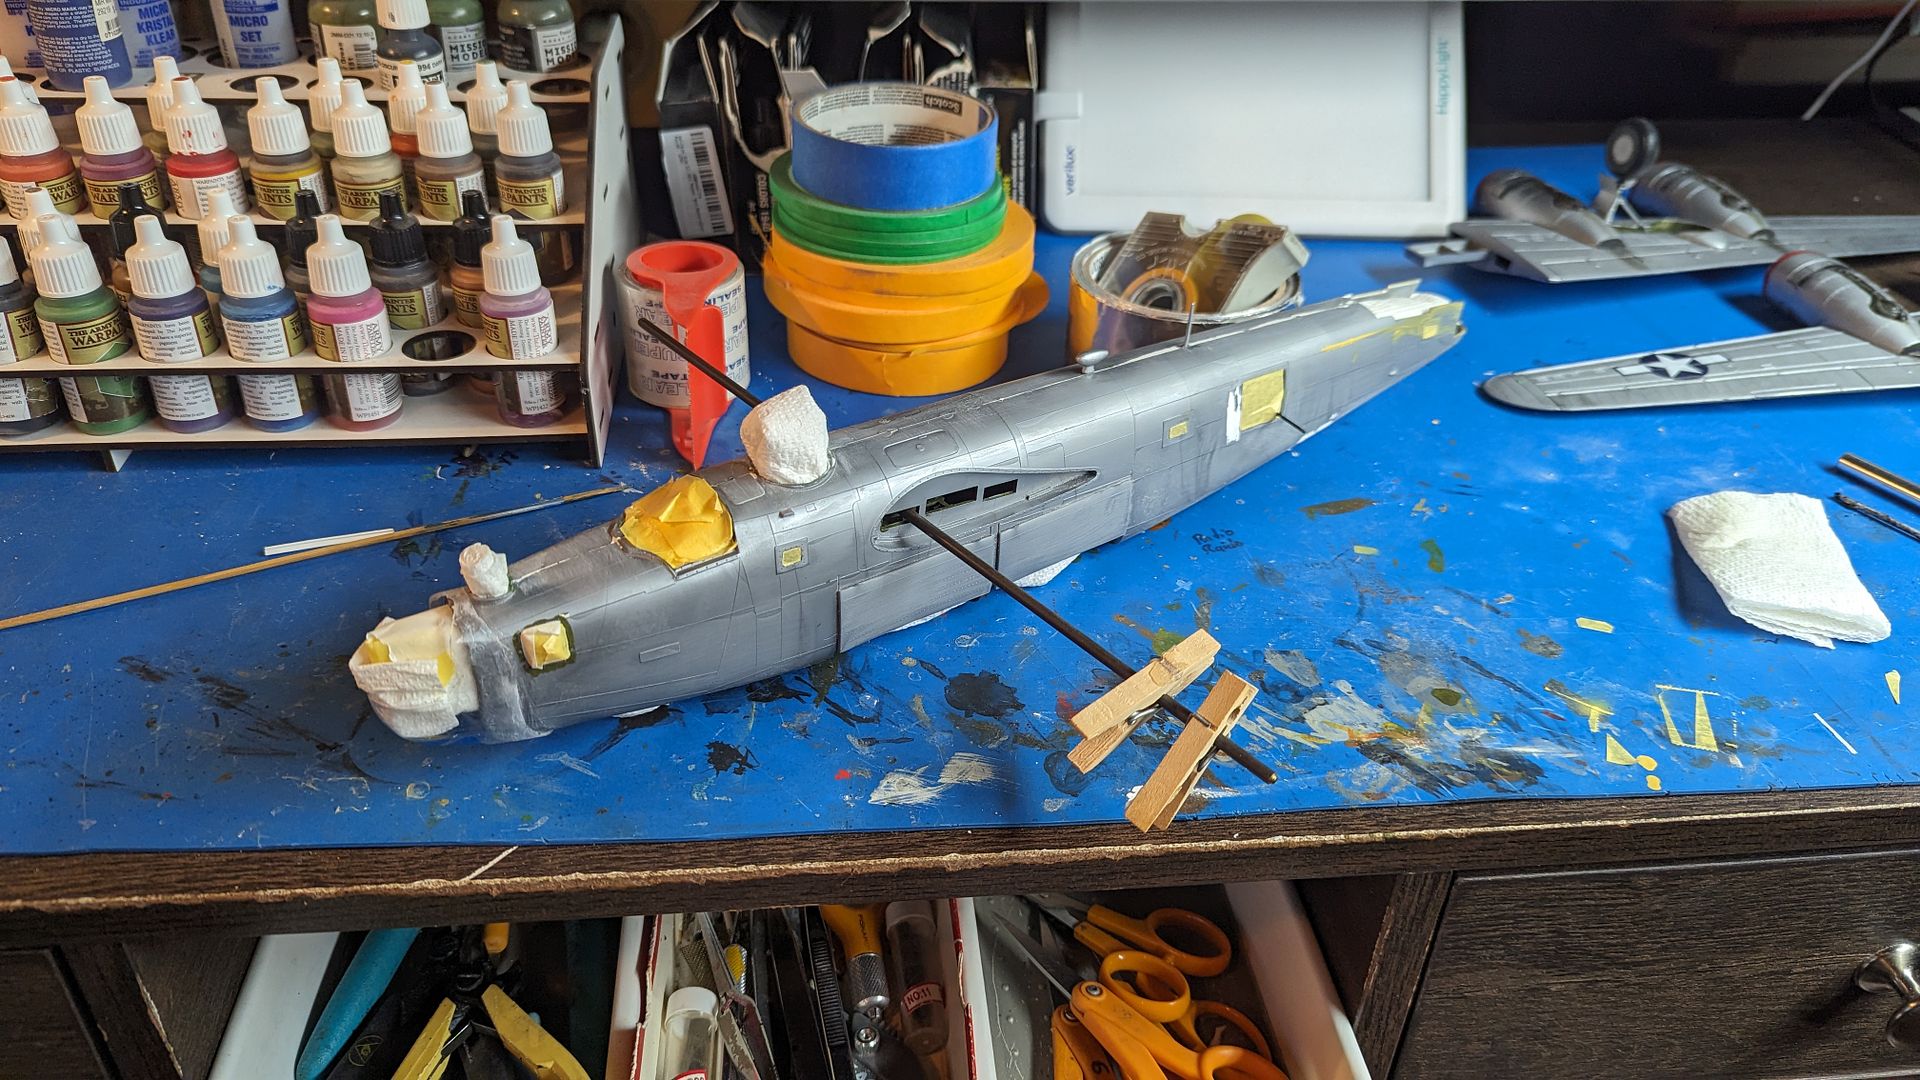
I had originally painted the rear fuselage a yellow zinc chromate, that would have been okay for early D model Liberators, but then I decided to repaint it to bare aluminum. I was in awe of how much weight I had to keep adding in the nose area to get her to sit on her darn nose wheel!
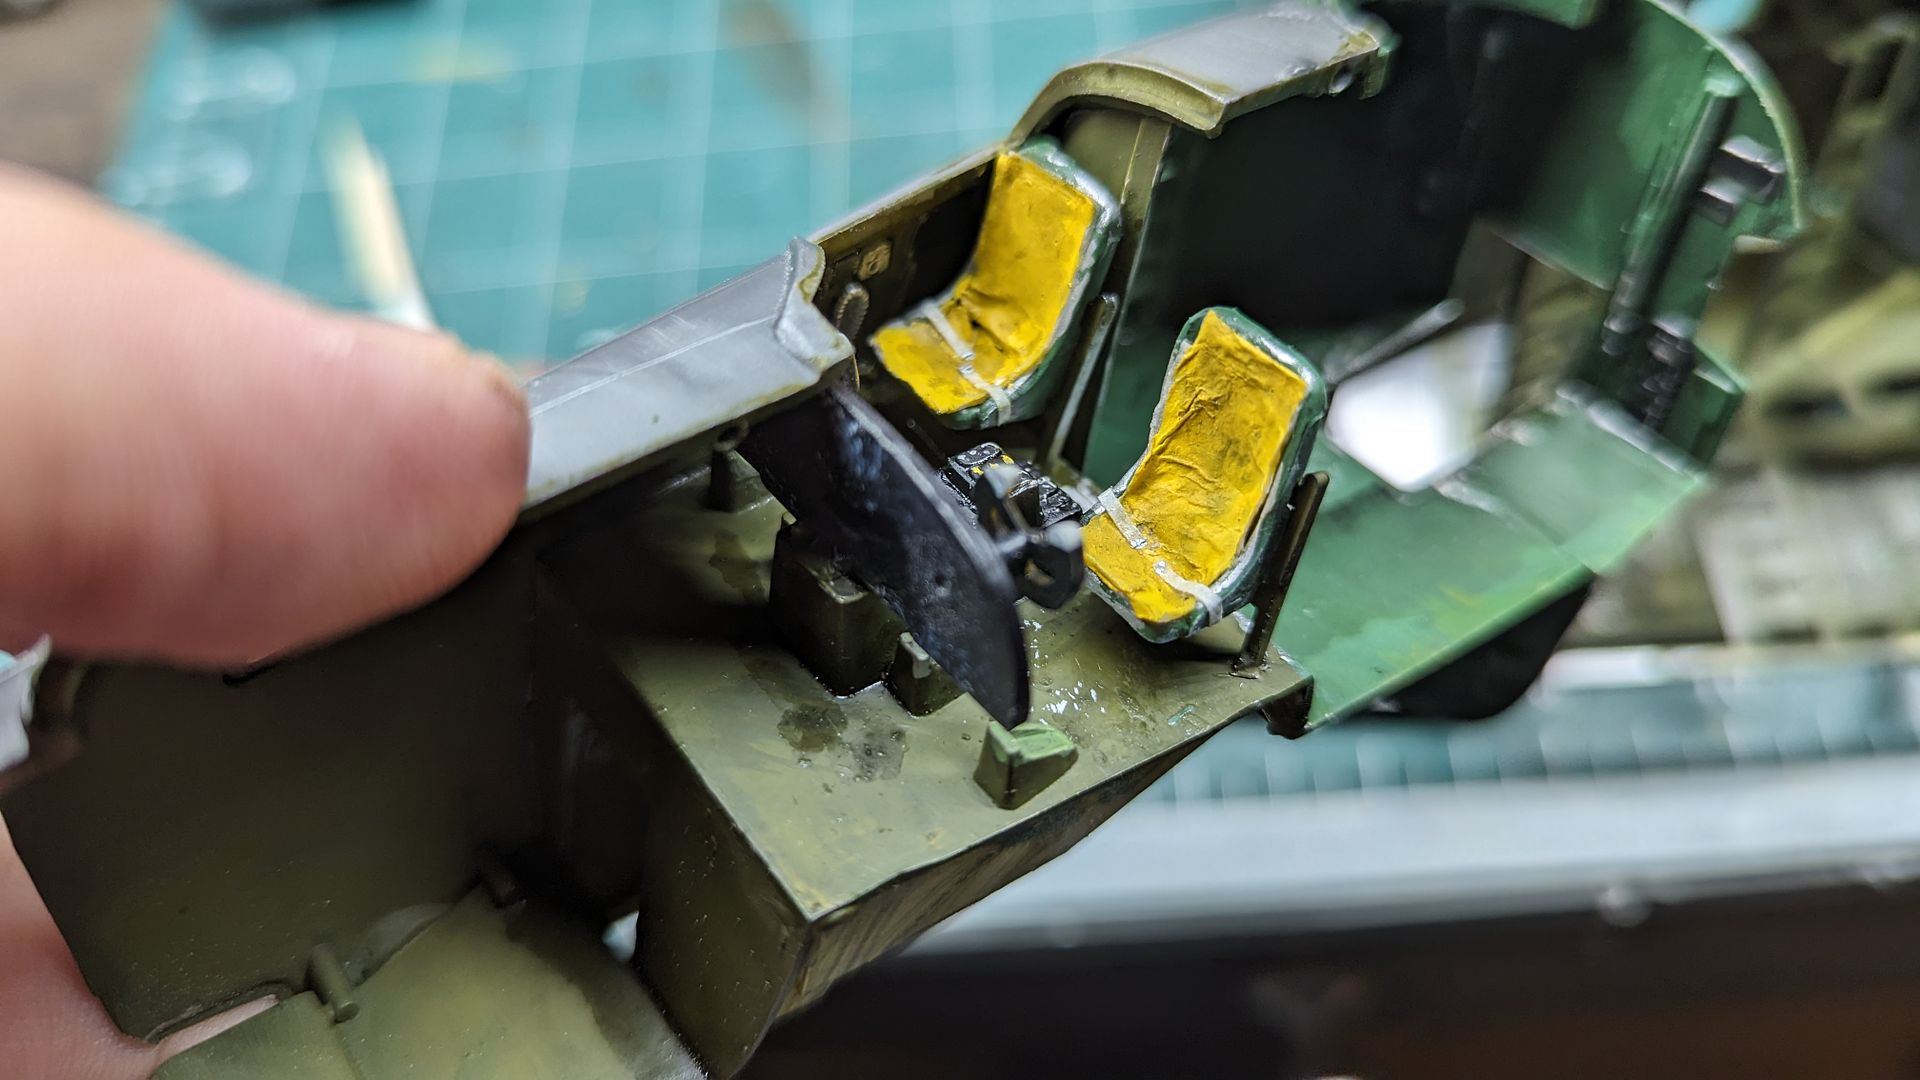
Cockpit with custom dividing wall for in-between Flight Engineer / Top Turret gunner area, life raft seat cushions, and masking tape seat belts.
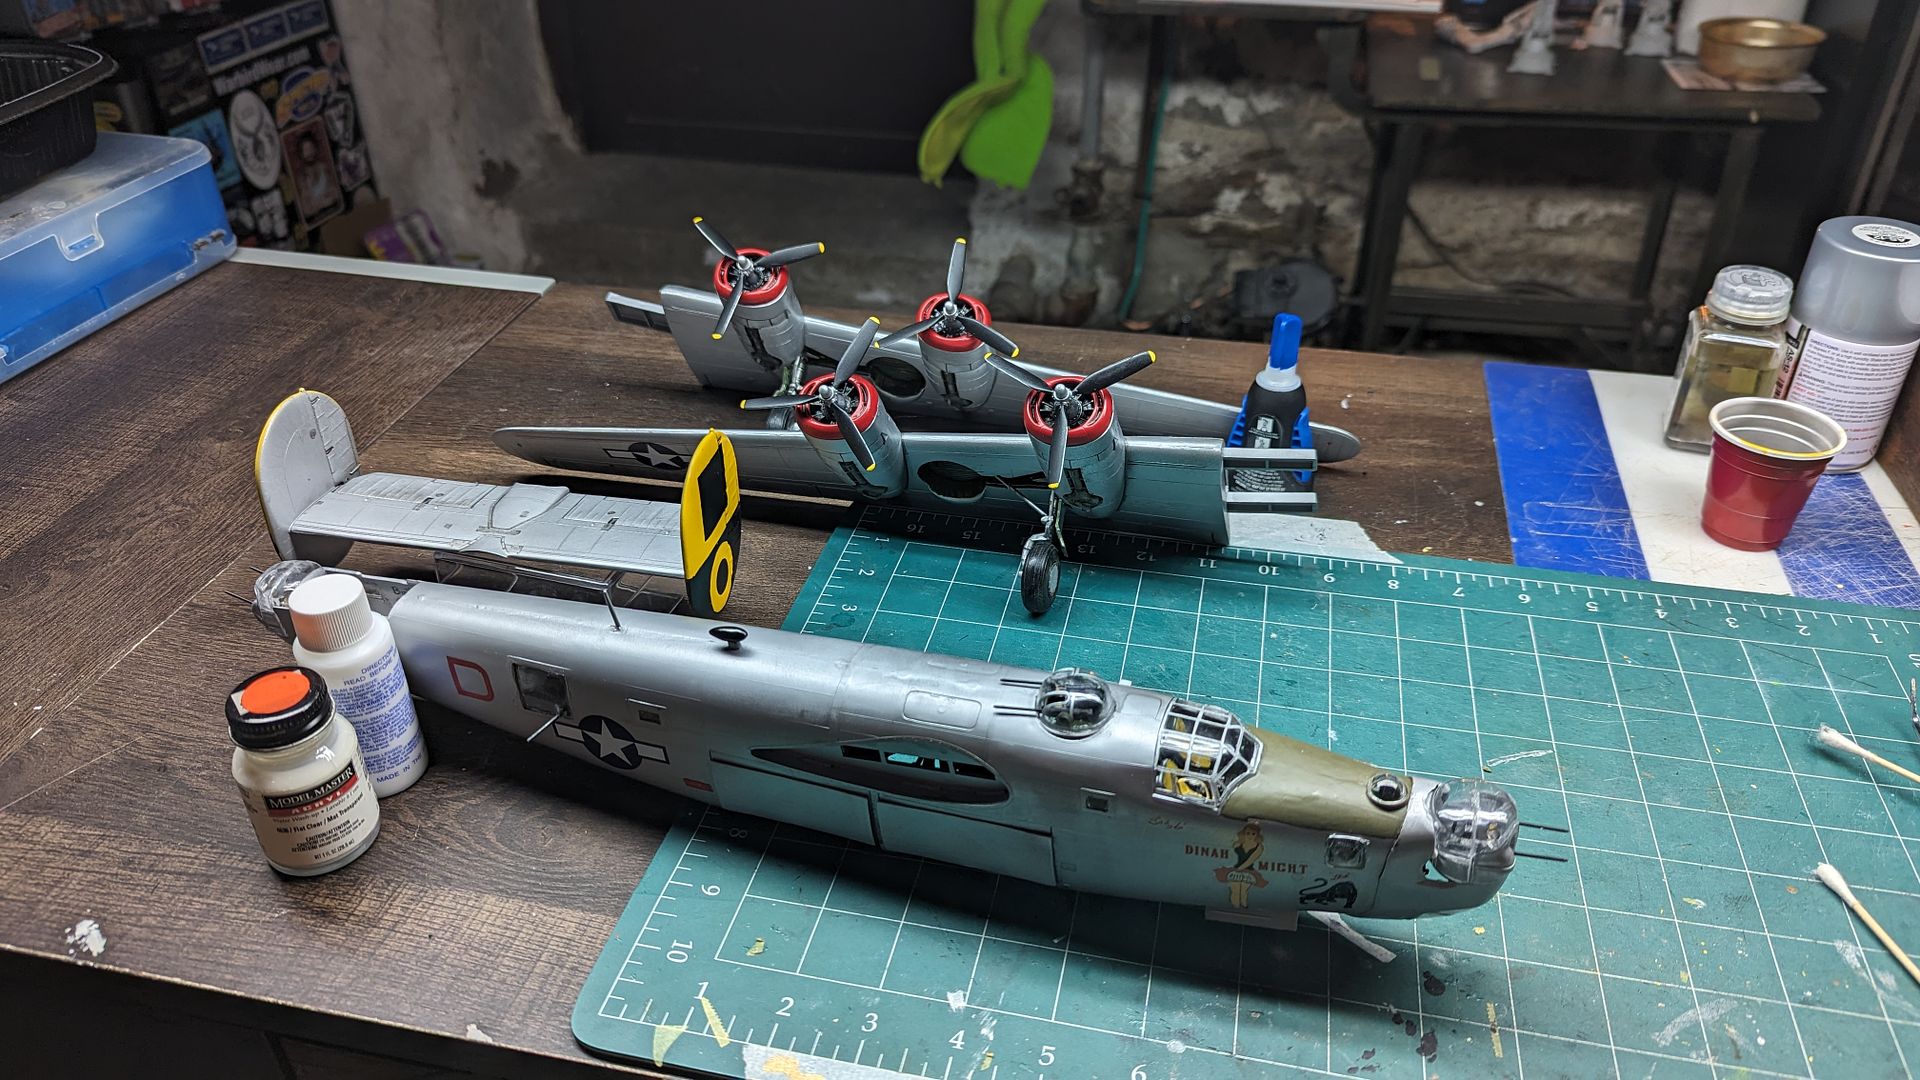
Fuselage finally buttoned up, puttied, sanded, and painted. Modifications I had to make were cutting of the original nose and getting this vacuform Ford nose to seat correctly, cut out the side nose navigator / bombardier windows and add vacuform square windows, enlarge / square up the waist gun windows and add vacuform square windows, and remove the waist side wind guard spoilers. I opted to use the kit gun turrets instead of the resin / vacuform ones since I wanted to deliver this model to the client sometime this year.
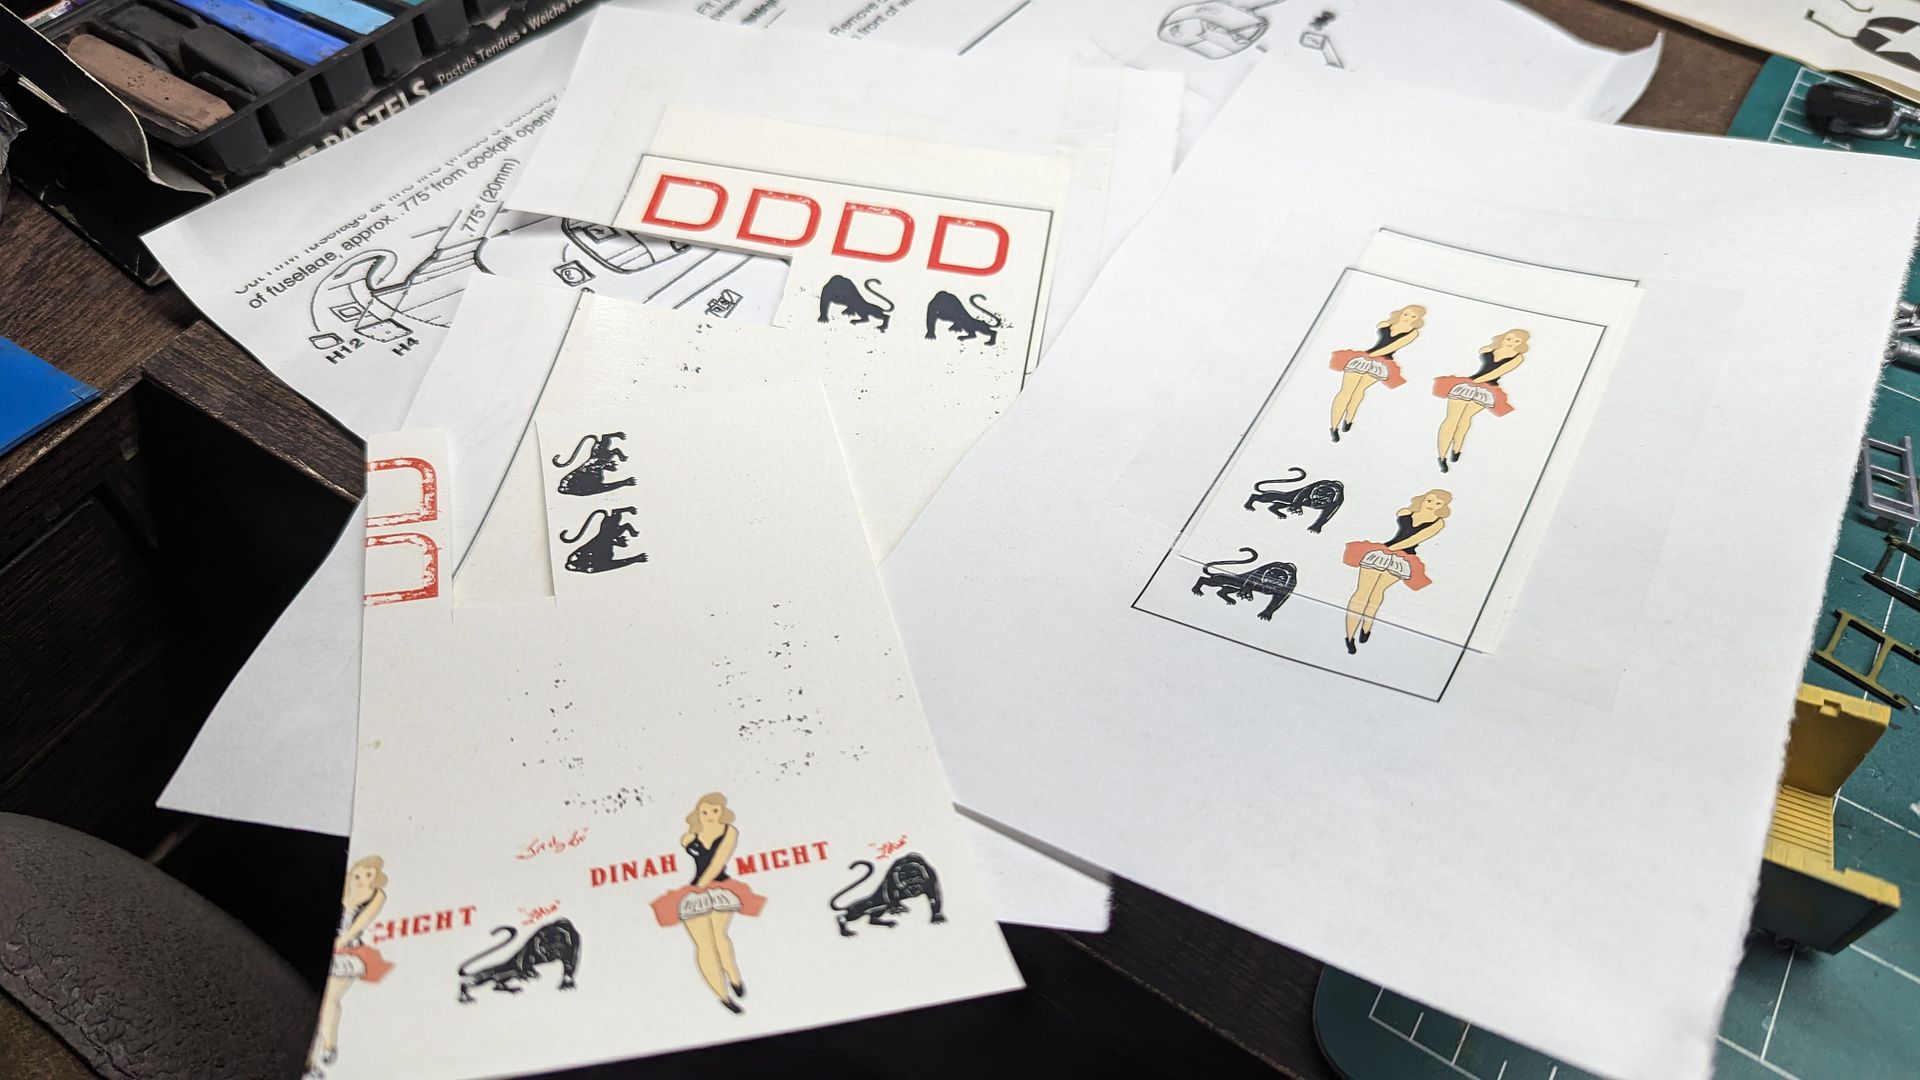
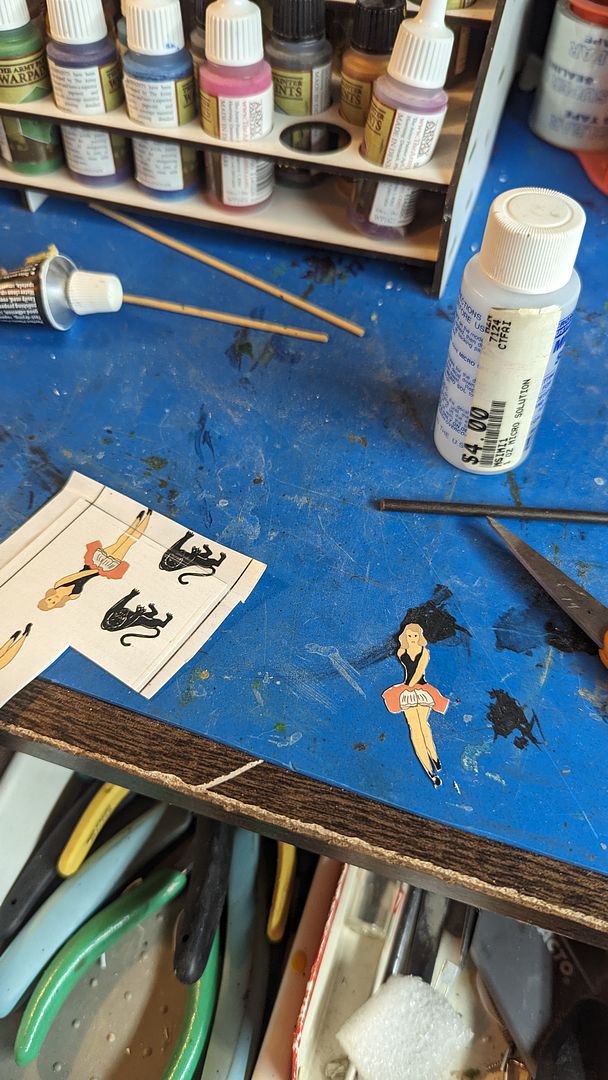
Being a graphic designer, I was able to find enough resource material to accurately recreate Dinah Might's nose art, as well as the two black panthers on either side of the nose, and the red "D" adorned on the rear fuselage. I had to print everything on clear decal paper, and a couple on white.
I always skip the primer stage and I always end up paying for it! Once the silver was dry I had to touch up some spots with more putty and sanding, before hitting it with primer, doing it again, and then finally the silver coat to seal it all in. Once the silver was dry and I hit the ground running with my decals.
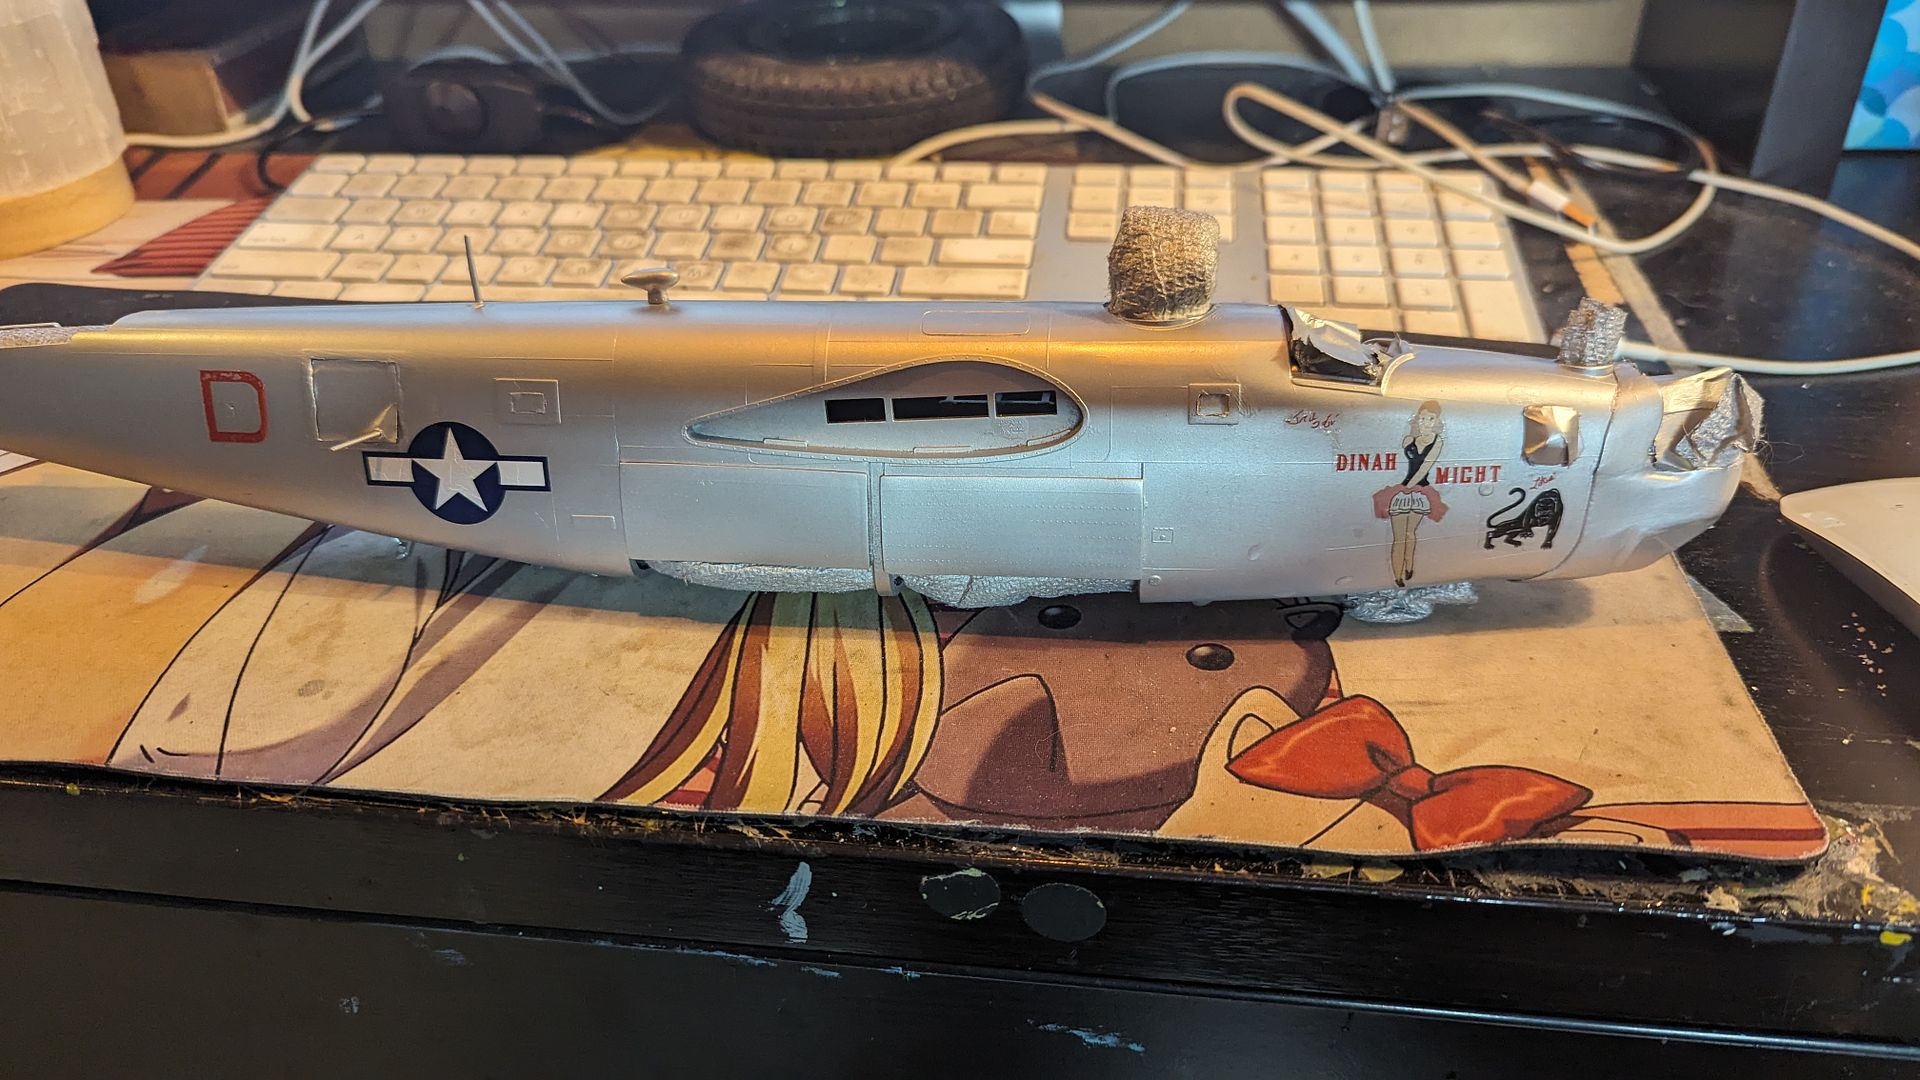
Once I had the first nose art decal in place, I had a second decal of just the girl printed on white. I carefully cut out around her as best I could and then overlaid her on top of the transparent version.
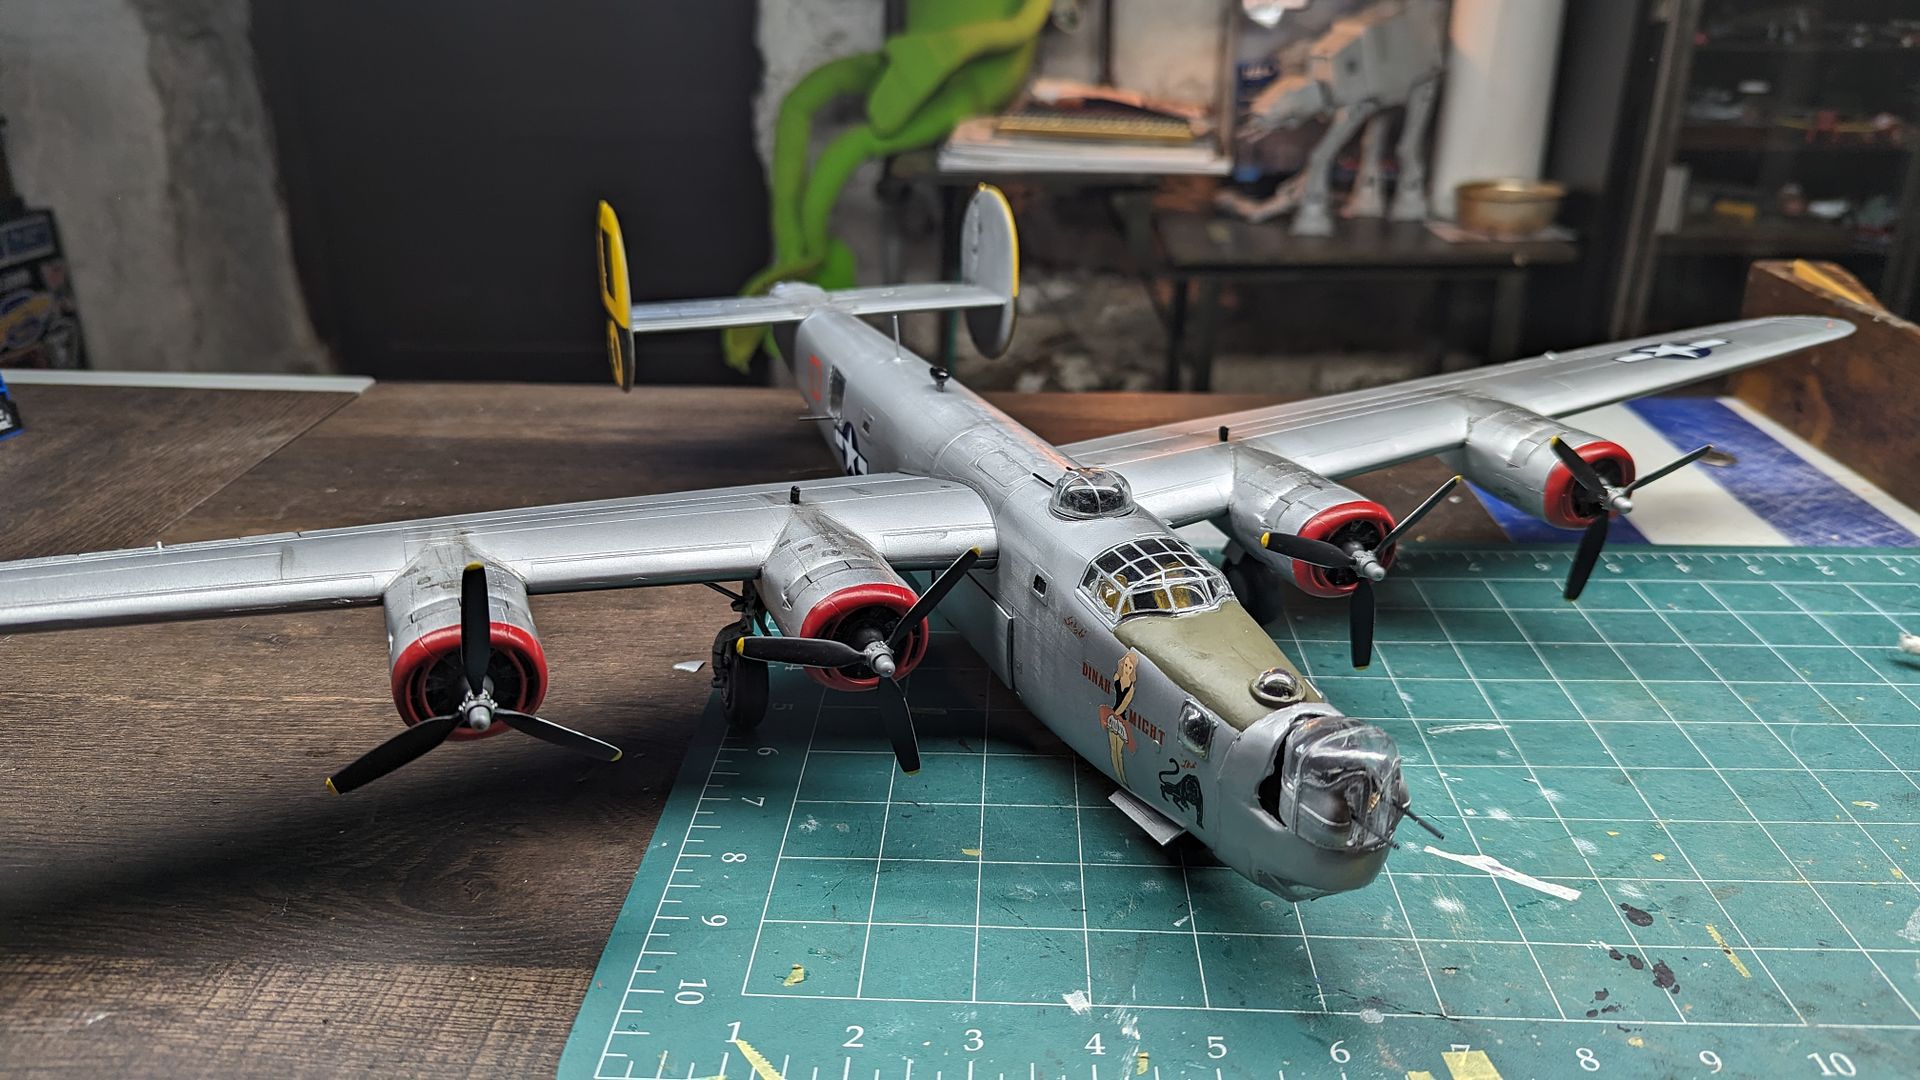
Before I knew it I had the painted / touched up the fuselage, weathered it, and clear coated it. Then it was on to final assembly!
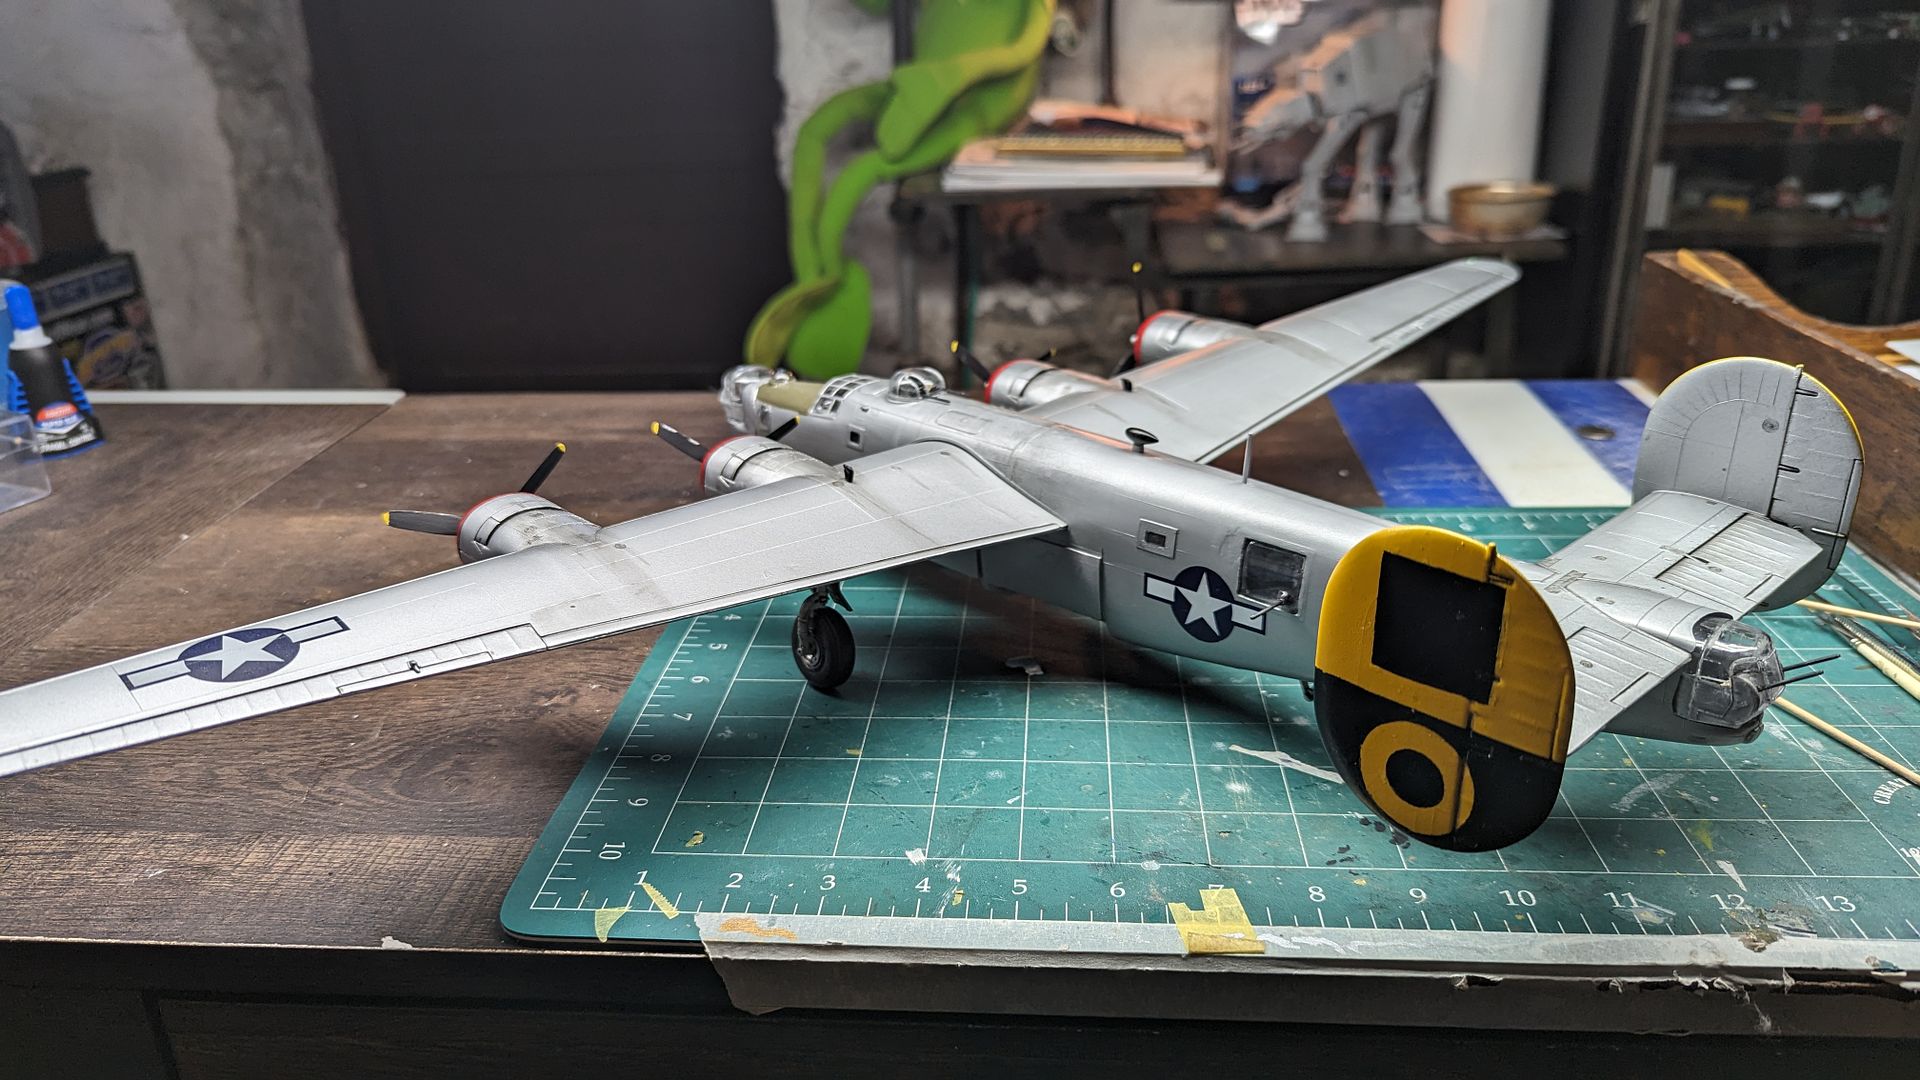
And the final result!

Hope you enjoyed this build! Shouldn't have taken 6 months from start to finish but, as always life and gets in the way!